Farmhouse Christmas Stocking
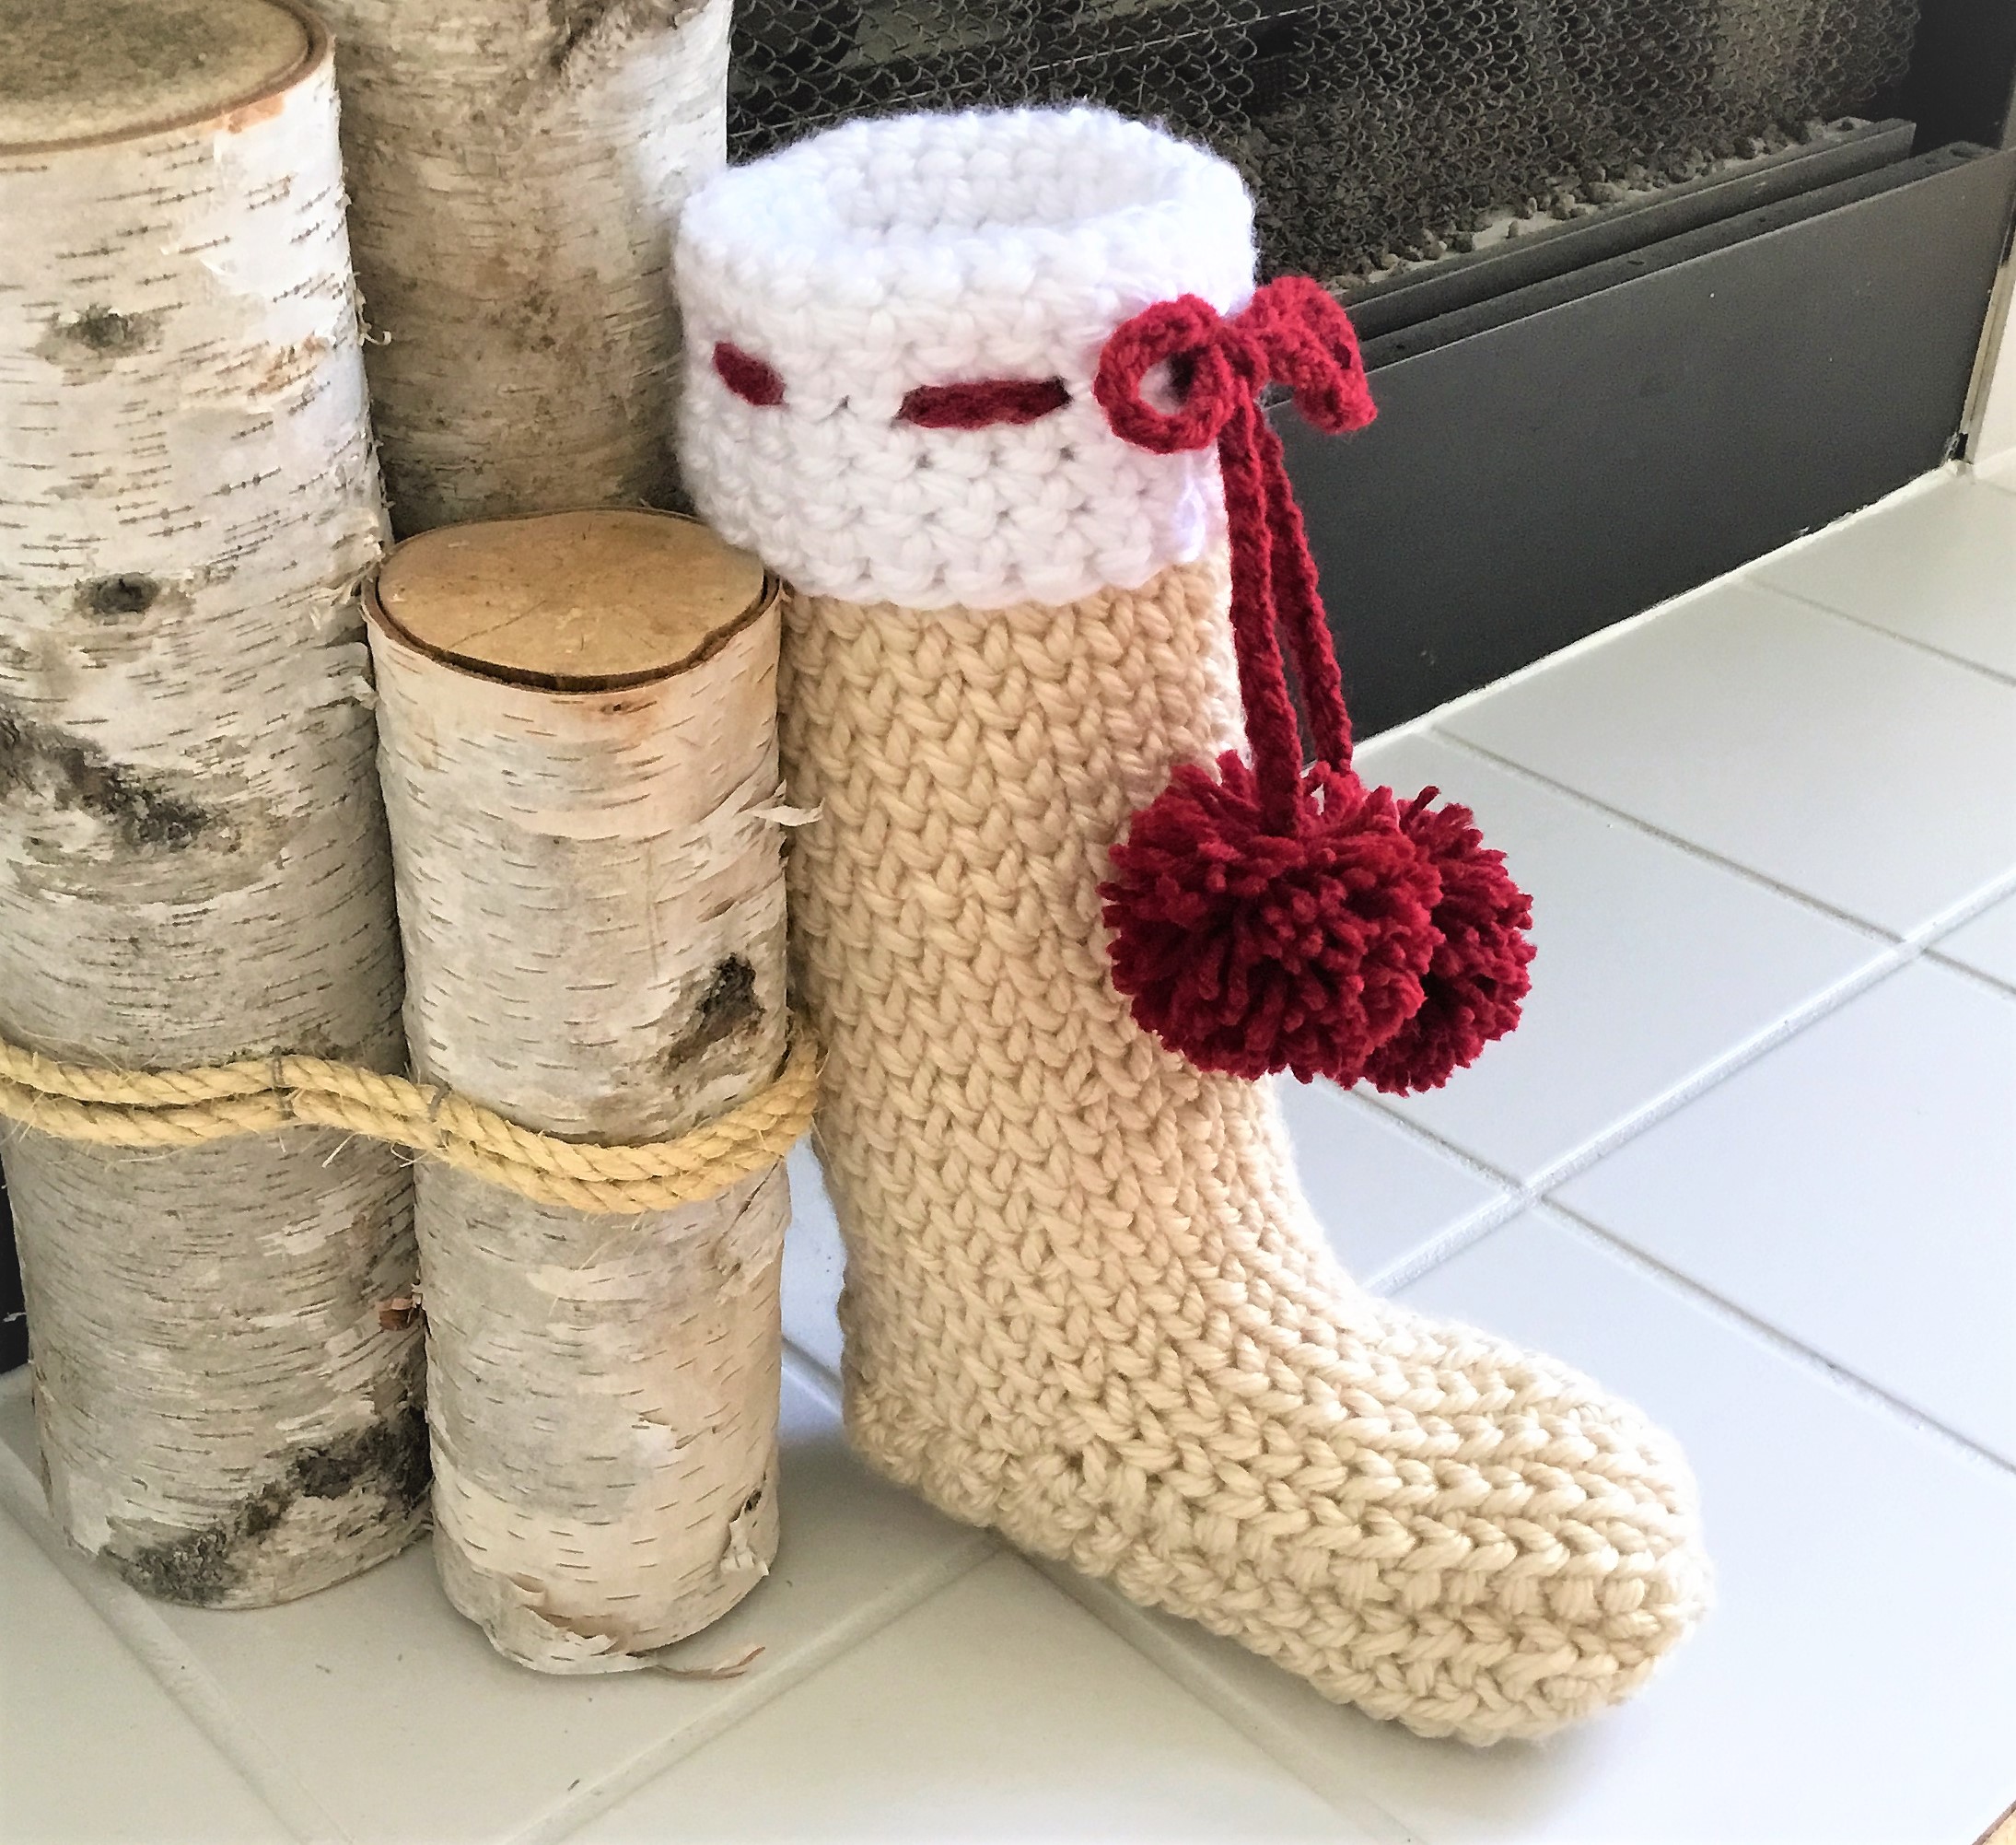
It’s pumpkin spice latte season! You know what that means…time for us to start working on our Christmas crochet projects. Yay! The FREE PATTERN for this gorgeous, farmhouse Christmas stocking is below.
Check it out! My Farmhouse Christmas Stocking is in a major online magazine!
Newly designed, crochet farmhouse Christmas stocking fits perfectly with farmhouse style decor. The Etsy pattern has a lot more photos and specific materials list Check that out HERE: CrazyCoolCrochetUS
The center single crochet stitch makes for a nicely sturdy stocking. Santa can stuff this one with so many more goodies!
I just love the deep, rich red on the ribbon and pom poms. Farmhouse style decor is all about crisp, bright whites, clean grays and more muted colors (which I just LOVE…think Fixer Upper Joanna Gaines decor). But the holiday season calls for pops of color and this burgundy red works beautifully.
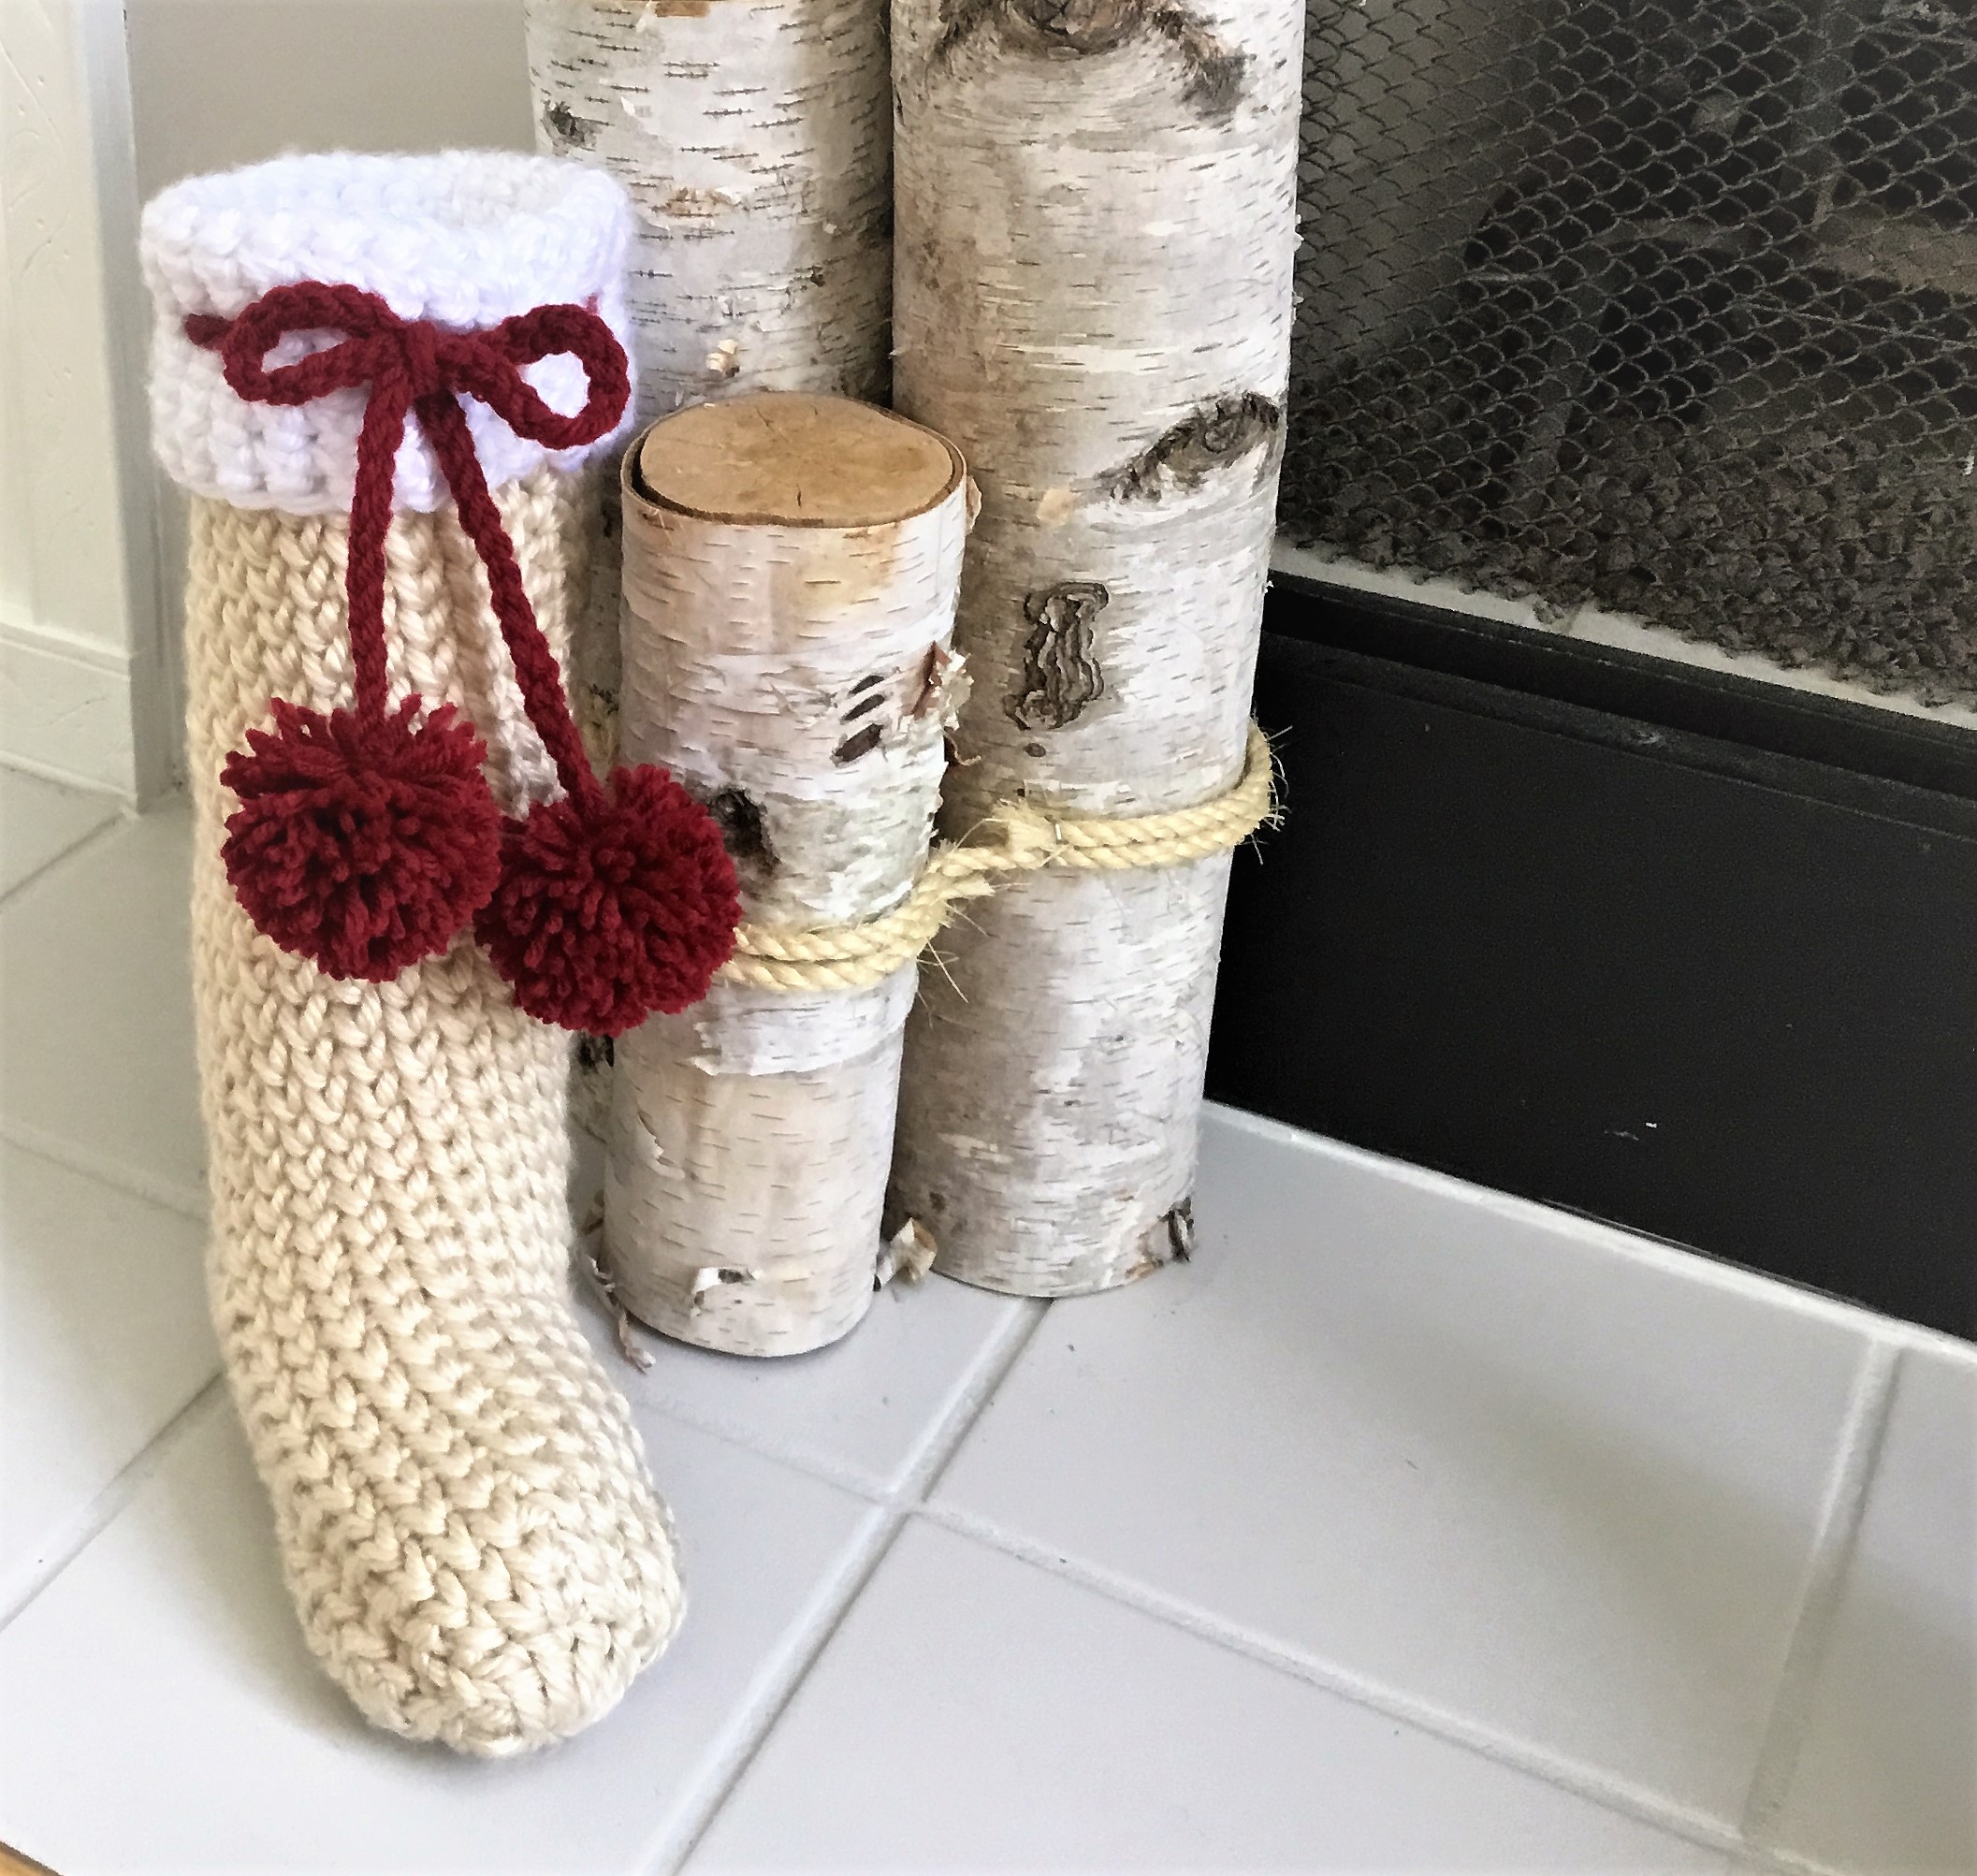
You might prefer to follow along with the Etsy pattern (which has more detail and lots more photos and no ads!). You can save and print and follow along more easily. And it’s super affordable! Just saying…
This post may contain affiliate links. If you make a purchase through these links I may earn a small commission at no additional cost to you.
Dimensions: 12″ long from top of cuff to heel (with cuff folded over) x 12” circumference around boot
Materials:
Super bulky type yarn – (2) 5 oz skeins. Brand used here: Lion Brand Hometown USA, color Los Angeles Tan and 1 oz New York White; 1/2 oz Red Heart Super Saver worsted weight, color Burgundy

Crochet hook size L (and H for “ribbon”)
Scissors
Cardboard for cutting two small circles.
Gauge: 2 center sc = 1”, 5 rows csc = 2”
Toe:
Ch 5, join with sl st to form ring. Leave tail hanging to close hole later.
Row 1: ch 3, 10 dc around ring. Join with sl st in top of ch 3. Do not turn. Tighten tail to close hole.
Row 2: Ch 1, sc in 1st st, 2 sc in ea st around. Sl st to join.

Row 3: ch 1, center sc (csc) in each “heart” of sc in previous row.
Row 4 – 11: Repeat Row 3. Do NOT turn work. (Work will start to look like a bowl.)
Row 12: Start of heel. Regular Sc in next 9 sp’s (NOT csc). Turn
Row 13: ch 1, sc in ea sp. 9sc’s. Turn
Row 14 – 17: repeat row 13.
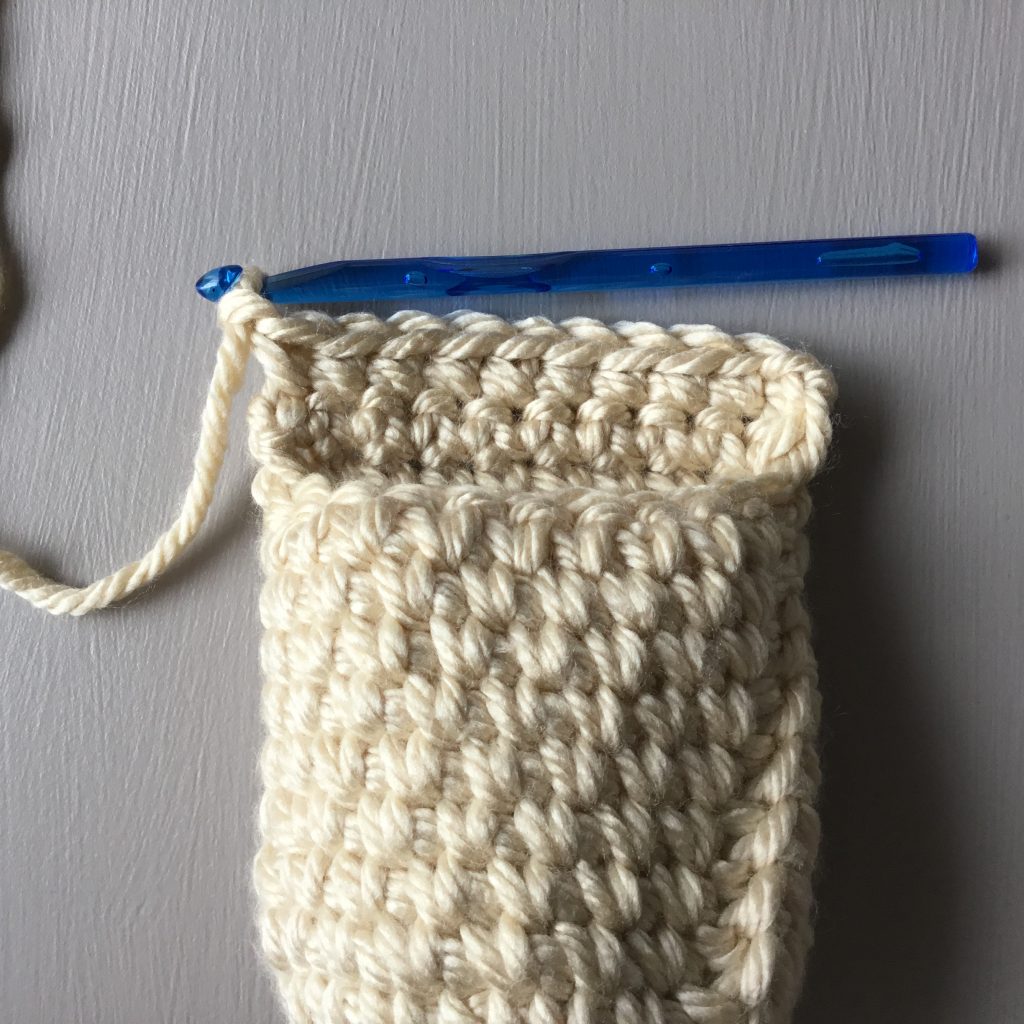
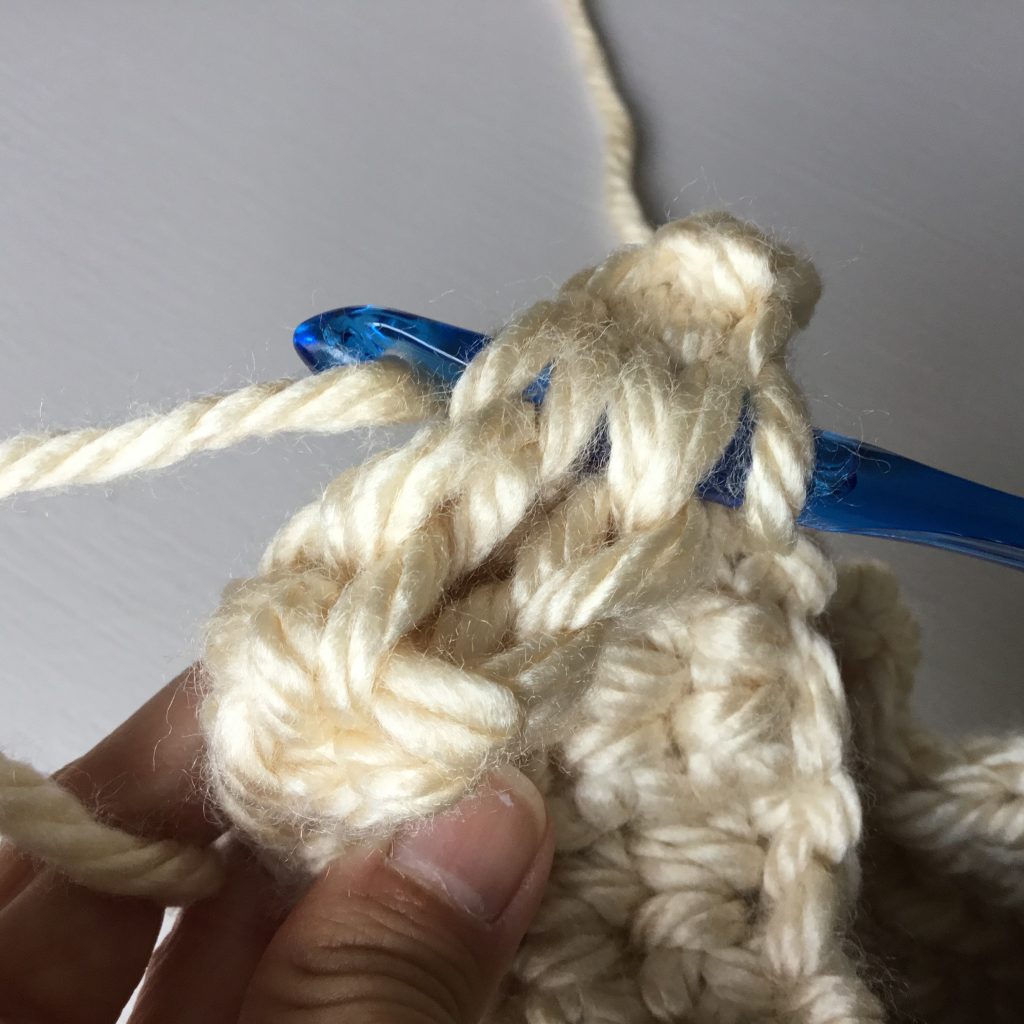
At end of row 17, fold the heel end to end. Sl st along the top of last sc row to close heel. Tie off yarn. Turn work inside out so right side (as opposed to wrong side) is now facing you.

Attach yarn where start of heel meets foot. csc in 1st csc below and in ea csc around, sc in ea sp of heel. Join. Ch 1.
Continue with csc in ea st around (not turning work) until desired length of boot. Aprox 25 csc boot rows. Tie off.

Cuff:

Attach white yarn. Sc in 1st st and ea sp around. Repeat for 8 total sc rows. Tie off. Weave in tail into right side of work.
Fold cuff over.
Hanging Loop:
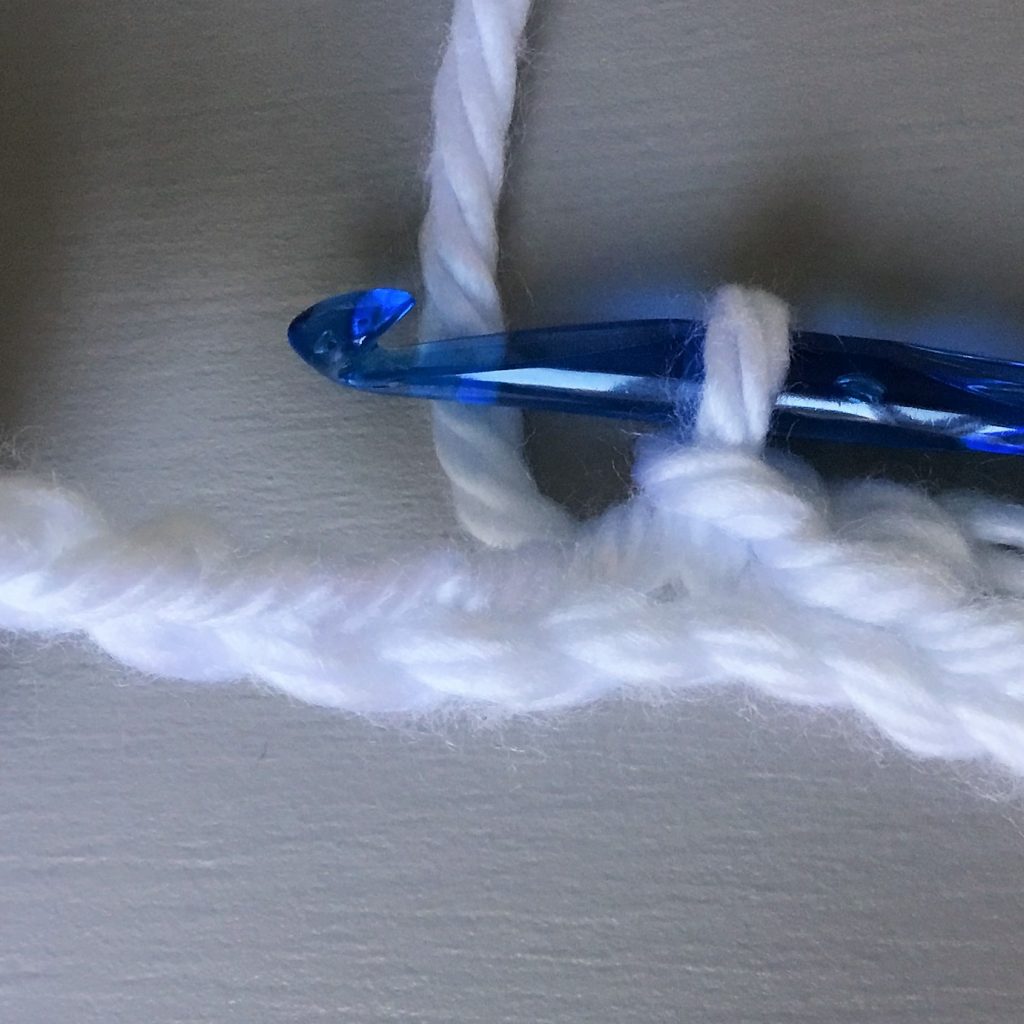
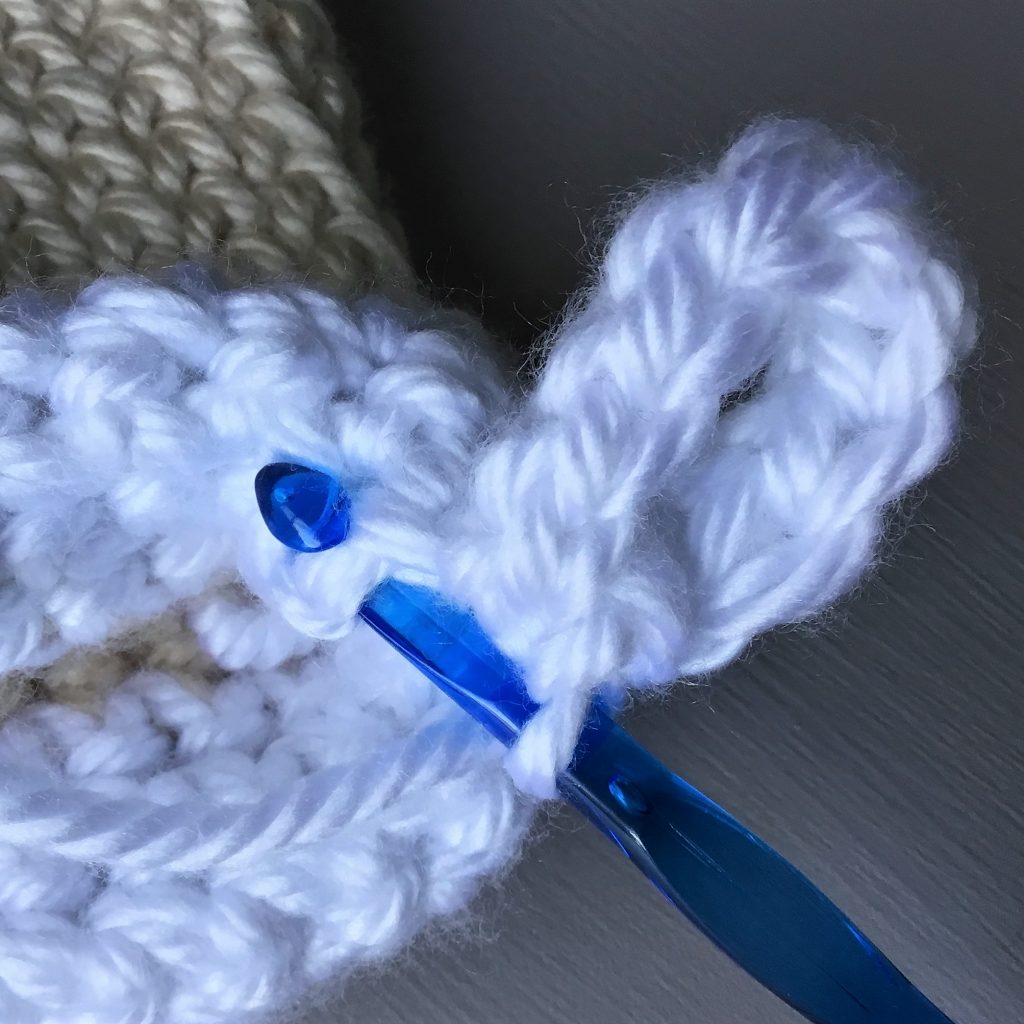
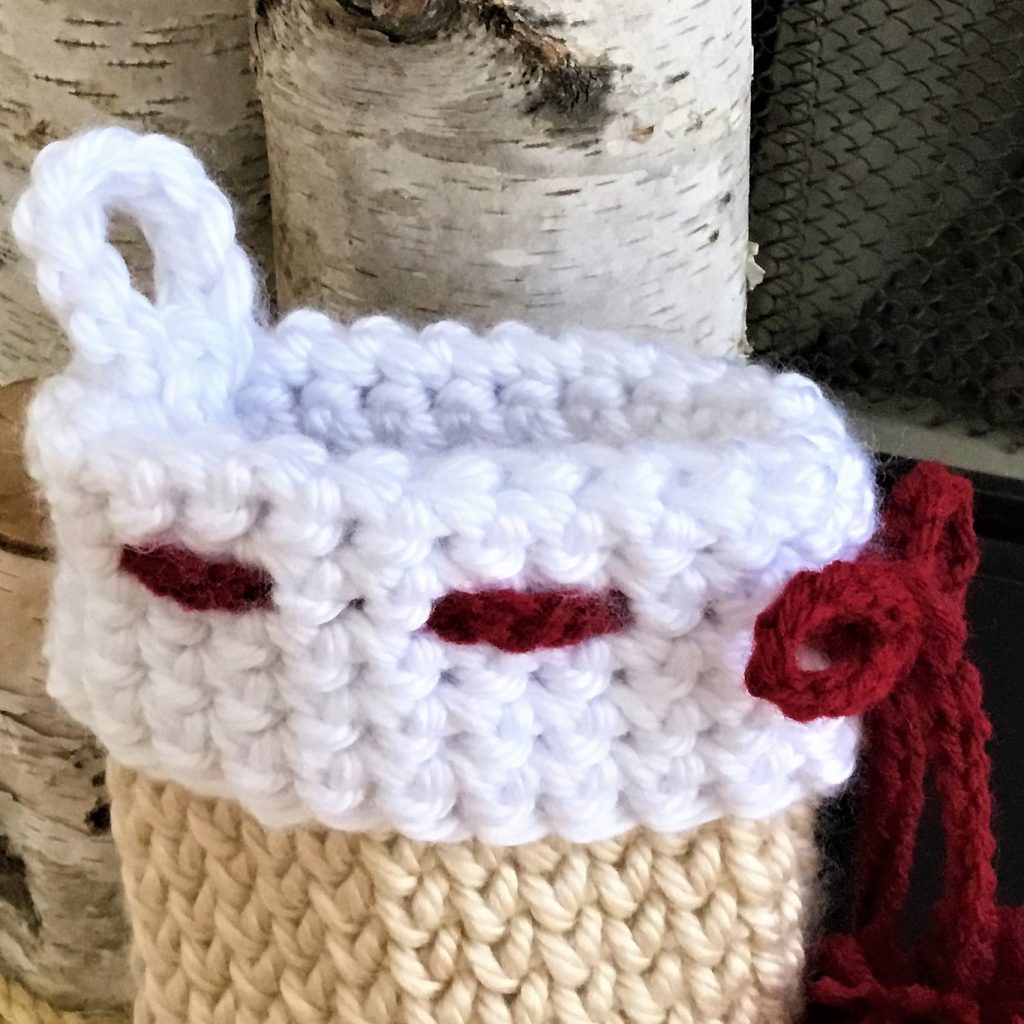
Attach white yarn to folded over cuff at back center. Ch 11, sl st in ea ch. Sl st to beginning ch on cuff. With yarn still on hook, join end of loop to cuff with sl st in same beginning ch. Tie off.
Ribbon:

Ch 100,
Pom Poms:
I used to make pom poms by winding yarn around my fingers. However, I found a video on YouTube that shows a much nicer end result. I have photos here showing how to do it, but if you prefer, please refer to
Using two toilet paper rolls, hold 1 strand of yarn between rolls. Holding rolls in one hand, wind yarn around approximately 130 times (not fewer than that or pom pom will be sparse). Cut yarn.
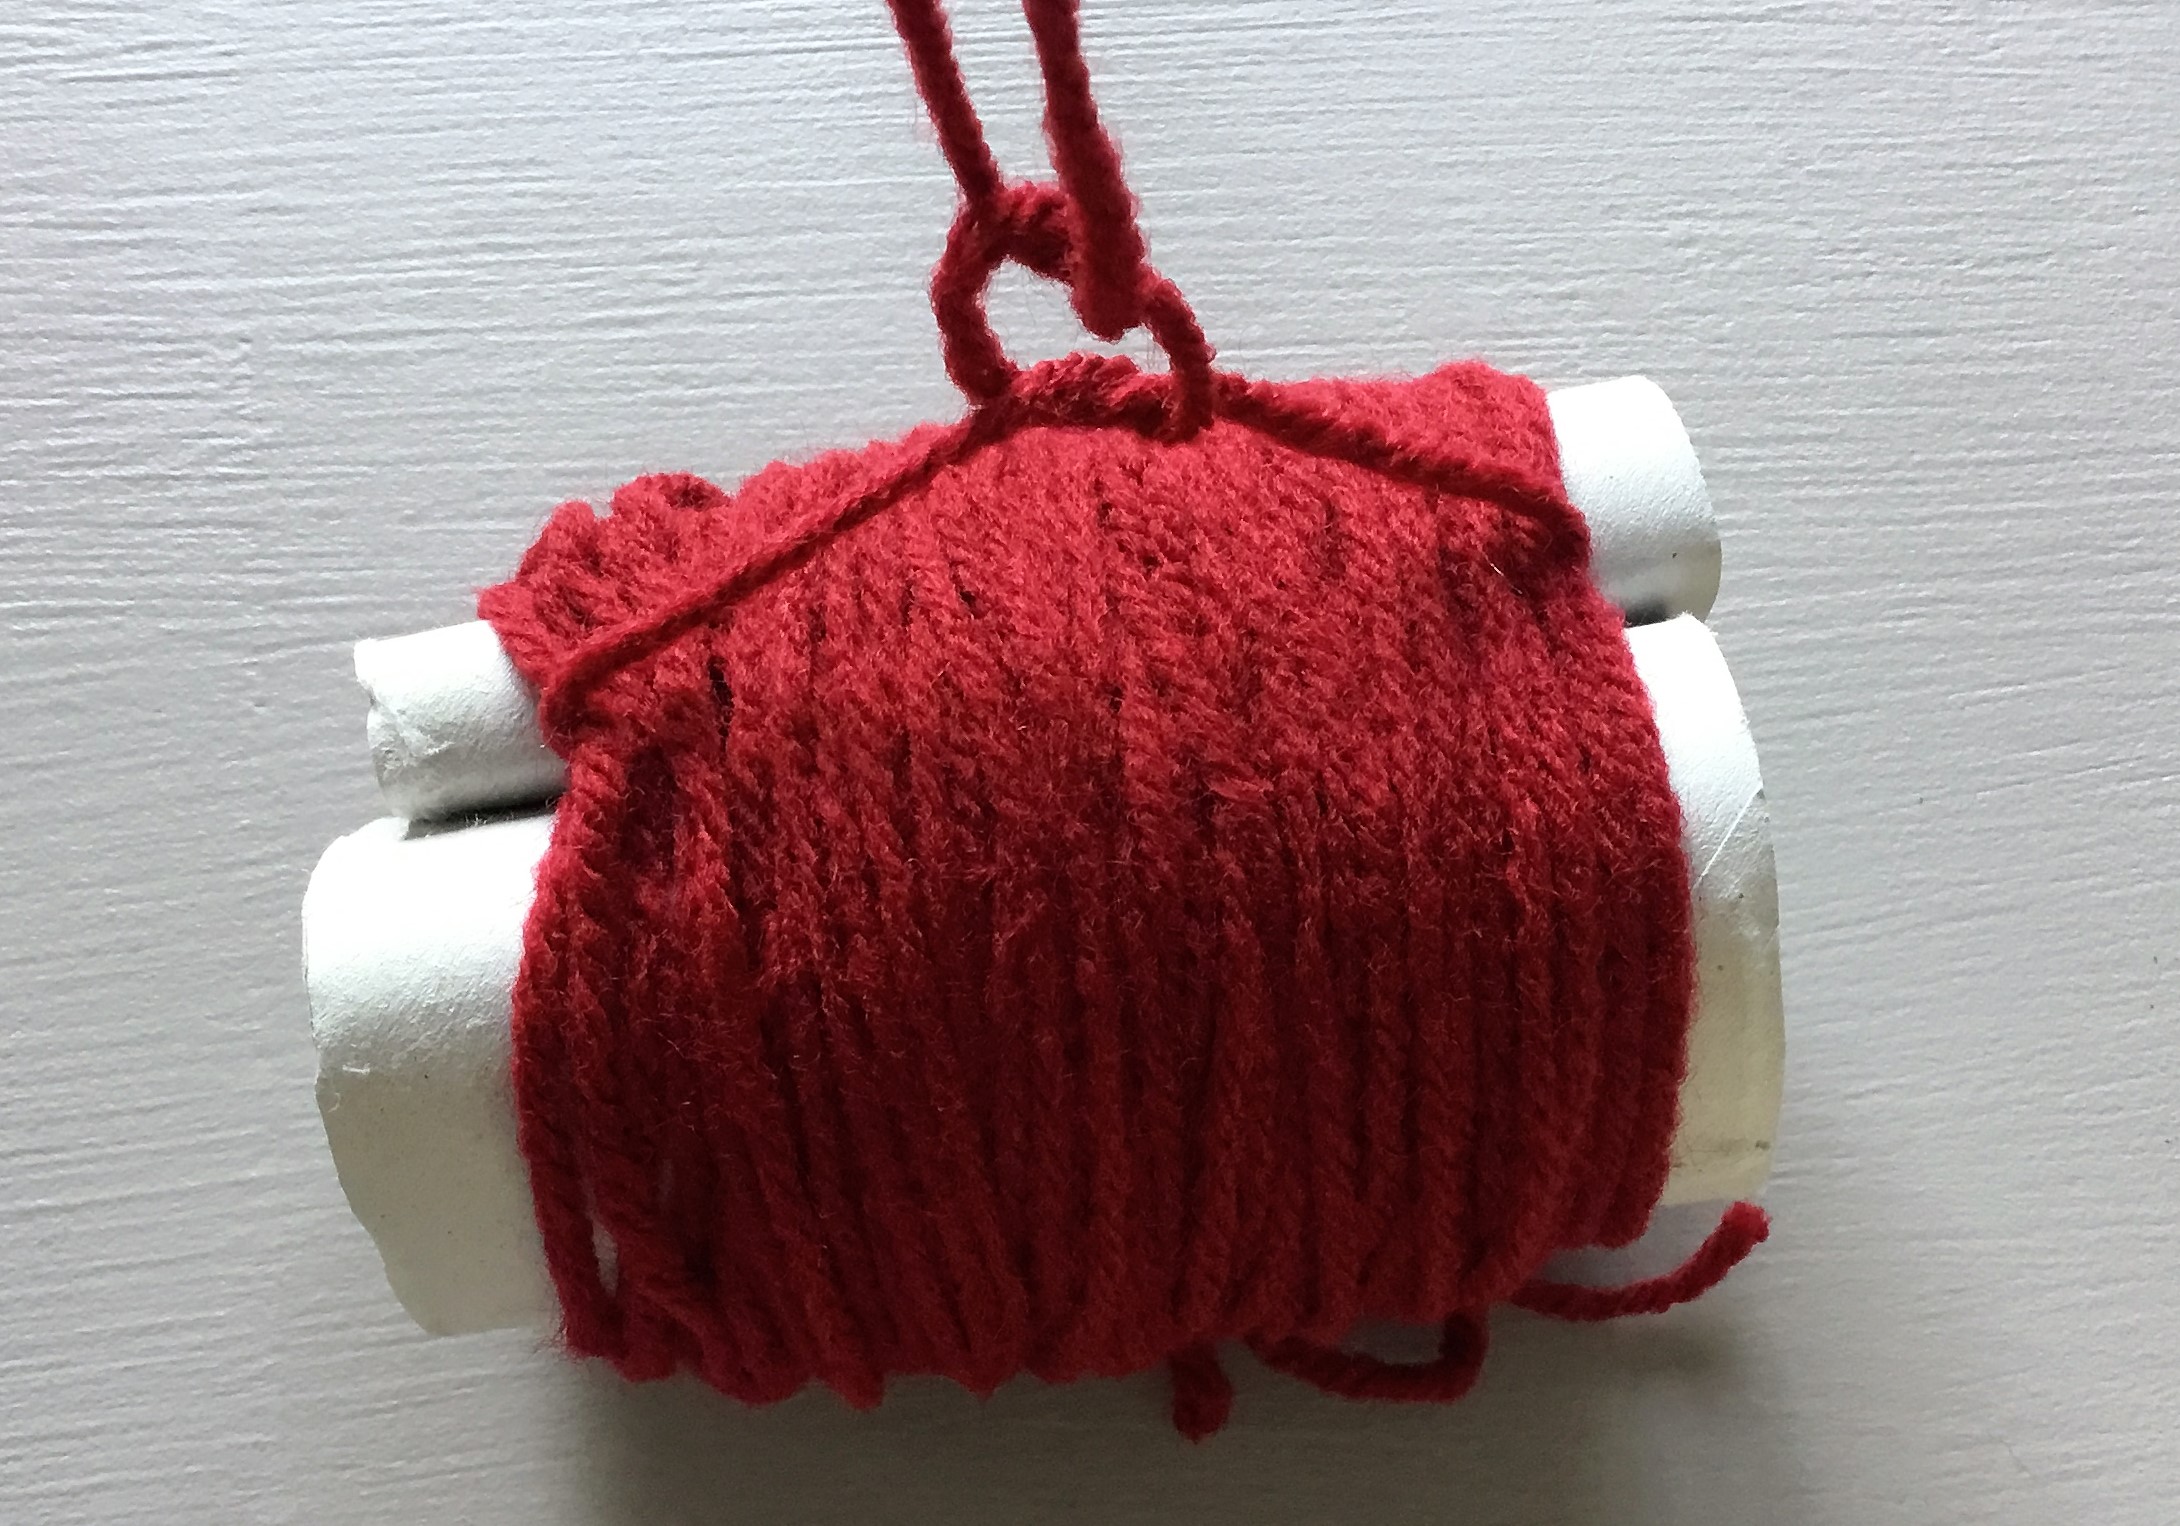
Take a 12” length of yarn and pull through, using hook, between the two rolls. Tie the strand in the center very tightly taking care not to break the strand.
Holding the yarn strands, remove the yarn from rolls. Tighten strand more without breaking. Holding the yarn from the bottom (tied section) cut loops.

Hold as shown and snip ends to about your thumb. You will be cutting off much more still. I suggest having a paper towel under the pom pom while you are cutting.
Cut two small circles from cardboard, aprox 2.5” in diameter. Cut small hole in center of one circle.

Holding pom, spread it open at the center. Insert both tails through small hole in cardboard circle. With strands as straight as possible, place a circle on each side making a pom pom sandwhich.
Cut excess yarn around the circle. Remove pom from circles. Flatten out laying it on its side.
Place between the two circles again, leaving the tails hanging to the side. Do NOT cut the tails. Snip around the circle again to even out the pom. Remove circles. Gently shake out the pom to open and fluff. Snip any stragglers as needed.
Repeat for 2nd pom pom.
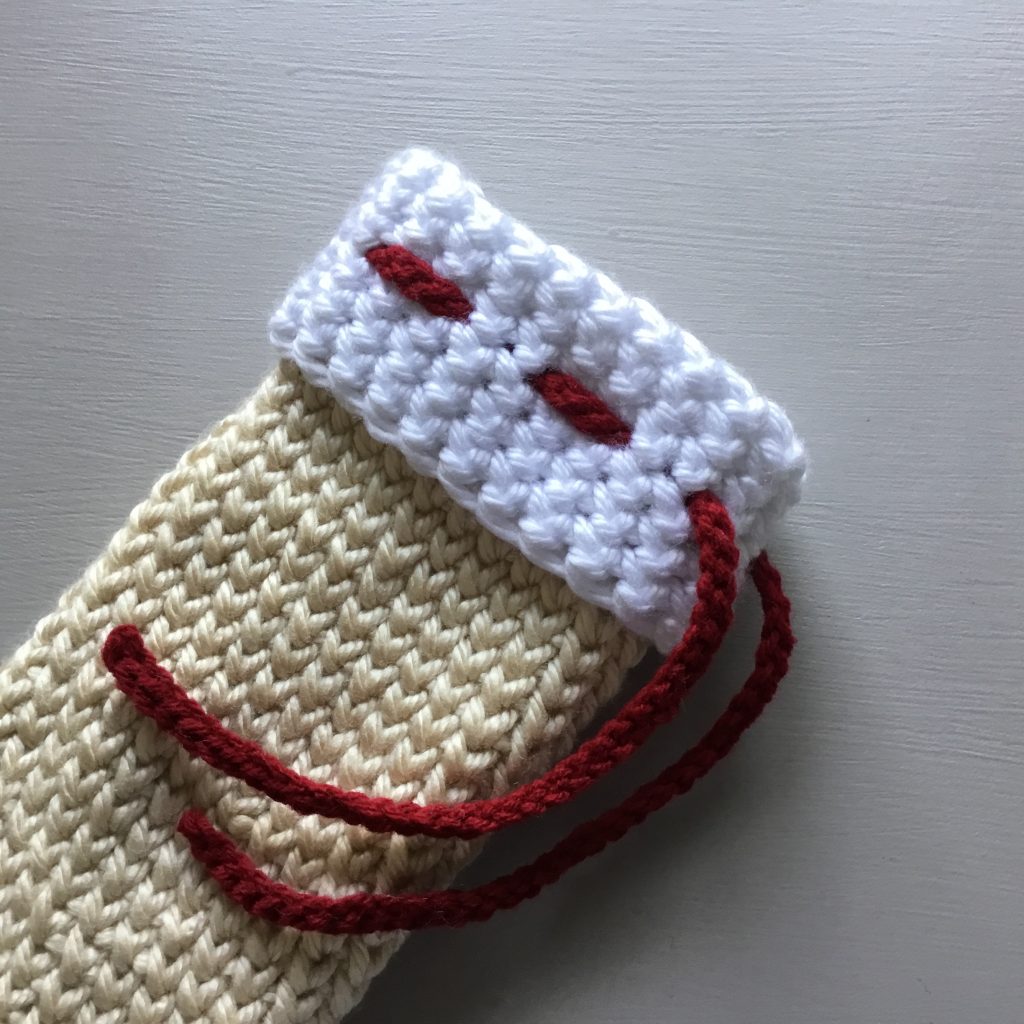
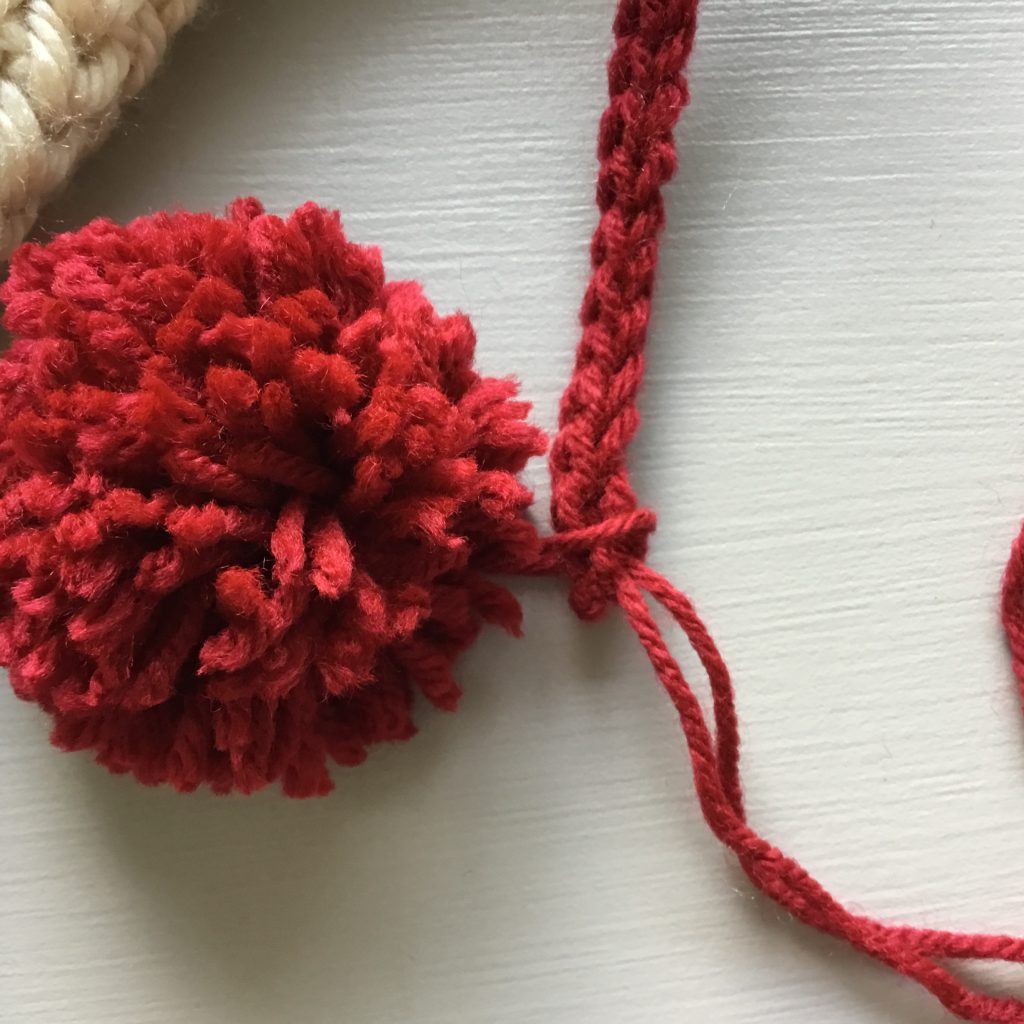
Attach to end of ribbon using the tails of the pom to tie.
Copyright © 2018 Crazy Cool Crochet. You may sell items made from my patterns. Please include a link or reference to my shop CrazyCoolCrochetUS.etsy.com . Pattern is copyright protected; it may not be reproduced, redistributed, or displayed publicly in any way.
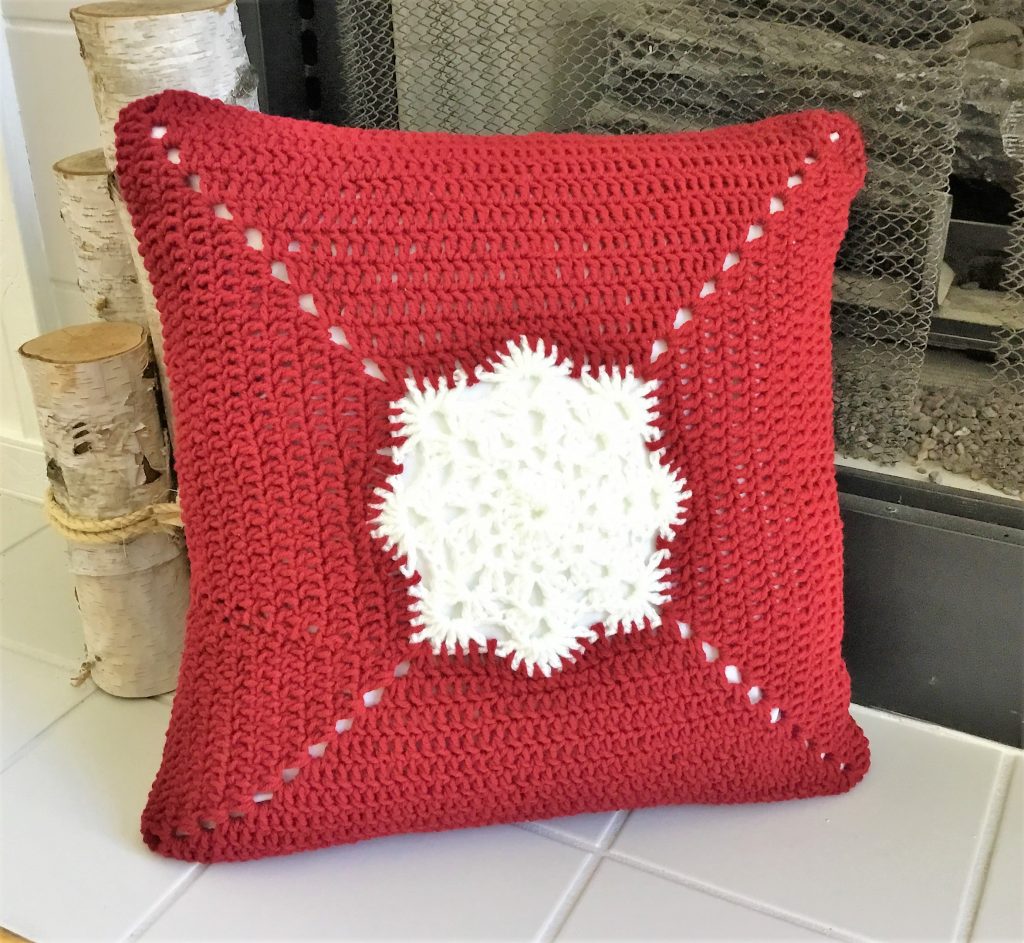
Add to your Christmas farmhouse decor with this lush Crochet Christmas Pillow



Question: I am using a fairly light weight yarn rather than a bulky one and I want the stocking to be a bit bigger than this. Can I double all the stitch counts in the pattern and have it come out properly?
Hi Julie,
I would really not recommend a light weight yarn. And doubling all the stitches would result in a pretty gigantic stocking. This pattern, as written, results in a pretty good size stocking using the super bulky yarn.
Using a lighter weight yarn won’t give the sturdiness that the bulky yarn gives you here. You can always try it your way and see what you end up with. Let me know how it turns out.
Thanks for visiting!
Sylvia
CrazyCoolCrochet.com
if I do a magic ring instead of the ch 5 and slip stitch how would that work
Hi Ruth,
Sure, you can use the magic ring instead of the ch 5. Then proceed with the pattern.
Thanks for visiting!
Sylvia
CrazyCoolCrochet.com