Super Soft Crochet Sweater
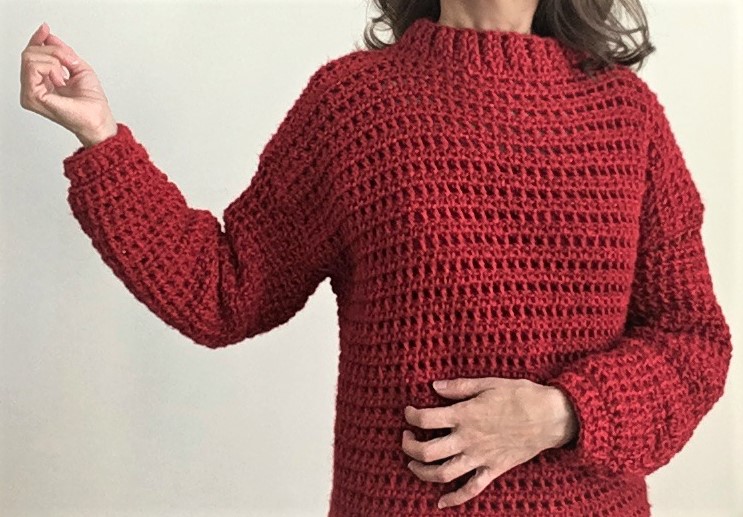
FREE PATTERN and VIDEO TUTORIAL below! Please also check out the other free patterns here on CrazyCoolCrochet.com or view more at my Etsy shop: CrazyCoolCrochetUS.etsy.com
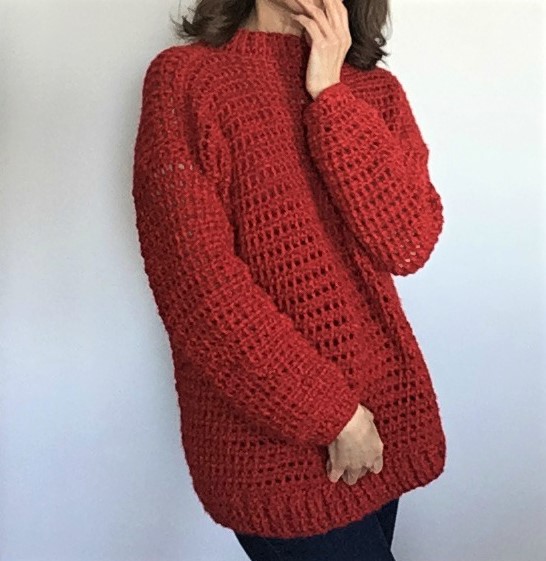
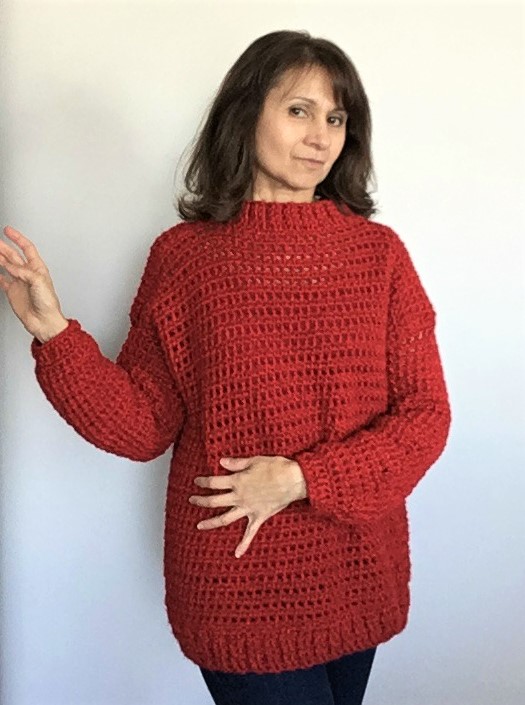
This pattern is quite long and it might be easier to work from the PDF pattern that you can find at my Etsy shop: CrazyCoolCrochetUS
This is the free version below. The Etsy pattern contains the specific materials list, gauge, dimensions, instructions for larger sizes and more photos (and no ads). It takes quite a lot of effort and time to design and create the pattern. This website and my patterns are my only source of income. Your support is truly appreciated!
Video Tutorial for your convenience. You’re welcome. 🙂 It had to be done in 3 parts (sorry ’bout that). Follow the first video to the next two. PLEASE SUBSCRIBE! I cannot monetize Youtube videos until I reach 1000 subscribers (!!!). Thankyouverymuch 🙂
This fits a roomy size Small.
Front and Back main panels:
Work two identical panels. No increases or decreases. Stitch same number of stitches for all rows.
This post contains affiliate links, which means I will make a commission at no extra cost to you should you click through and make a purchase.
4 skeins Lion Brand Heartland color Redwood. Purchase here:
Ch 87
Row 1: sc in 2nd ch from hook, ch 1, sk one ch, sc in next ch. Repeat from * to * to last two ch’s. Sc in ea of last two ch’s. Ch 2. Turn
Row 2: hdc in middle of 1st sc below, ch 1, hdc in middle of next sc. Repeat from * to * to last sc. Ch 1, sk last sc, hdc in turning ch. Ch 1. Turn (44 hdc’s)
Row 3: Sc in 1st sp below, ch 1, sc in next sp. Repeat from * to * to last sp. Do not ch, sc in last sp, sc in turning ch. Ch 2. Turn
Repeat rows 2 and 3 for total of 55 rows (27 hdc rows), ending with sc row.
Bottom Ribbing:
Row 1: Attach yarn with a sl st to right side of one panel in 2nd st from right corner. Ch 3. Work 66 dc’s evenly spaced to last two st’s. DC in 2nd to last st. Ch 3. Turn.
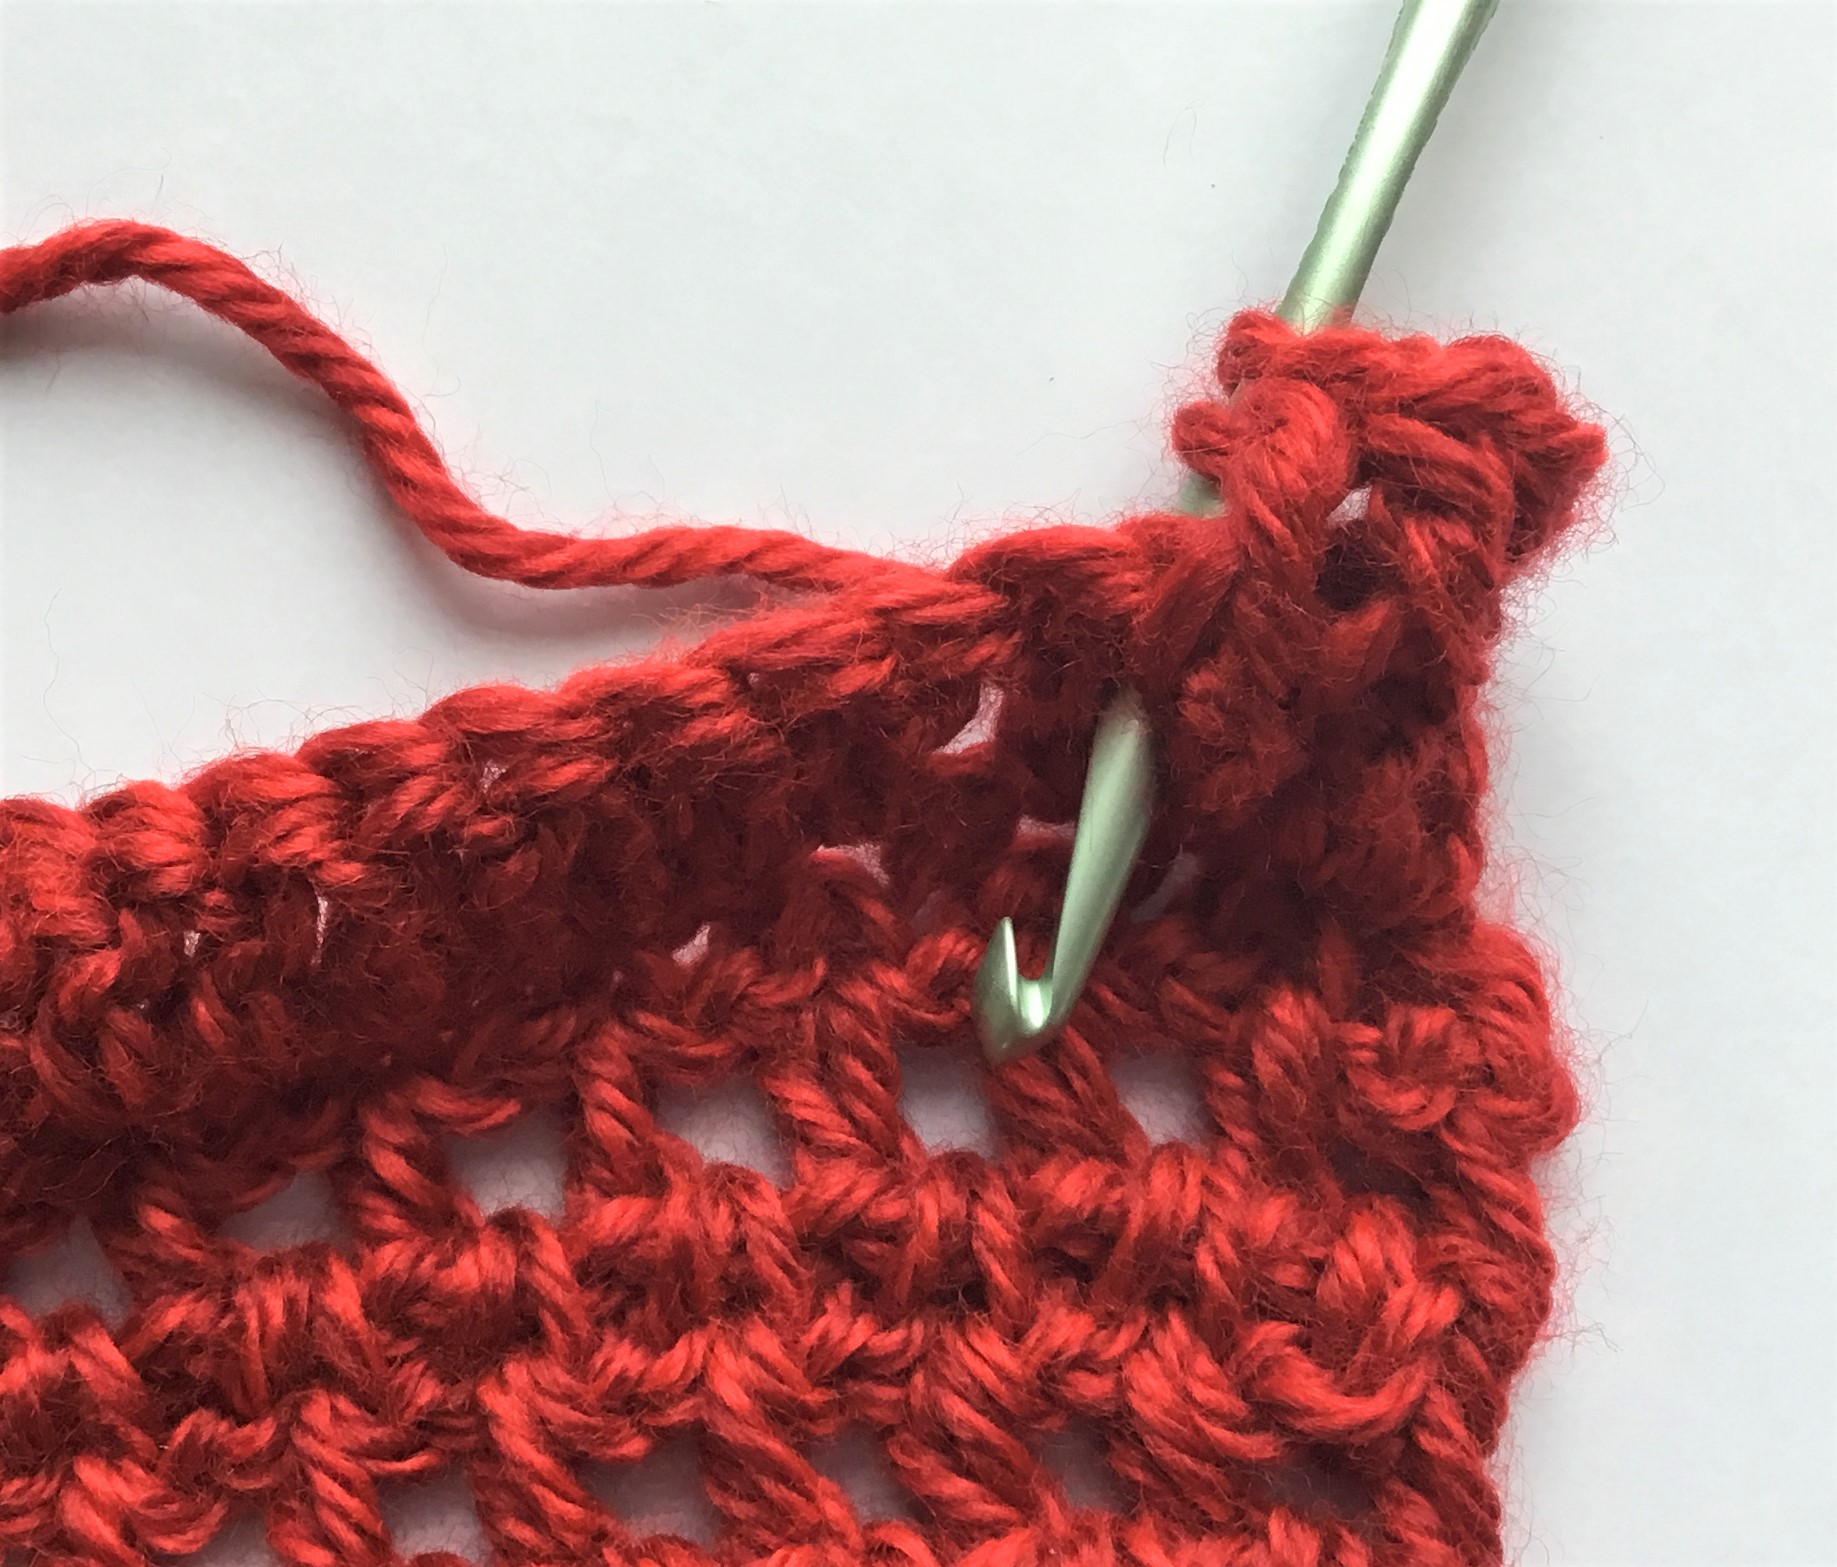
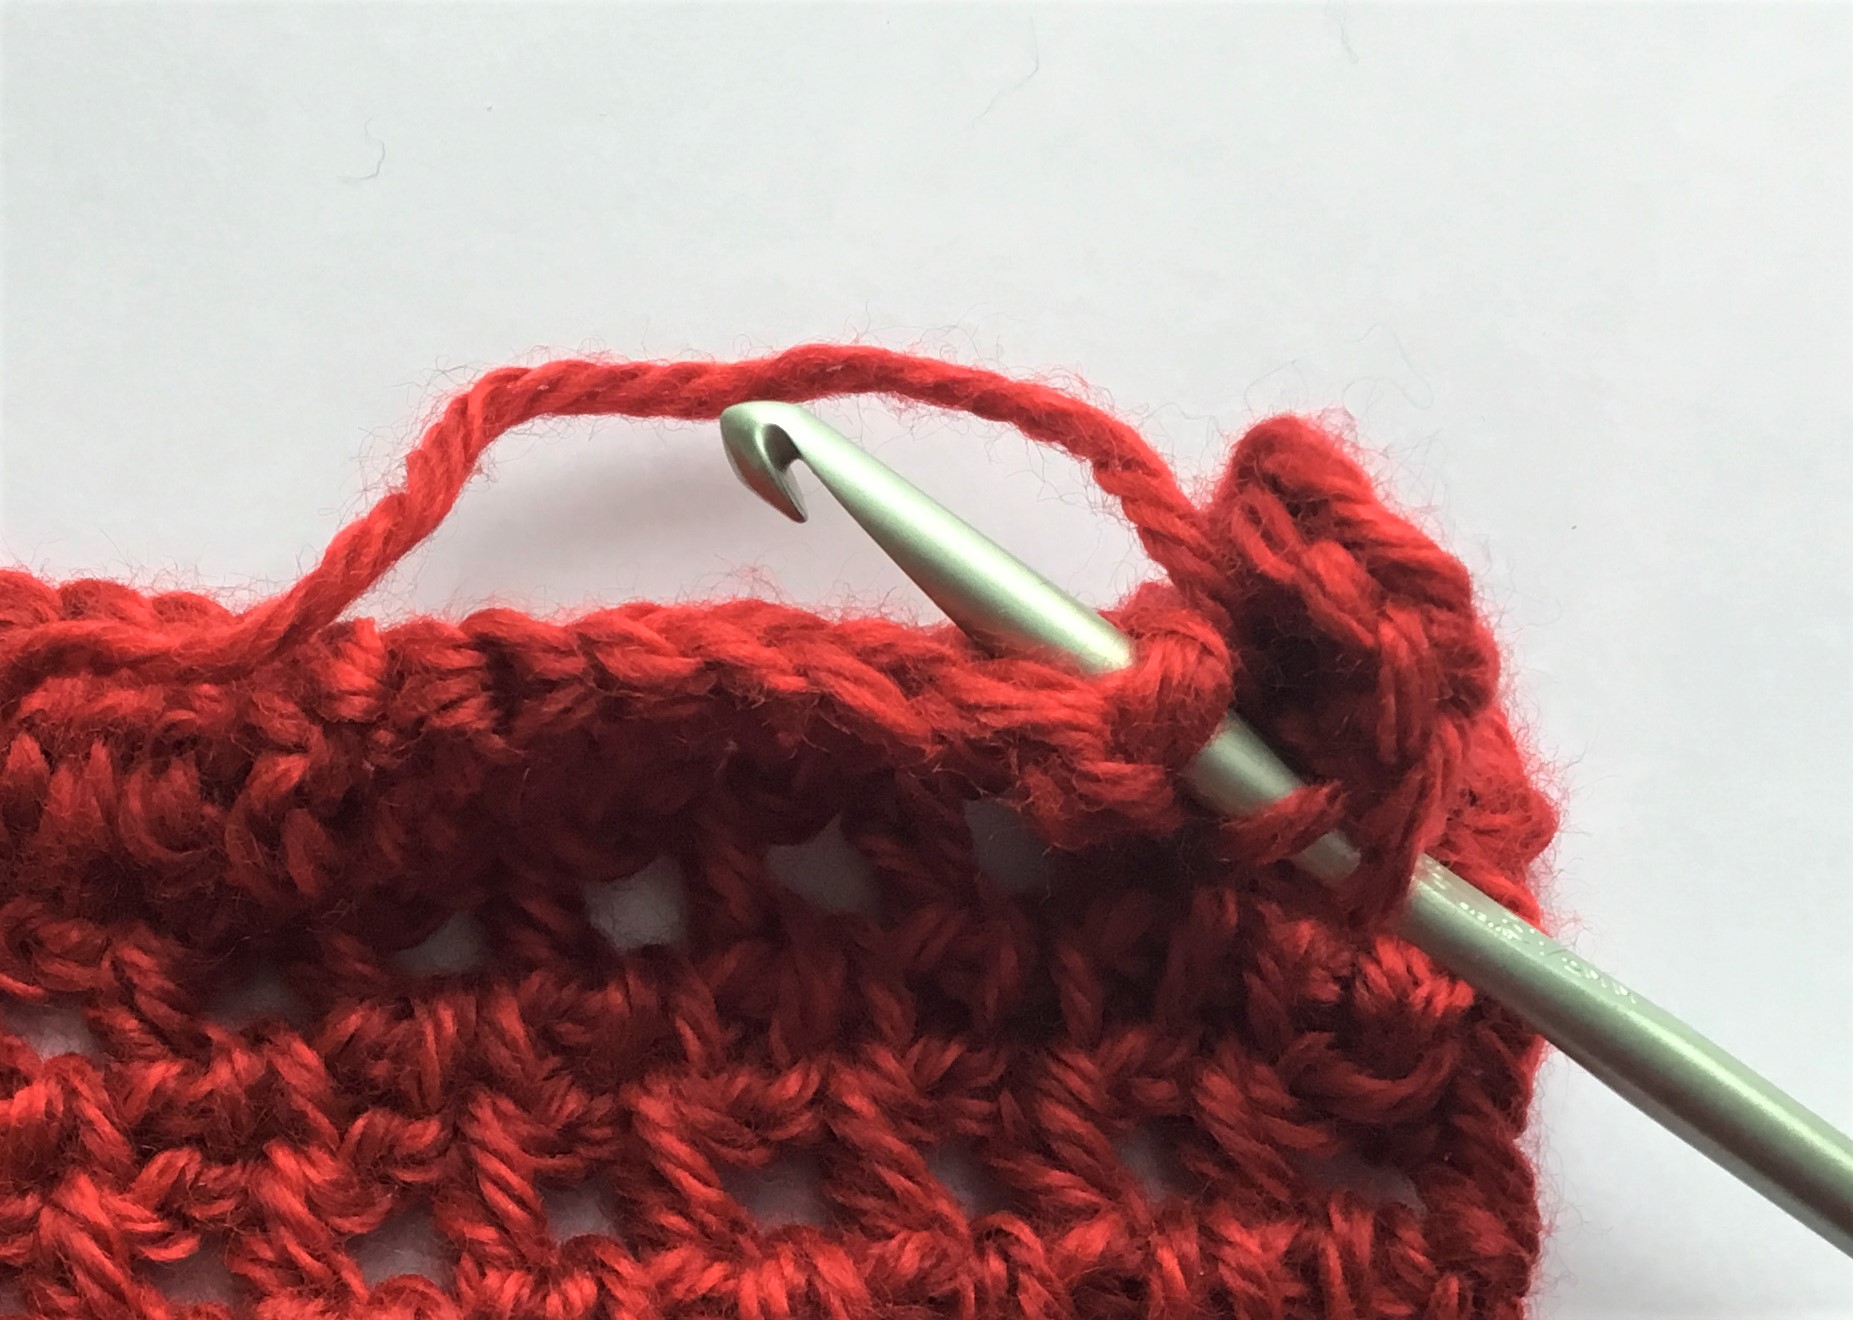
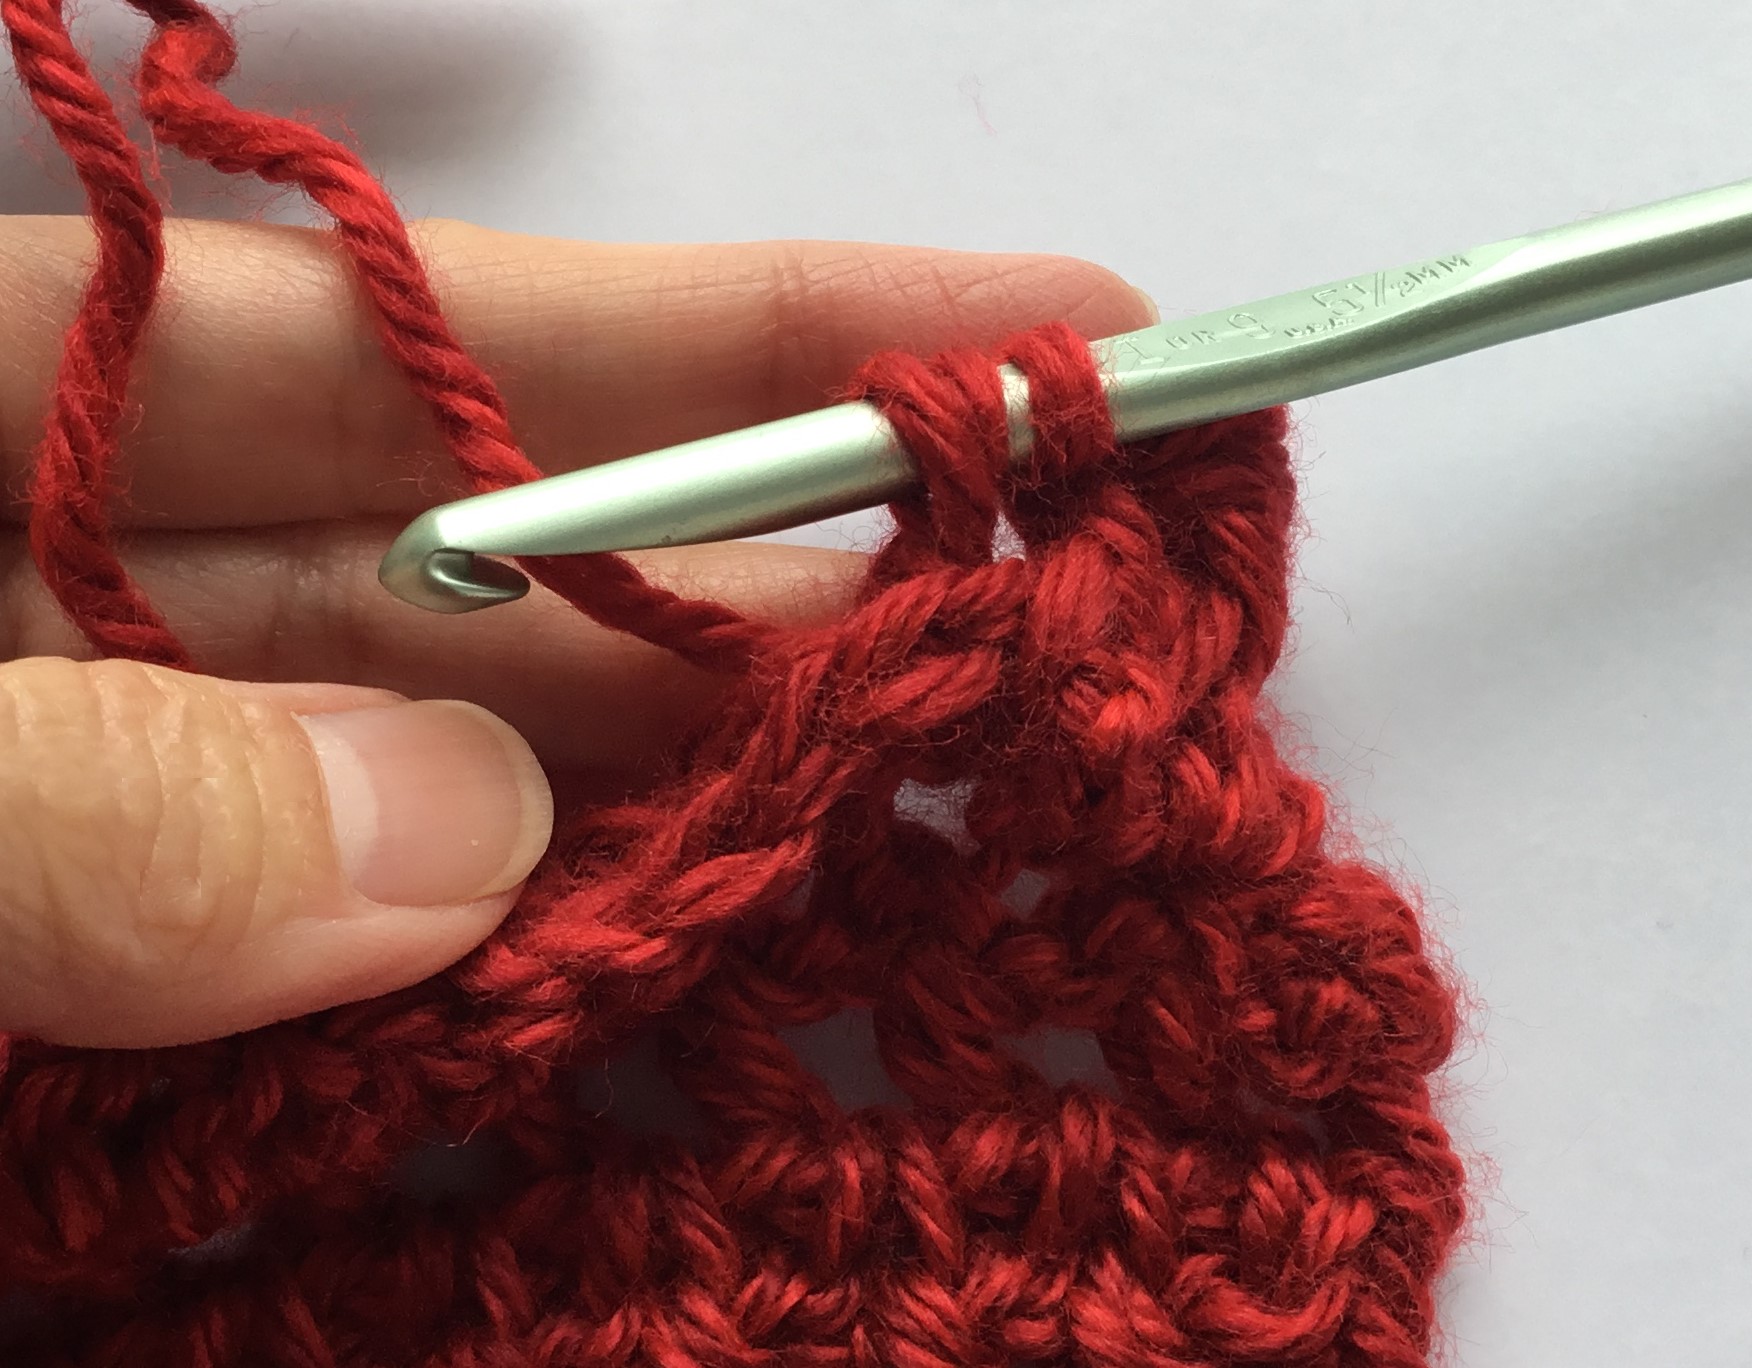
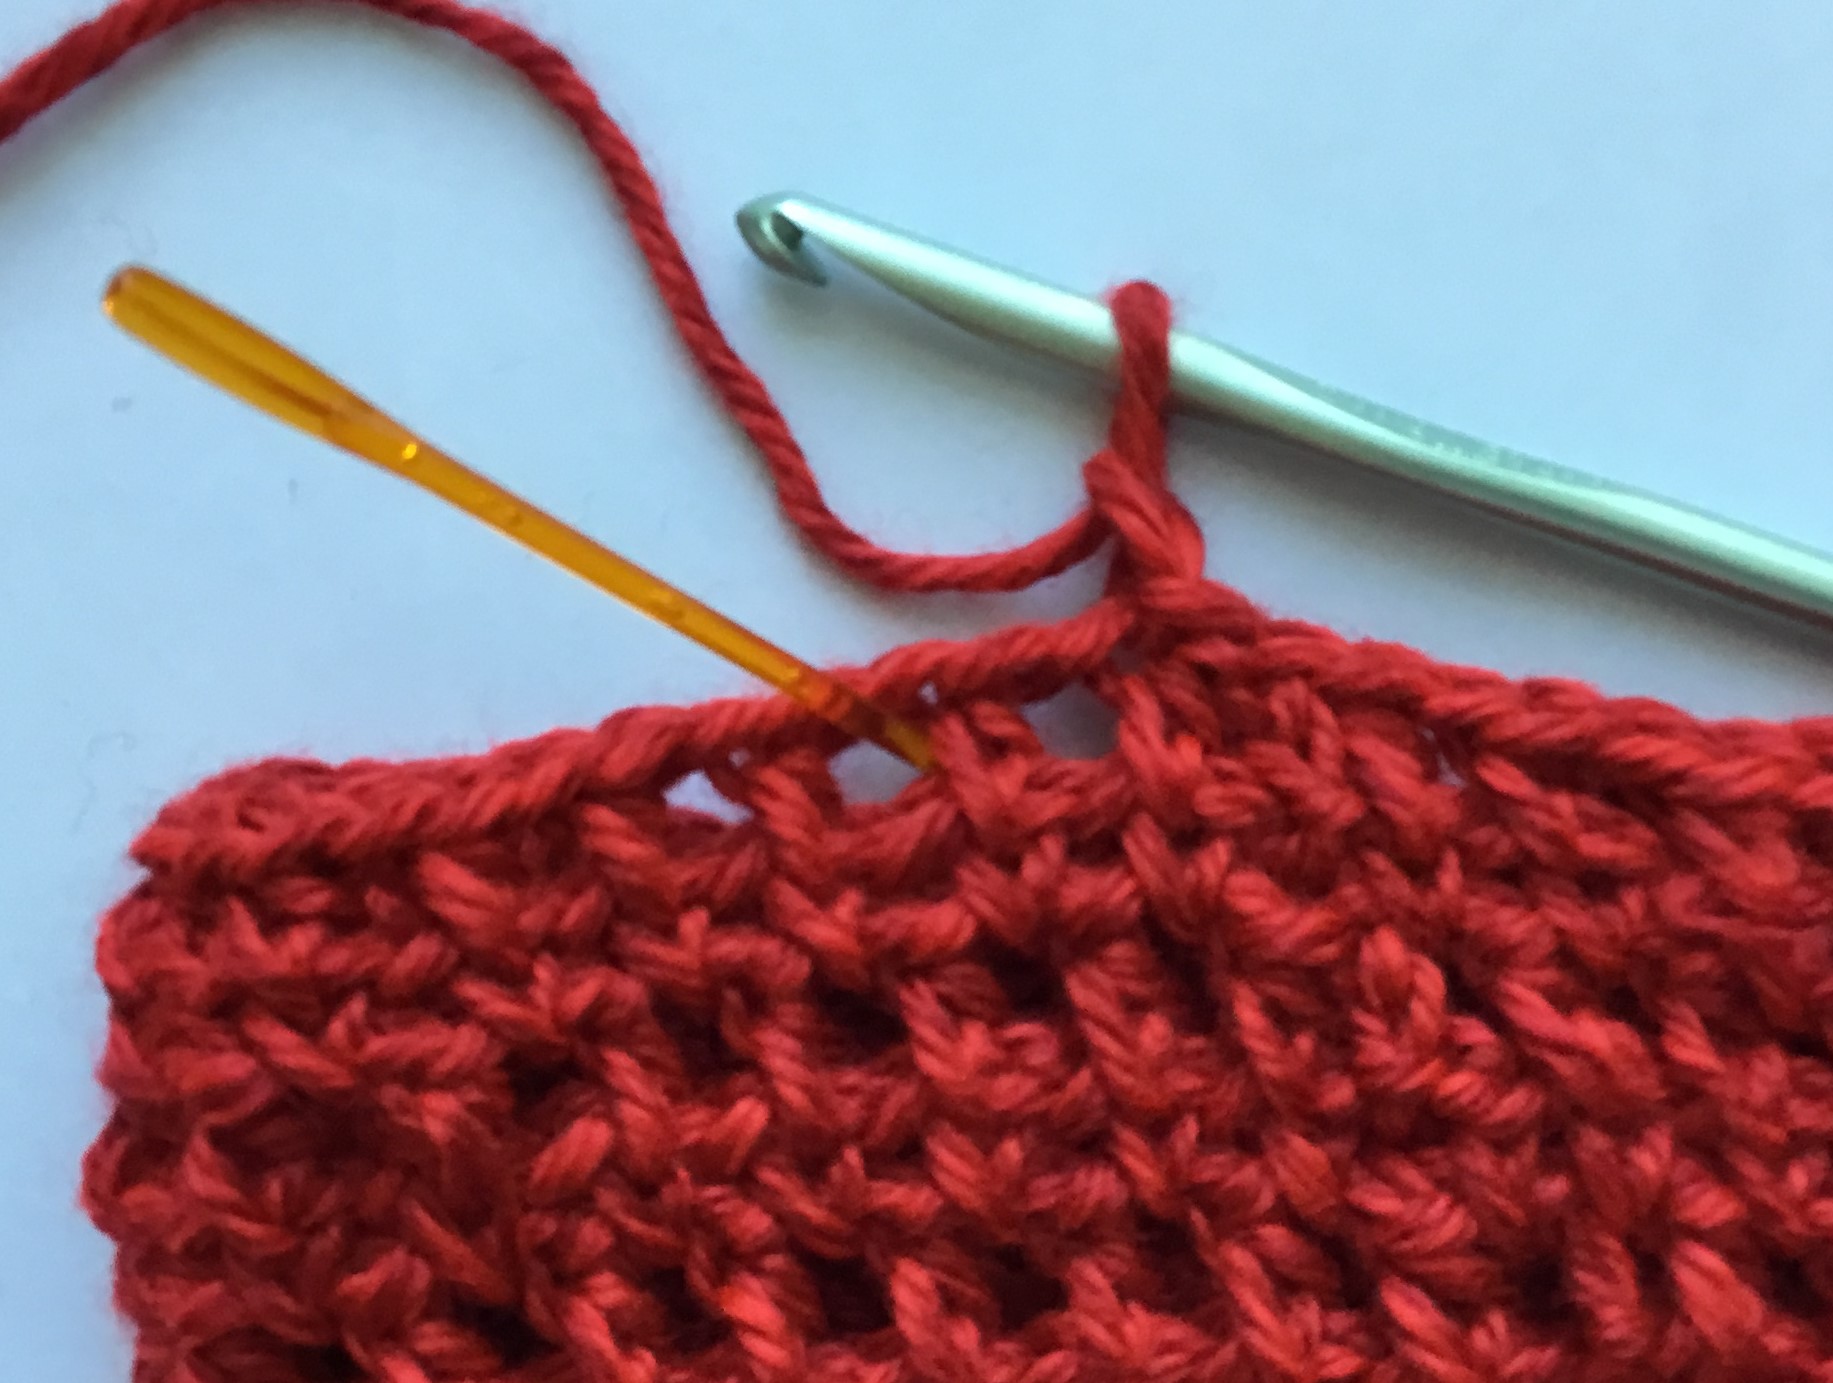
TIP: Front Post Double Crochet = fpdc (see photos above) YO for a dc, insert hook from front to back, around back of dc post below, yo and complete dc as usual.
Back Post Double Crochet = bpdc (see photos above) YO for a dc, insert hook from back to front, around front of dc post below, yo and complete dc in back of work.
Row 2: dc in 1st dc below; fpdc in next 2 dc; bpdc in next dc ; repeat from * to * to last 3 dc, fpdc in next 2 dc; dc in turning ch. Ch 3. Turn
Row 3: dc in 1st dc; bpdc in next 2; fpdc in next st; repeat from * to * to last 3 st. bpdc in next 2 st; dc in turning ch. Ch 3. Turn
Row 4: Repeat row 2
Row 5: Repeat row 3. Tie off
Attach Panels:
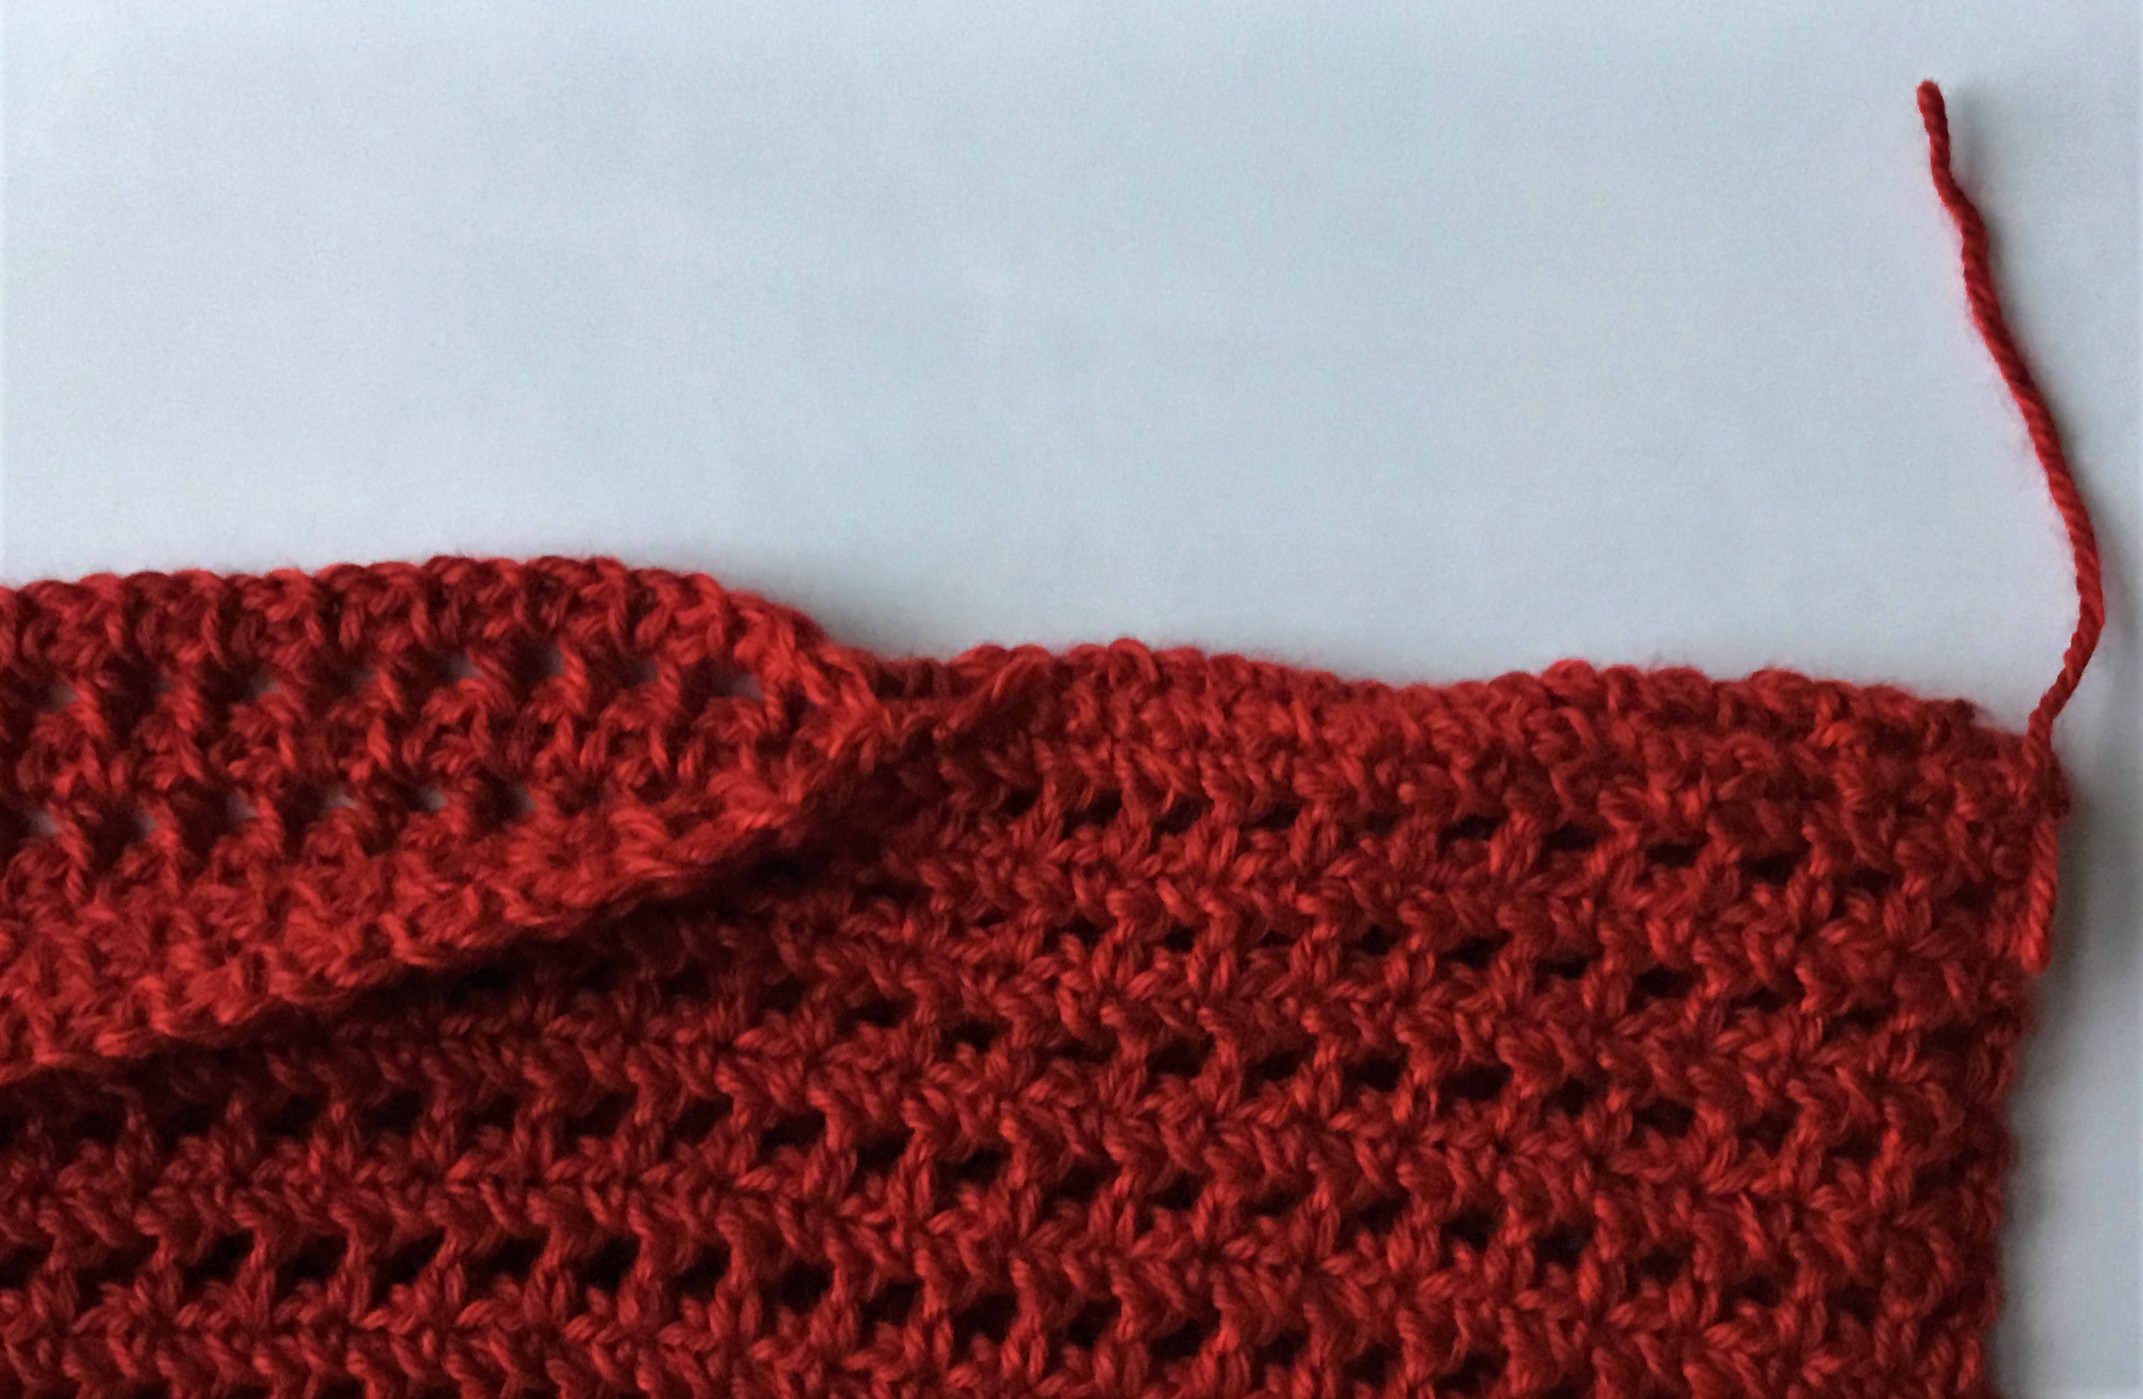
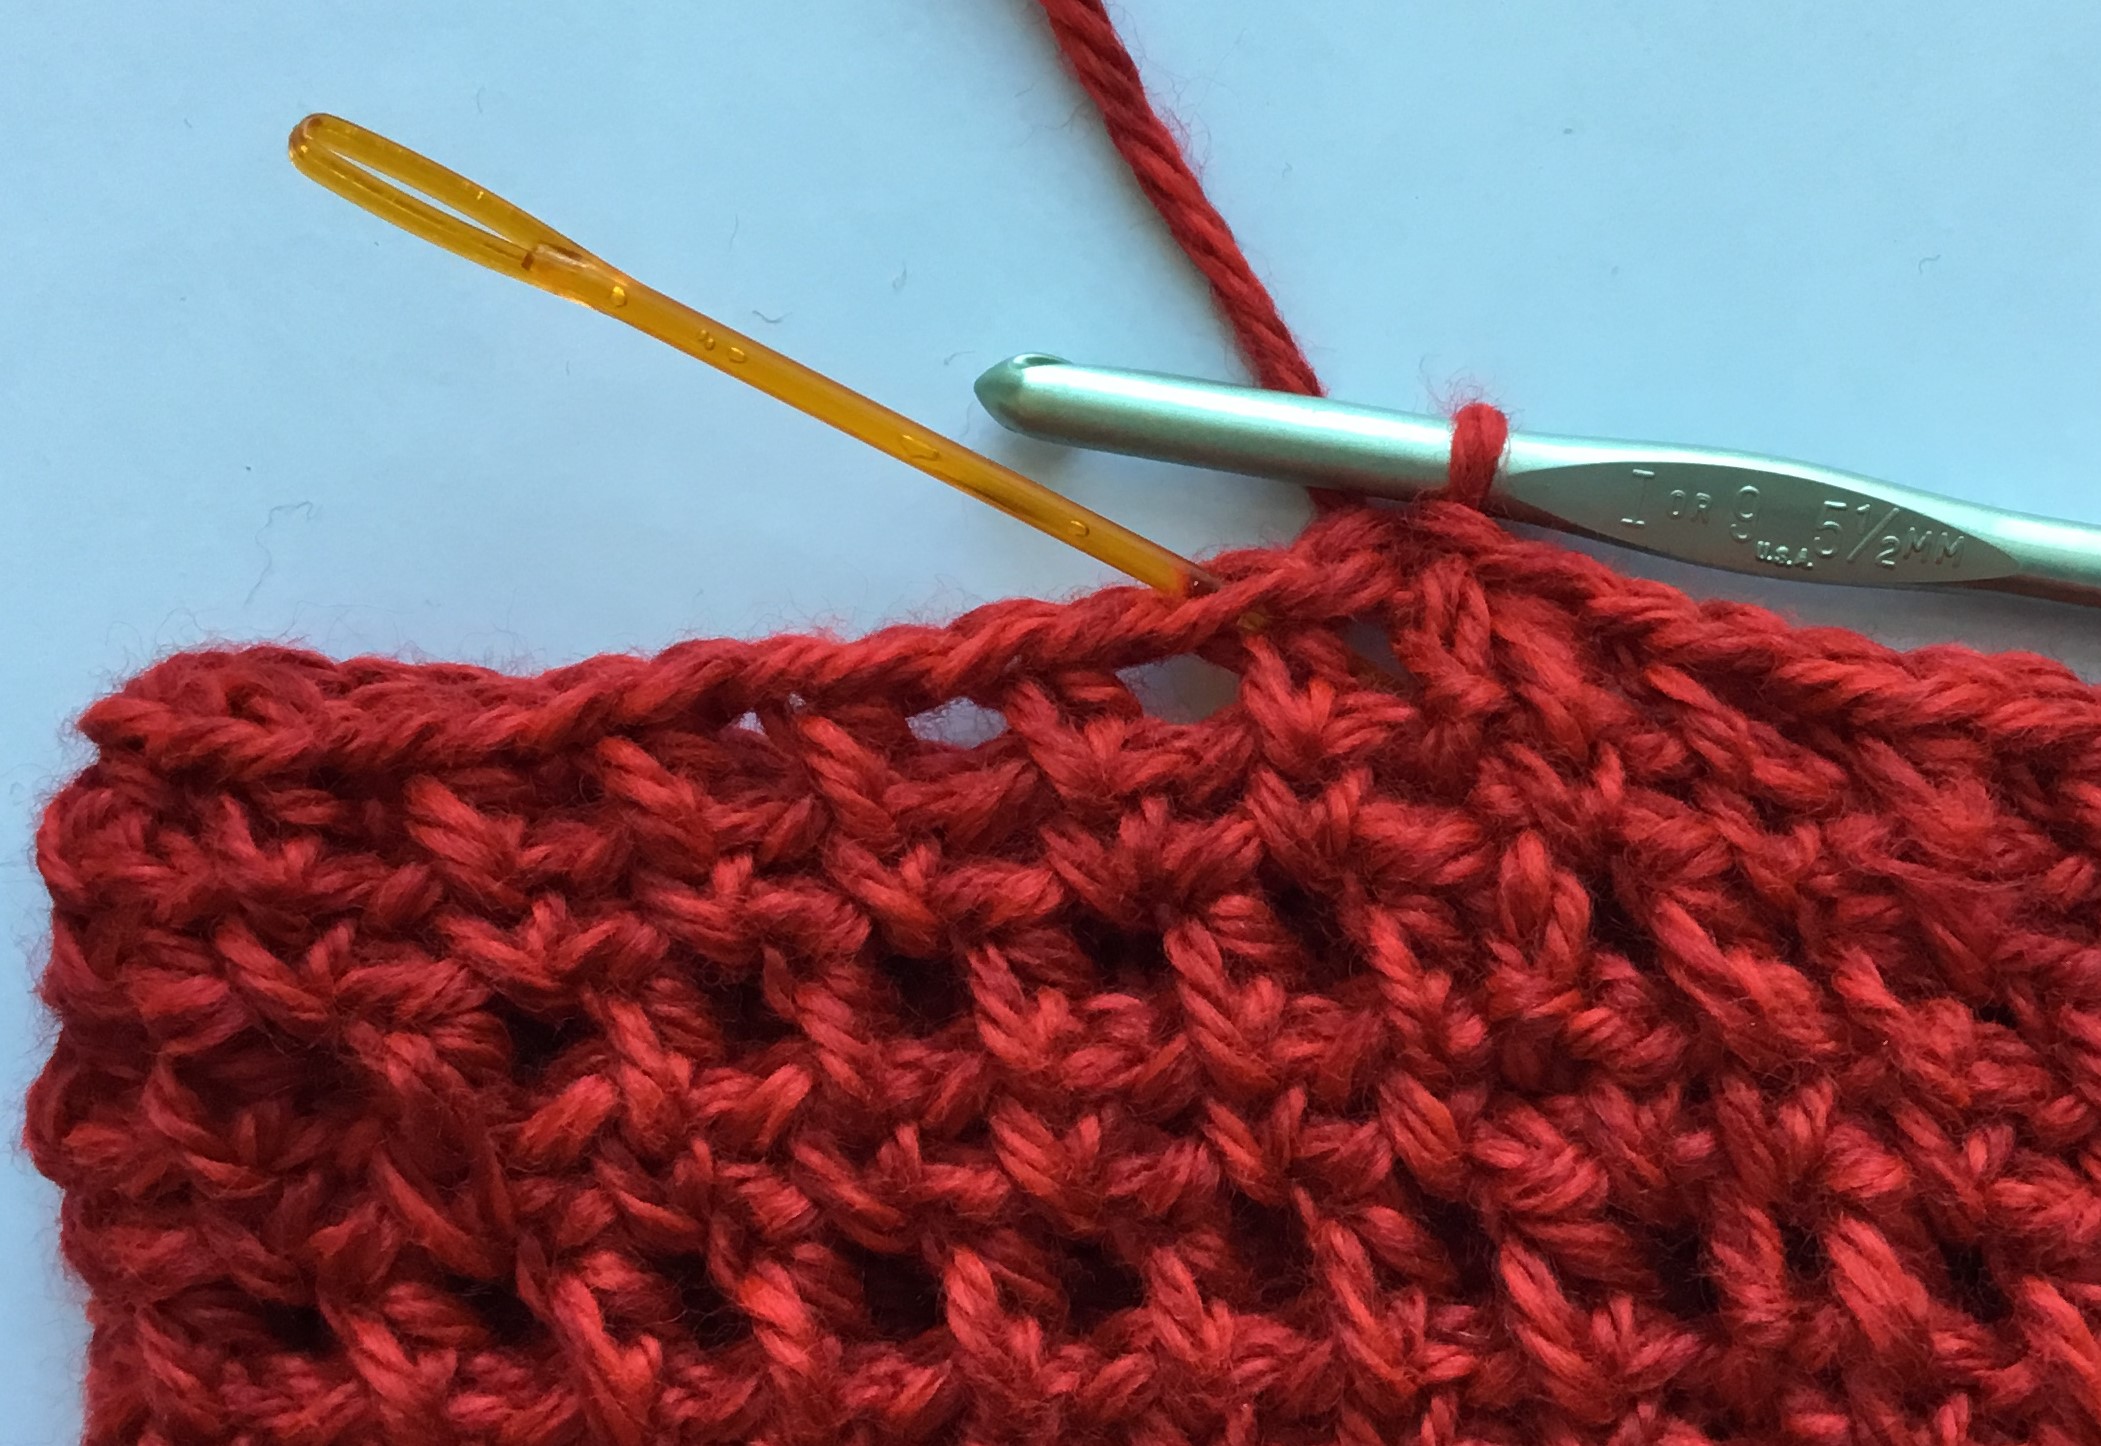
Photo above. Turn panels right sides together. Attach at shoulders with yarn needle with slip st for aprox 7” from edge working toward center.
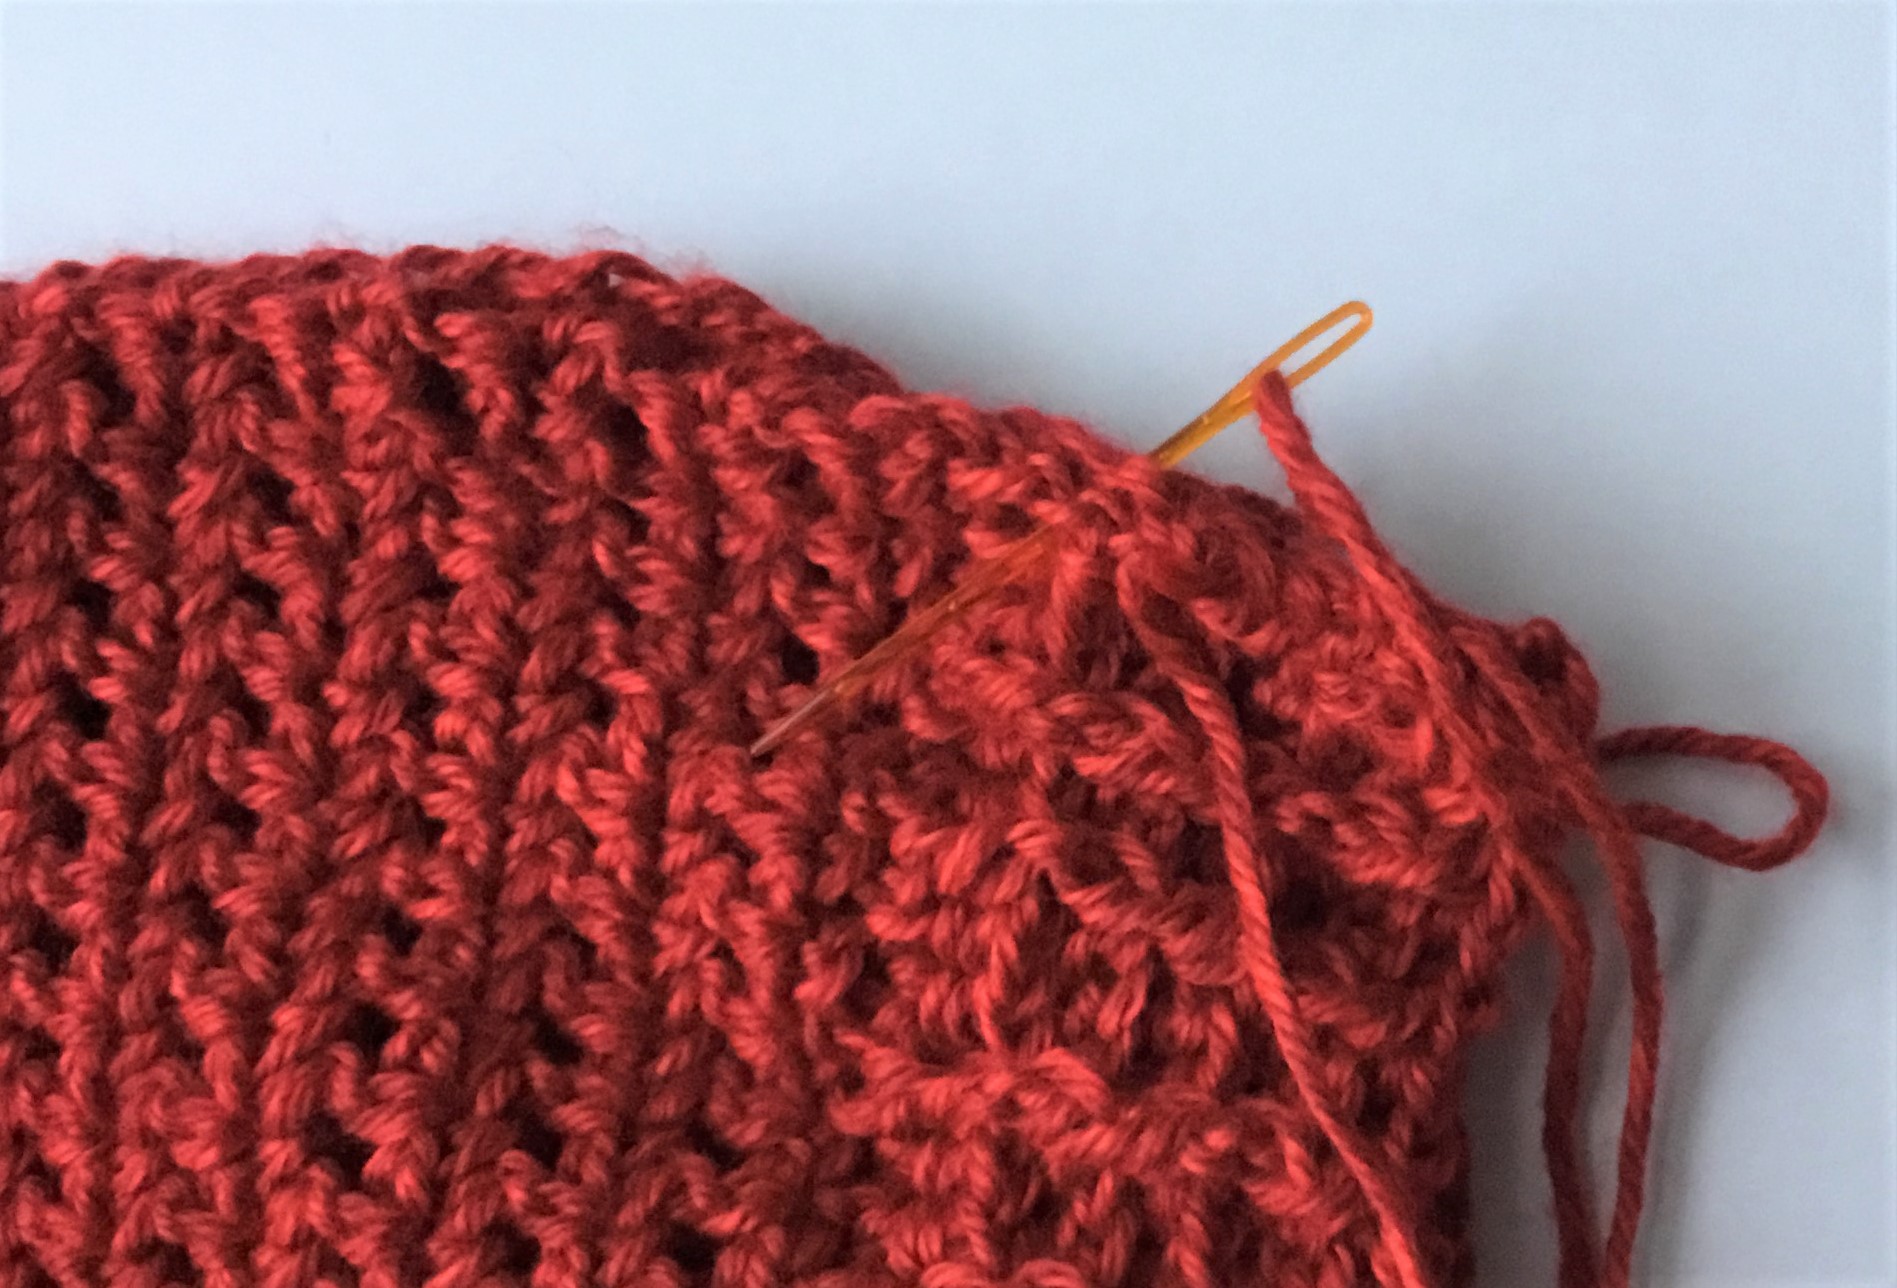
Attach panels at sides with yarn needle using sl st’s, ending 9” below shoulder to form arm/sleeve hole.
Neck Ribbing:
Turn work right side out.
Attach yarn to neck with sl st. Ch 3
Row 1: dc in next sp and ea sp around neck. Sl st to starting ch to join. 60 dc total
Row 2: ch 3; fpdc around 1st two dc’s; bpdc around next dc ; repeat from * to * to last dc; bpdc in last dc; join with sl st to ch 3.
Row 3: fpdc around 1st fpdc below; fpdc around 2nd; bpdc around bpdc below; repeat for pattern to end of row (working fpdc around fpdc and bpdc around bpdc). Join with sl st in top of beginning ch 3.
Row 4: repeat row 3. Join. Tie off.
Sleeves:
Photo above. Working right side out, insert hook at sleeve hole bottom opening at seam.
Row 1: sl st to join yarn, sc in same st, sc evenly spaced around for 46 sc’s. sl st to join at beginning ch.
Row 2: ch 3; hdc in 1st sc below (working IN the sc, not in sp next to sc), ch 1; hdc in next sc below, ch 1. Repeat from * to * across row. Join with sl st at top of starting ch 3. 28 hdc total Sl st to join beg ch 3.
Row 3: ch 1; sc in 1st sp, ch 1, sc in next sp, ch 1. Repeat from * to * across row. Join to starting ch 1.
Row 4: ch 2; hdc in 1st sc below, ch 1; hdc in next sc, ch 1. Repeat from * to * across row. Join to starting ch.
Row 5 – 14: repeat rows 3 and 4 for pattern.
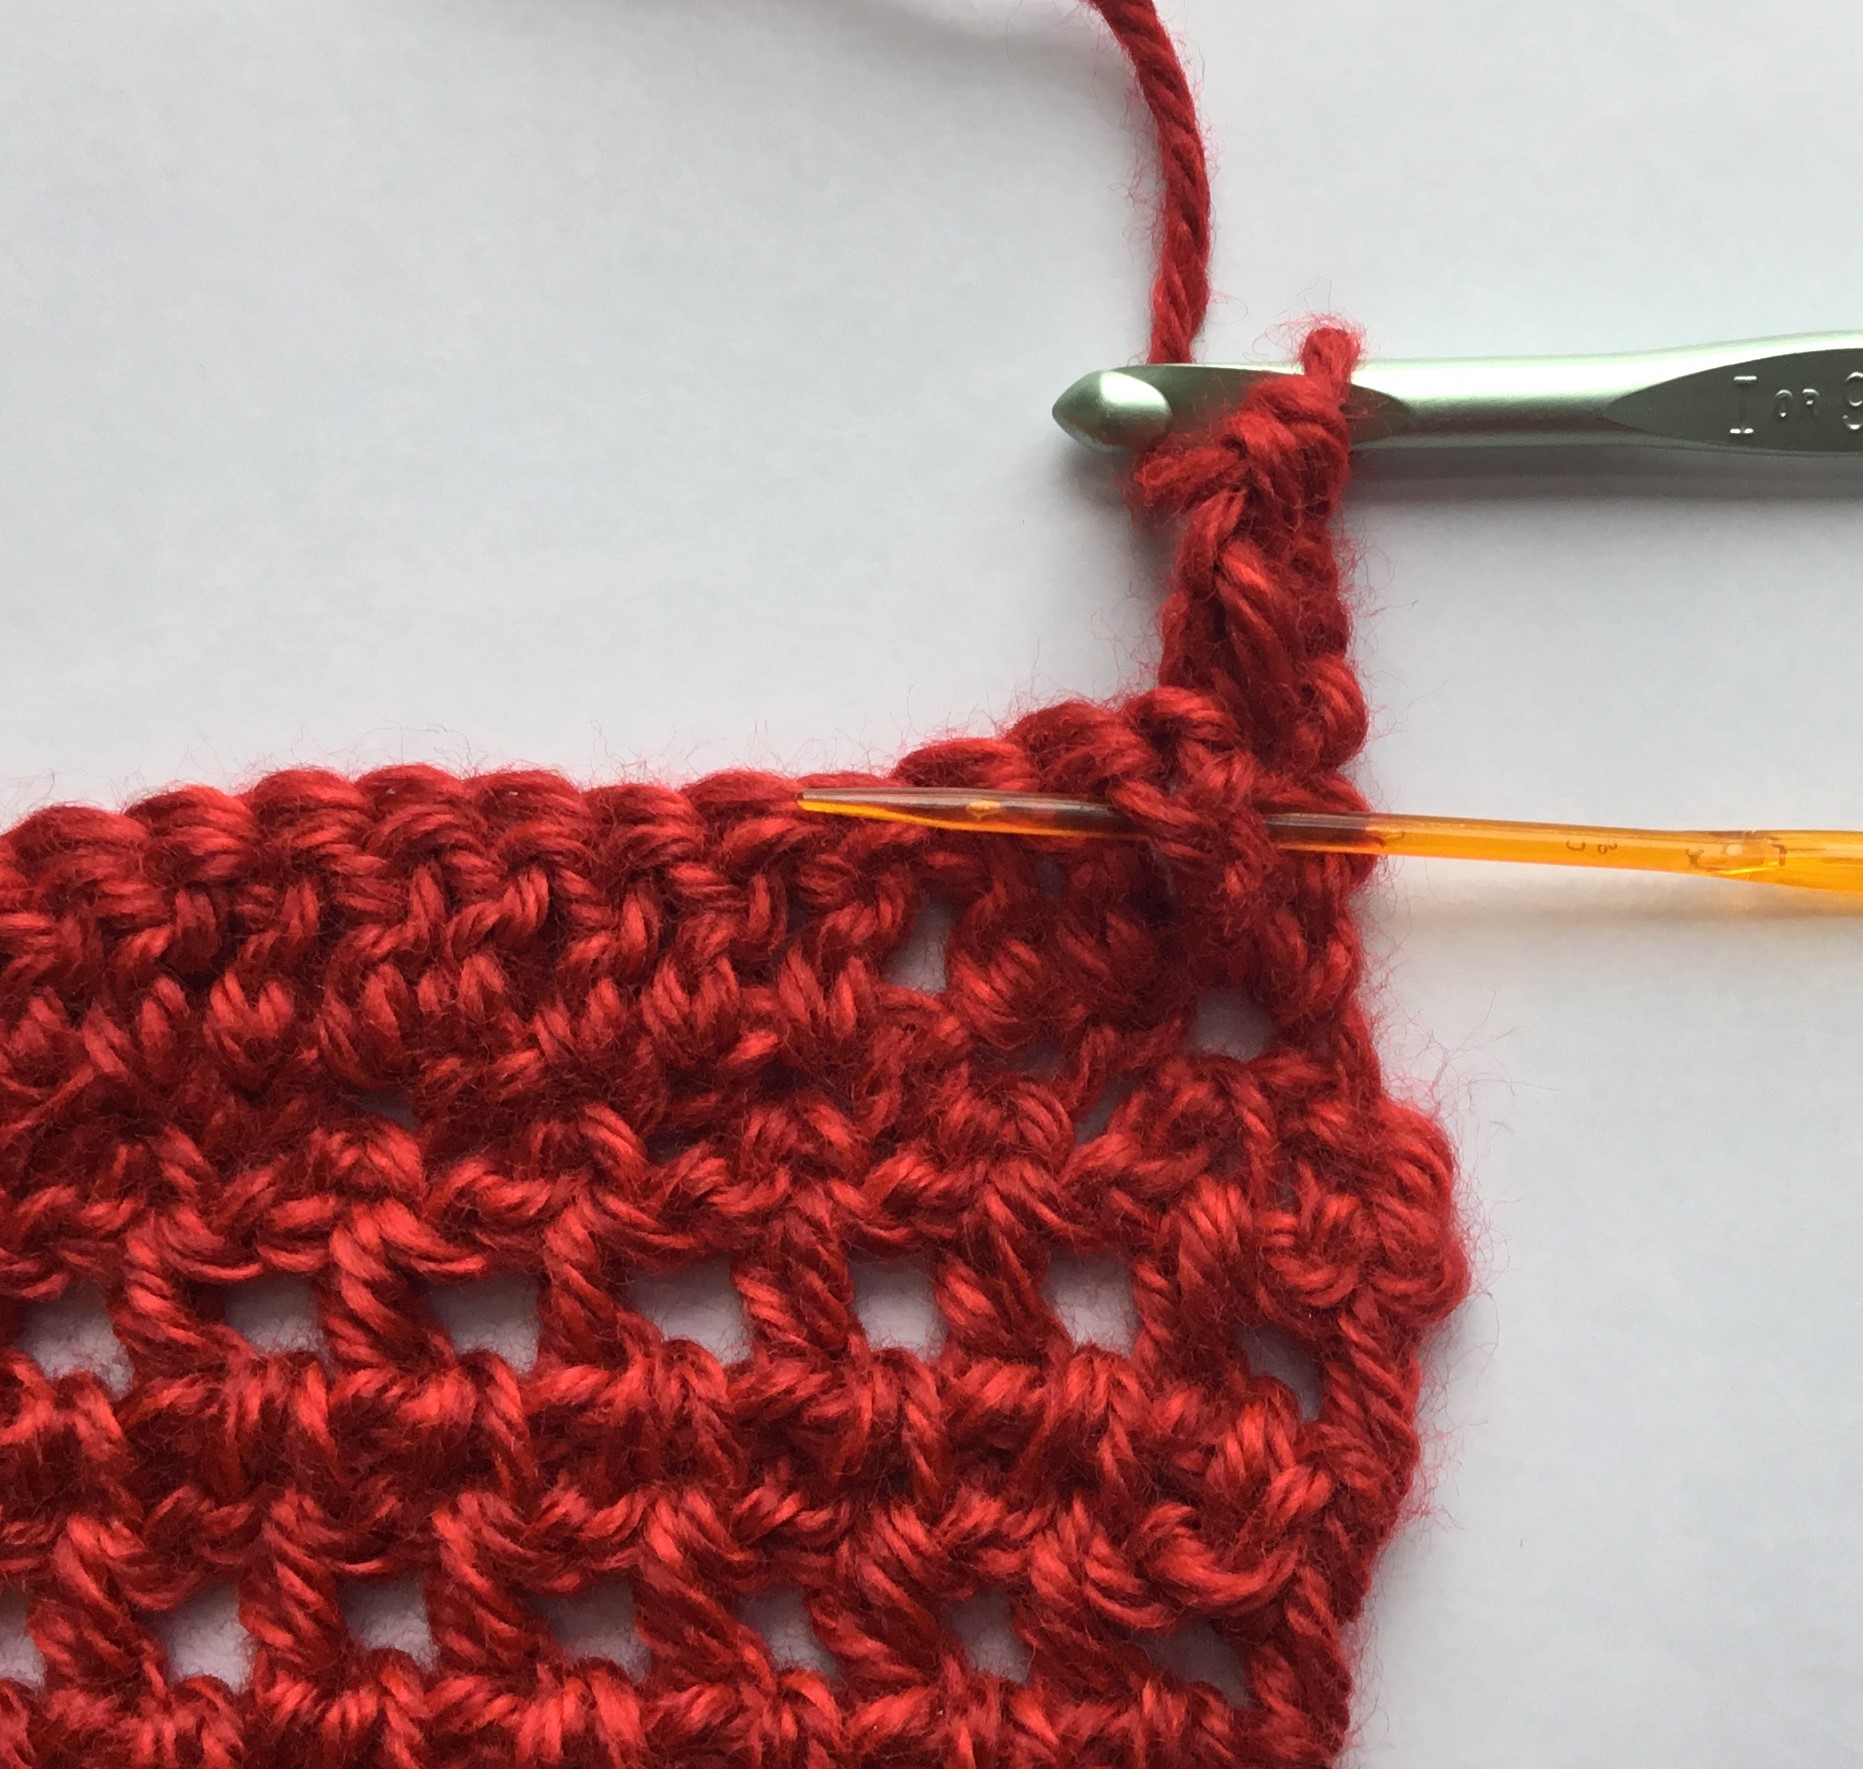
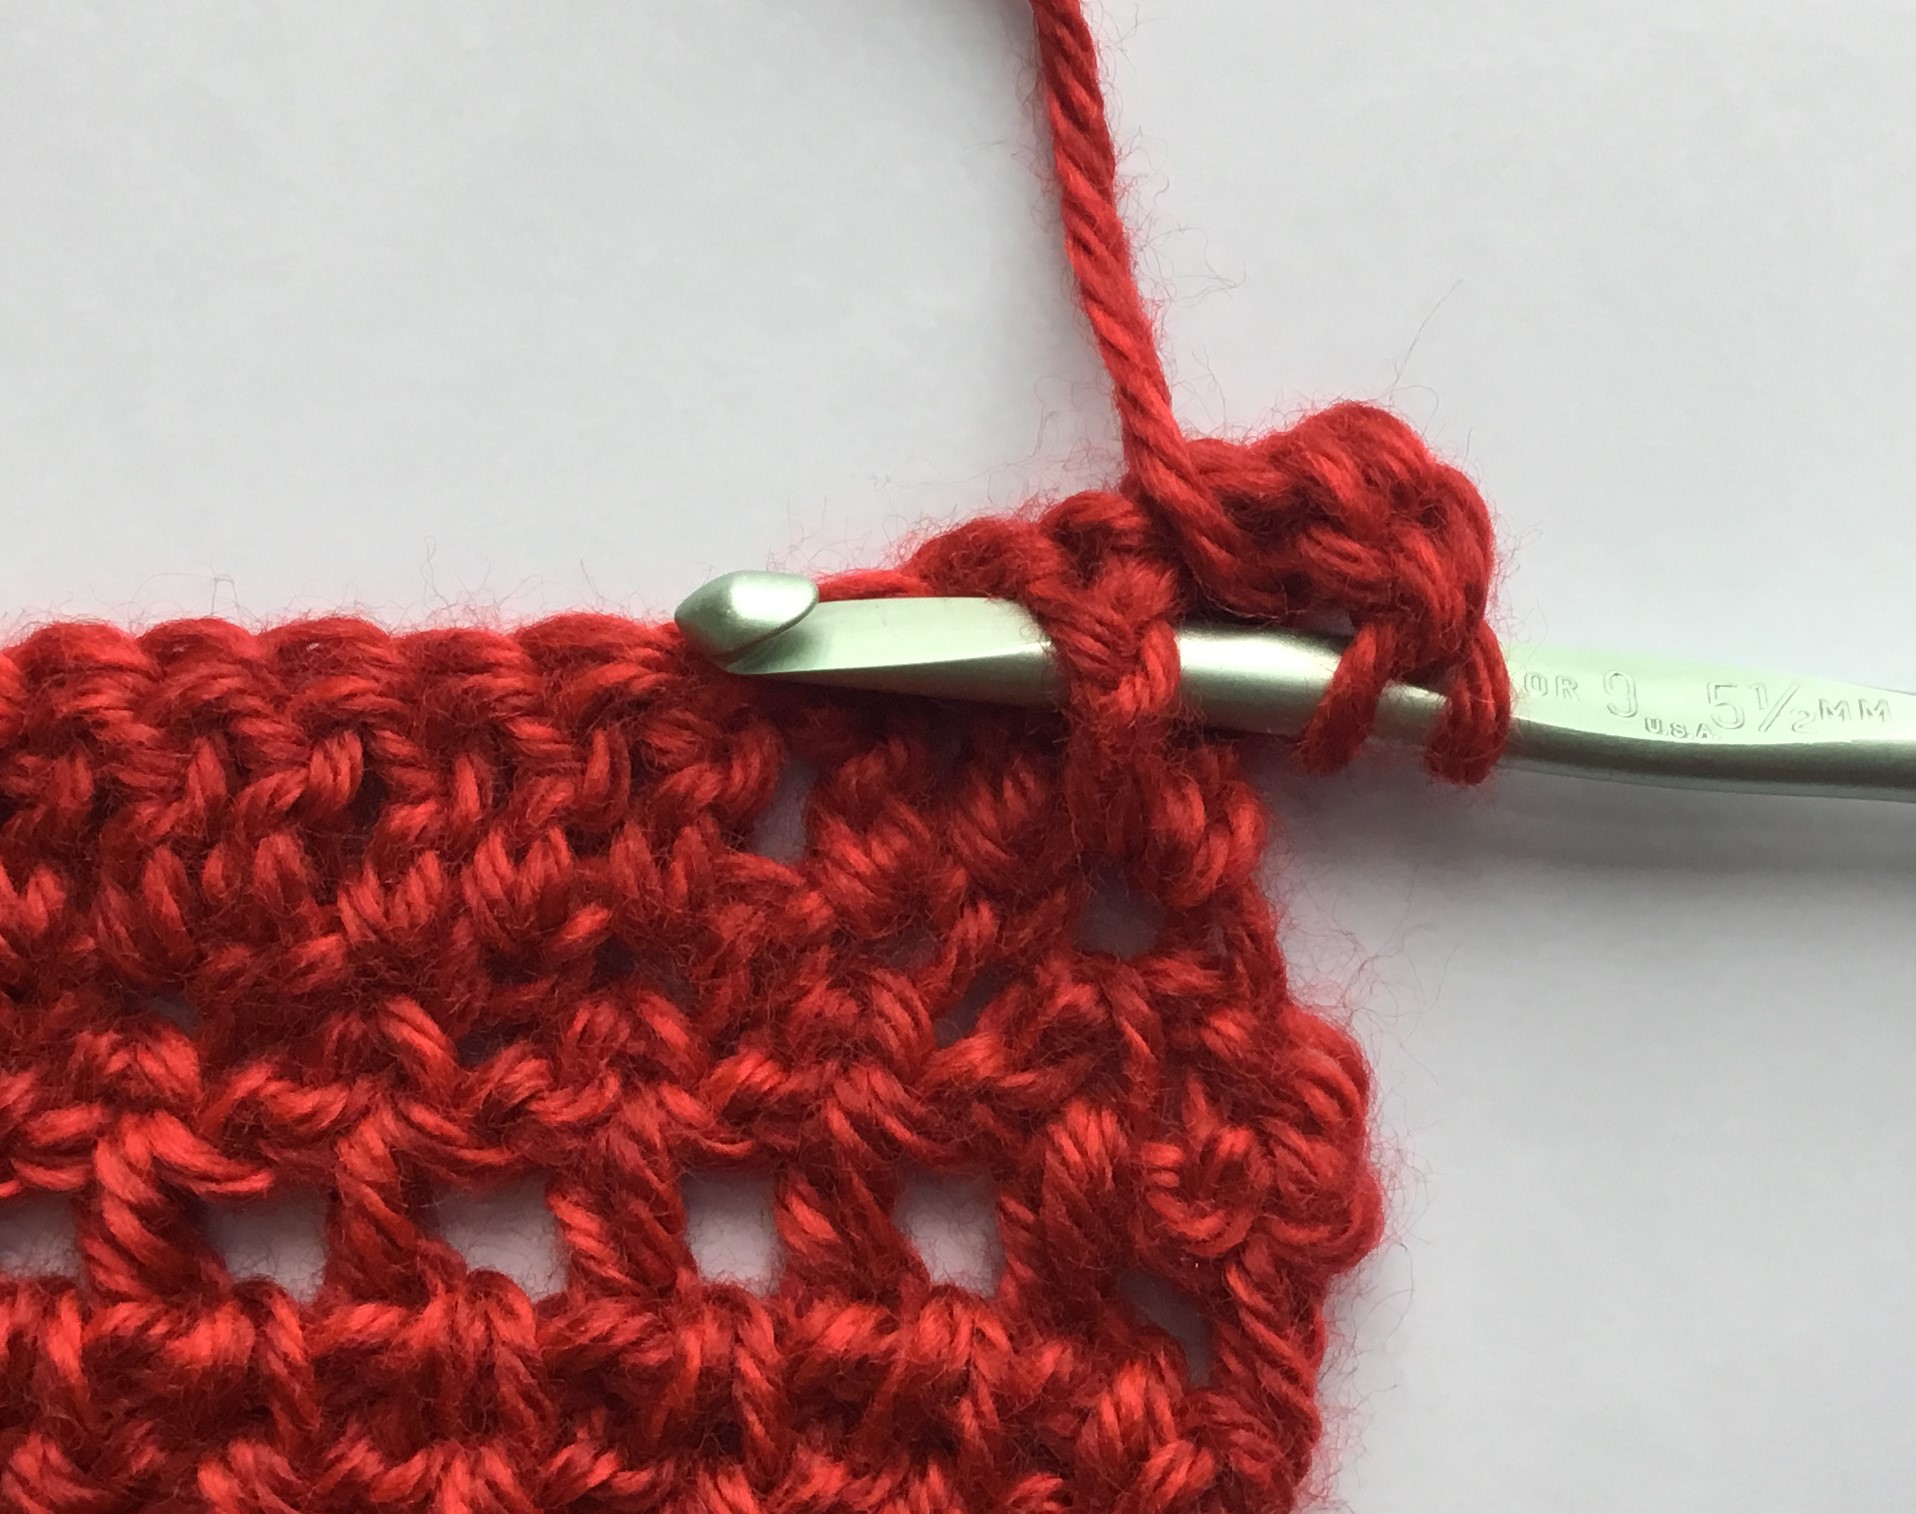
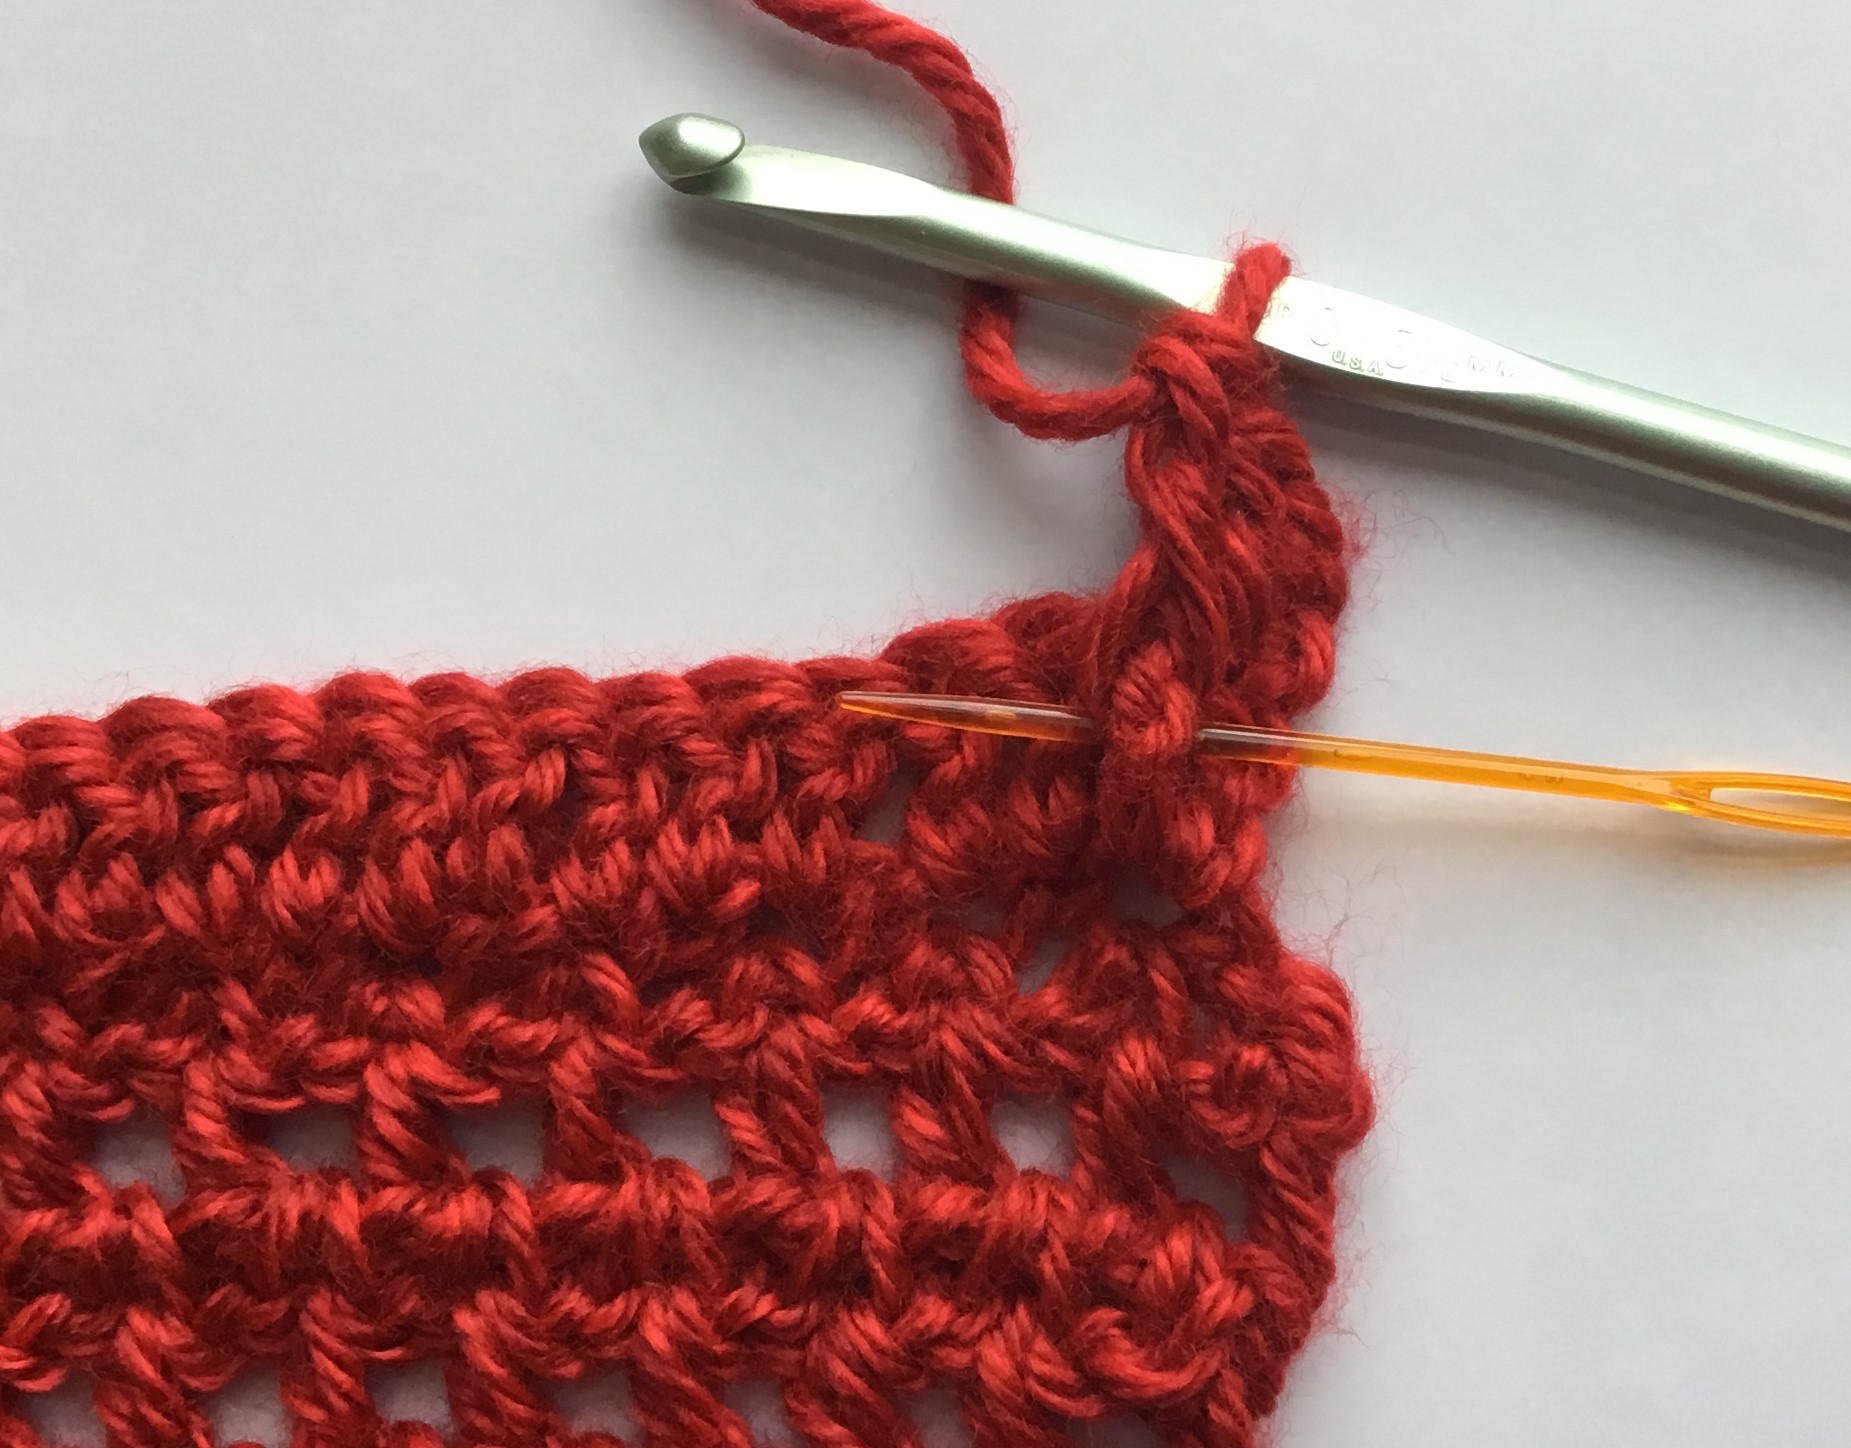
Row 15: Photos above. Decrease row. Sl st in 1st sp, ch 1, sc in next sp, ch 1. Repeat from * to * across row. Join.
Row 16: Repeat row 4 for 27 hdc.
Row 17: Repeat row 3.
Rows 18 – 26: Repeat rows 16 – 17
Row 27: Repeat row 15
Row 28: Repeat row 4 for 26 hdc
Row 29: Repeat row 15
Row 30: Repeat row 4 for 25 hdc
Rows 31 – 36: Repeat rows 3 and 4 for pattern
Row 37: Repeat row 15
Row 38: Repeat row 4 for 24 hdc
Row 39: Repeat row 3
Row 40: Repeat row 38
Row 41: Repeat row 15
Row 42: Repeat row 4 for 23 hdc. Join. Do not tie off.
(If you get confused just follow the decrease rows and work “for pattern” to stay on track.)
Sleeve Ribbing:
Row 1: Ch 1; sc in ea sp. Sl st to join.
Row 2: ch 3; dc in ea sp for 23 dc total. Sl st to join.
Row 3: ch 3; fpdc in 1st two dc below; bpdc in next dc below; repeat from * to * to end.
Row 4: ch 1; sc in ea sp. Join. Tie off.
Repeat for 2nd sleeve.

[…] Link Pattern […]