Hug Myself Crochet Pocket Shawl
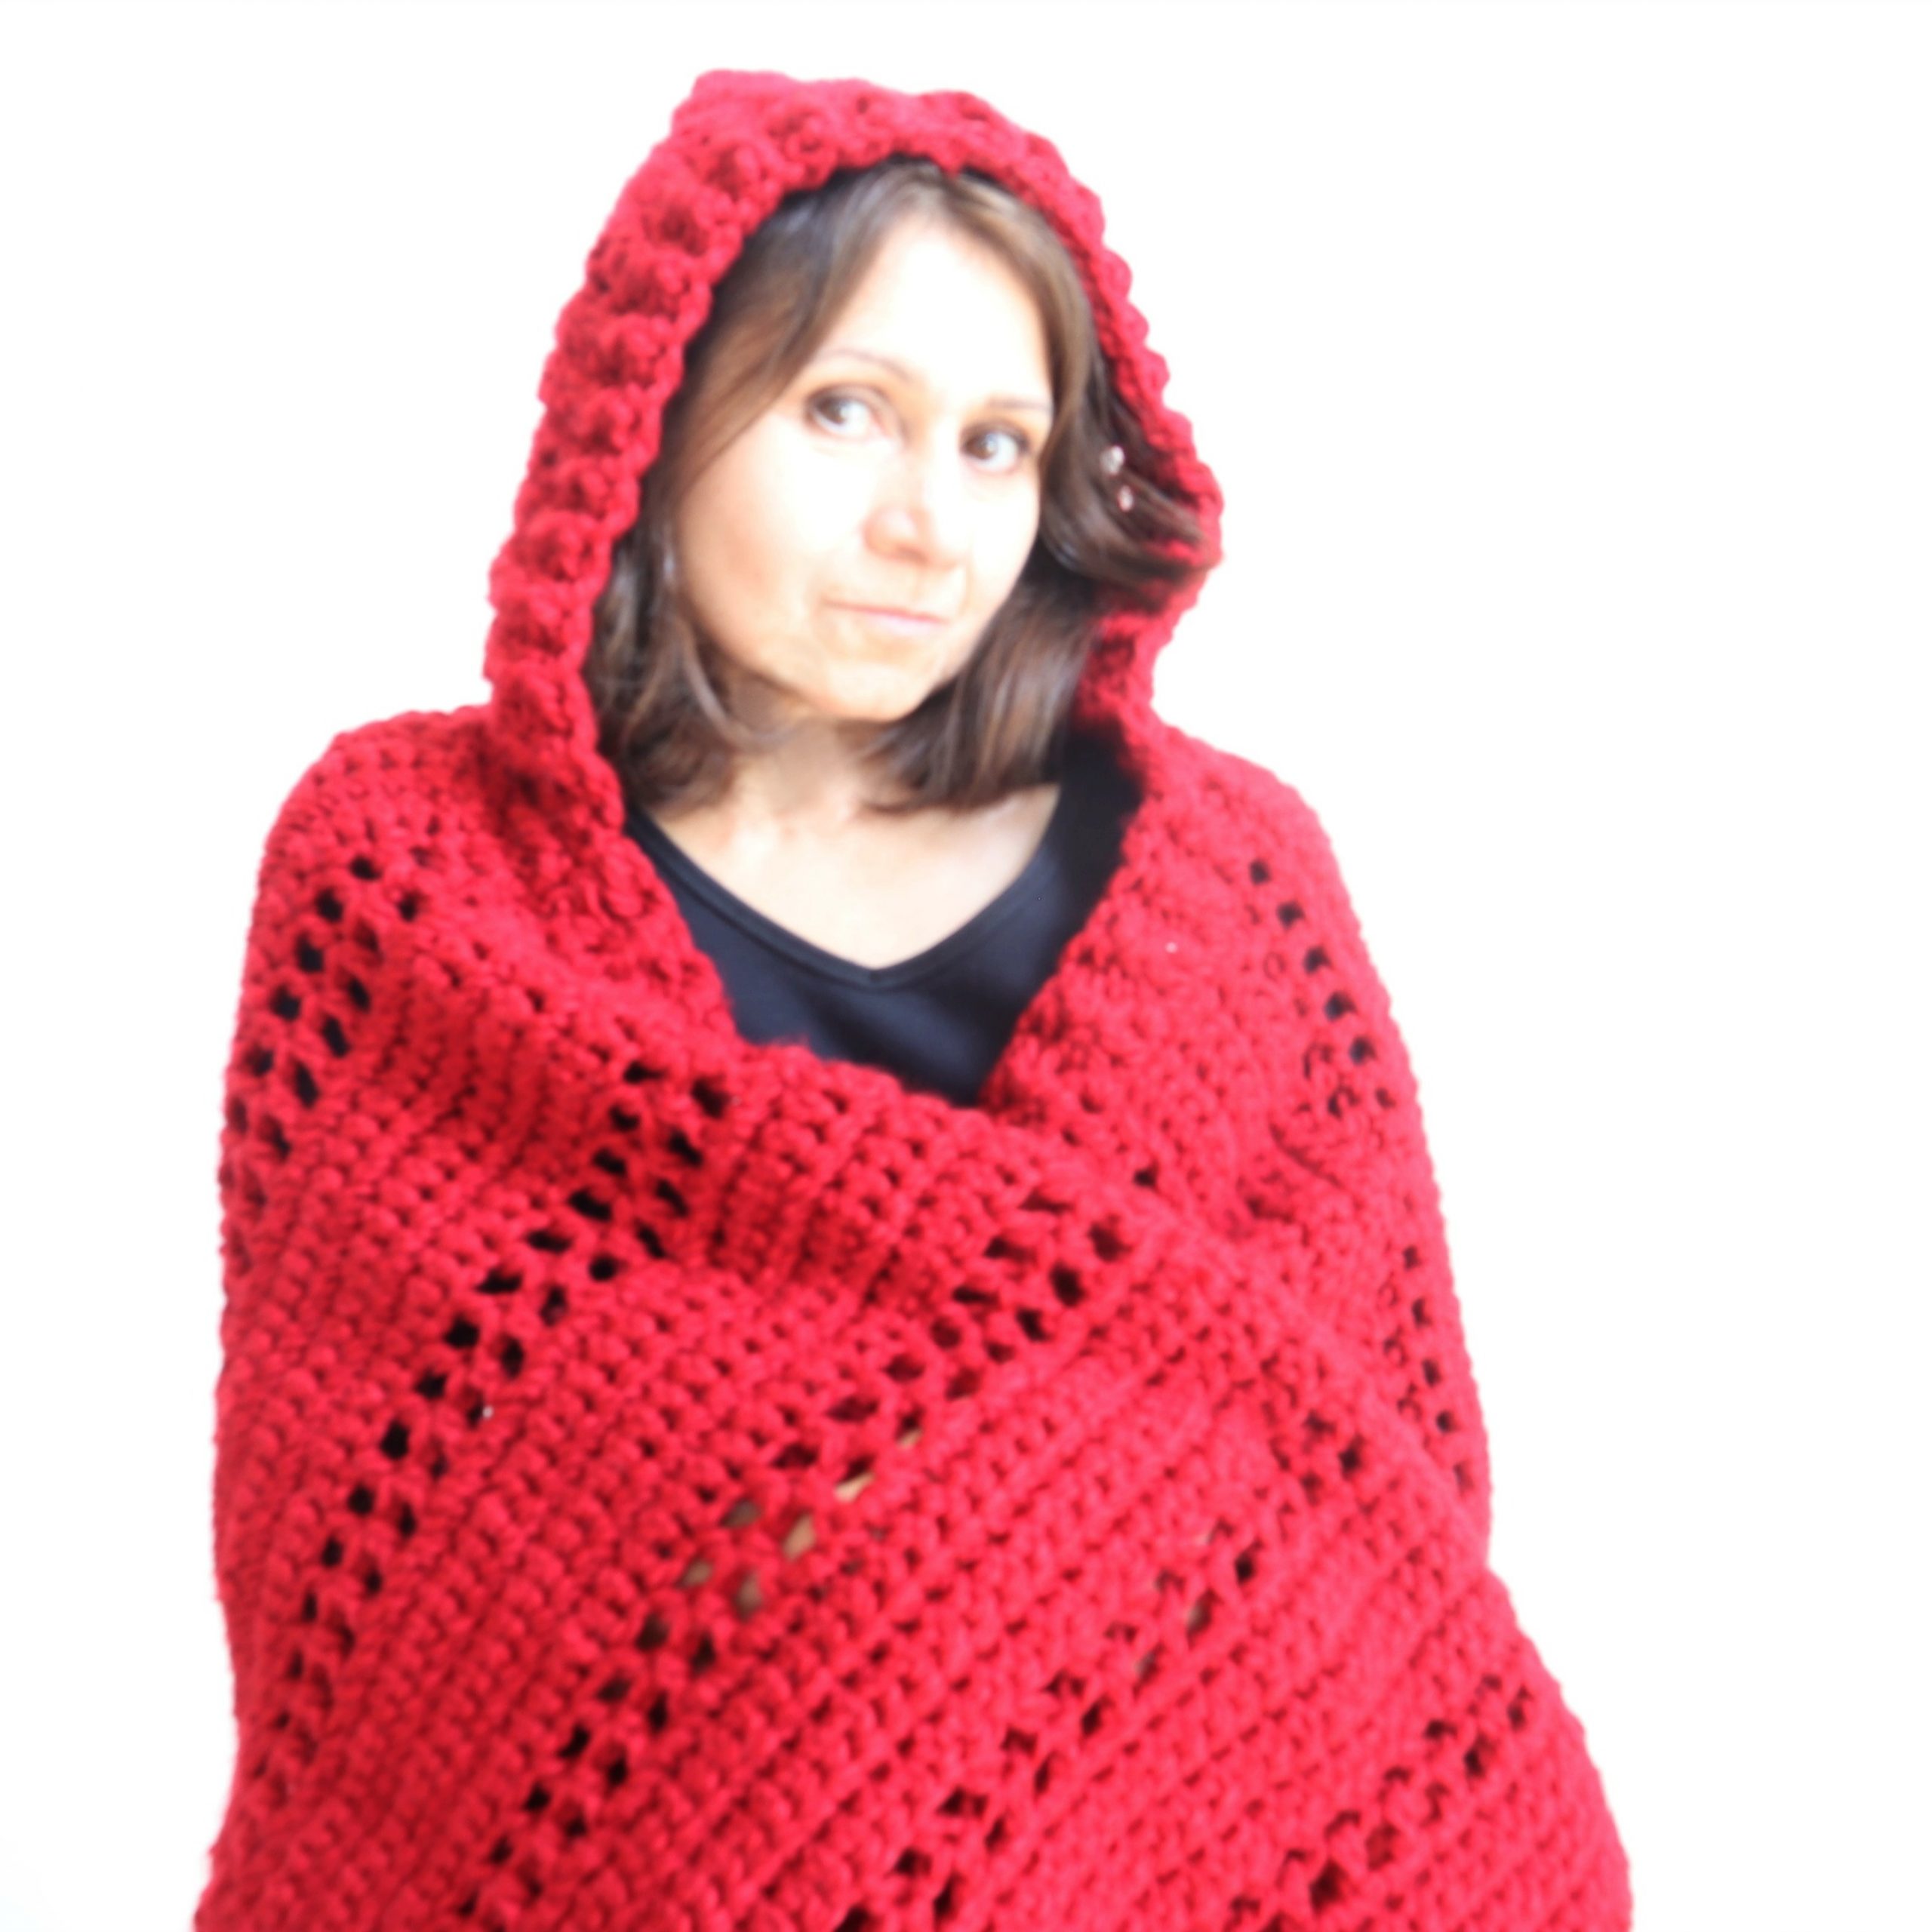
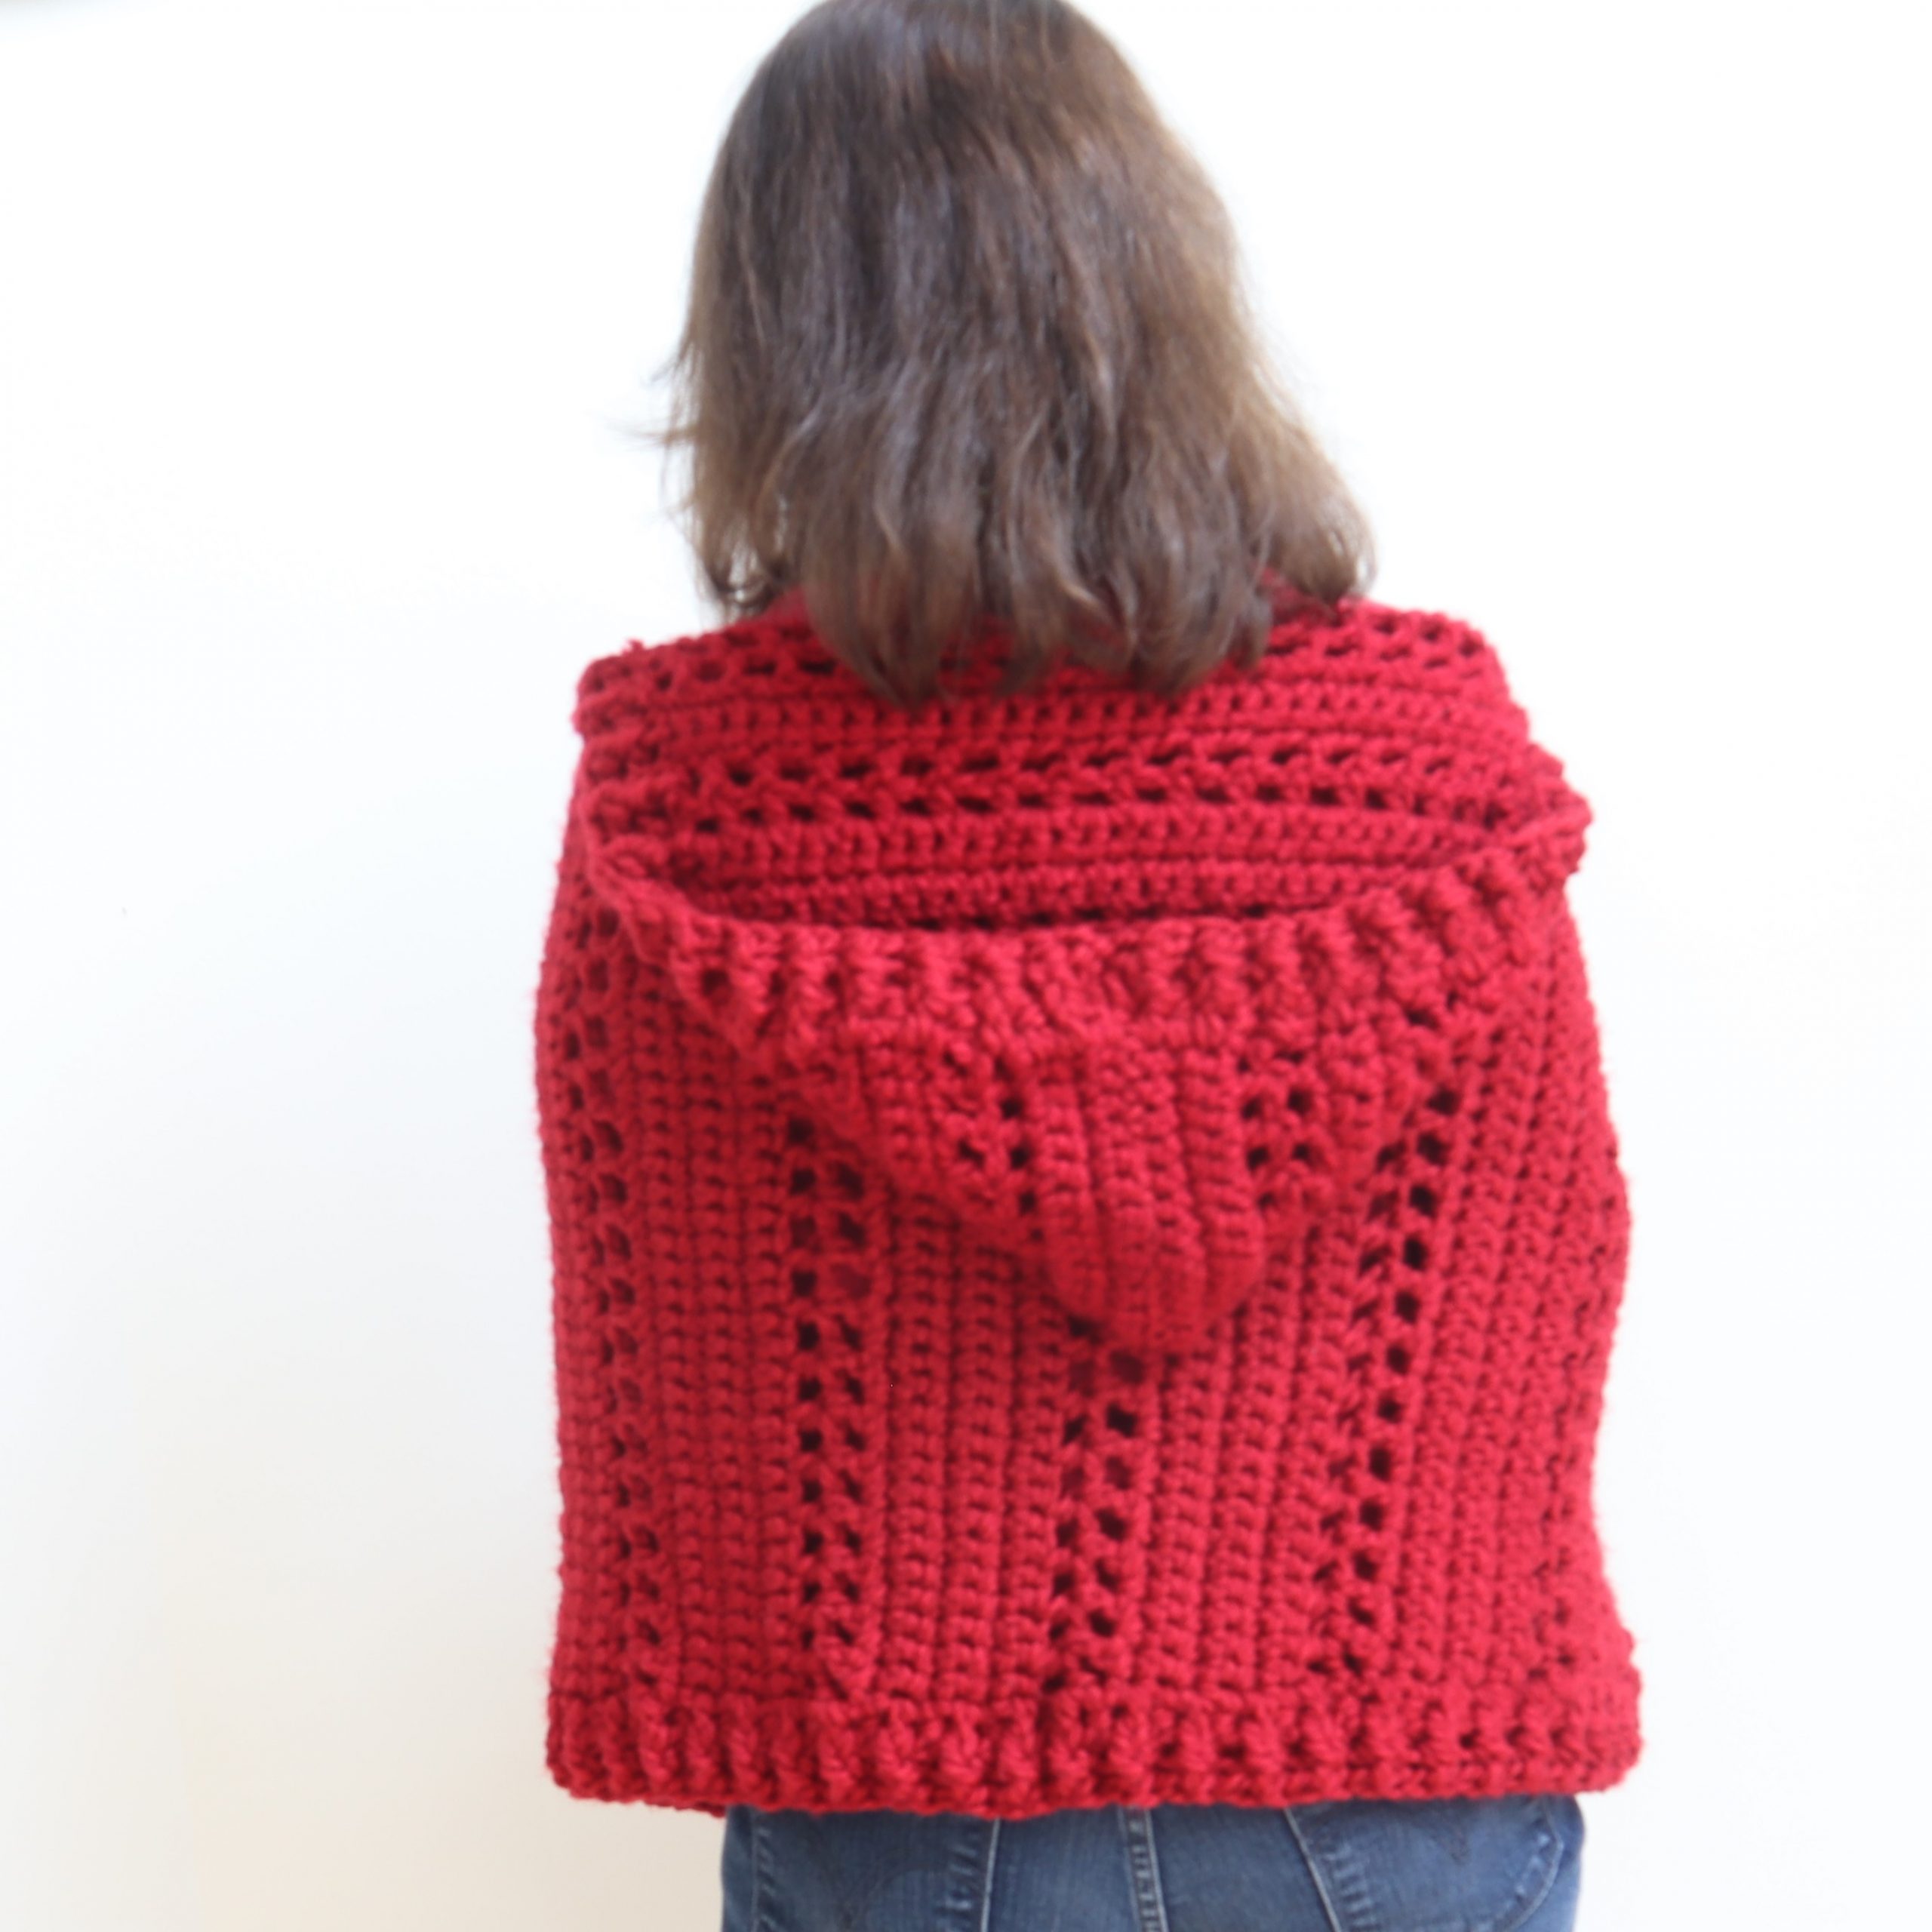
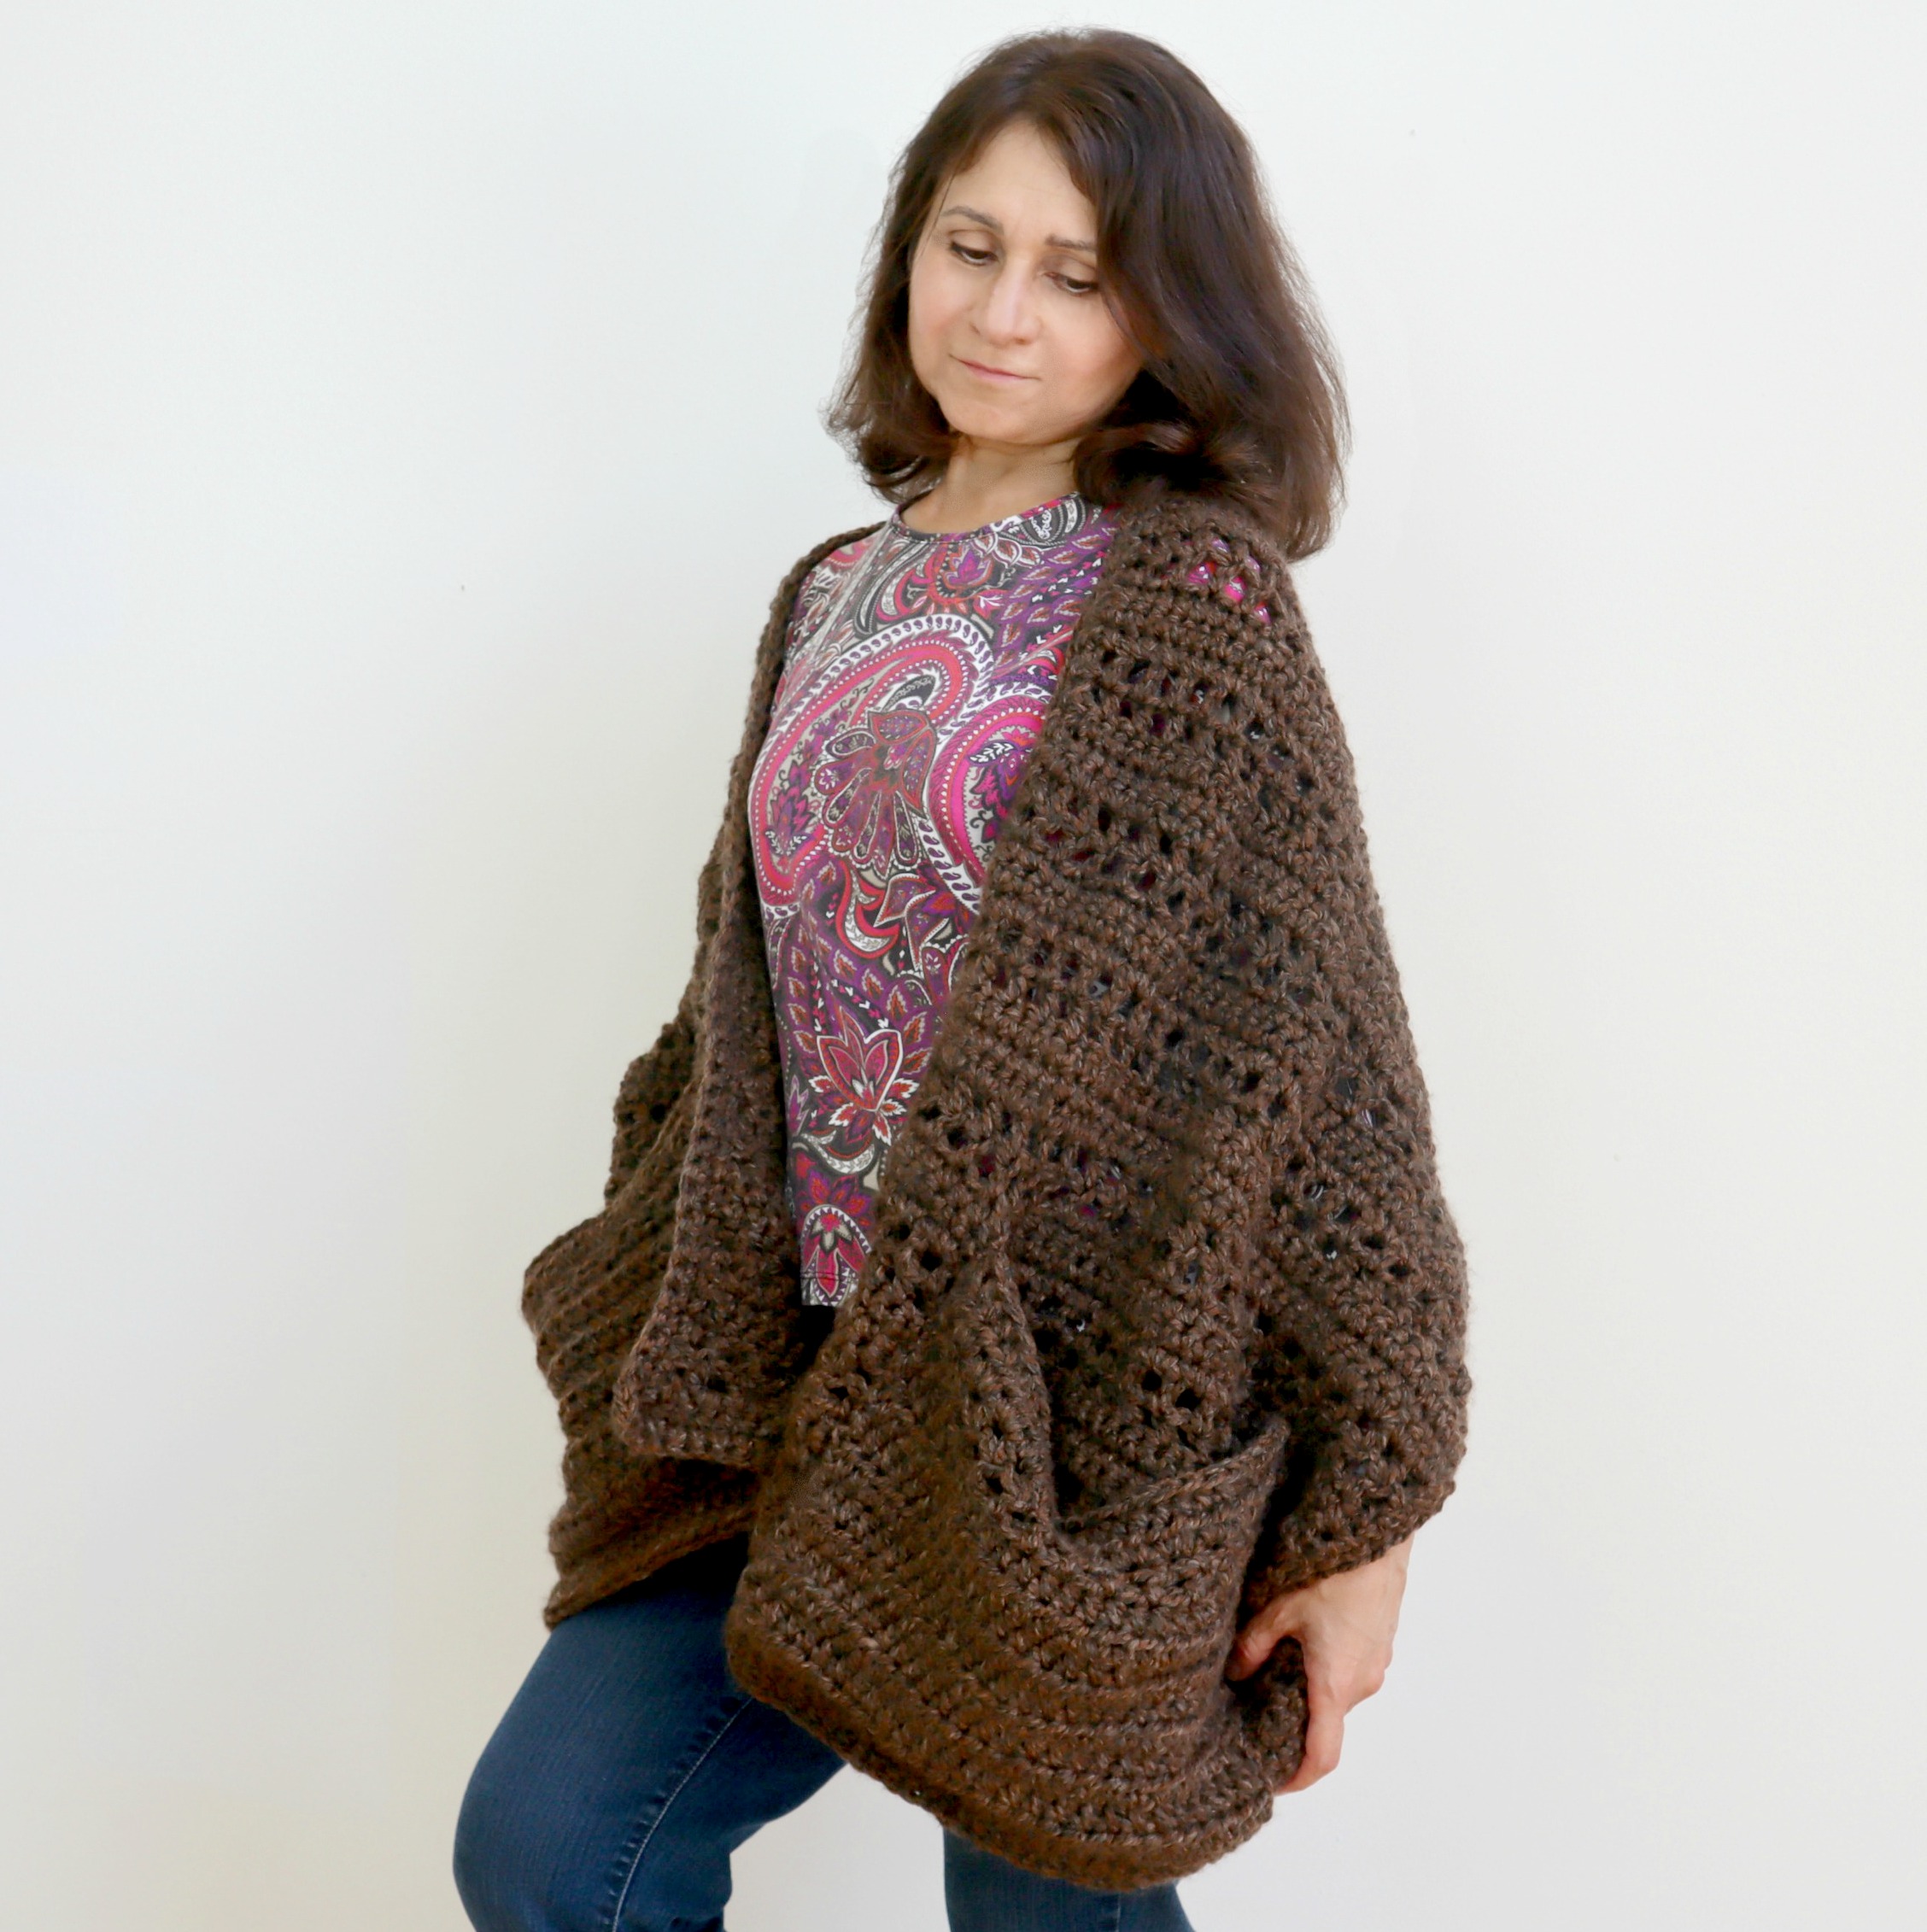
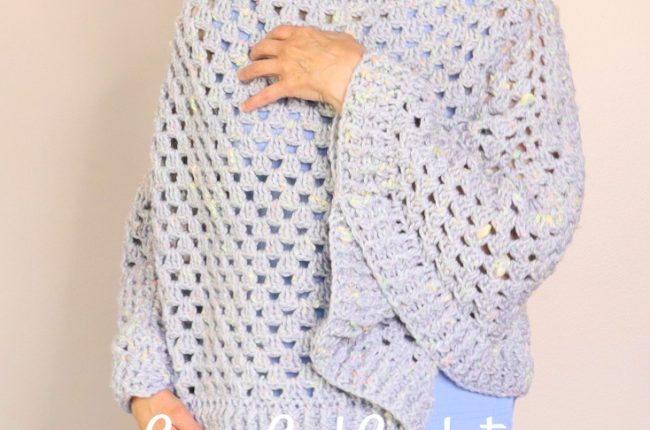
The Hug Myself Crochet Pocket Shawl with optional Hood has INSIDE pockets that allow you to keep your arms inside the pocket shawl to stay cozy and warm. Inserting your hands into the inside pockets lets you hug yourself to wrap the shawl around yourself and be warm without exposing your arms. The hood will also keep your head nice and warm. If you don’t want a hood you can opt to make the matching BONUS HEADBAND! (Please browse the many free crochet patterns I offer here.)
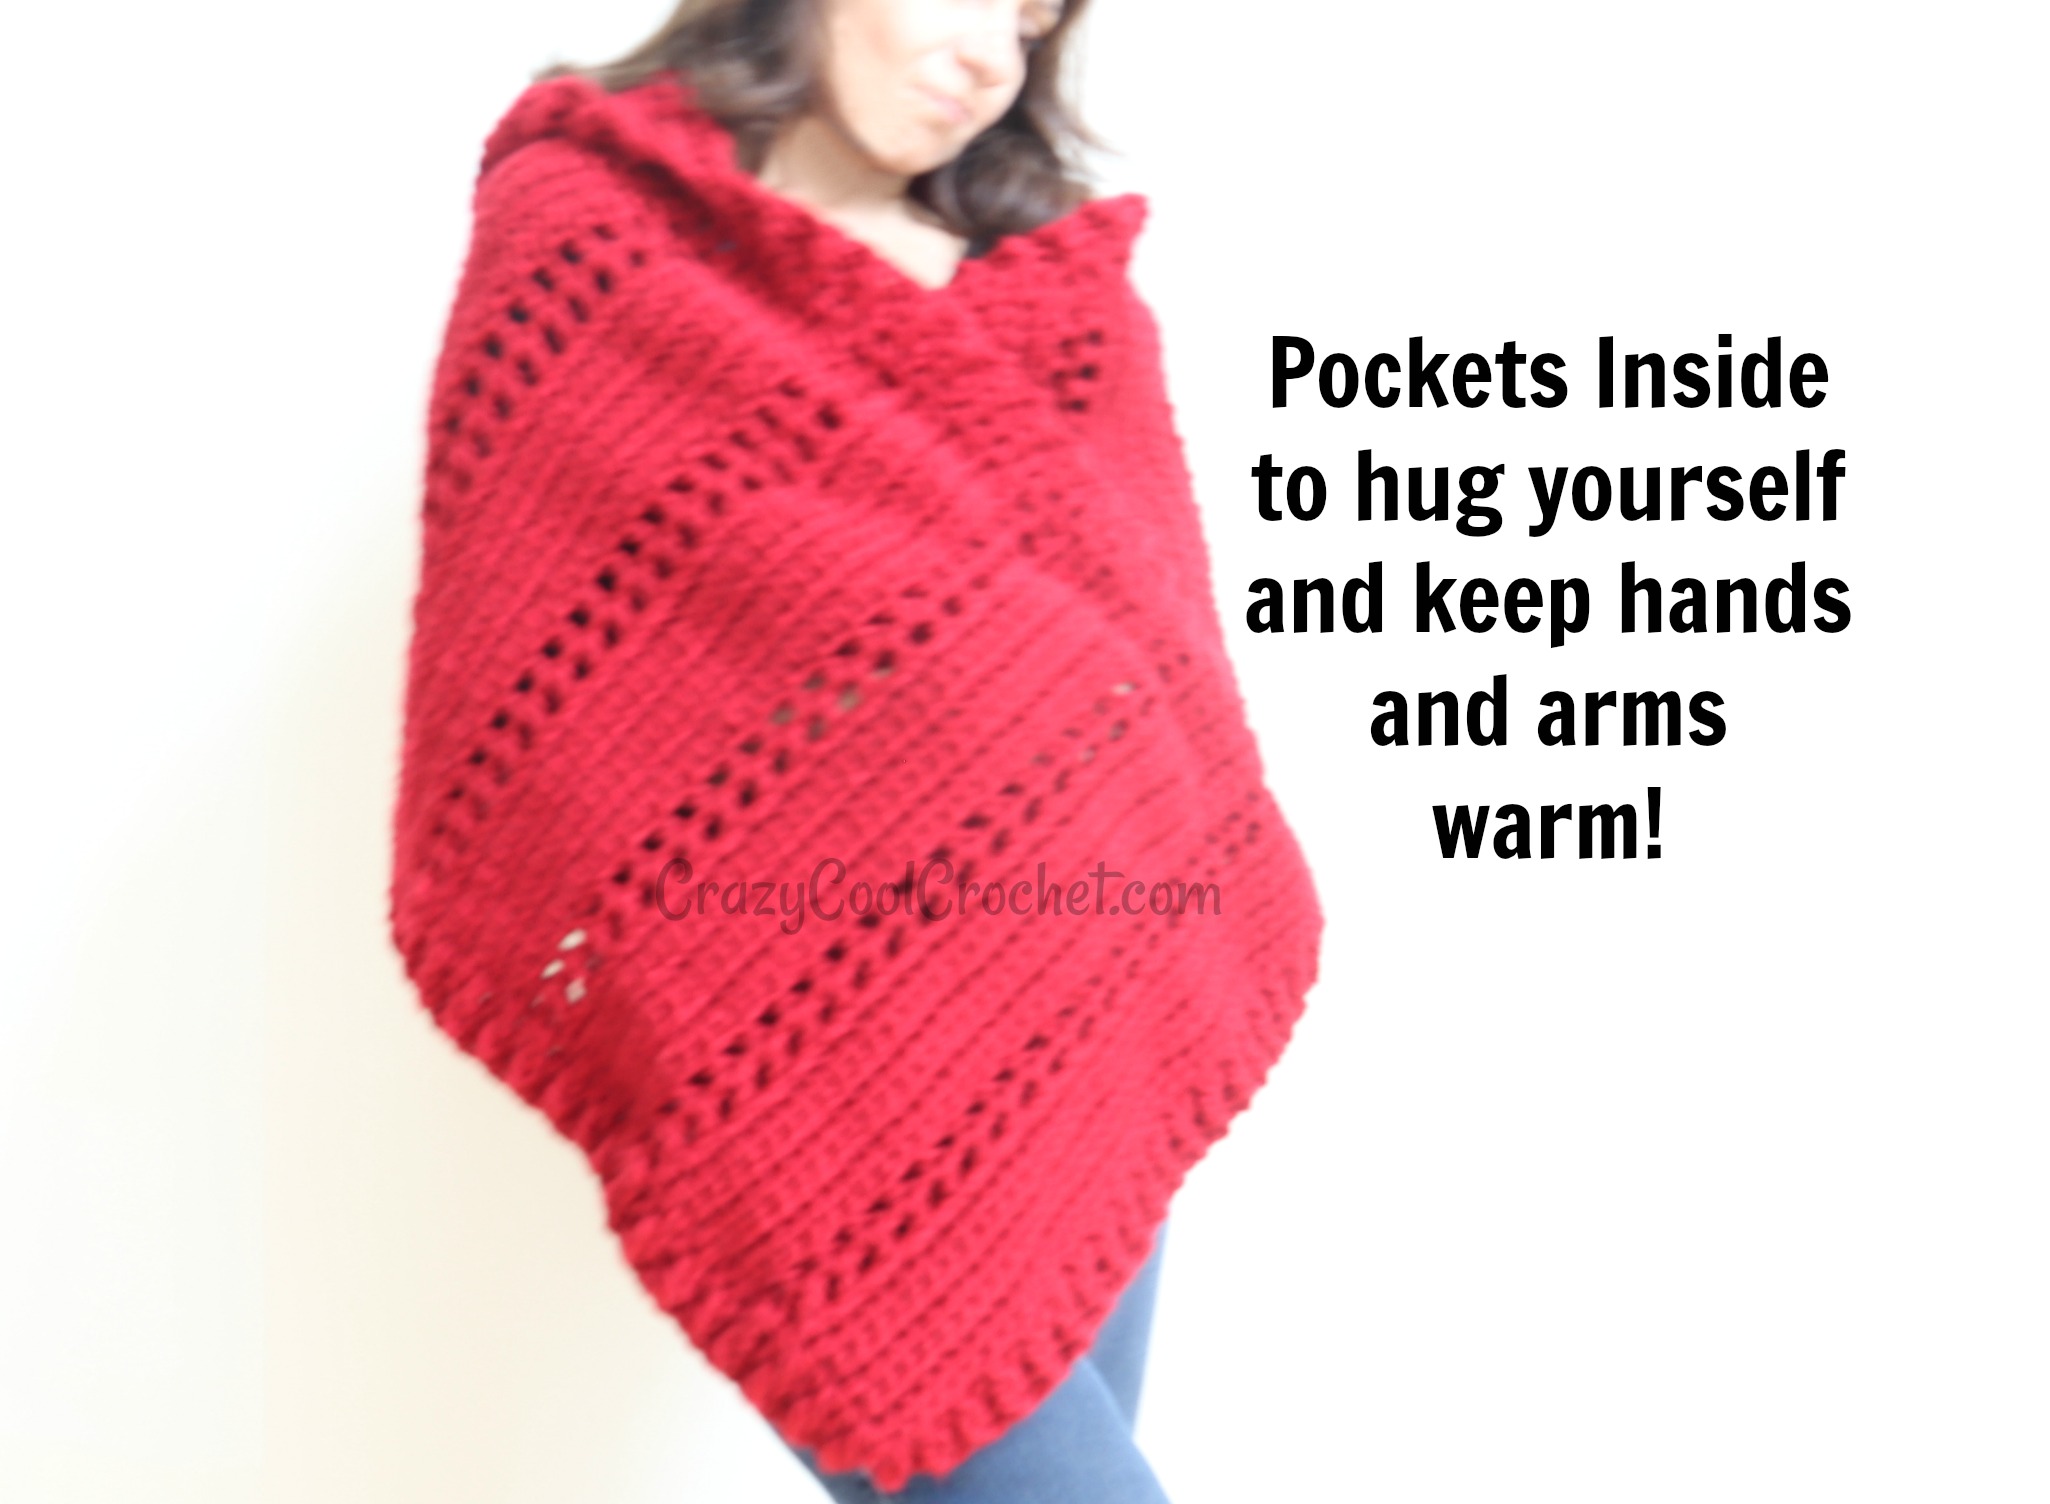
The written pattern is below and the video tutorial can be used in conjunction with the written pattern. Crazy Cool Crochet offers lots of FREE CROCHET PATTERNS and videos and is my only income. Your support, by subscribing to both this blog and my YouTube channel, is greatly appreciated! You are also encouraged to purchase the printable patterns from my Etsy shop: CrazyCoolCrochetUS.etsy.com
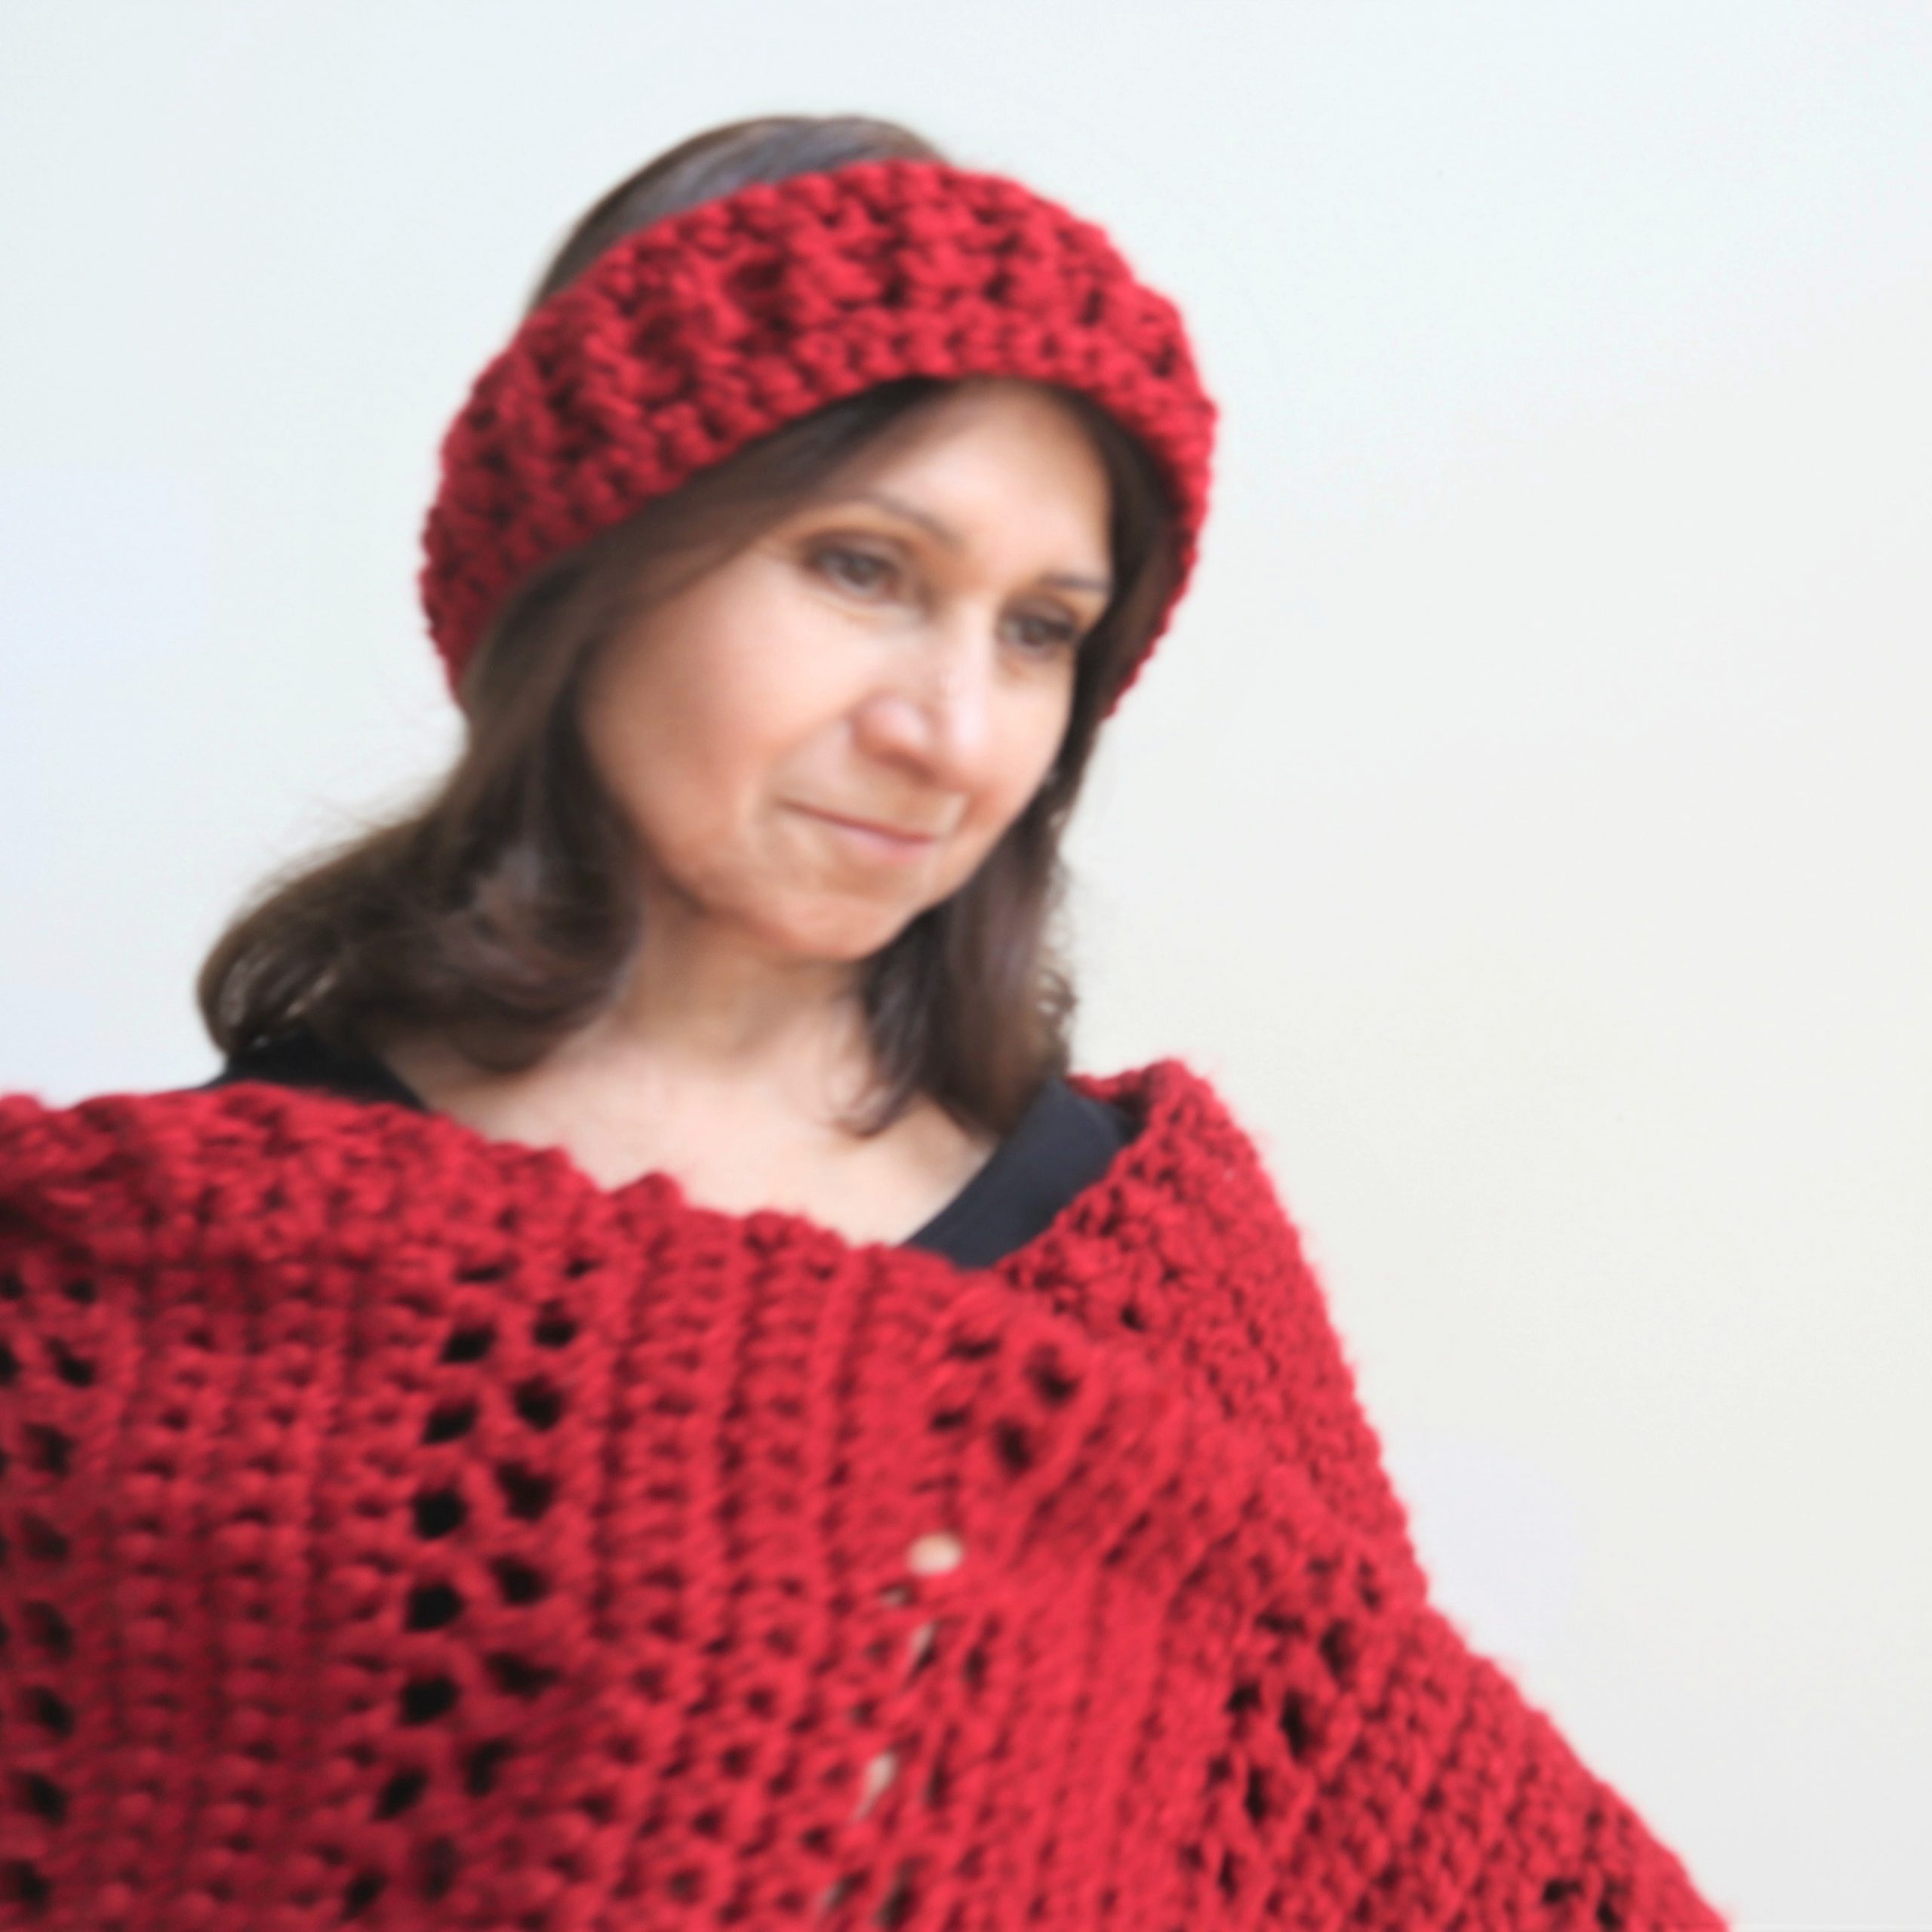
The instructions for the matching headband above are in the video! Printable Etsy pattern: HERE
This post contains affiliate links which means I may earn a small commission for purchases made through these links at no additional cost to you.
The printable version of this pattern will have more photos and is available at my Etsy shop: CrazyCoolCrochetUS.etsy.com
EASILY ADJUST SIZE:
This crochet pocket shawl is worked width-wise rather than length-wise as the original Perfect Pocket Shawl, and most other pocket shawls are worked. This means you can easily adjust the size by changing the foundation chain to your required size.
Large/Extra Large – suggested starting chain of 46
For extra length, add more rows per the pattern ending with sc rows. Then continue to follow the pattern.
The change in the starting chains affects the width.
For different sizes start with a foundation chain in an even number.
PATTERN:
Size Women’s Small/Medium
Materials:
Yarn used:
I Love this Chunky; color Red Velvet / #5 Bulky
May substitute with (or equivalent #5):

Used 31 ounces or 900 yards (Small/Medium)
Crochet hook L / 8mm
Yarn Needle
Dimensions:
19.5 inches wide (ncludes the border
63 inches long includes border
Abbreviations:
st = stitch
Sc = single crochet
Ch = chain
Hdc = half double crochet
FPHDC = front post half double crochet
BPHDC = back post half double crochet
Sp= space
Yo = yarn over
NOTE: Unless otherwise directed, work stitches entering the hook under the two-strand chain that forms at the top of completed previous row, not in the spaces next to the st’s.
NOTE 2: Photos appear above corresponding rows.
MAIN PANEL
Ch 40
Row 1: sc in 2nd ch from hook and each ch across. 39 sc’s. Ch 1. Turn.
Row 2 – 6: sc in 1st sp and ea sp across. Ch 1. Turn. 39 sc’s
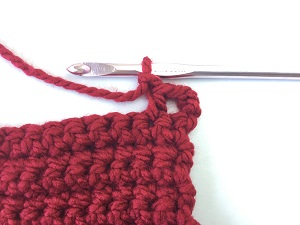
Row 7: sk 1st sp; hdc in next sp; *ch 1; sk next sp; hdc in next sp*. Repeat from * to * to end. Work the last ch, enter last hdc in turning ch. You will have 20 “windows”. Ch 3. Turn
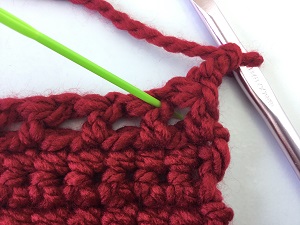
Row 8: hdc into top of 1st hdc post below; ch 1;* hdc into top of next hdc; ch 1*. Repeat from * to * to end, entering last hdc into turning ch. You will have 20 “windows”. Ch 1. Turn
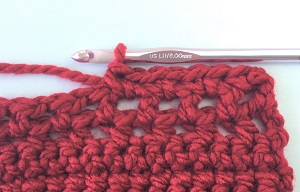
Row 9: sc into 1st sp (the “window”); 2 sc in next sp and ea sp to last sp. 1 sc in last sp; sc in turning ch. 39 sc’s. Ch 1 Turn
Row 10 – 14: Repeat Row 2
Row 15: Repeat Row 7
Row 16: Repeat Row 8
Continue in this pattern working 6 rows of sc’s and 2 rows of hdc’s for a total of 118 rows ending with the sc rows. At end of last row tie off yarn.
HOOD
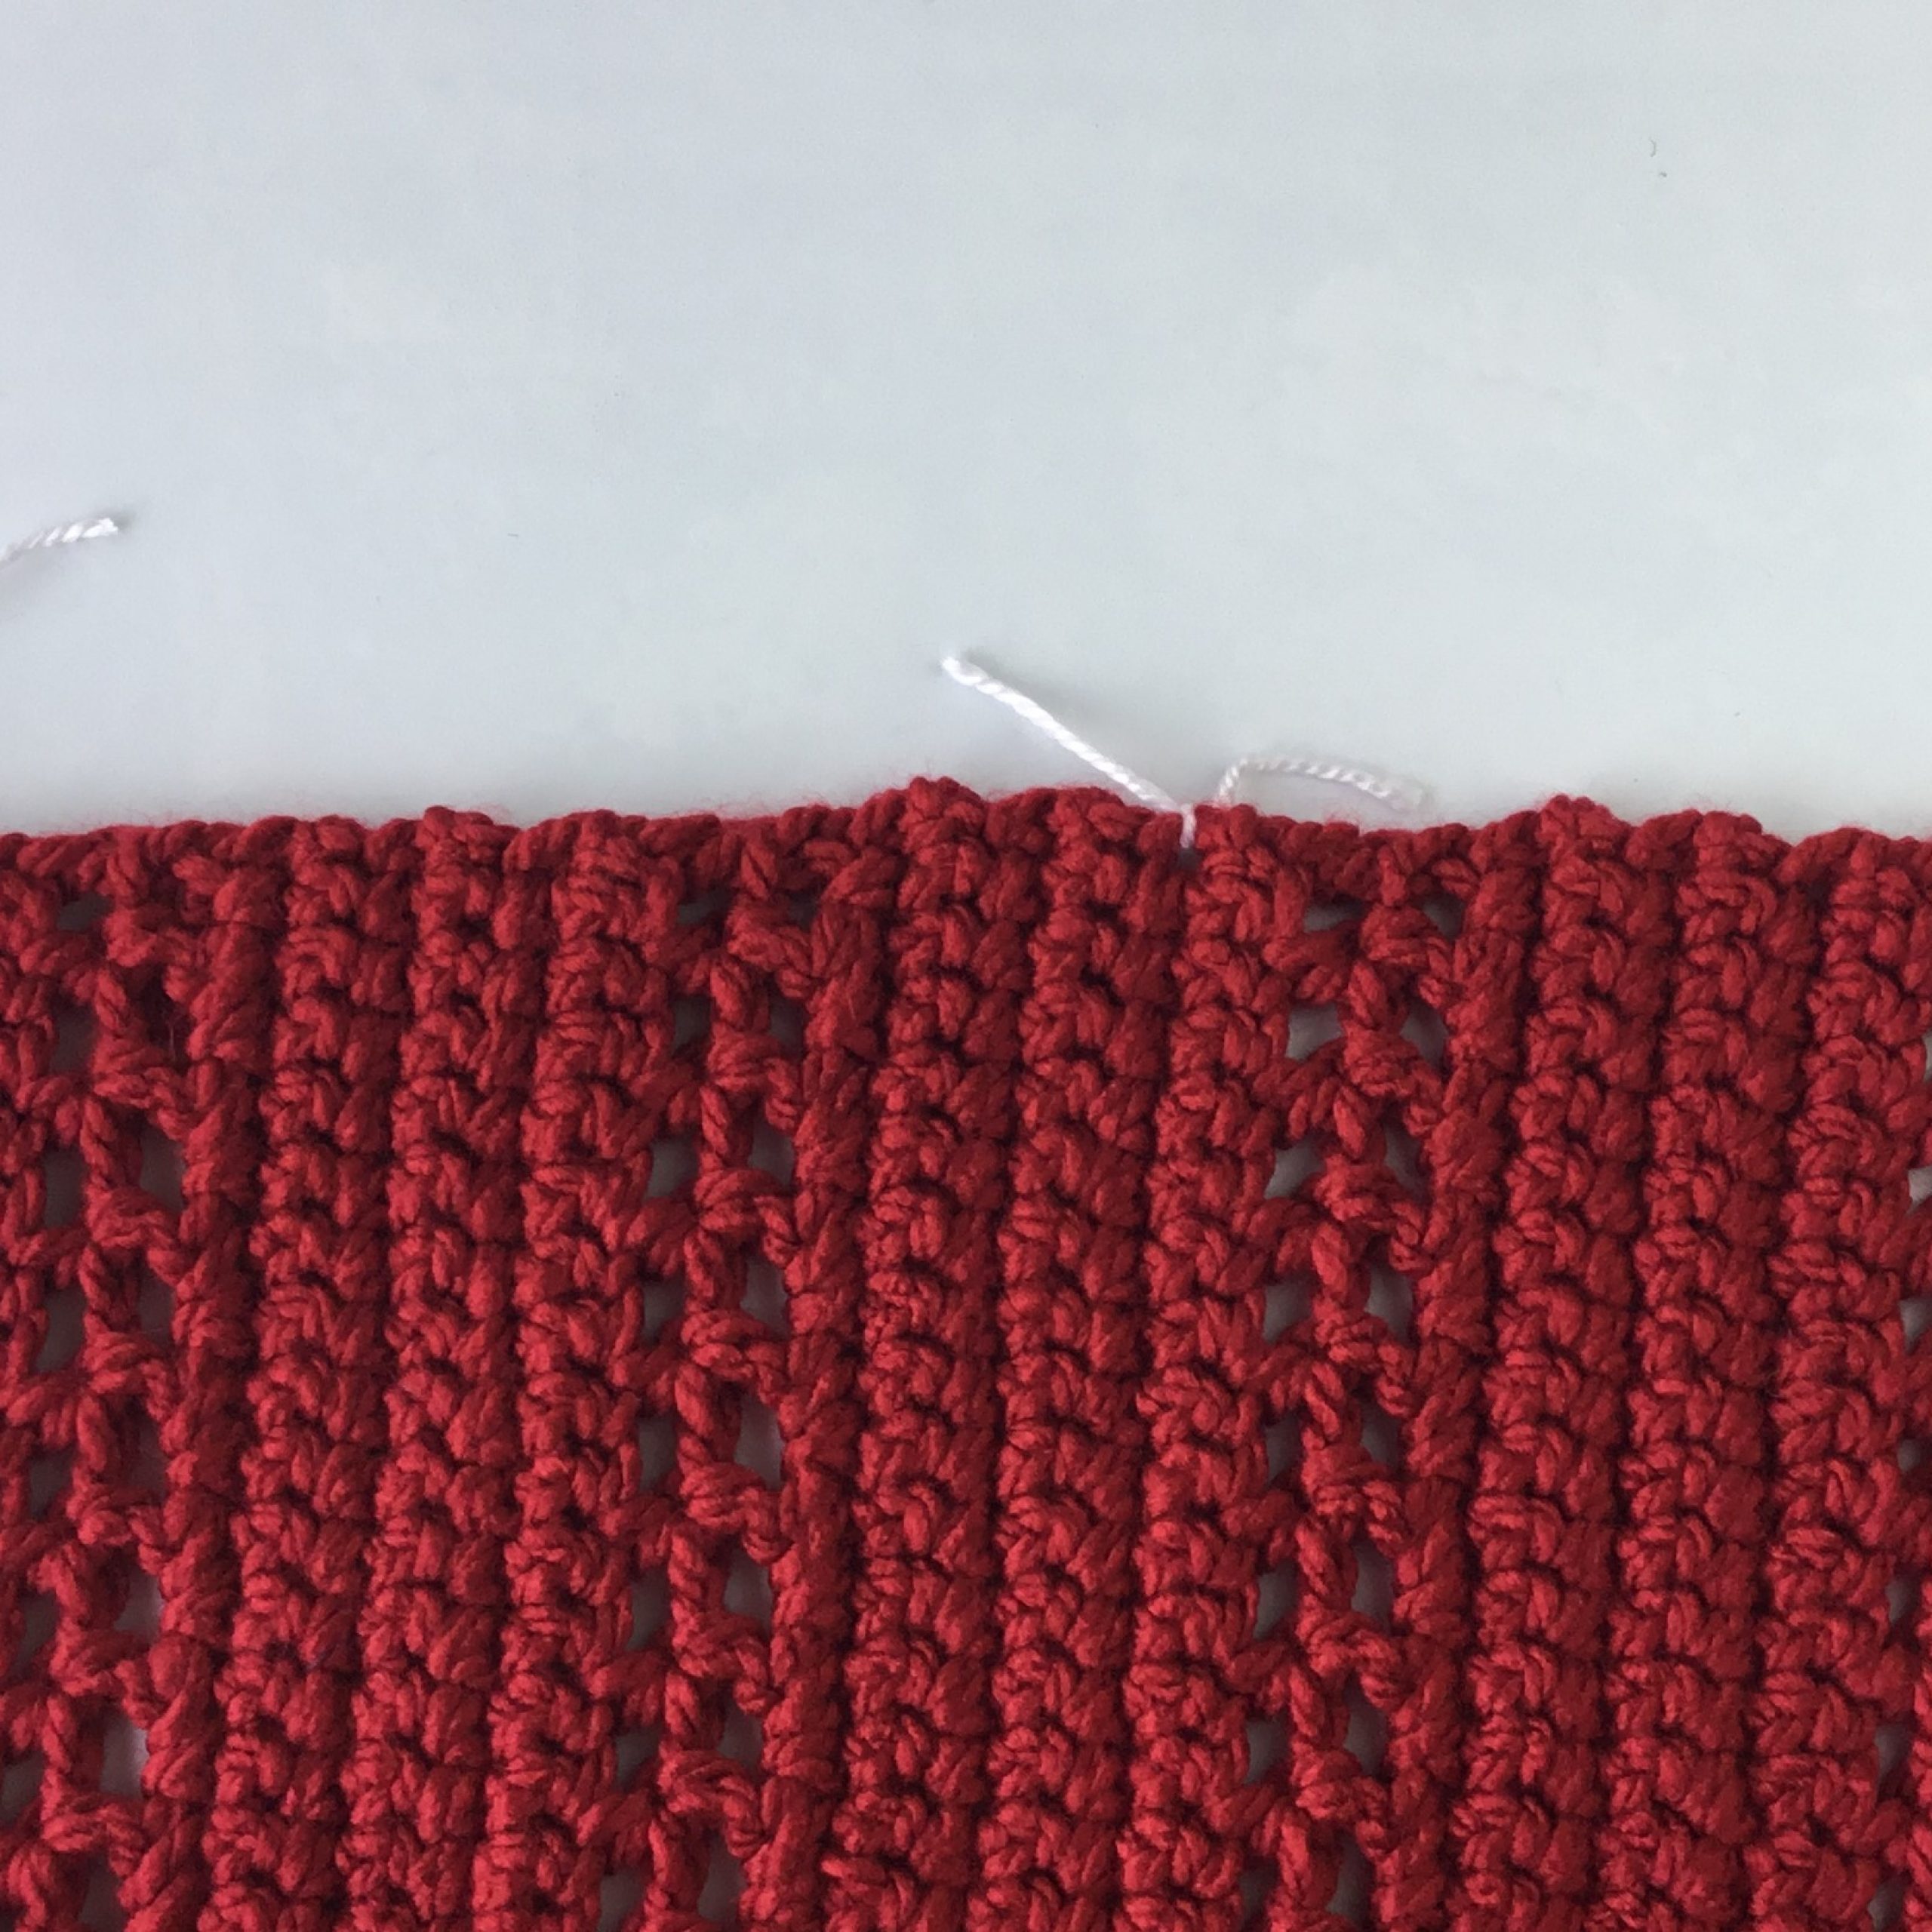
With right side facing you, working on the long edge of the panel, determine the center. Place a stitch marker. Place another stitch marker 7.5 inches to the right of the center st marker; place another st marker 7.5 inches to the left of the center st marker. The full photo is not showing up here. Please refer to video.
Row 1: Insert hook in the st marker furthest to the right; ch 1; sc in same sp and ea sp evenly until you reach the last st marker. Ch 1 Turn
NOTE 1: Avoid entering hook into the “windows”, instead enter the hook directly into the chains just above the window sp’s. This is to avoid creating gaping holes along the window sp’s.
NOTE 2: Ensure that you have worked an odd number of sc’s. This is necessary so that the hdc rows that follow, work out correctly.
Row 2 – 3: sc in 1st sp and ea sp across. At end of row 3 ch 3; turn.
Row 4: Repeat row 7 of the body
Row 5: Repeat row 8 of the body
Row 6: Repeat row 9 of the body
Row 7 – 8: Repeat row 10 of the body
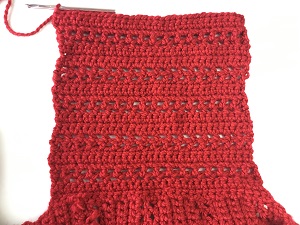
Continue in this pattern, 3 rows of sc’s and 2 rows of hdc’s for 28 total rows. Tie off.
BODY BORDER
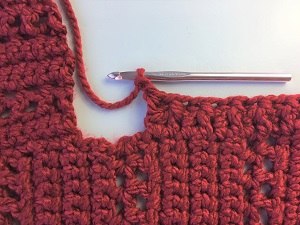
Row 1: Working with wrong side facing you, working along the shoulder edge, attach yarn with a chain, 2 inches away from the left edge of the hood . Hdc in same sp and ea sp around entire edge of the body, evenly spaced. Enter 3 hdc’s in corners.
Follow Note 1 of the hood. End that row 2 inches from the right edge of the hood. Ch 2. Turn
NOTE: Refer to the video tutorial for instruction for the FPHDC and BPHDC
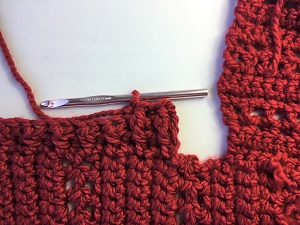
Row 2: FPHDC around 1st hdc post below. BPHDC around the next hdc post below. Repeat around entire border, alternating 18and BPHDC. At end of row enter hdc into the turning ch. Ch 2. Turn
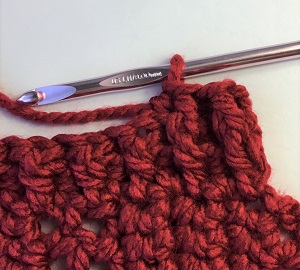
Row 3: FPHDC around the FPHDC below. BPHDC around the BPHDC below. Continue in pattern to end of row. Enter hdc in turning ch. Tie off.
HOOD BORDER
Working along only the two sides (not the top) of the hood, work the border the same as for the body.
ATTACH BORDER AND SHOULDERS
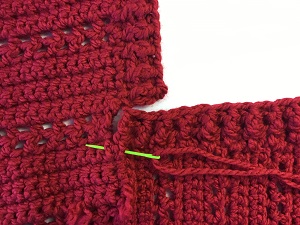
Line up the edges of the borders where the hood and shoulder meet. Using a yarn needle with a length of yarn, whip st the borders closed. Do this for both sides.
SEAM HOOD
With wrong side facing you, right sides together, fold hood lengthwise so the corners meet at the top. Using a yarn needle with a length of yarn, whip st the top closed working the needle into two strands of yarn from ea side. Tie off.
POCKET (make 2)
Ch 24
Row 1: Sc in 2nd ch from hook and ea ch across for 23 sc’s. Ch 2. Turn
Row 2: hdc in 1st sp and ea sp across. 23 hdc’s. Ch 2. Turn
Row 3 – 11: Repeat Row 2. At end of Row 11, ch 3. Turn
NOTE: enter hook into the 2 strand ch that forms at the top of previous row. Do not enter hook into the sp’s between posts.
Row 12: sk 1st sp; hdc in next sp; *ch 1; sk next sp; hdc in next sp*. Repeat from * to * to end. Work the last ch, enter last hdc in turning ch. Ch 3. Turn
Row 13: hdc into top of 1st hdc post below; ch 1;* hdc into top of next hdc; ch 1*. Repeat from * to * to end, entering last hdc into turning ch. Ch 2. Turn
Row 14: hdc in 1st sp; 2 hdc in next sp and ea sp across to last sp. Hdc in last sp; hdc in turning ch. 23 hdc Ch 2. Turn
Row 15: hdc in 1st sp and ea sp across. 23 hdc. Tie off yarn.

ATTACH POCKETS TO INSIDE PANEL
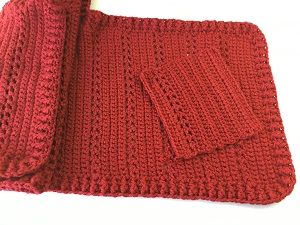
With wrong side of panel facing up and right side of pocket facing up, position pocket at an angle as shown in photo. Hood is at the top (for reference).
Using a yarn needle and length of yarn, attach using a whip stitch, beginning at top left of pocket and stitching down the left edge of pocket, along the bottom and up the right edge of pocket. Tie off yarn.
Weave in ends.
Enjoy!
Copyright © 2020 Sylvia Talo You may sell items made from my patterns. Please include a link or reference to my website CrazyCoolCrochet.com and/or to my Etsy shop CrazyCoolCrochetUS.etsy.com . Pattern and photos are copyright protected; they may not be reproduced, redistributed, or displayed publicly in any way.
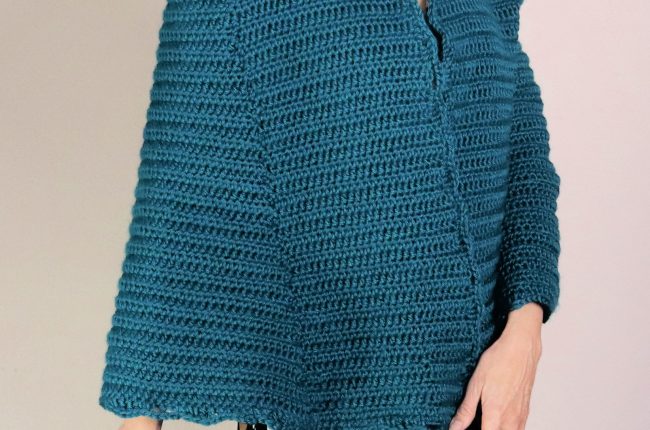
If you prefer an easier version of the crochet pocket shawl for beginners click this photo:

how would i make the hood bigger to cover more of the face?
You can add 3 additional rows of sc’s and 2 rows of hdc’s to lengthen the hood.
Thank you for visiting!
Sylvia
CrazyCoolCrochet.com