Free Crochet Cape Pattern
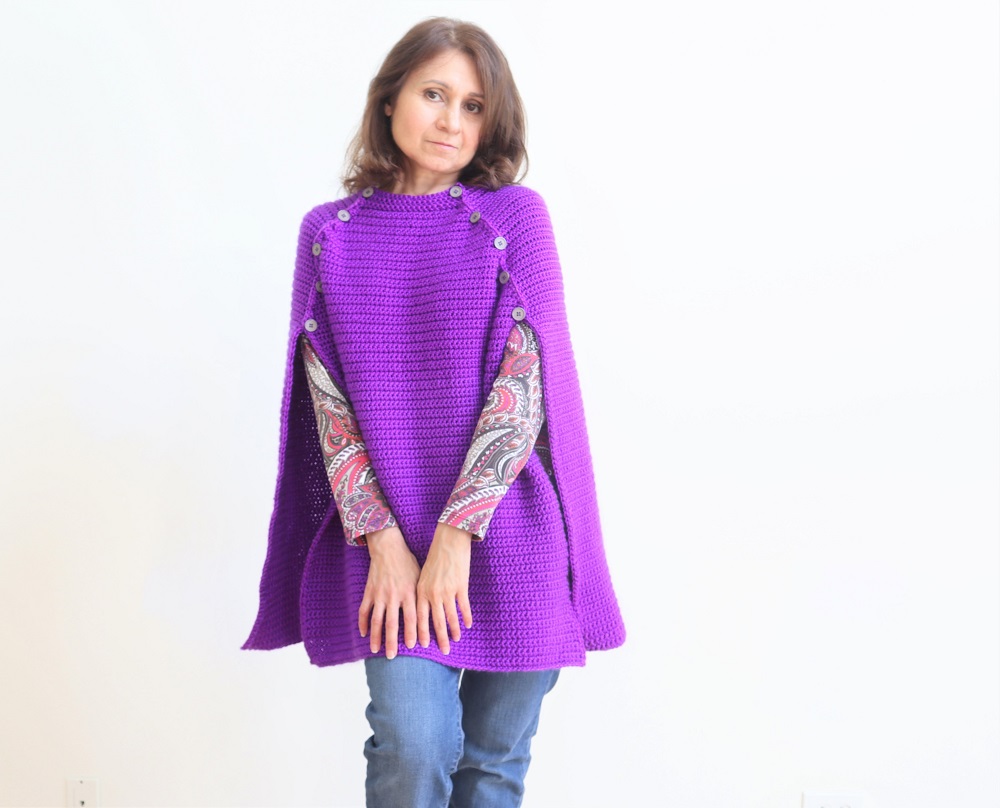
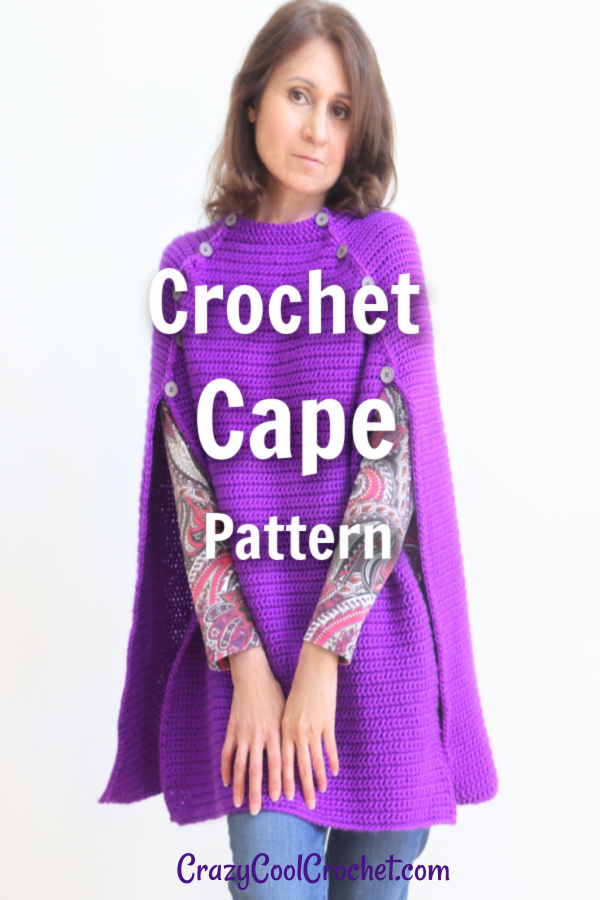
FREE Crochet CAPE pattern for this beautiful, unique cape, capelet, crochet cloak or crochet poncho (call it what you want!). Stylish, easy to wear capes are super popular and trending in the fashion world. Handcraft your own crochet cape with the video tutorial below.
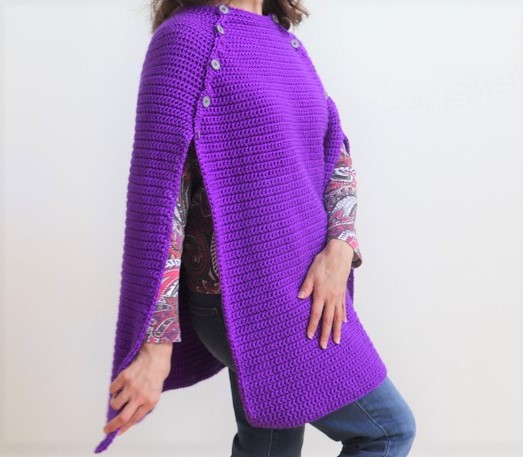
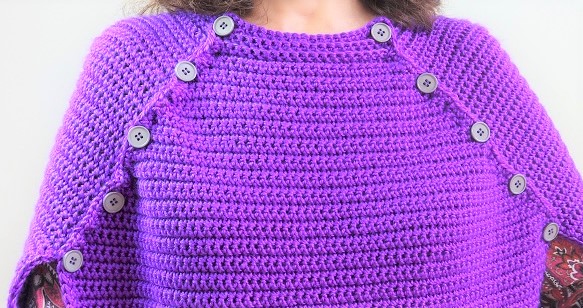
This crochet cape is an eye catcher in this royal purple color. The exact yarn will be included below along with a link to purchase. The entire crochet cape is worked in single crochet. This was a very deliberate design choice in order to keep the focus on the silhouette or shape. I did try this with several different stitches but it only distracted from the strong, sleek shape.
The video tutorial can be used along with the written pattern. Crazy Cool Crochet offers quite a lot of FREE CROCHET PATTERNS and videos and is my only income. Your support, by subscribing to both this blog and my YouTube channel, is greatly appreciated! You are also encouraged to purchase the printable patterns from my Etsy shop: CrazyCoolCrochetUS.etsy.com
This post contains affiliate links which allow me to earn a small commission for purchases made from these links at no additional cost to you.
Materials:
#4 weight Yarn Used here Yarn Bee Soft Secret; 19 ounces/1000 yards/Color Hot Grape
May substitute with Michael’s Loops & Threads Soft & Shiny or equivalent yarn.

Crochet hook size H/5 mm
10 – 12 buttons no larger than 3/4 inch.
Yarn needle
scissors
Printable Crochet Cape Pattern:
This free crochet cape pattern version is for a size small. Line by line, printable instructions for size Medium, Large, XLarge, 1X and 2X are available in the Etsy pattern Crazy Cool Crochet Cape
NOTE: Add length to your preference. For front panel measure from the bust line to your preferred length. Decrease rows will begin at the bust line. Adding length to the back panel will require 4 additional rows than the front panel to accommodate draping over the shoulder.
Dimensions for size Small: Front panel neck to bottom = 26 inches; width at widest point 19.5 inches
Back panel neck to bottom = 26.5 inches; width at widest point 31 inches
NOTE: photos appear above the corresponding row.
FRONT PANEL
Ch 73
Row 1: NOTE: for this row only, work in the back loop of ch’s (3rd loop). Sc in 2nd ch from hook and ea ch across. 72 sc’s. Ch 1 Turn
Row 2 – 75: sc in 1st sp and ea sp across. 72 sc’s. Ch 1 Turn
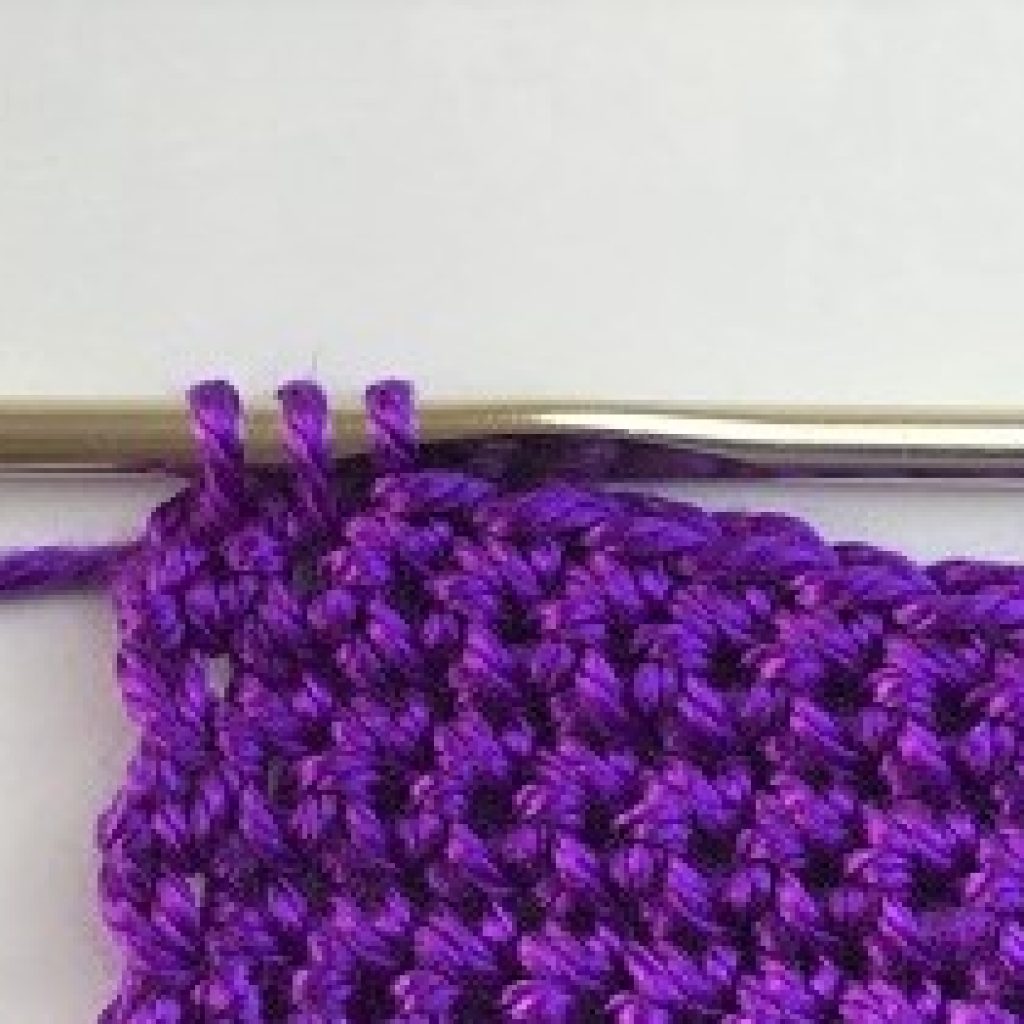
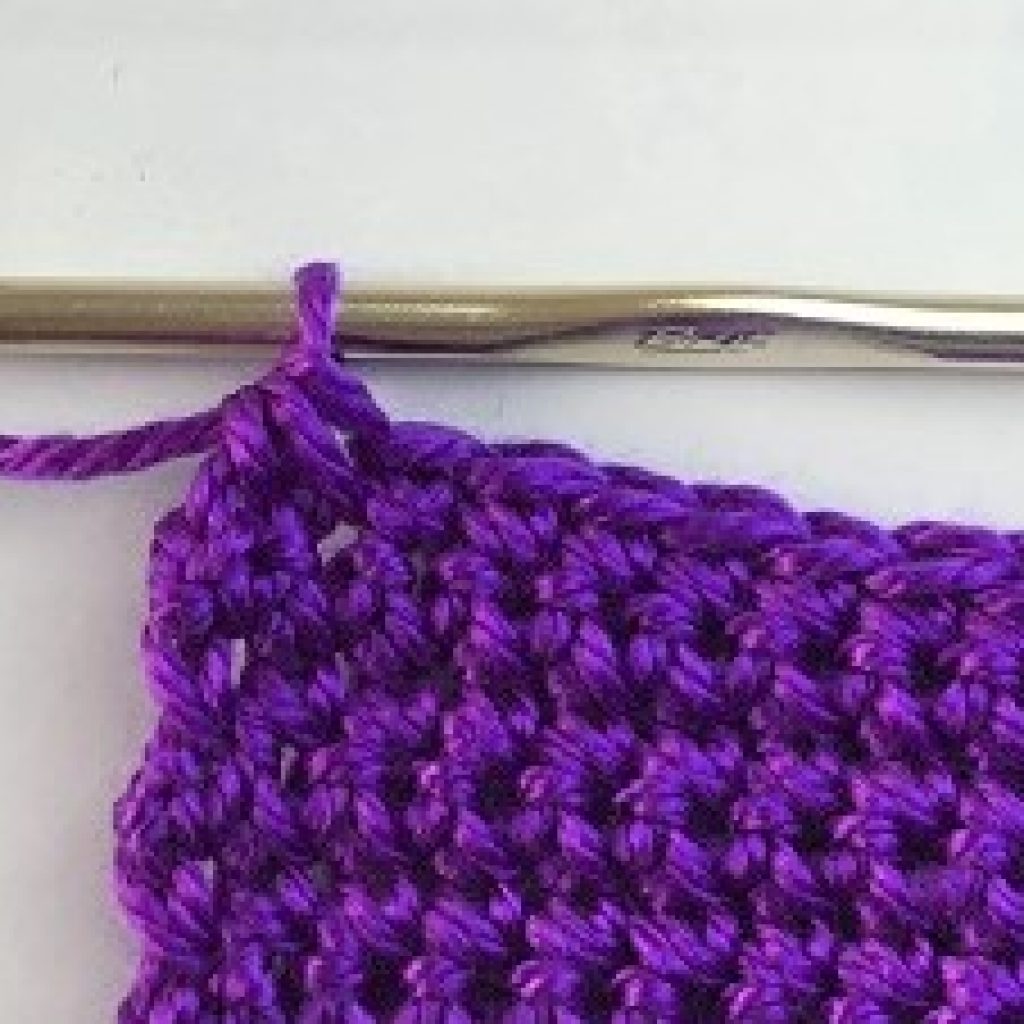
scdec = single crochet decrease (view video above for more instruction)
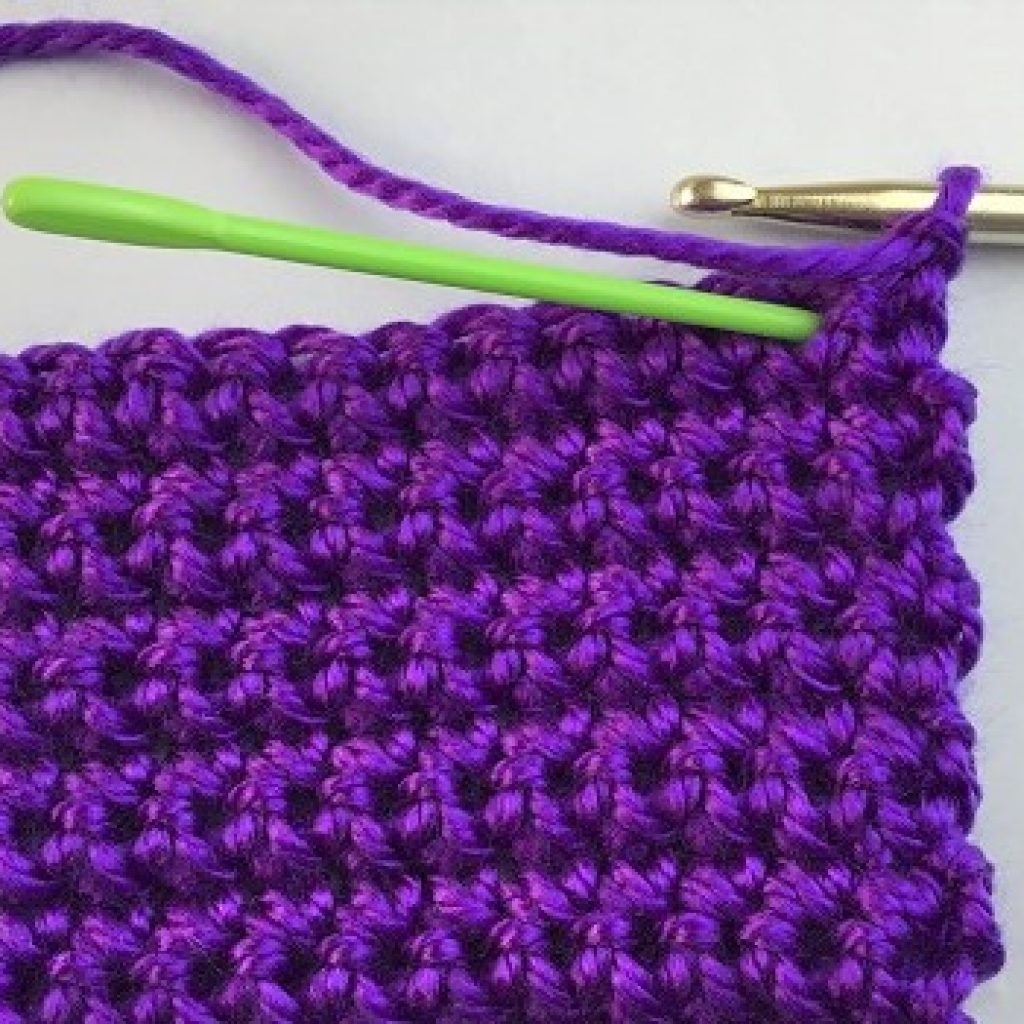
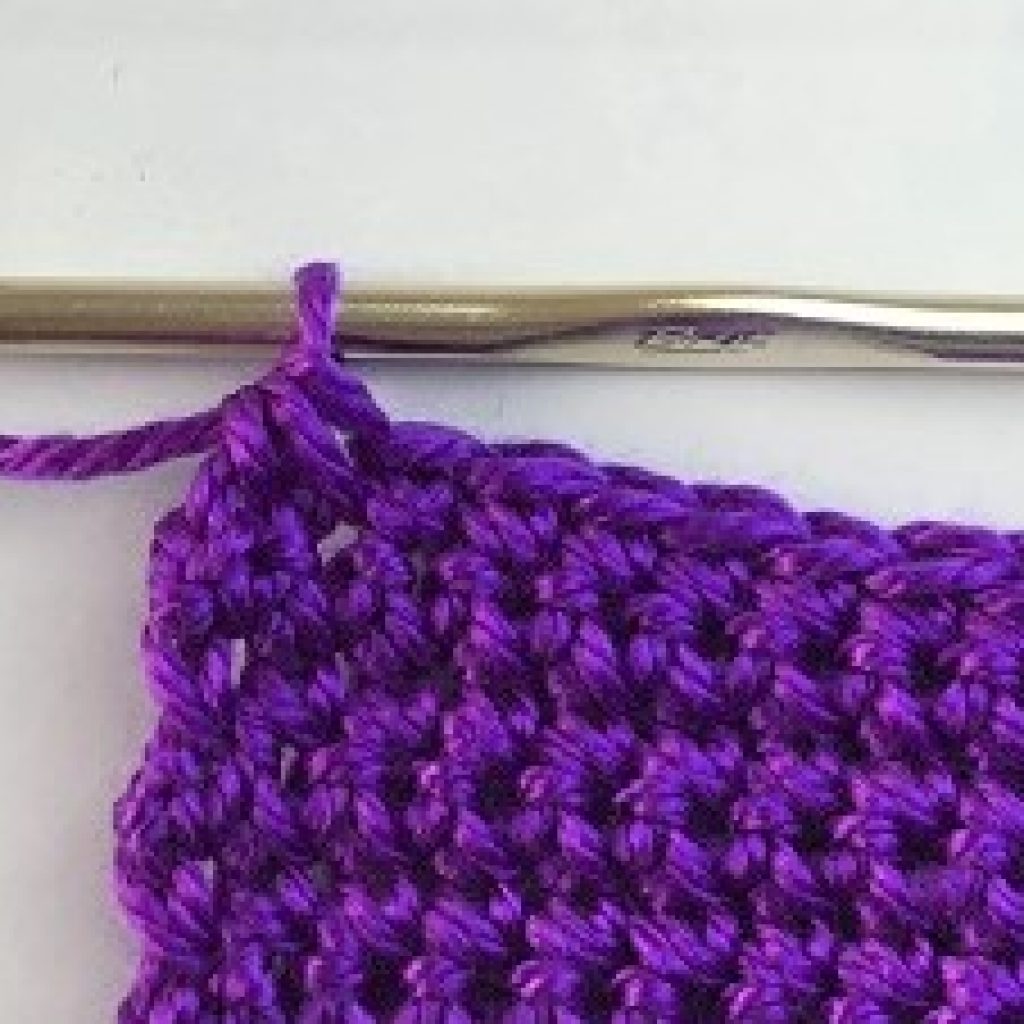
Row 76: [For sizing see note above regarding preferred lengths.] sk 1st sp to begin decrease row; sc in ea sp to last 2 sp’s; scdec over the last 2 sp’s. 70 sc’s. Ch 1 Turn
Repeat Row 76, decreasing 1 sc on ea side of ea row until you are at 20 sc’s. Ch 1 Turn
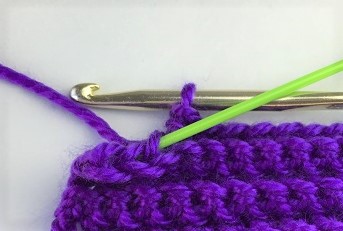
NECK BORDER: Work 5 rows of sc’s working in BLO (back loop only). 20 sc’s. Tie off.
BACK PANEL
Ch 113
Row 1: NOTE: for this row only, work in the back loop of ch’s (3rd loop). Sc in 2nd ch from hook and each ch across. 112 sc’s Ch 1 Turn
Row 2: sc in 1st sp and ea sp across. 112 sc’s. Ch 1 Turn
Rows 3 – 99: Repeat Row 2
Row 100: sc in 1st sp and next 13 sp. * scdec over next 2 sp’s; sc in next 2 sp’s*; repeat from * to * 3 times more; scdec. 5 dec’s total. Sc in next 22; scdec 2x; sc in next 22 sp’s. Repeat from * to * 4 times; scdec. 5 dec’s total; sc in last 14 sp’s. 100 sc’s total. Ch 1 Turn
Row 101: sc in 1st sp and next 12 sp. * scdec over next 2 sp’s; sc in next 2 sp’s*; repeat from * to * 3 times more; scdec. 5 dec’s total. Sc in next 38 sc. Repeat from * to * 4 times; scdec. 5 dec’s total; sc in last 13 sp’s. 90 sc’s total. Ch 1 Turn
Row 102: sc in 1st sp and next 11 sp. * scdec over next 2 sp’s; sc in next 2 sp’s*; repeat from * to * 3 times more; scdec. 5 dec’s total. Sc in next 13 sc; scdec 2x; sc in next 13 sp’s. Repeat from * to * 4 times; scdec. 5 dec’s total; sc in last 12 sp’s. 78 sc’s total. Ch 1 Turn
Row 103: sc in 1st sp and next 11 sp. * scdec over next 2 sp’s; sc in next 2 sp’s*; repeat from * to * 4 times more; scdec. 6 dec’s total. Sc in next 10 sp’s; repeat from * to * 5 times more; scdec. 6 dec’s total. Sc in last 12 sp’s. 66 sc’s. Ch 1 Turn
Row 104: sc in 1st sp and next 9 sp. *scdec, sc in next 2 sp’s*. Repeat from * to * to last 10 sp’s (you will have worked the last scdec and have 10 sp’s remaining). Sc in last 10 sp. 54 sc Ch 1 Turn
Row 105: Repeat Row 104. 45 sc. Ch 1 Turn
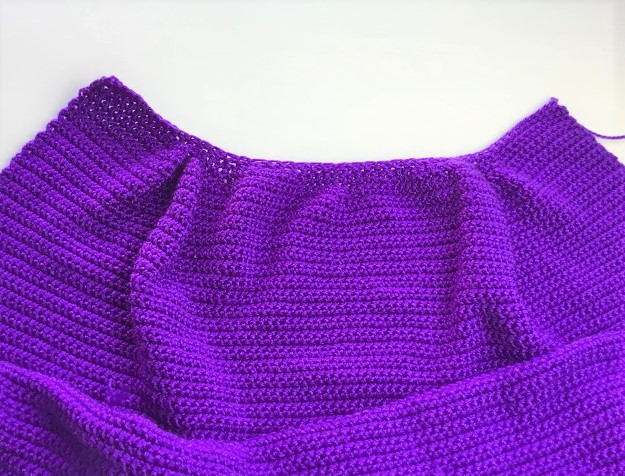
NOTE: the decreases will cause puckering. This is normal.
Rows 106 – 110: sc in BLO of ea sp. 45 sc. Tie off.
BORDER: With right side facing you, attach yarn at top left corner. Work one row of sc evenly spaced along the edges only (not the top or bottom). Tie off.
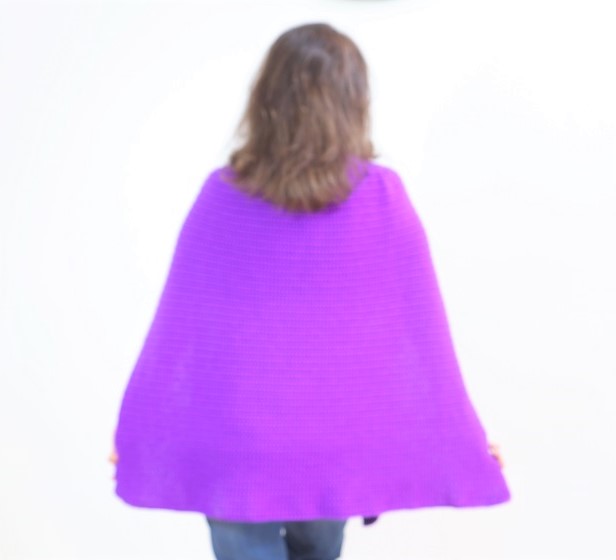
NOTE: Back panel will be slightly longer than the front panel by design. The back panel drapes over the shoulders while the front panel does not reach the shoulders.
Feel free to save this pin to your favorite Pinterest boards!
ATTACH PANELS
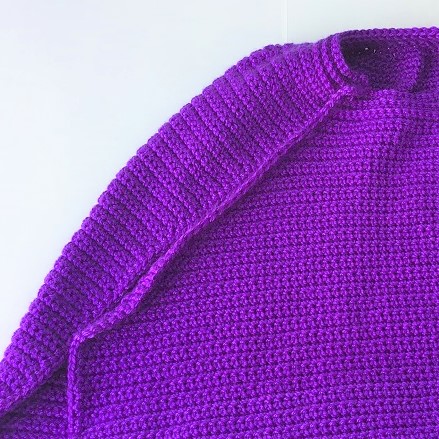
Place front panel (right side facing up) on top of back panel (wrong side facing up). Folding over the back panel at the shoulder so the wrong side of the front panel (the sc border) sits on top of the back panel (sc border). Match up the front neck border with the back neck border at the corners to begin seaming.
With yarn needle and length of yarn, bring the needle from inside of back panel up through the top of front panel. Taking care to match up rows as you g; insert the hook slightly to the left of the stitch you just completed (top panel), insert needle through top panel through the back panel. Insert needle slightly to the side of stitch you just completed (back panel), up through the front panel.
Continue seaming in this manner until you reach the row where the decrease row began.
Repeat the seaming for the opposite side.
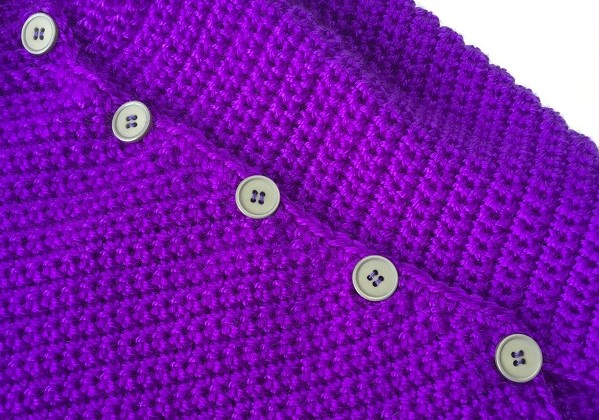
Sew buttons evenly spaced with sewing needle and thread.
Copyright © 2020 Sylvia Talo You may sell items made from my patterns. Please include a link or reference to my shop CrazyCoolCrochetUS.etsy.com . Pattern and photos are copyright protected; they may not be reproduced, redistributed, or displayed publicly in any way.
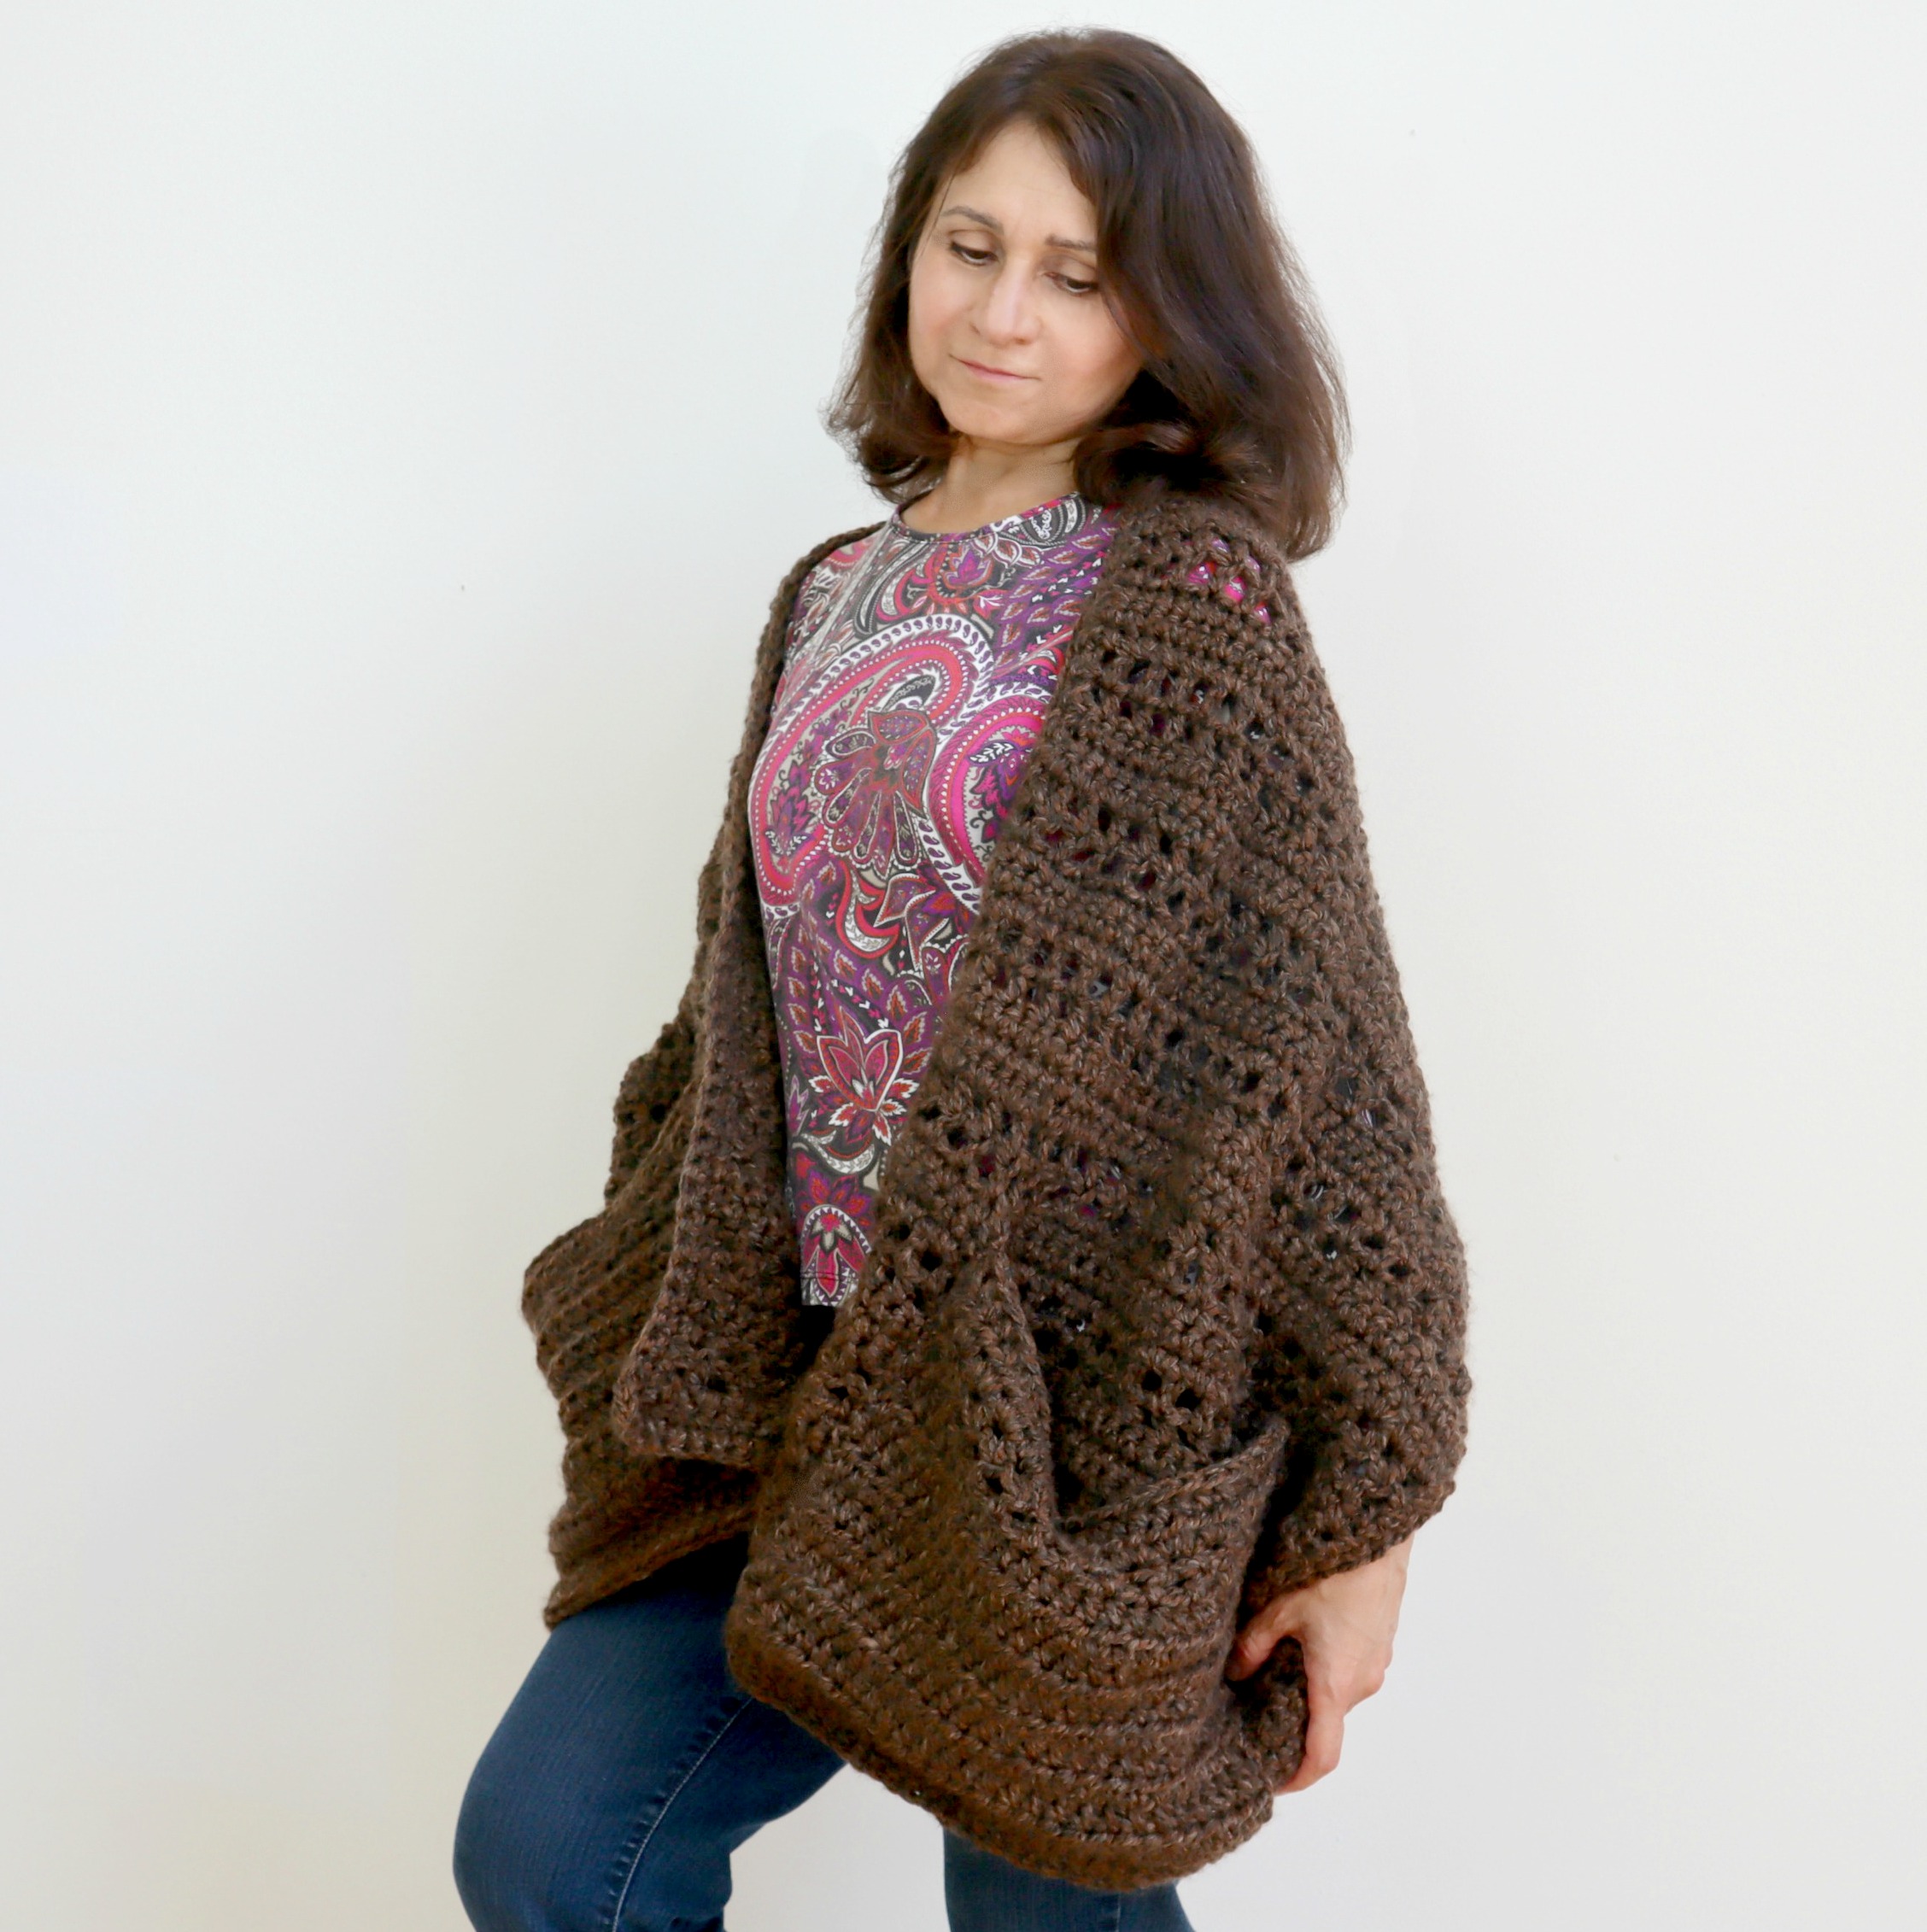
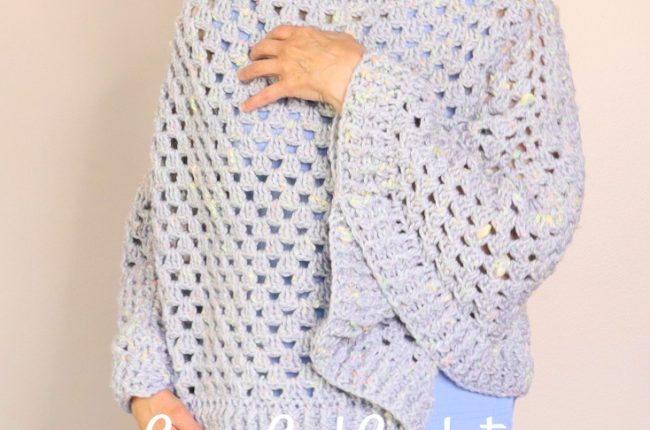
You might also enjoy this easy crochet POCKET SHAWL:
You give a free pattern for small people but larger sizes have to buy the pattern
Hi Carole,
Yes, with this pattern I am leaving the line by line instructions for larger sizes with the Etsy pattern for purchase.
As it turned out, this design required quite a lot more work, additional days of designing and calculations to determine each of the other sizes.
Normally I’m able to give simple changes and multiples for larger sizes. However, this design, which looks deceptively simple, required a lot more work on my end.
In order to keep my pattern prices very low, I don’t normally do line by line instructions for larger sizes. As I said, I ususally offer simple multiples or basic directions. This pattern does require a greater level of detail.
I do hope you understand my reasoning.
Thank you so much for stopping by.
Sylvia
CrazyCoolCrochet.com
Your designs are wonderful and this is elegant and sophisticated. I am very happy to purchase the pattern.
Hi Michelle,
Wow. Your comment actually brought tears to my eyes. Honestly, that is so kind of you. Thank you so much!
Sylvia
CrazyCoolCrochet.com
What about large size
Hello,
I replied to this question in a previous comment.
The larger sizes are included in the Etsy pattern for purchase. This pattern is offered with line by line instructions for each size and is priced accordingly.
Most of my patterns are priced very low and include basic (not line by line) instructions for larger sizes. This pattern was quite a lot more work. Please visit my Etsy shop for the printable pattern. The link is above in the main post.
Sylvia
CrazyCoolCrochet.com