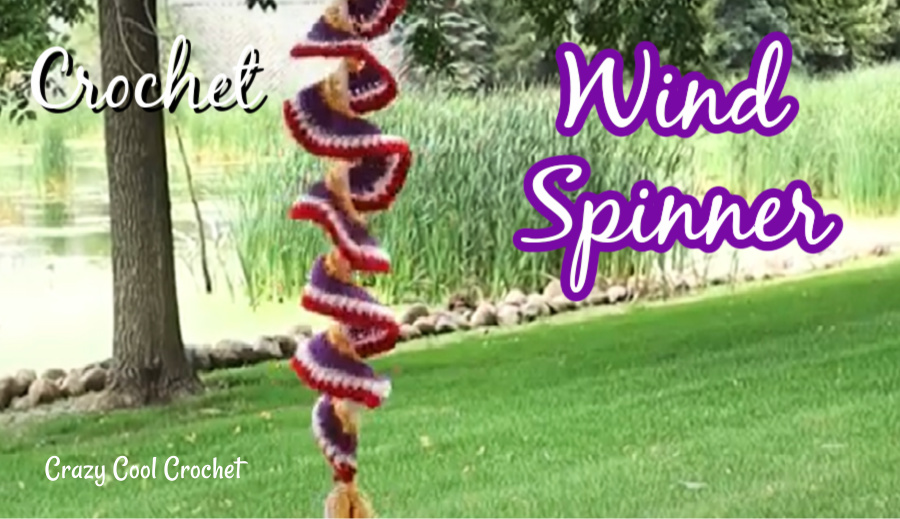
Have you all seen the latest crochet trend that is taking the crochet world by storm? The fun, easy to make, beautiful Crochet Wind Spinner!
How cool is this?
Crochet Stash Buster Project
This is the perfect crochet stash buster project that will help you use up your left over yarn scraps.
Fun Crochet Stocking Stuffer
Looking for crochet Christmas stocking stuffer ideas? Here you go!
Fun Crochet Home Decor
These can also be hung up indoors in kids’ rooms, kitchens, sunrooms, laundry rooms, nurseries. Any place you want to add a touch of whimsy and color.
Crochet Wind Spinner Video Tutorial
Watch the video below to see it in action! Please keep in mind that when I filmed this there was almost no wind! The little bit of gentle breeze will give you a good idea of how gorgeous this is when it spins. Easy instructions to create the crochet wind spinner, including the tassel, will help you make one (or a BUNCH) fairly quickly. Don’t forget to subscribe and comment on YouTube. Thank you!
Crochet Wind Spinner Free Pattern
Materials List:
Yarn scraps /3 or 4 colors / #3 lightweight or #4 medium weight / acrylic or cotton
Hook size I / 5.5 mm or smaller
Scissors
1 stitch marker
ABBREVIATIONS
SC =single crochet
EA = each
CH = chain
DC = double crochet
HDC = half double crochet
ST = stitch
SIZING
For a long crochet wind spinner start with a foundation chain of 100 chains.
Adjust length as preferred. Suggest 60 chains for shorter wind spinner and 80 chains for mid length.
NOTE: You will be working on the front or right side only for the entire project.
Ch 100 with first color.
Row 1: SC in 2nd ch from hook. 1sc in ea ch to the end. At end of row tie and cut off yarn leaving a 5 inch tail to weave in. Do NOT turn.
Row 2: Attach 2nd color in the first sp of the beginning of the previous row with a chain. Work 2 HDC in ea sp across the row. At the end of the row tie and cut off the yarn leaving a tail. Do NOT turn.
Row 3: Attach st marker to the first sp of the beginning of the first row. This is to help you distinguish from the two ends of the work. Attach 3rd color to the first sp of the beginning of Row 2. Work 3 DC’s into ea sp across the row. At end of the row tie and cut off the yarn leaving a tail. Do NOT turn.
Row 4: Attach next color to the first sp of the beginning of the previous row with a chain. Work 1 sc in ea sp across the row. At the end of the row tie and cut off yarn leaving a tail. Do NOT turn.
Row 5: This row is optional. You may end with Row 4 if you prefer. Repeat Row 4 with the next color. At end of row DO NOT CUT OFF THE YARN. After completing the last sc, ch 10 (or for preferred length). This will create a chain for hanging the crochet wind spinner. You may tie off the yarn.
TASSEL
View video for detailed instructions.
Using any object (I used a paperback book) about 7 inches long, wind yarn around object to create a medium thick tassel.
Take a strand of yarn about 10 inches long and pull under one side of wound yarn. Slide the strand of yarn to top of tassel and tie securely.
Slide tassel off of the object. Take another length of yarn about 12 inches long and place the tassel on top of strand. Strand should be about 1.5 inches from top. Tie securely. Strands can be incorporated into tassel. Cut the bottom of the loops and trim ends as needed.
Prior to attaching the tassel, wind the crochet wind spinner into a flat disc, beginning from the “top” and working the remainder of the spiral into the disc. VIEW VIDEO for detail.
Attach the tassel to the bottom of the crochet wind spinner (where the st marker was placed): Insert hook in the sc sp and grab one tie strand and pull through sp. Tie both strands into secure knots. Weave the strands into the tassel.
You May Also Like


