Crochet Cable Hat Free Pattern
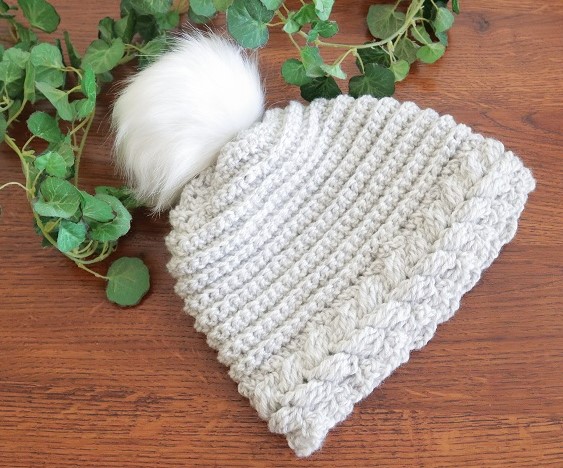
This crochet cable hat for women uses the EASIEST CROCHET CABLE STITCH EVER! This is the same cable stitch used in the coordinating Crochet Cable Scarf shown at the bottom of this post.
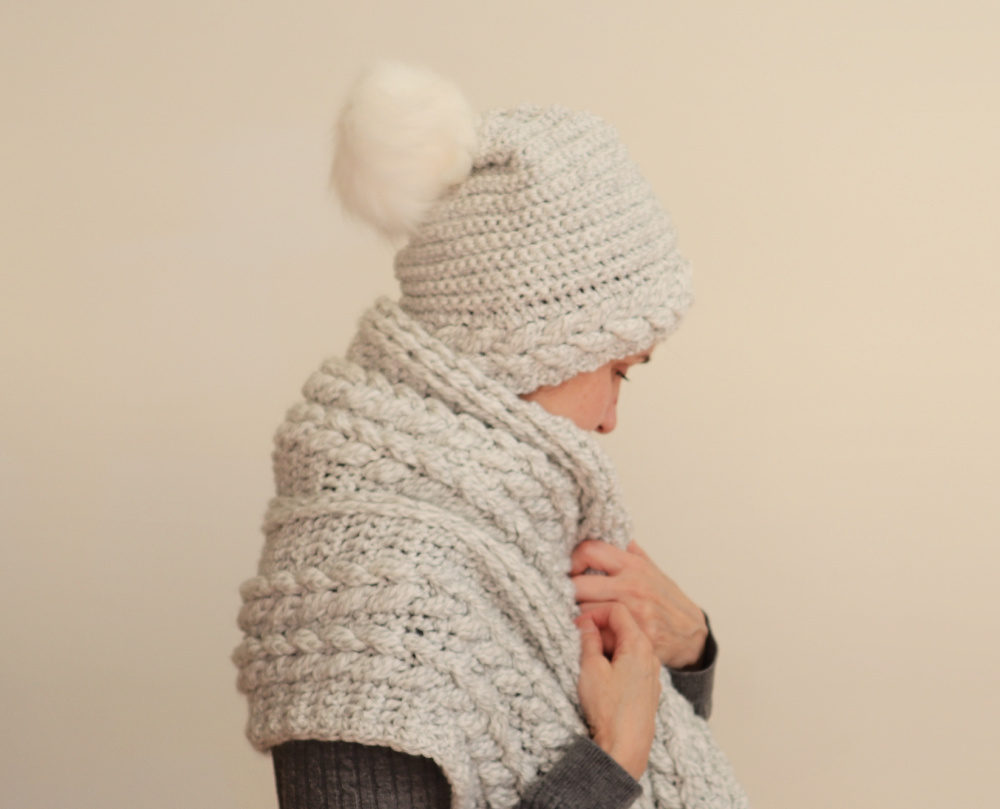
Crochet Cable Hat
This design and pattern is quite different from other crochet cable hats. Most cable hats work the cables in a vertical pattern. This design uses just one band of cables worked around the bottom, forehead area. This allows the cables to be front and center and becomes the focal point of the hat.
The body of the hat is understated, but super textured, single crochets worked in the back loops. This creates interest without taking away from the cable band.
Adding a fur pom pom is the icing on the cable cake!
Crochet Cable Hat Video Tutorial
As always, I provide a video tutorial for your convenience and ease in creating this crochet hat. Most of my designs, patterns and videos are provided FREE TO YOU. You’re welcome. LOL! I only ask that you watch the video on YouTube (there is a little button at the bottom of the video below you can click); watch it all the way, or as much of it as possible; give a thumbs up and comment if you are so inclined. (Please be inclined. LOL again.)
Printable Etsy Pattern
The printable Etsy version of this crochet cable hat pattern is here: CrazyCoolCrochetUS.etsy.com
Size One Size Fits Most
This post contains affiliate links which means I may earn a small commission from purchases made from these links at no additional cost to you.
CrazyCoolCrochet.com is a participant in the Amazon Services LLC Associates Program, an affiliate advertising program designed to provide a means for sites to earn advertising fees by advertising and linking to Amazon.com
Materials :
Any #4 medium weight yarn
Used here: Bernat Super Value/ color Gray Ragg
Purchase equivalent yarn here:

3 ounces / 200 yards
Crochet Hook H / 5 mm
Pom Pom
button (to attach pom pom)
Yarn needle
Scissors
Abbreviations:
Ch = chain
BLO = back loop only
Sc = single crochet
ScDec = single crochet decrease
Sk = skip
Sl st = slip stitch
Sp = space
St = stitch
YO = yarn over
Dimensions: 22 inch circumference (cable band); 9 inches tall (not counting pom pom)
NOTE: Photos are shown above corresponding rows.
CABLE BAND
Ch 9
Row 1: DC in 4th ch from hook and ea ch across. 6 dc’s. Ch 1. Turn
Row 2: Sc in 1st st and ea st across; do not work into the turning ch. 6 sc’s. Ch 2. Turn
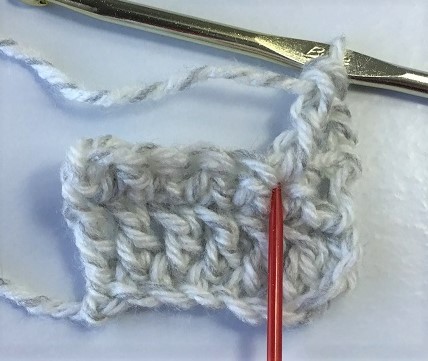
Row 3: Sk sp next to turning ch. Dc in 1st sc.
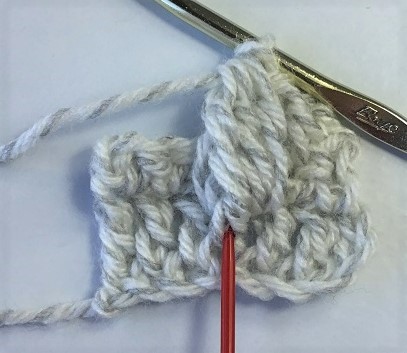
CABLE: Work first half of cable around the 3rd DC (do not count turning ch) of Row 1 as follows:, *YO; insert hook from front to back, around the back of the dc and back through the front; hook yarn and pull up a long loop; pull yarn through first two loops on hook*; in same sp repeat from * to * 2x . You will have 4 loops on the hook. Pull yarn through all 4 loops.
Sk next sc (behind the cable); dc in ea of next two sc’s.
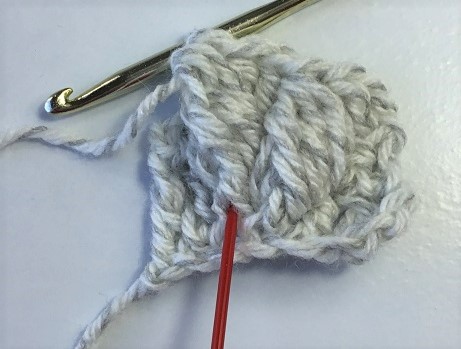
Work second half of cable around the next dc of Row 1 (next to the 1st half of cable) as for the first half of cable above.
Dc in last sc. Ch 1. Turn
Row 4: Sc in ea st beginning with the 1st st; do NOT work into the turning ch at the end of the row. 6 sc’s. Ch 2. Turn
Row 5: Sk sp next to turning ch. Dc in 1st sc.
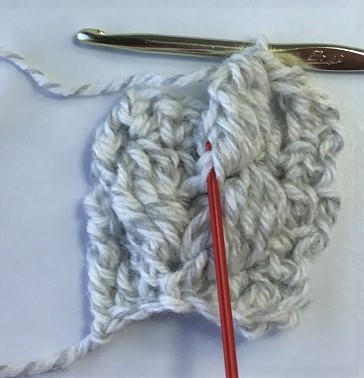
Cable *Work 1st half of cable around the 1st DC in the cable below. Sk st behind the cable; dc in next 2 sc’s. Work 2nd half of cable around the 2nd DC of cable below*.
Dc in last sc. Ch 1. Turn
Repeat Rows 4 and 5 for 20 cables or to preferred length.
End with 2 rows of regular sc. Do NOT cut off yarn. Ch 1. Do not turn.
NOTE: This cable band determines the circumference of the hat. Adjust as needed by working more or fewer cables.
BODY of HAT
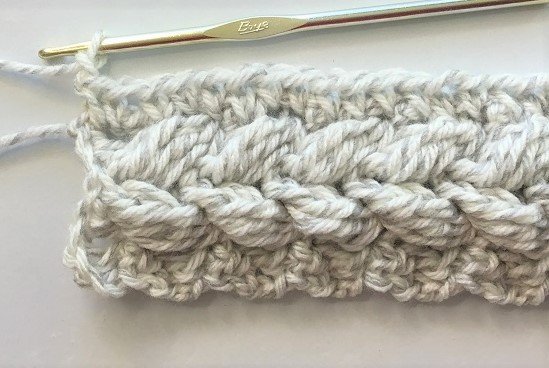
Row 1: With the work right side facing you, working along the long edge of the cable band, sc in sp of the last sc row worked. Work a sc in ea sp along the edge. Adjust spacing of sc’s as needed to end row with 64 sc’s. Ch 1. Turn
Row 2: Sc in BLO of ea st. 64 sc’s. Ch 1. Turn
Row 3 – 8: Repeat Row 2.
Row 9: ScDec over 1st two st’s in BLO as follows: begin sc in 1st st for two loops on hook; insert hook in next st, hook yarn for 3 loops on hook; pull yarn through all 3 loops. ScDec made. Sc in BLO of ea st to last two st’s. ScDec over last two st’s. 62 sc’s. Ch 1. Turn
Row 10 – 12: Sc in BLO of ea st. 62 sc’s. Ch 1. Turn
Row 13: Repeat Row 9 for 60 sc’s. Ch 1. Turn
Row 14: Repeat Row 9 for 58 sc’s. Ch 1. Turn
Row 15: Repeat Row 9 for 56 sc’s. Ch 1. Turn
Row 16: ScDec at beginning of row; sc in BLO in ea st to st #26. ScDec over st’s 26 & 27; sc in BLO to last two st’s. ScDec over last two st’s. 53 sc’s. Ch 1. Turn
NOTE: For rows 16 – 23 you will work 3 scDec’s per ea row; one dec on ea end and one dec in center of row.
Row 17: Repeat Row 16. 50 sc’s. Ch 1. Turn
Row 18: Repeat Row 16 working a scDec over st’s 24 & 25. 47 sc’s. Ch 1. Turn
Row 19: Repeat Row 16 working a scDec over st’s 22 & 23. 44 sc’s. Ch 1. Turn
Row 20: Repeat Row 16 working a scDec over st’s 21 & 22. 41 sc’s. Ch 1. Turn
Row 21: Repeat Row 16 working a scDec over st’s 19 & 22. 38 sc’s. Ch 1. Turn
Row 22: Repeat Row 16 working a scDec over st’s 17 & 18. 35 sc’s. Ch 1. Turn
Row 23: Repeat Row 16 working a scDec over st’s 16 & 17. 32 sc’s. Cut off yarn.
SEAM
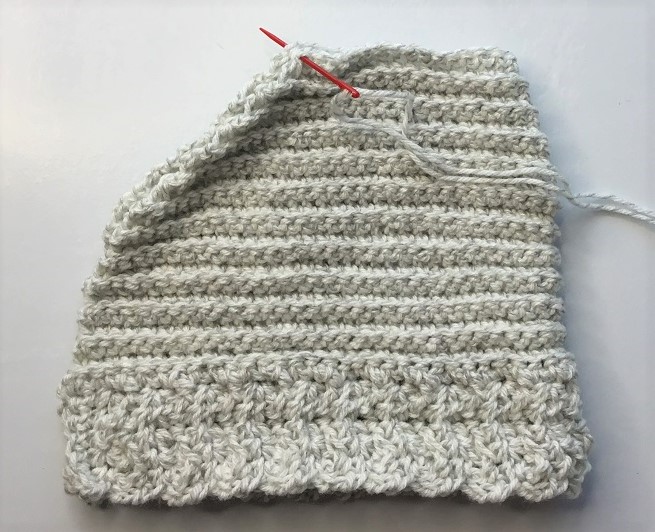
With wrong side facing you, fold panel so edges of panel meet. With yarn needle and length of yarn, seam edges using a whip st. Cut off yarn.
Leaving a 5 inch tail, seam top of hat opening using yarn needle and double strand of yarn. Weave the yarn needle in and out of the top st sp’s around the opening. Pull yarn strands tightly to close the hole. Tie tails securely. Weave in ends.
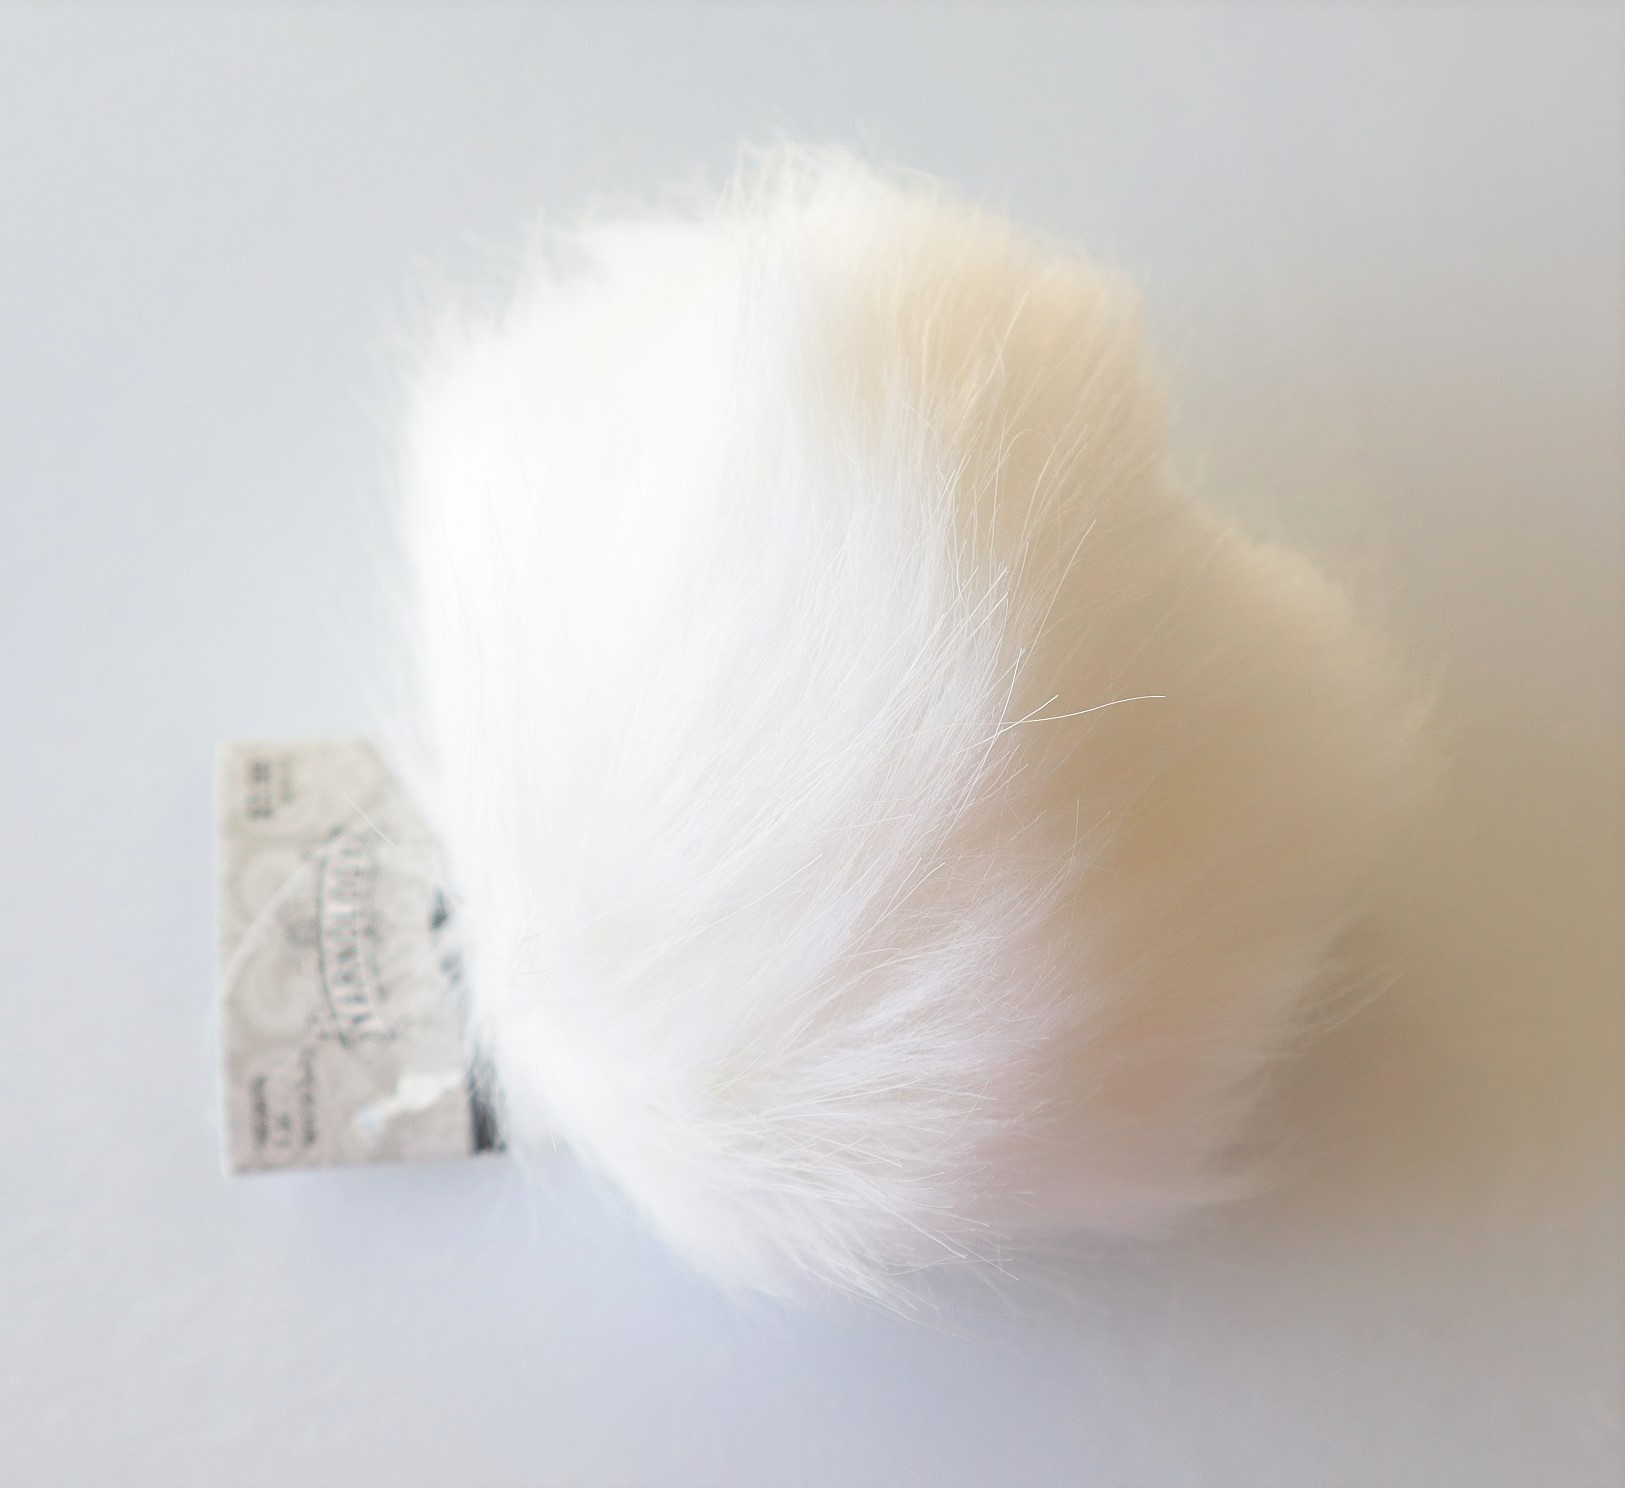
NOTE: If using a pom pom with an elastic loop, sew a small button to inside of hat at the top center hole space. Pull elastic through the center hole to wind around the button.
Copyright © 2021 Sylvia Talo You may sell items made from my patterns. Please include a link or reference to my shop CrazyCoolCrochetUS.etsy.com . Pattern and photos are copyright protected; they may not be reproduced, redistributed, or displayed publicly in any way.
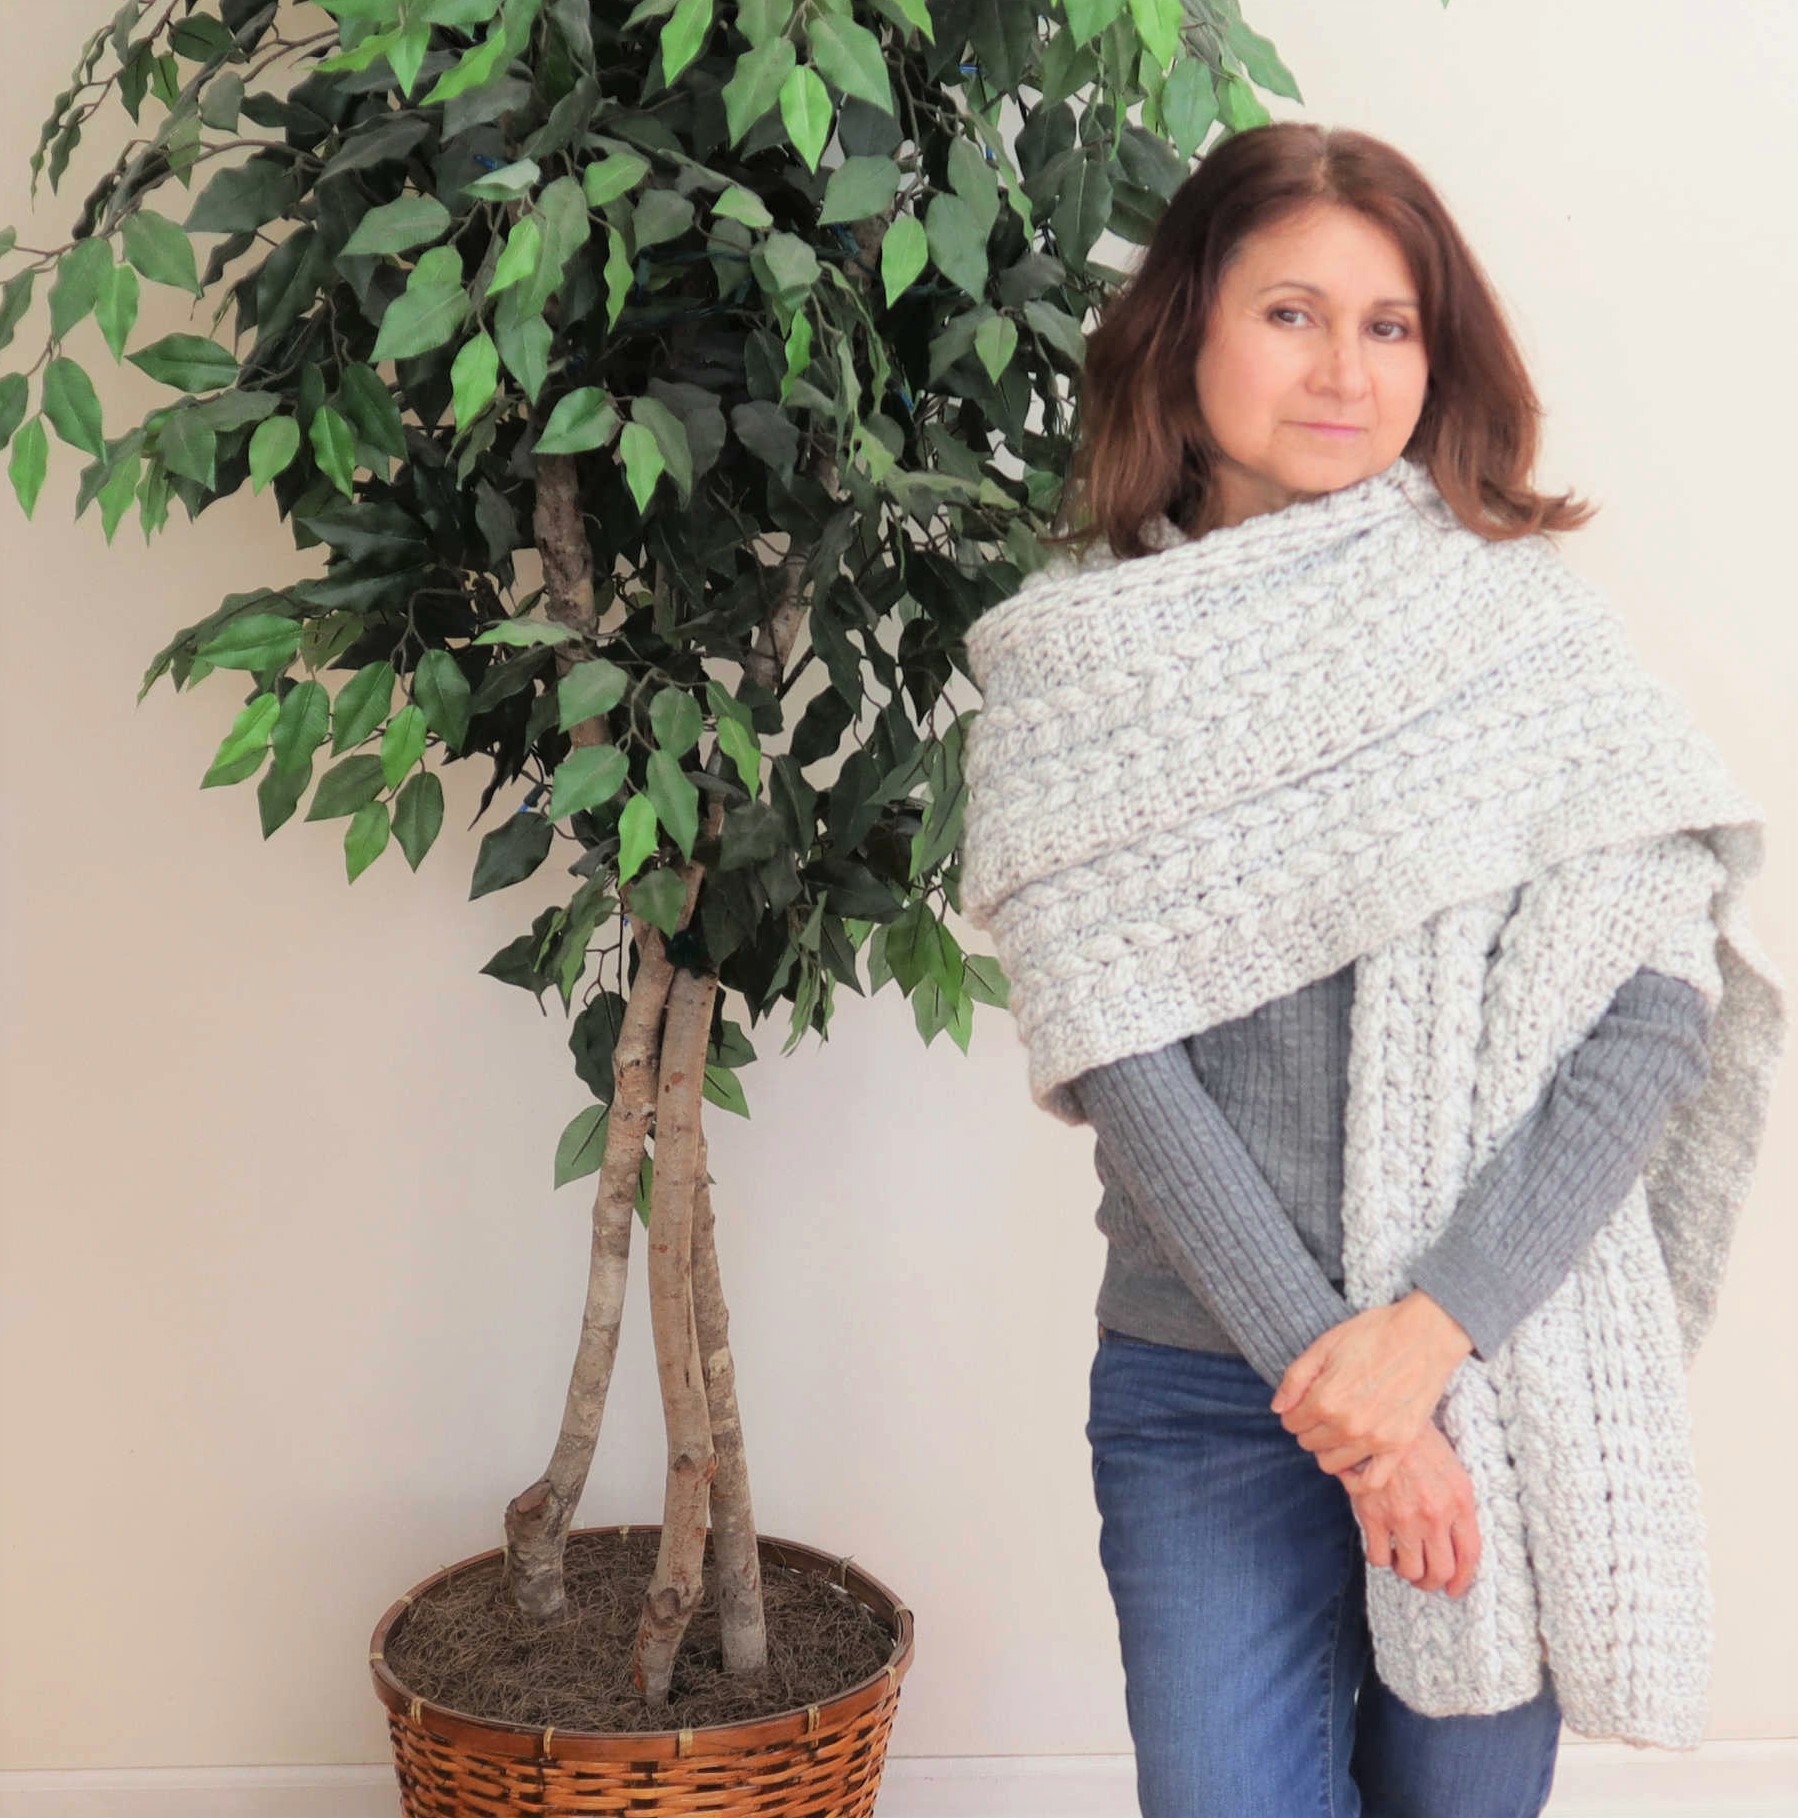
COORDINATES WITH THE MATCHING CROCHET CABLE SCARF:
[…] Cable Hat […]