Crochet Chevron Coat Pattern
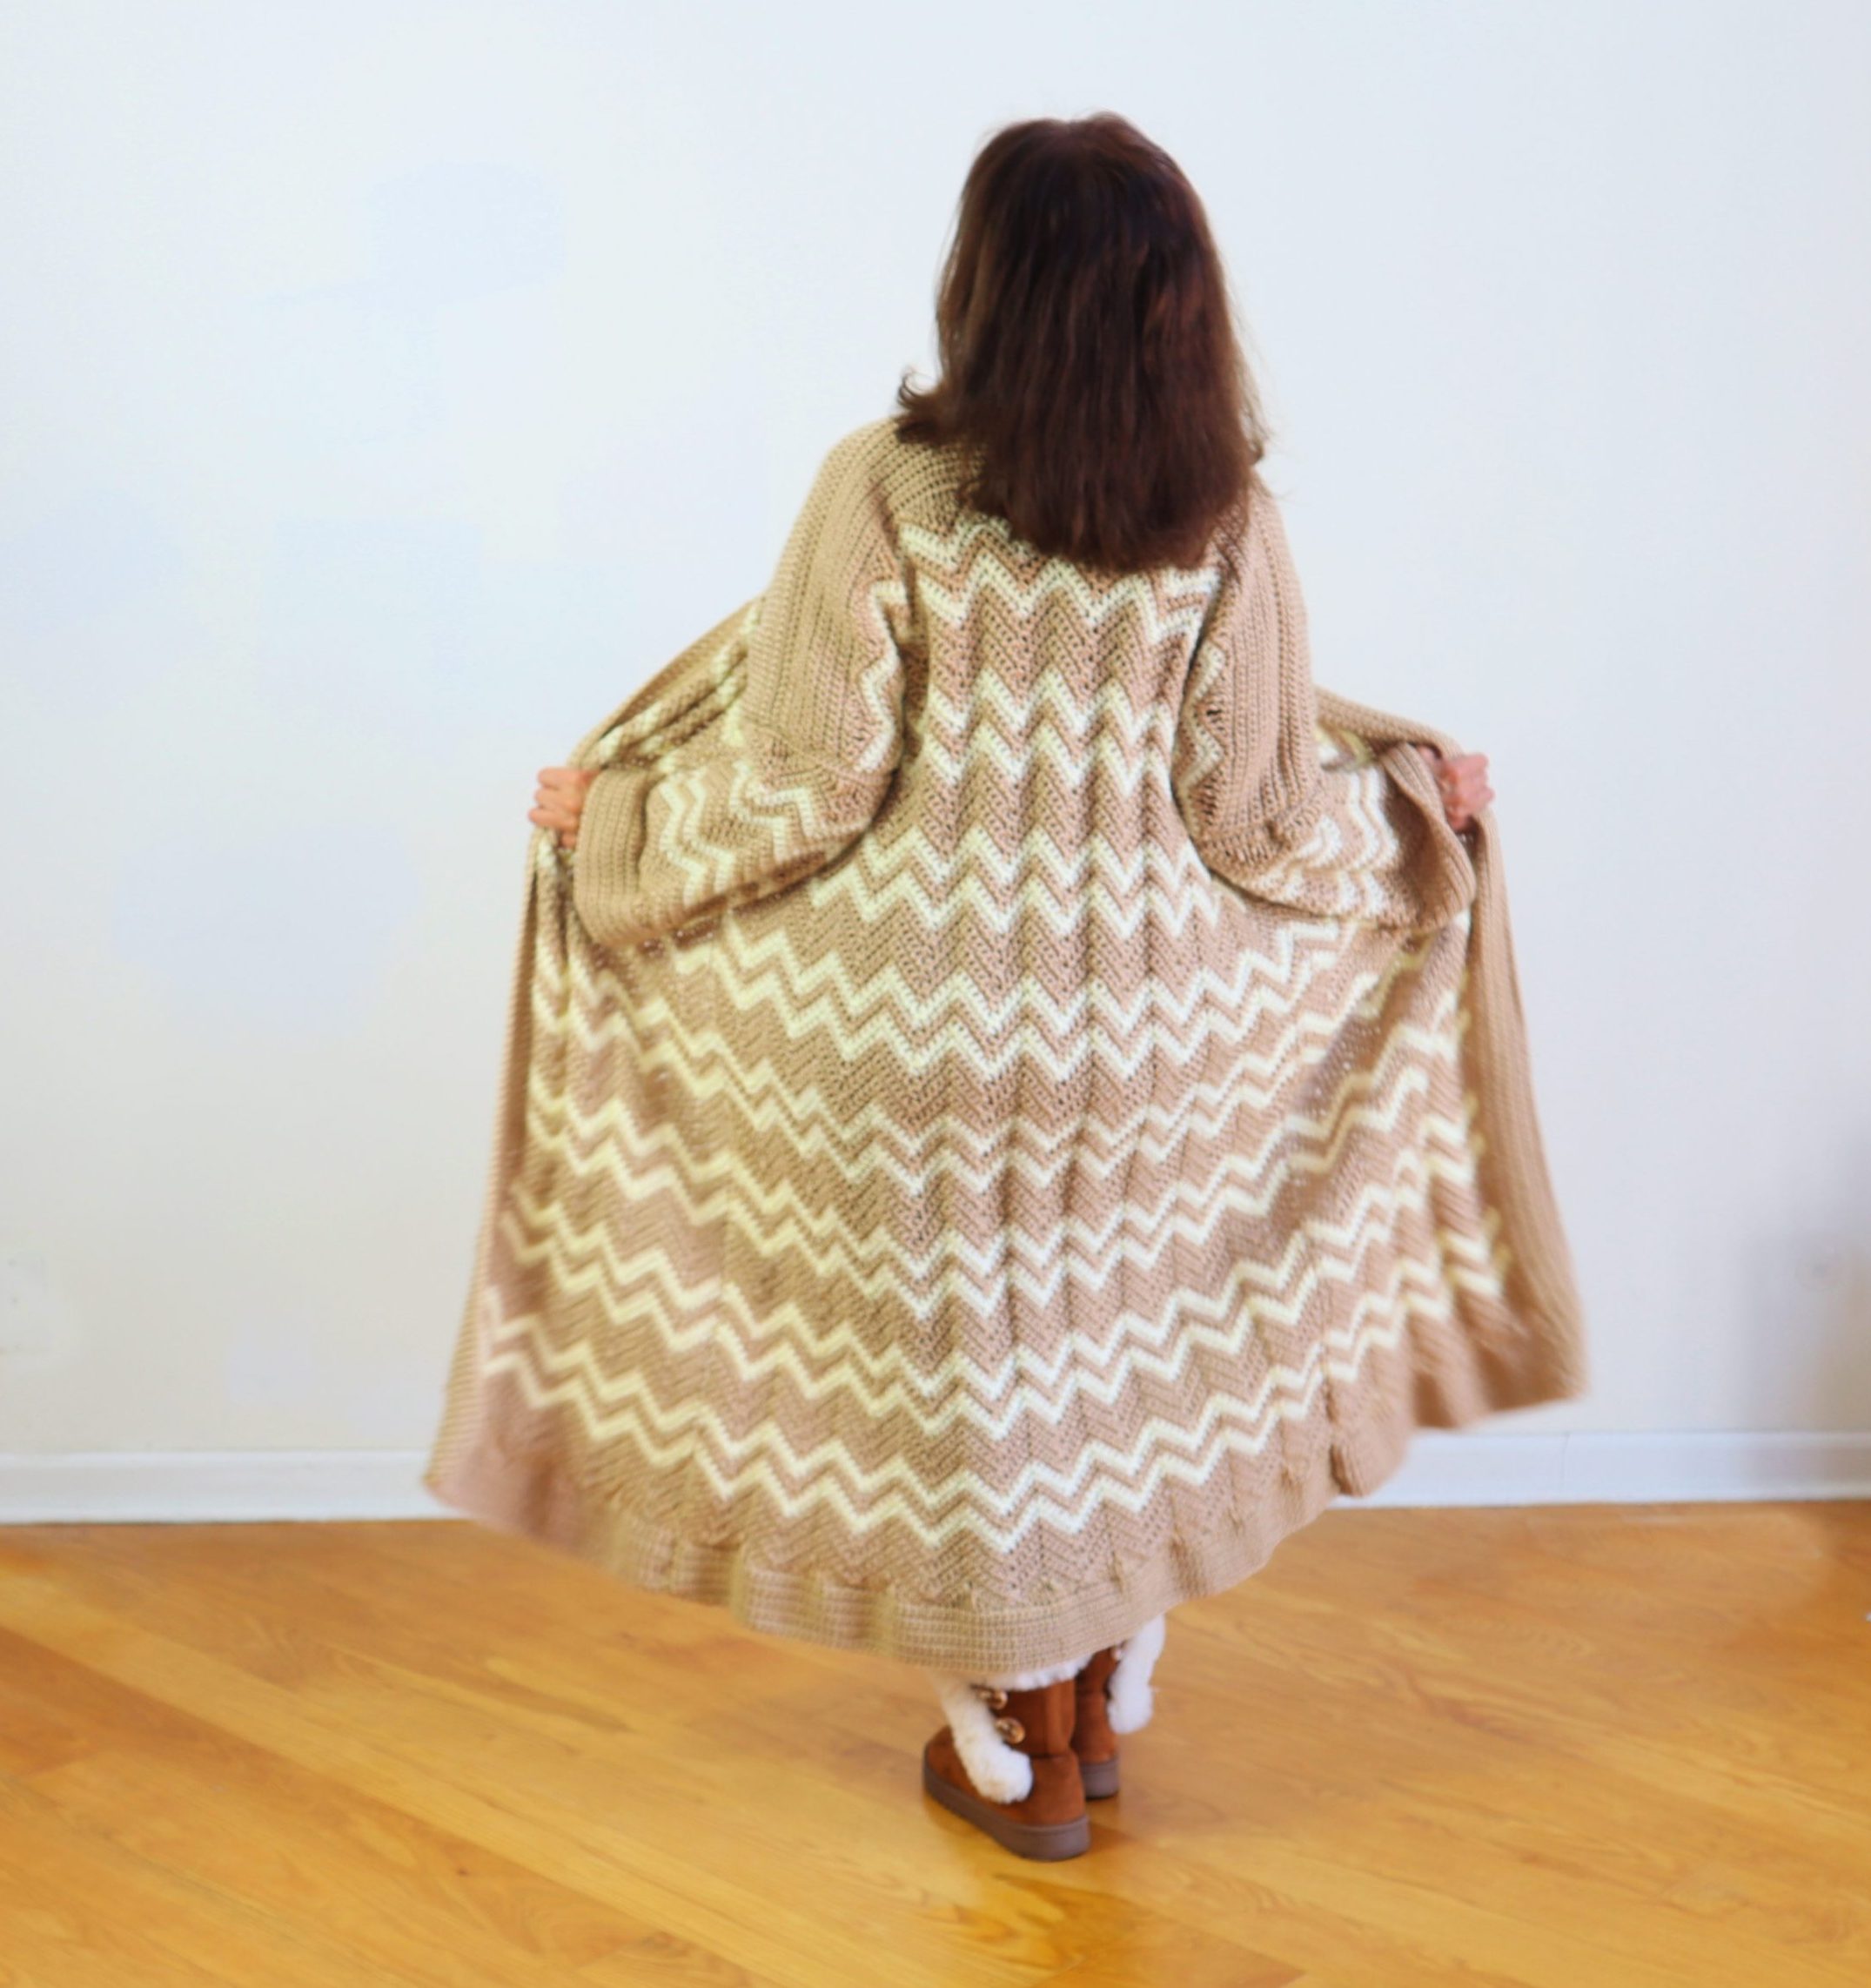
Crazy cool Crochet Chevron Coat pattern. Crochet long cardigan. Cozy, warm and gorgeous! Perfect for cool fall weather. Easy to learn crochet chevron stitch makes this a fun and unusual crochet cardigan.
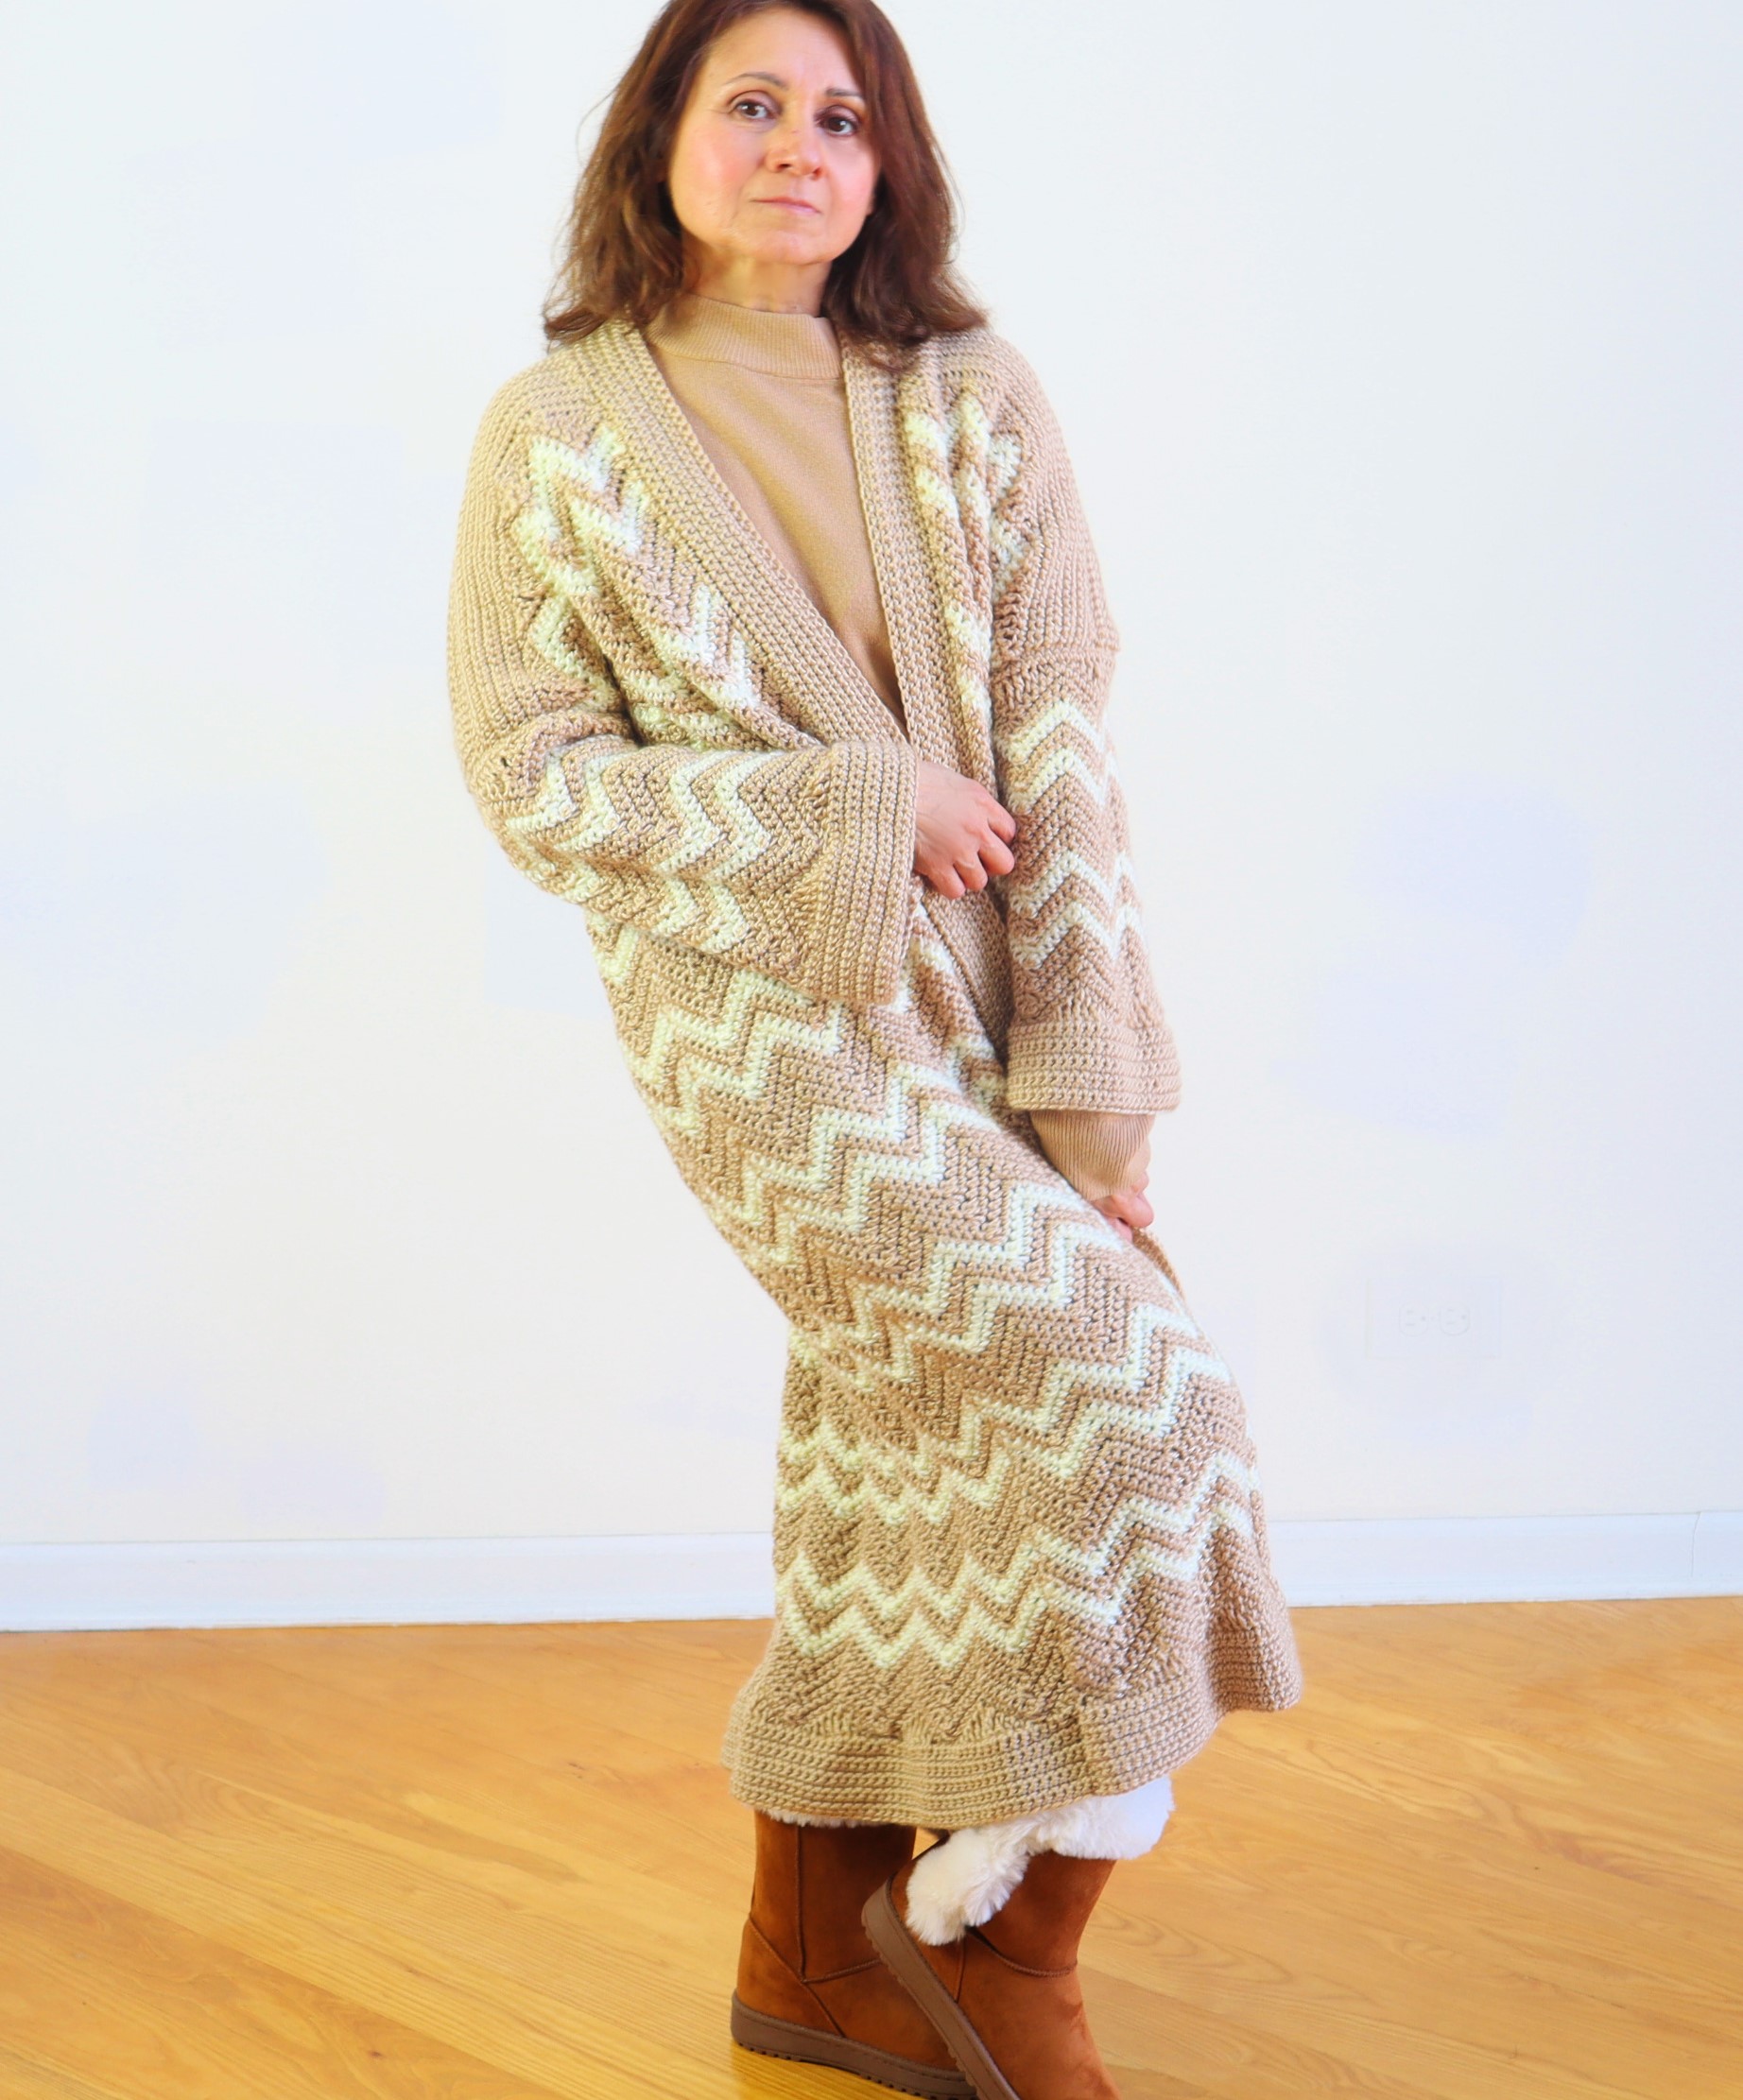
Make this unique crochet chevron coat or crochet long cardigan and wow your friends (and yourself!).
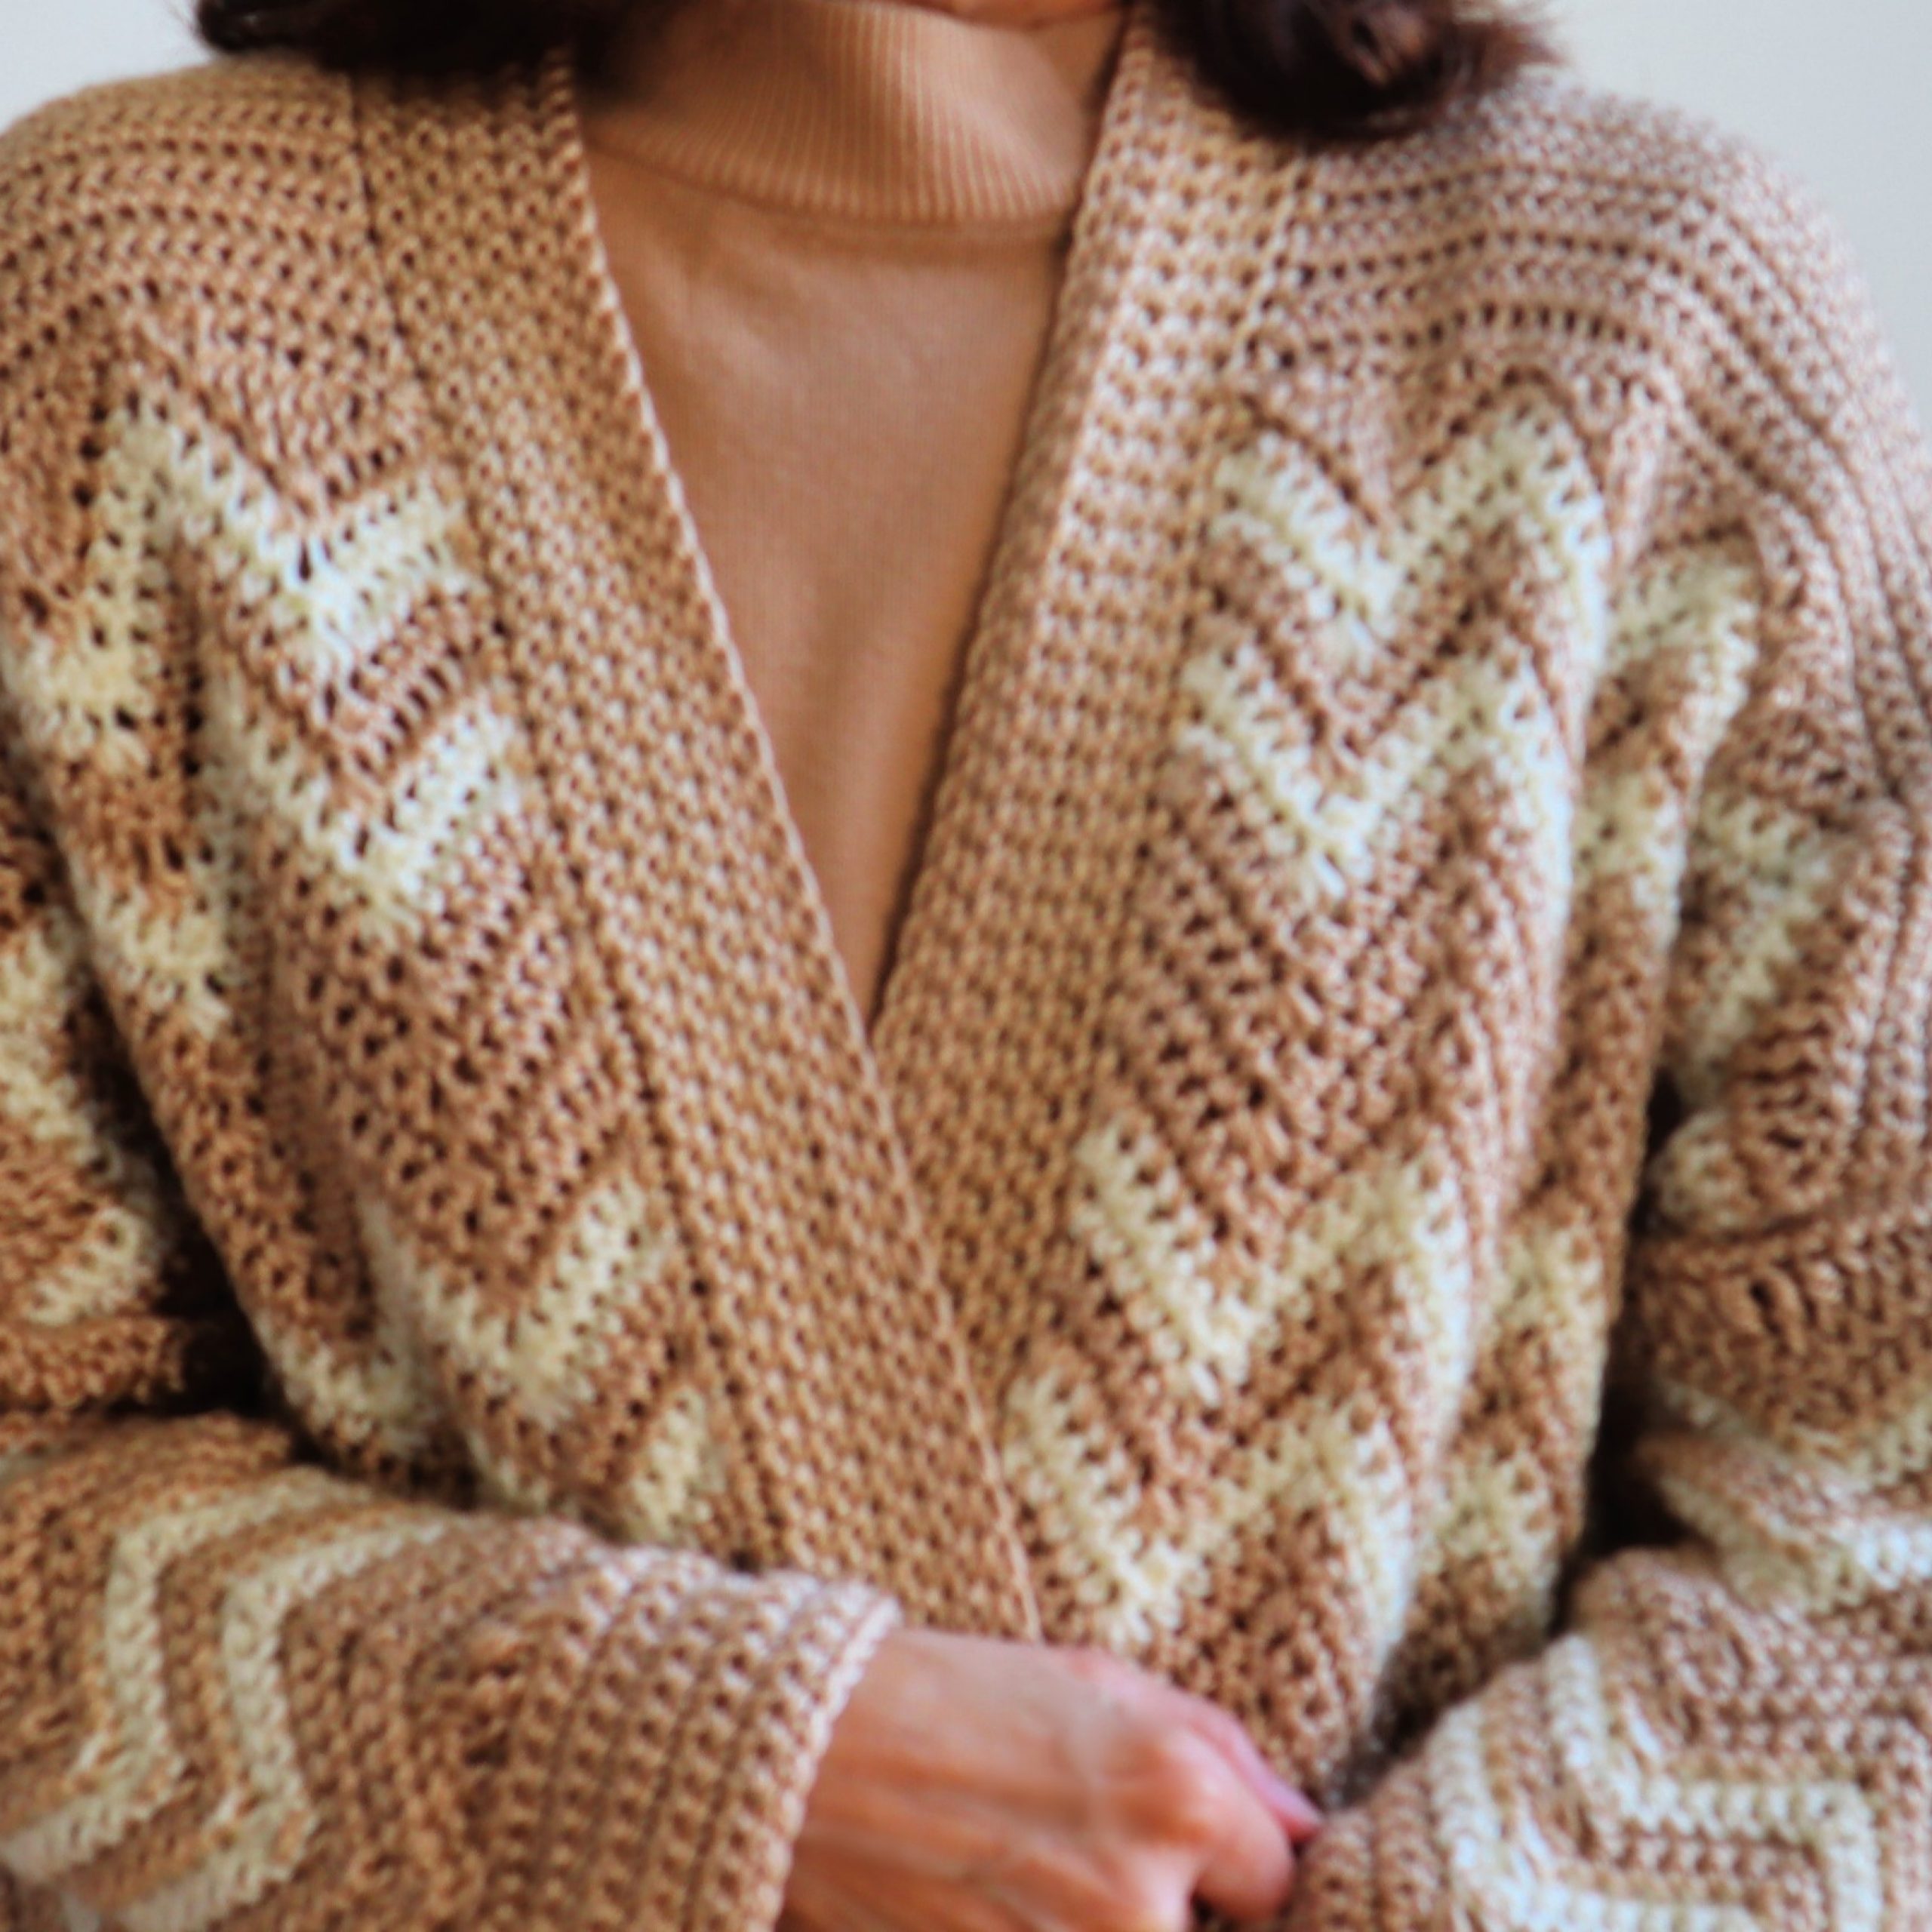
Using the yarn suggested, easily available locally or online, results in a beautifully draping crochet chevron cardigan. Watch the video below to see how this crochet coat moves easily and freely, while managing to keep you warm and toasty!
If you enjoy my designs and patterns I would appreciate your subscription to this blog and to my YouTube channel. This little crochet business remains my only source of income, covering my long term unemployment. Every subscription is truly helpful and SO appreciated!
Printable pattern with more sizing detail and dimensions, gauge, etc, is available at my Etsy shop: CrazyCoolCrochetUS
Multiple of 12 plus 2
For larger sizes add to beginning foundation chain in multiples of 12 (12 additional chains) plus two more chains.
Suggested Sizing (tension used and changes to the yarn used or hook size will skew the end product; sizing is a suggestion and not guaranteed)
This post contains affiliate links which means I may earn a small commission for purchases made from these links at no additional cost to you.
Materials:
Yarn: Loops & Threads Soft and Shiny/ color Iced Coffee / used 5.5 skeins / 33 ounces/ 1710.5 yards
Creme Fresh / used 2 skeins / 12 ounces / 622 yards
Purchase yarn here:

Crochet hook H / 5 mm
yarn needle
NOTE: Single crochet decrease: begin sc in sp as instructed for 2 loops on hook; begin 2nd sc in next sp for 3 loops on hook; begin 3rd sc in next sp for 4 loops on hook; draw yarn through all 4 loops.
NOTE 2: Carry yarn up the edge for color changes as needed.
FRONT PANEL (make 2)
Ch 50 (62, 74, 86, 110)
Row 1: With tan yarn(Iced Coffee)work 2sc’s in 2nd ch from hook; *1 sc in ea of next 4 ch’s; scdec over next 3 ch’s (see Note 2 above); 1 sc in ea of next 4 ch’s; 3 sc’s in next ch*. Repeat from * to * to last ch. Work 2 sc’s in last ch. Ch 1. Turn
Row 2: 2 sc’s in 1st sp; *1 sc in ea of next 4 sp’s; scdec over next 3 sp’s; 1 sc in ea of next 4 ch’s; 3 sc’s in next sp*. Repeat from * to * to last ch. Work 2 sc’s in last sp. Ch 1 Turn
Row 3 – 6: Repeat Row 2. At end of Row 6, enter the 1st of 2 sc’s in the last sp. Begin 2nd sc for 2 loops on hook; drop tan yarn; pick up white yarn (Creme Fresh) to complete sc. Ch 1. Turn
Row 7 – 8: Repeat Row 2. At end of Row 8, enter the 1st of 2 sc’s in the last sp. Begin 2nd sc for 2 loops on hook; drop white yarn; pick up tan yarn to complete sc. Ch 1. Turn
Row 9 – 10: Repeat Row 2. At end of Row 10, enter the 1st of 2 sc’s in the last sp. Begin 2nd sc for 2 loops on hook; drop tan yarn; pick up white yarn to complete sc. Ch 1. Turn
Row 11 – 12: Repeat pattern. At end of Row 12 drop white yarn, pick up tan yarn to complete the last sc.
These 12 rows make up a “set”.
Continue in pattern working a total of 8 sets. This will take you to Row 96. At end of Row 96, cut off the white yarn leaving a tail to weave in at the end.
Row 97: Work one more row of the chevron pattern in the tan yarn. Do not ch. Turn
Row 98: sl st in the first 2 sp’s. *sc in the next sp, hdc in next sp; dc in next sp, one TR in ea of next 3 sp’s; dc in next sp; hdc in next sp; sc in next sp; sl (slightly loosely) in next 3 sp’s*. Repeat from * to * to the last two sp’s. Sl in the last 2 sp’s. Ch 1. Turn.
Row 99: Skipping over the 1st two sl’s, sc into the next sp and in ea sp to the last two sl’s. Do not work the last two sl’s. 45 total sc’s (57, 69, 81, 105). Ch 1. Turn.
Row 100: sc in ea sp across the row. 45 sc’s (57, 69, 81, 105) . Ch 1. Turn
Row 101 – 108: Repeat Row 100. At end of Row 108 tie off yarn.
Bottom Border (front panels)
With right side facing you and tan yarn, insert hook into 3rd ch. Ch 3 (counts as a dc); hdc in next ch; sc in next ch; sl st into next 3 ch’s (slightly loosely); *sc in next ch; hdc in next ch; dc in next ch; TR in ea of next 3 ch’s; dc in next ch; hdc in next ch; sc in next sp; sl st in ea of next 3 ch’s*. Repeat from * to * to last dc of the row. Ch 1. Turn
Sc in 1st sp and ea sp across. 45 sc’s (57, 69, 81, 105)
Work a total of 10 rows of sc. At end of last row, tie off yarn.
BACK PANEL
Ch 122 (122, 146, 170, 194)
Repeat instructions as for Front Panel.
The sc borders at top and bottom will have 117 (117, 141, 165, 189) sc’s per row.
SLEEVES (make 2)
Ch 62 (62, 74, 74, 86)
Repeat instructions as for Front Panel for 2 (2, 3, 3, 4) sets (of 12 rows).
Repeat Row 97 and Row 98 of front panel.
Work only 1 row of sc’s as for the front panel. 57 (57, 69, 69, 81) sc’s. Tie off yarn.
Bottom border: Repeat instructions as for front panel.
Sc rows will have 57 (57, 69, 69, 81) sc’s. Work 10 total sc rows.
ATTACH PANELS
Shoulders
With wrong sides up, use crochet hook to seam the front panel to the back panel at the shoulder. Attach tan yarn at the top right corner of front panel going through the back panel under two strands of ea panel with a ch. Then work sl st’s across entire front panel (attaching to back panel). Tie off yarn. Repeat for opposite side.
This method gives you a stronger seam.
Attach Sleeves
Position the body of the garment fully opened with wrong side up. Position the top edge of sleeve (wrong side up) centered at the shoulder edge seam. Match up the sleeve starting and ending points to the tan rows of back and front panels. Use same method as for shoulders to seam.
Sides
With wrong side up, using yarn needle and length of yarn, attach at sides of front and back panels using whip stitch. Begin at bottom and work your way up to the underarm and sleeve. Repeat for opposite side.
IMPORTANT: ensure that you are matching up the rows as you seam and that you are capturing the yarn that was being carried along the edge so they do not show on the right side of garment.
FRONT BORDER
Row 1: Attach tan yarn with a chain to the bottom, front panel. Sc in same sp and in ea row or sp around the front, neck and opposite front panel. At end of row, ch 1. Turn.
Row 2: sc in 1st sp and ea sp around. At end of row, ch 1. Turn.
Row 3 – 10: Repeat Row 2. At end of last row, tie off yarn.
Weave in all tails.
Copyright © 2020 Sylvia Talo You may sell items made from my patterns. Please include a link or reference to my shop CrazyCoolCrochetUS.etsy.com . Pattern and photos are copyright protected; they may not be reproduced, redistributed, or displayed publicly in any way.
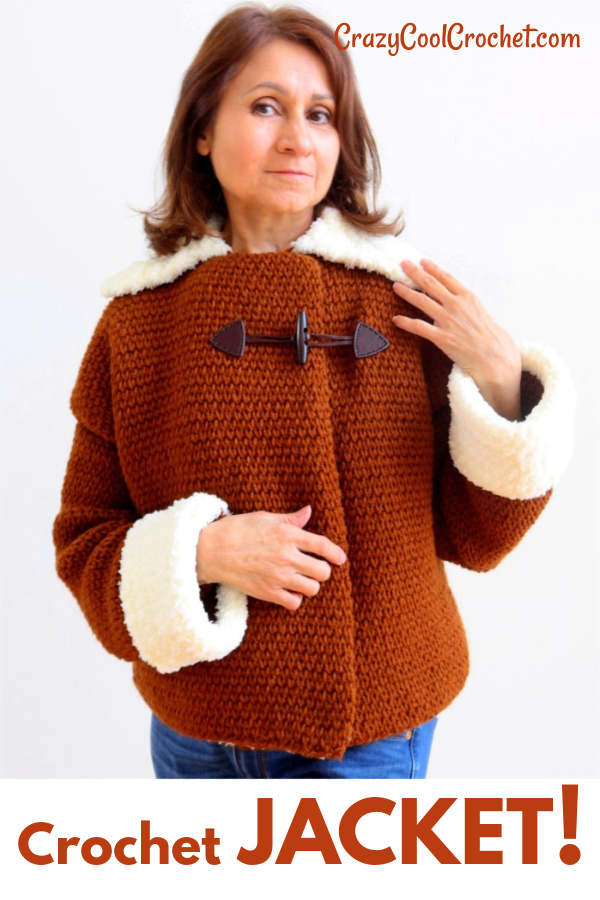
You might also enjoy this fully lined Crochet Sherpa Style Jacket:

How do you do it? I’m not a designer, not really. I have a hard time writing out patterns but you come up with these fabulous,FRESH looking patterns week after week! These aren’t a revamp of the current fads. I’m loving this Chevron Coat so. much.!
Oh my. What a great comment! Thank you SO much.
I very deliberately began this blog with the intention to design COOL…Crazy Cool Crochet…projects. I used to hit the malls before the pandemic struck, for inspiration and ideas. Now I scour the Internet, going down rabbit holes. looking for inspiration. I’ll find runway shows and try to find things not too outrageous that I might be able to interpret into a crochet design. Then I just go for it. That’s it!
I’m SO incredibly happy that you appreciate the uniqueness of what I do. Thank you for taking the time to let me know!
Best,
Sylvia
CrazyCoolCrochet.com
[…] Click on photo to go to the free pattern! […]