Crochet Granny Square Cushion Cover
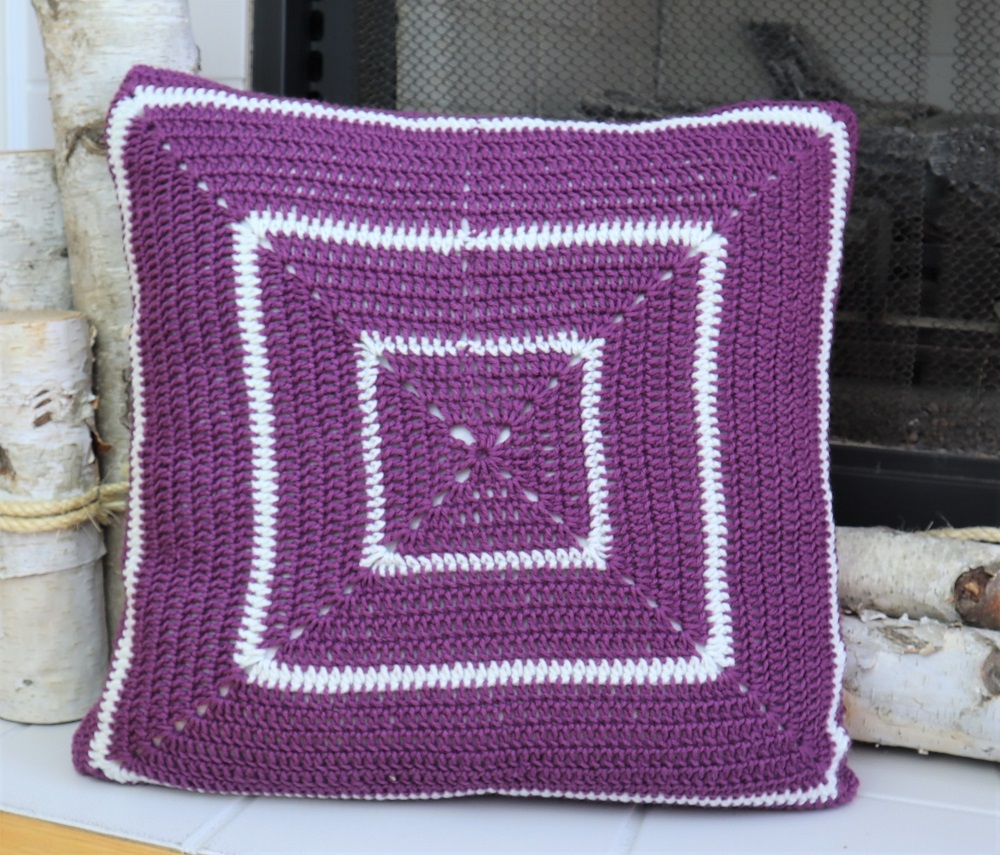
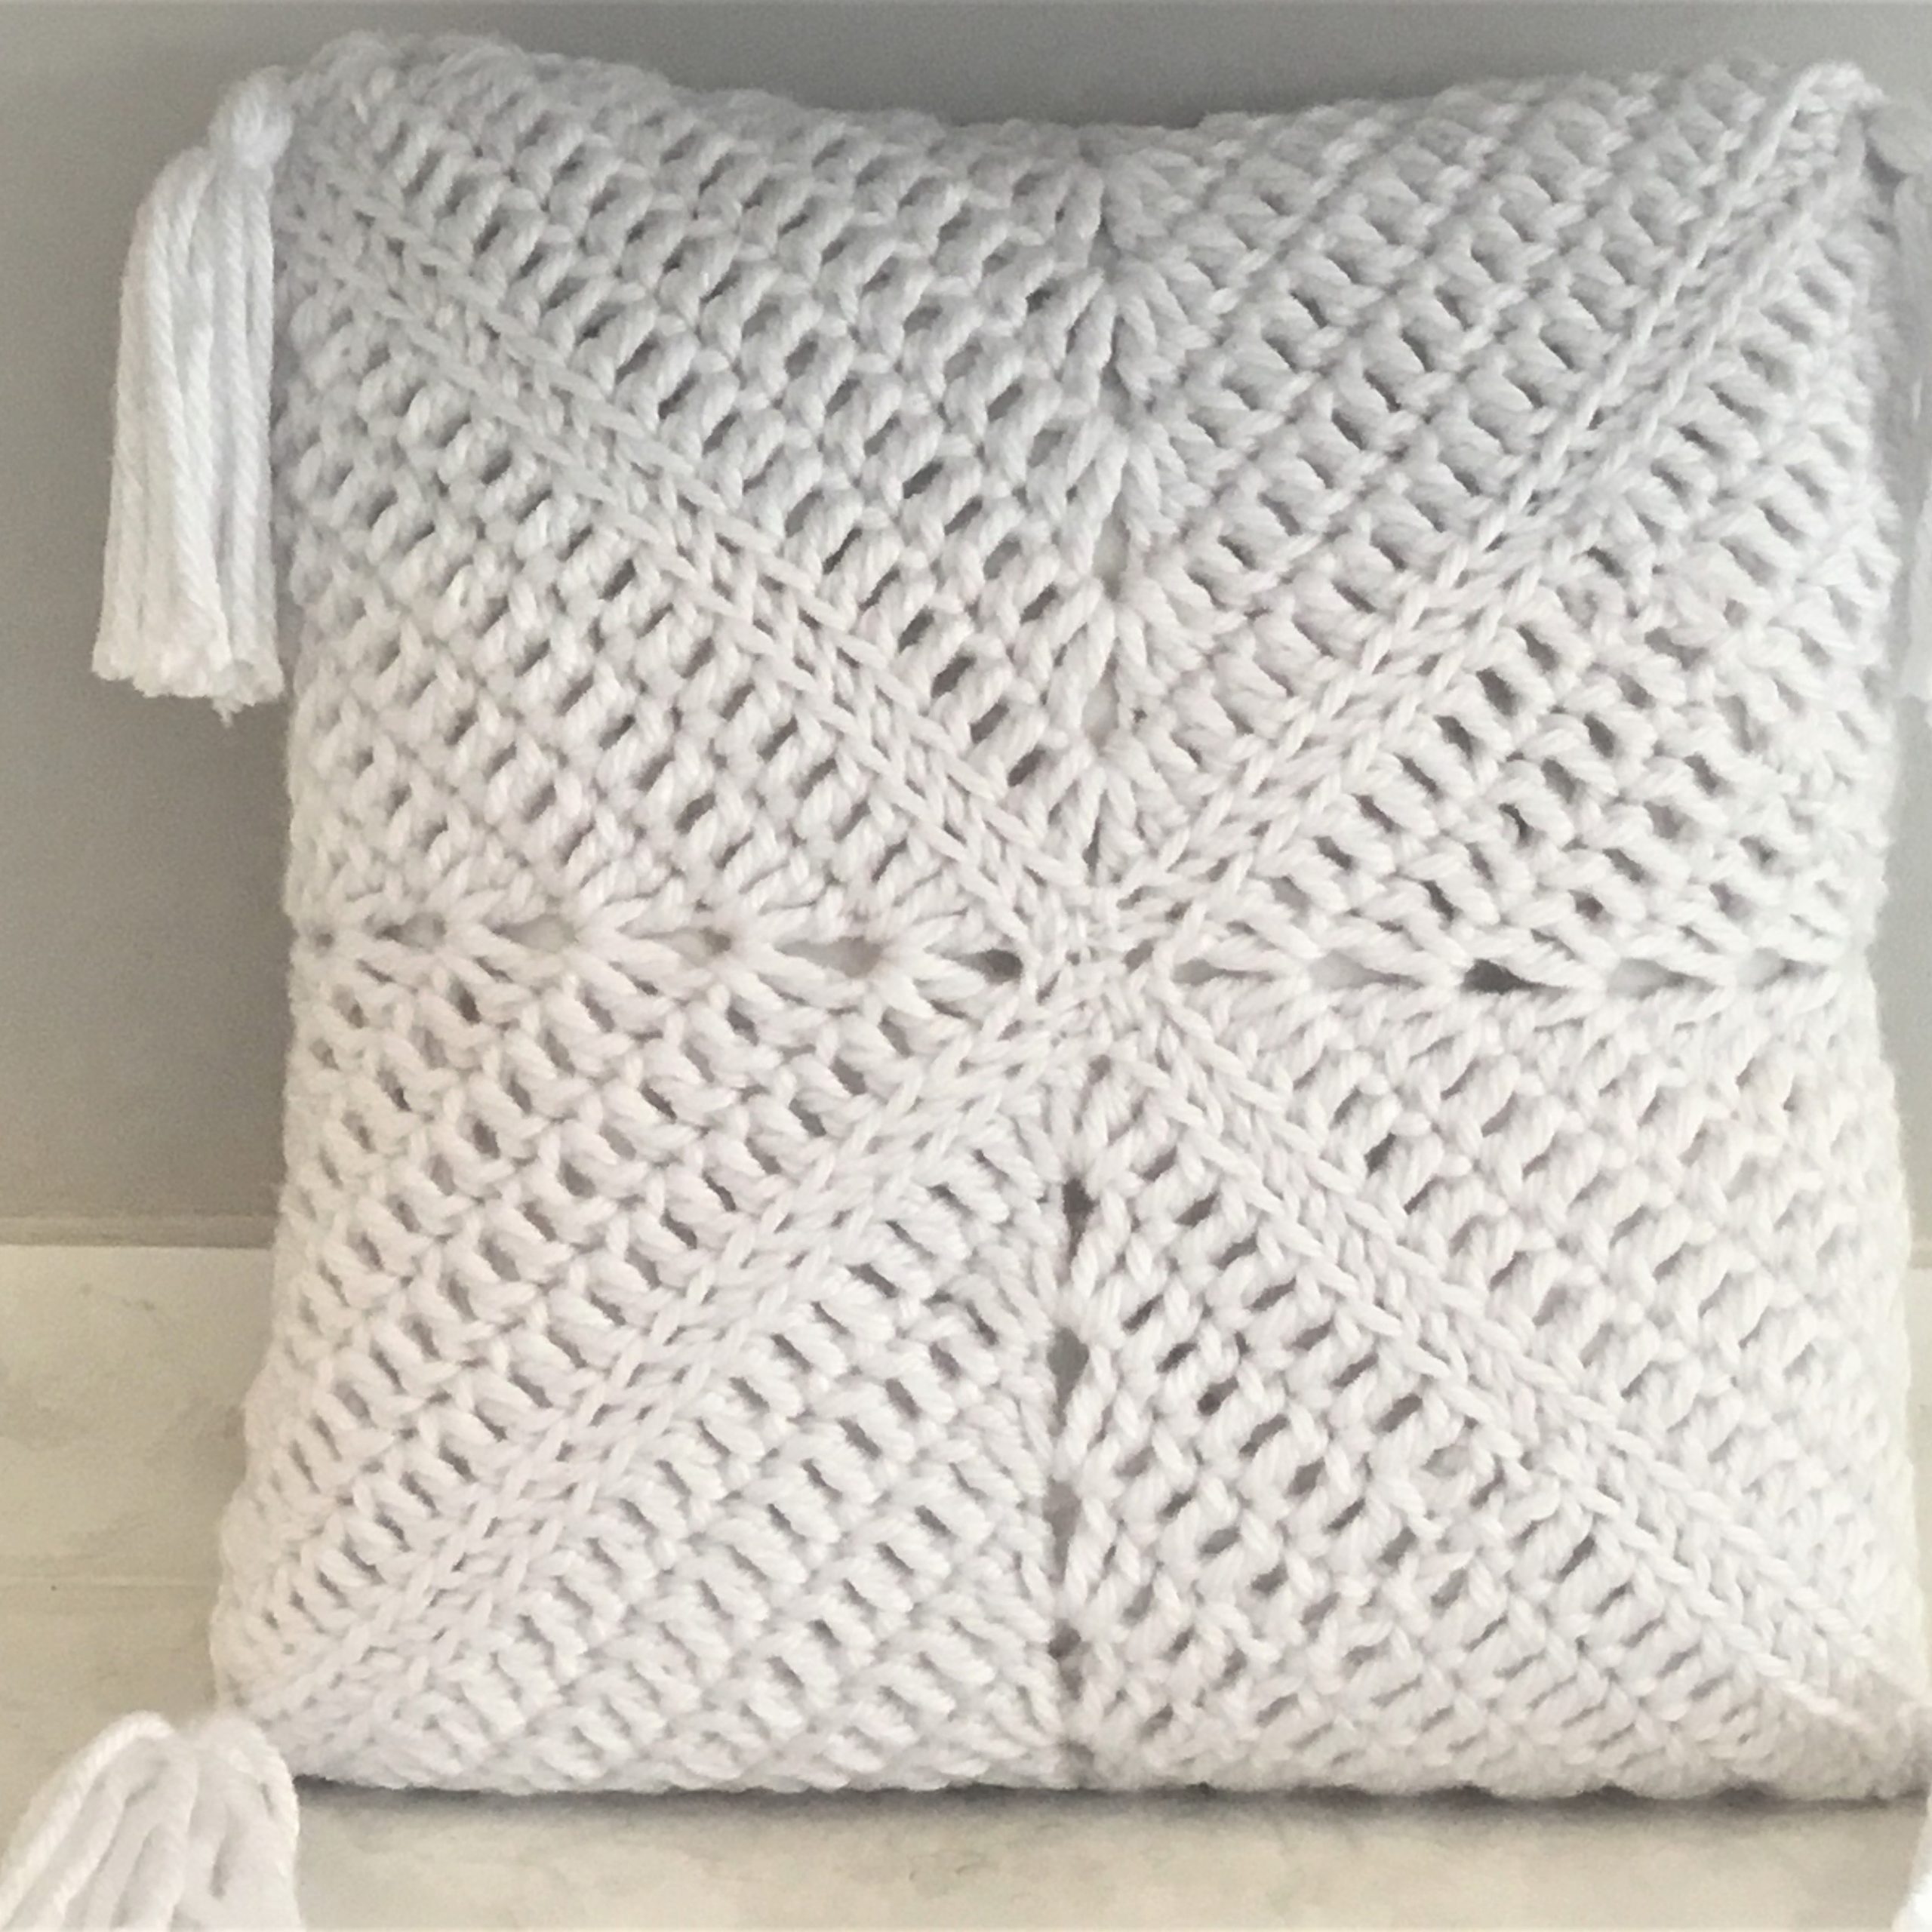
Free pattern and video tutorial for this crochet granny square cushion cover will be found below.
This crochet granny square cushion cover is shown in the popular 18 x 18 size. This can also easily be made in a 16 x 16. Instructions are in the pattern below.
These colors would look great in a girl’s room. Change the colors to coordinate with your home’s decor style. This would fit in beautifully in a farmhouse style decor. Use less feminine colors to use in a game room or family room.
Please watch the video and subscribe. Crazy Cool Crochet is my only source of income and your support is greatly appreciated! You might need to watch the video on YouTube to see the little red Subscribe button on the bottom right of the video.
Fits 18 x 18 inch Pillow
For 16 x 16 use white DC for R13; use purple DC for R14 & 15; 15 total rows
This post contains affiliate links which means I may earn a small commission from purchases made from my links. This will result in no additional cost to you.
Materials:
Yarn #3 Baby Bee Sweet Delight; color Grape Jelly; 3 ounces (purchase below; click Hobby Lobby graphic)
Yarn #3 small amount white

Crochet hook size G/ 4.25 mm
Yarn needle
Gauge: 5 dc = 1” , 3 rows dc = 1”
Abbreviations:
Ch = chain
Sl st = slip stitch
Sc = single crochet
Hdc = half double crochet
Dc = double crochet
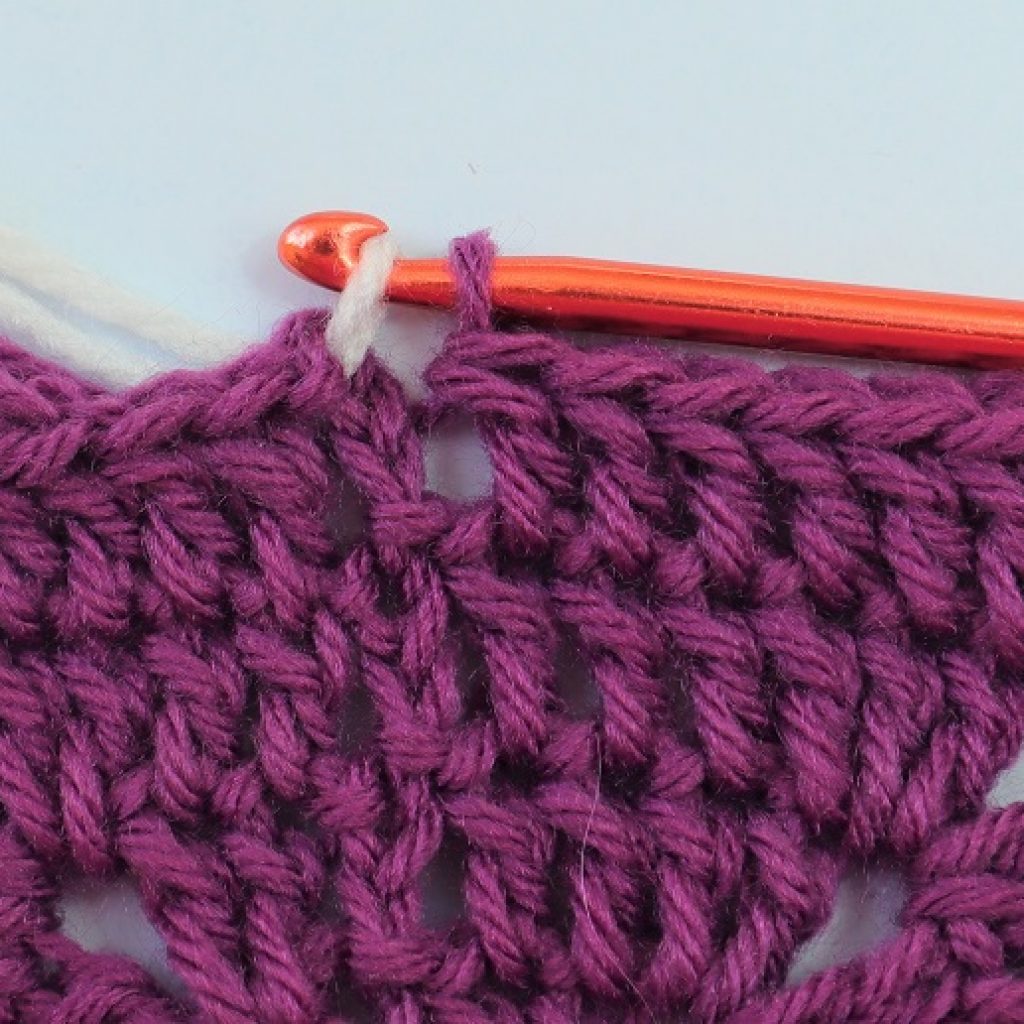
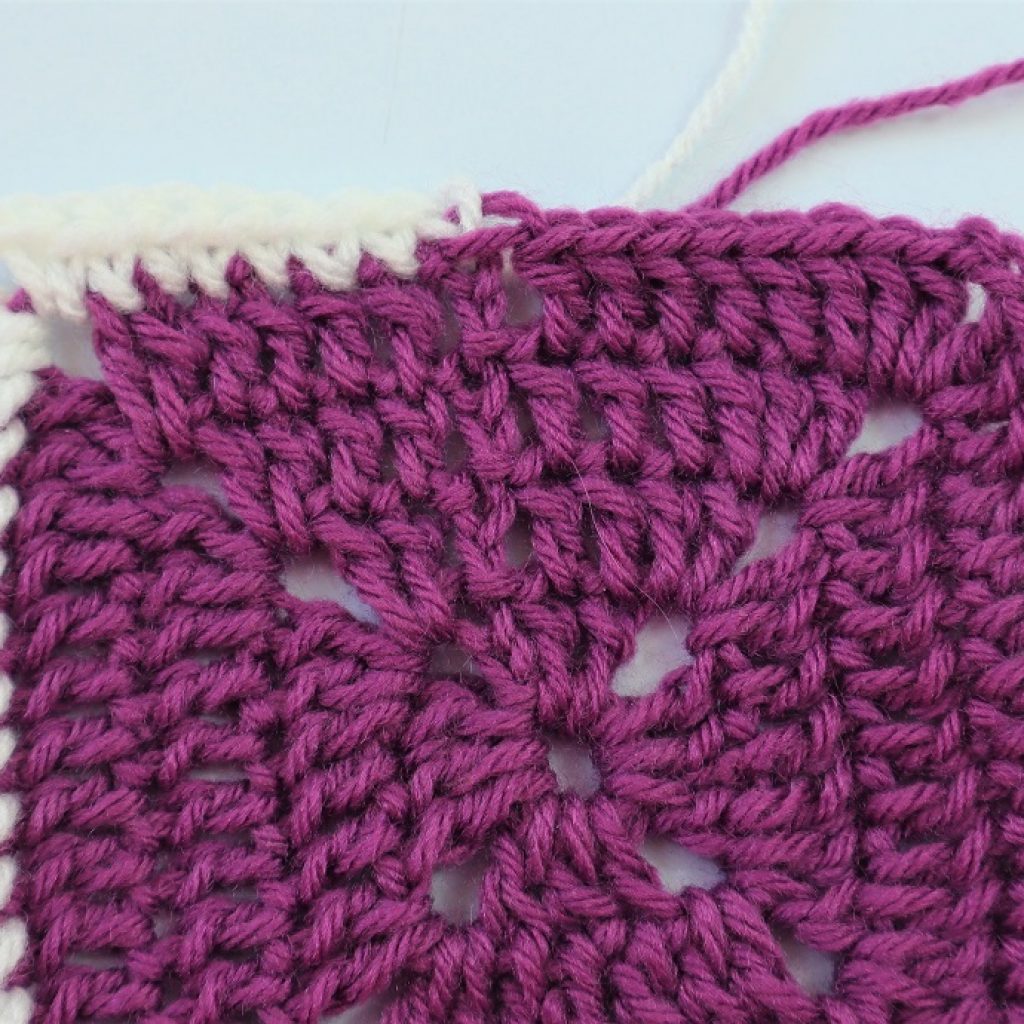
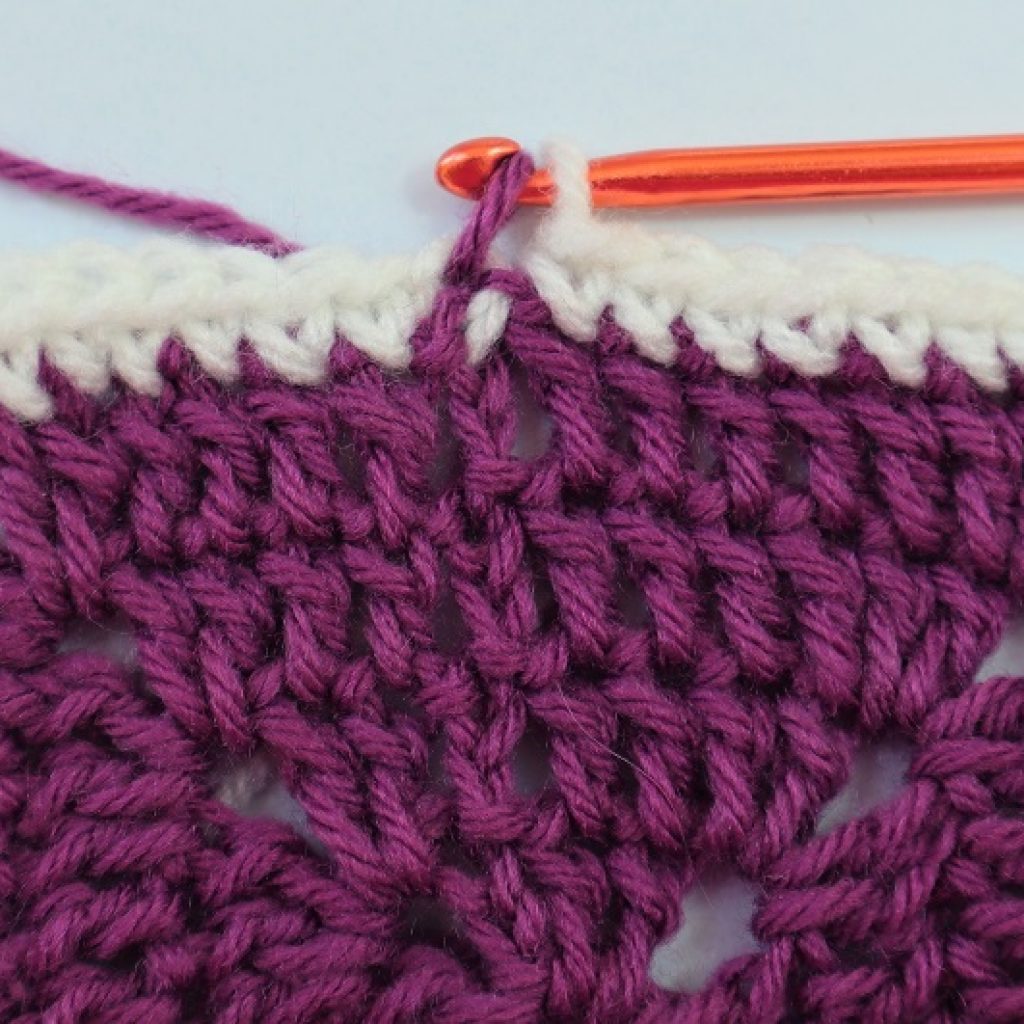
Photos appear above the corresponding row.
Make 2 identical panels.
Ch 4; sl st in first chain to form ring.
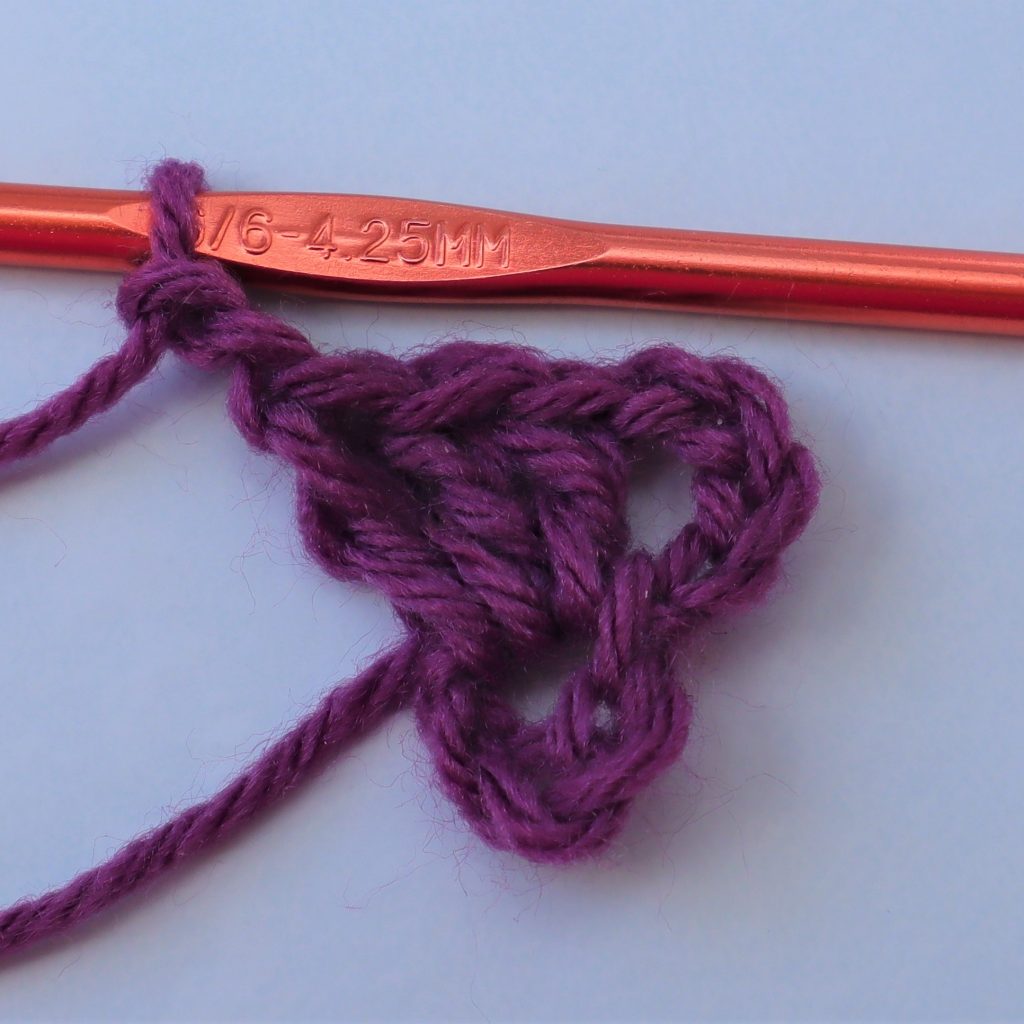
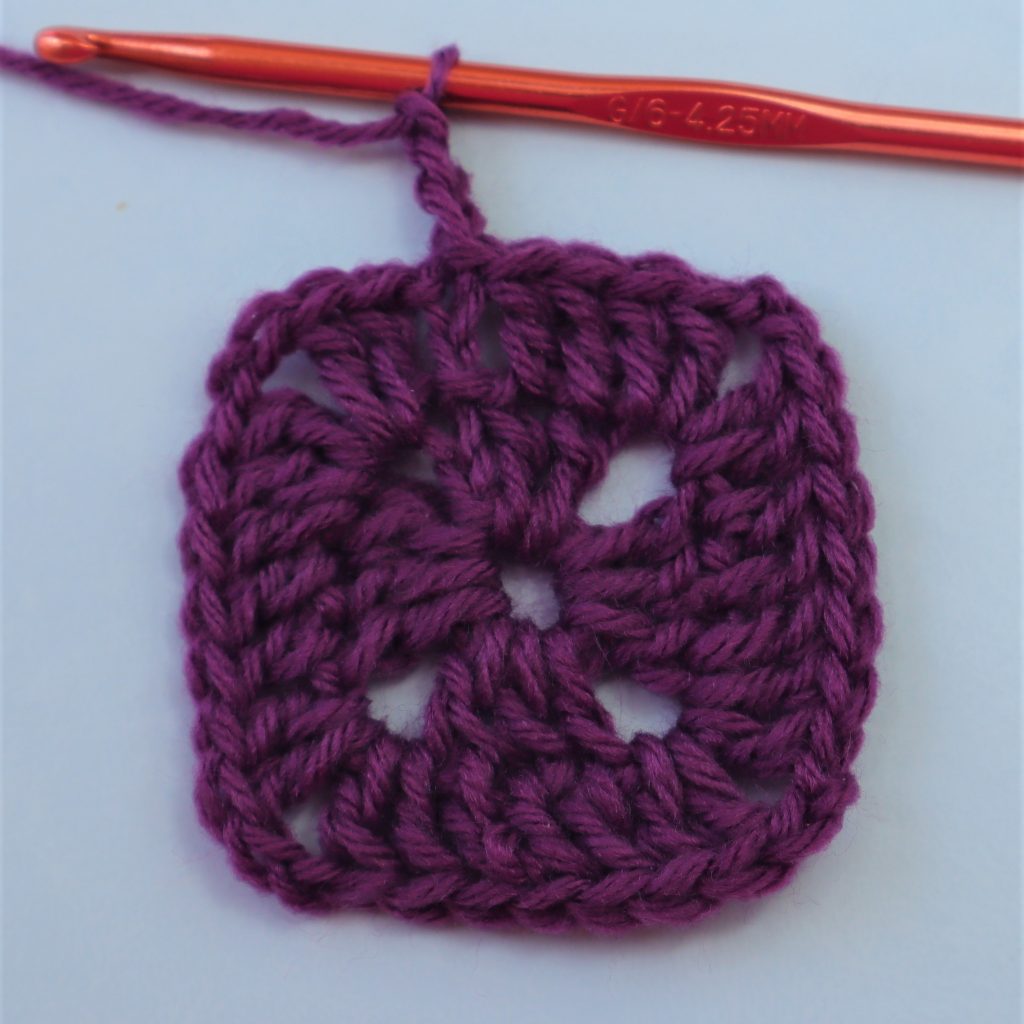
Row 1: Chain 5, counts as 1dc and ch 2. Working in center hole, *3dc, ch 2*. Repeat from * to * 2x then 2dc. Sl st in 3rd ch of chain 5. Four clusters of 3dc total.
Row 2: ch3, 2dc in ch 2 space, ch 2; *2dc in same ch 2 space, dc in top of next dc and ea dc across, 2 dc in ch 2 sp, ch 2*. Repeat from * to * 2x, then 2dc in same ch 2 space, dc in top of next 2 dc, slip st in top ch of ch3. Four clusters of 7 dc total.
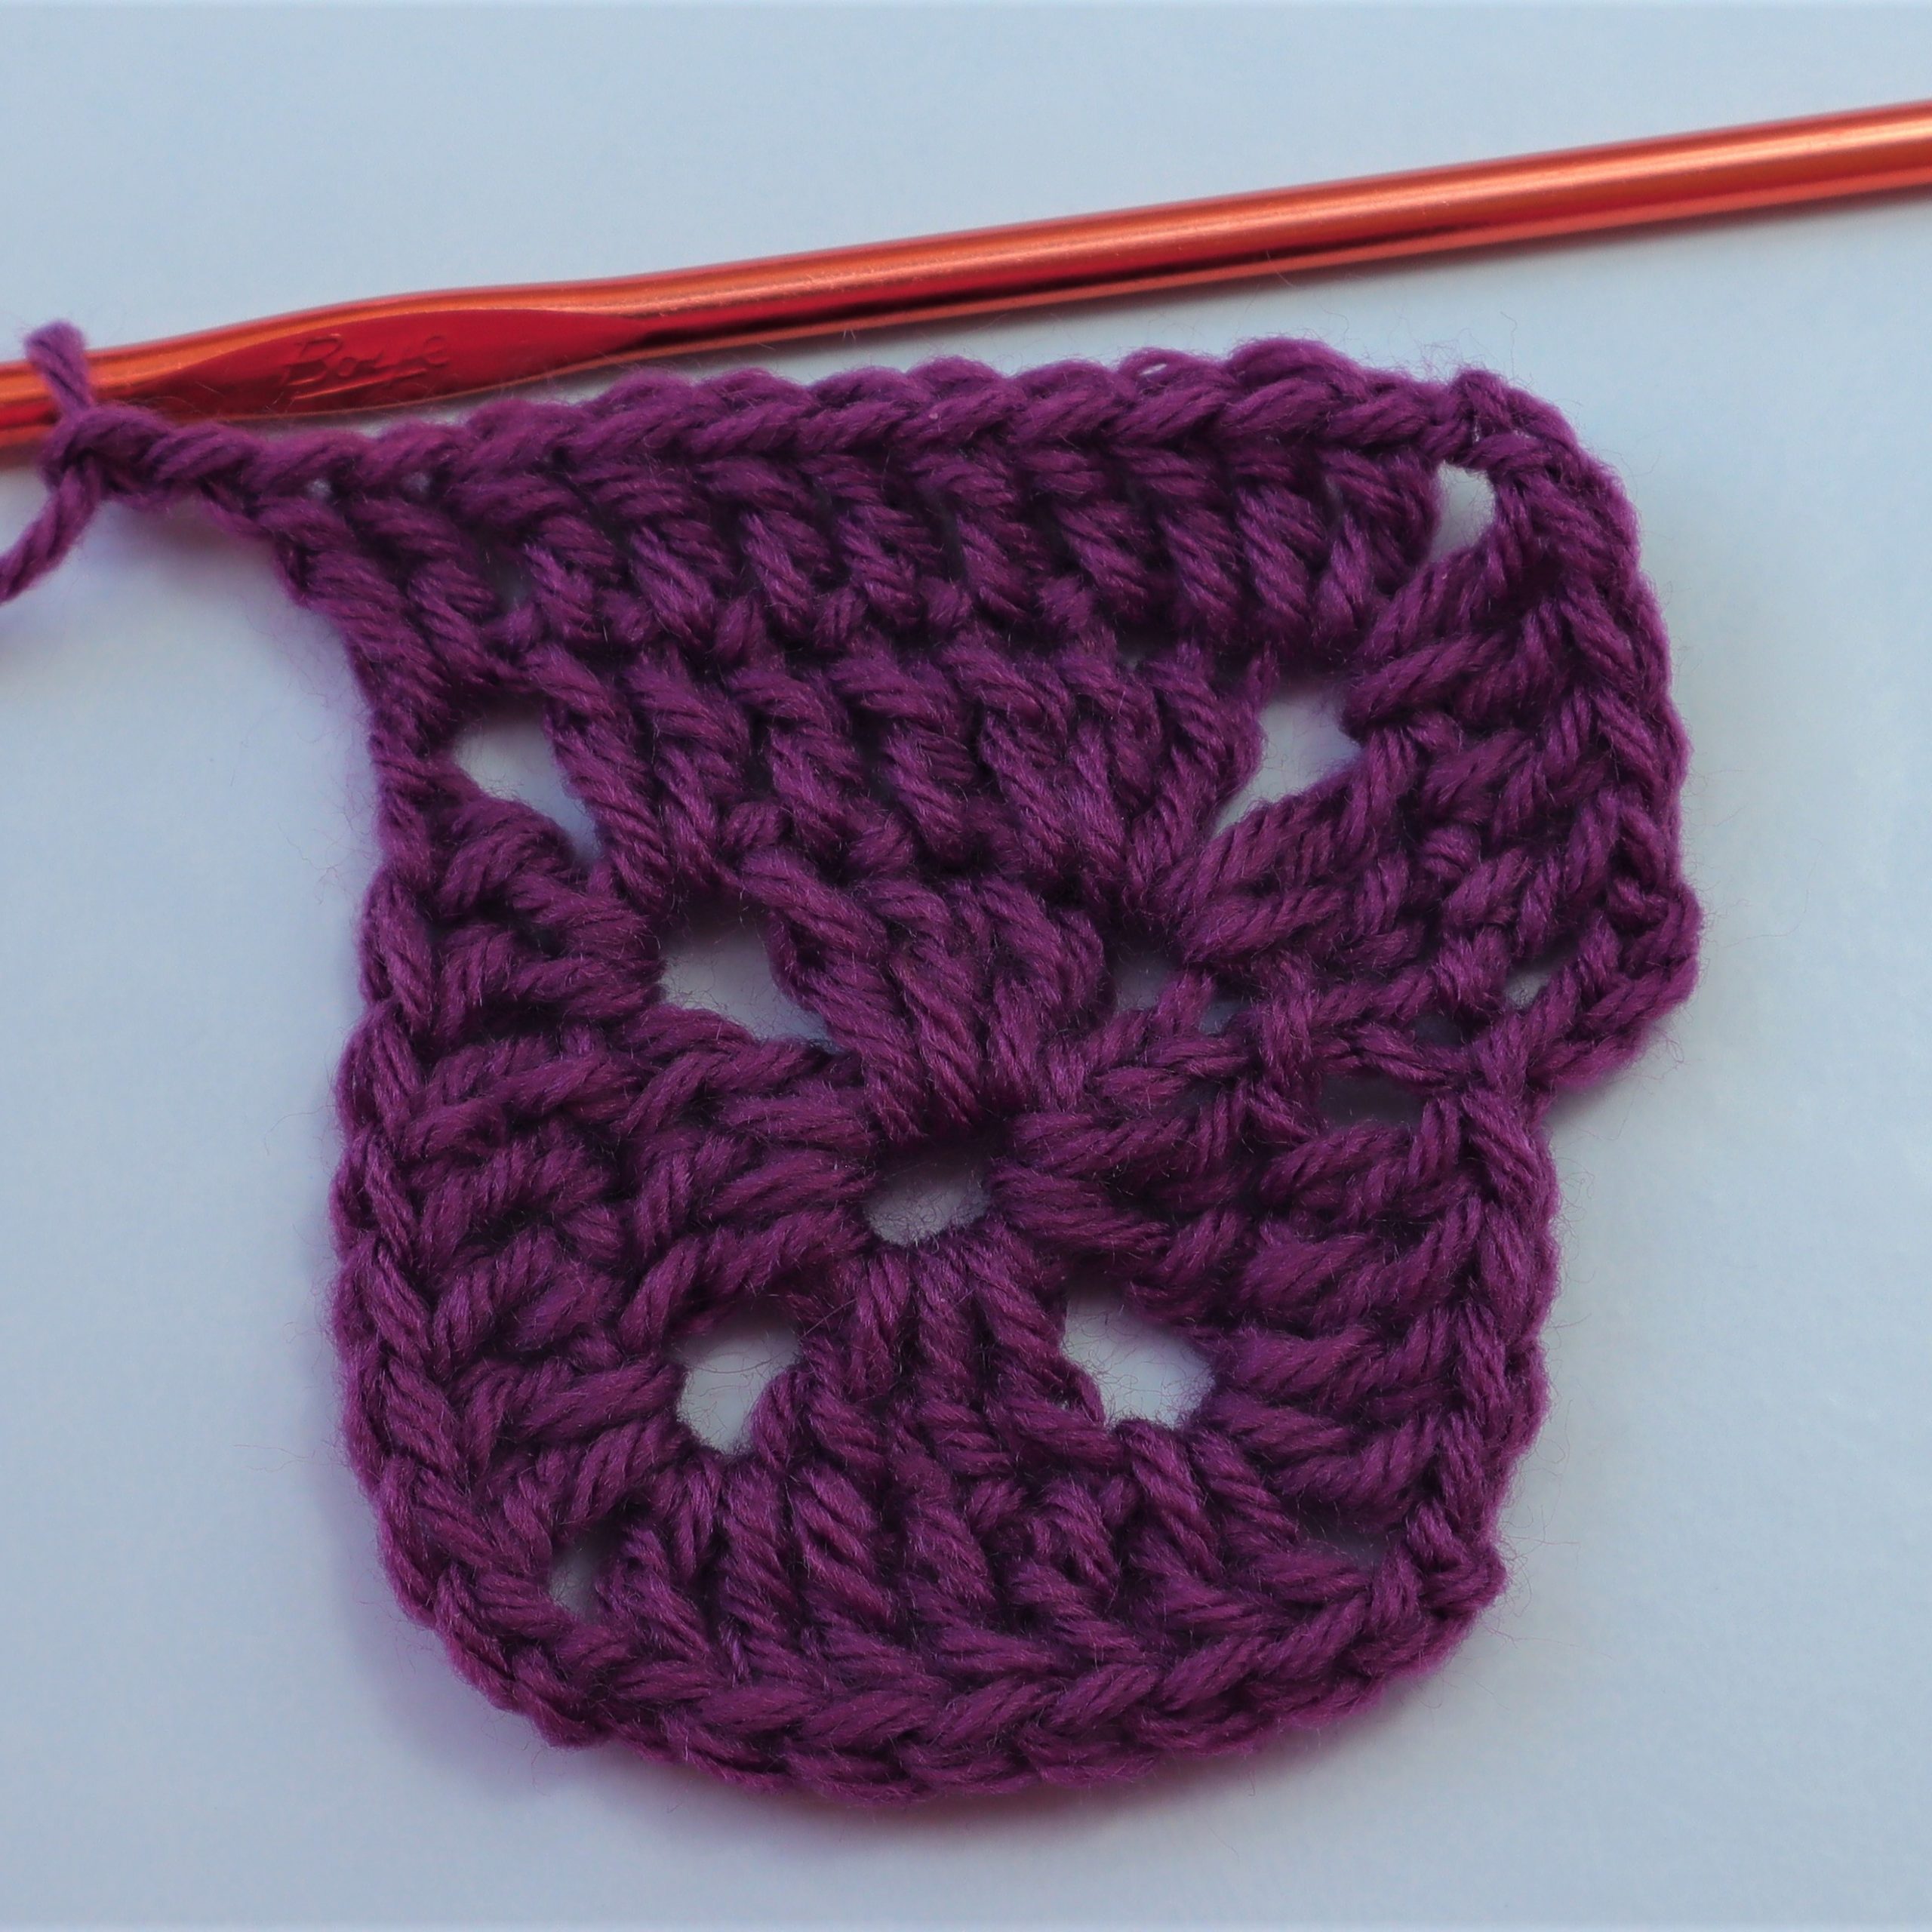
Row 3: ch3, dc in top of next 2 dc, 2dc in ch 2 space, ch2. *2dc in same ch2 space, dc in top of next dc and ea dc across, 2dc in ch2 sp, ch2*. Repeat from * to * 2x, then 2dc in same ch 2 space, dc in top of next 4 dc, sl st in top ch of ch3. Four clusters of 11 dc total.
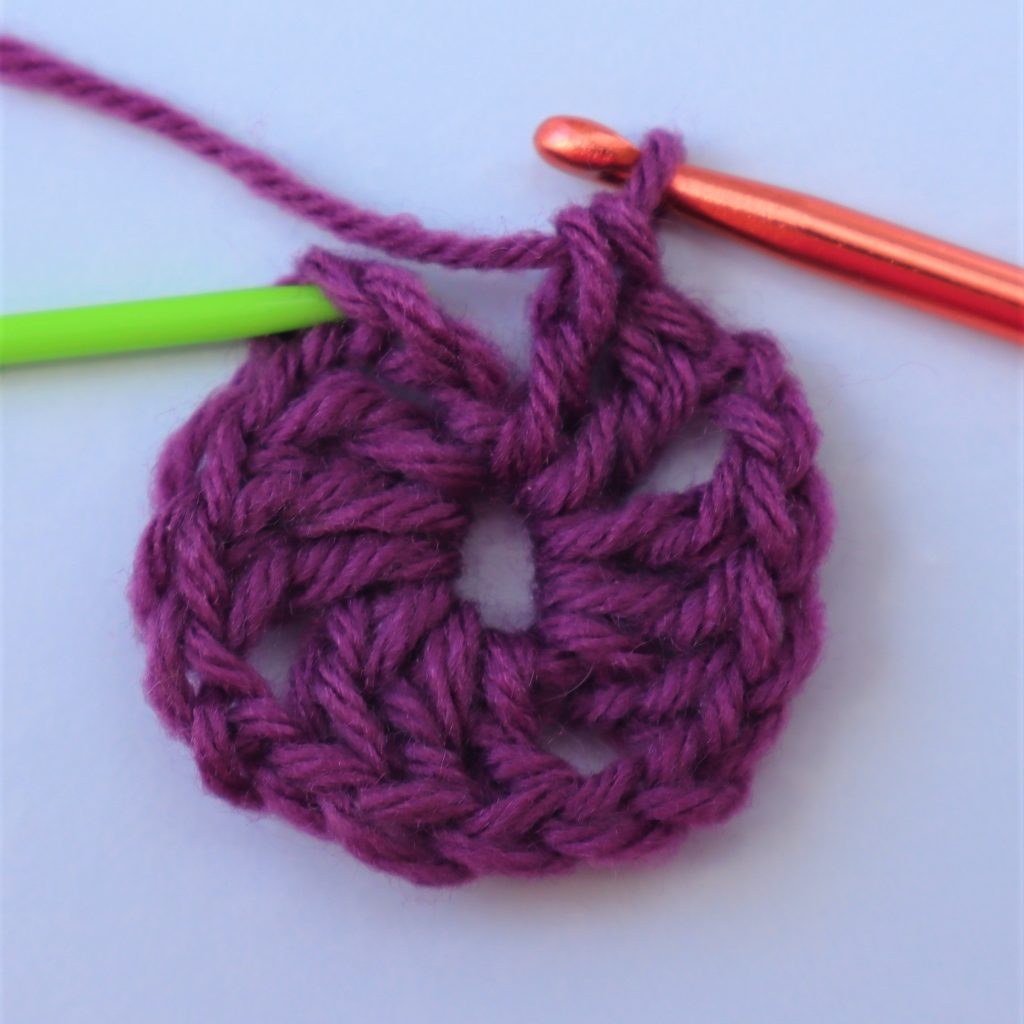
Row 4: ch3, dc in top of next 4 dc, 2dc in ch 2 space, ch 2. *2dc in same ch2 space, dc in top of next dc and ea dc across, 2dc in ch2 sp, ch2*. Repeat from * to * 2x, then 2dc in same ch 2 space, dc in top of next 6 dc. Four clusters of 15 dc total.
Row 5: Insert hook in top of ch 3, drop purple yarn (do not cut off), attach white yarn by completing the sl st.ch 2, sc in top of next 6 dc, 2sc in ch 2 space, ch 2. *2sc in same ch2 space, sc in top of next dc and ea dc across, 2sc in ch2 sp, ch2*. Repeat from * to * 2x, then 2sc in same ch 2 space, sc in top of next 8 dc. Four clusters of 19 sc total.
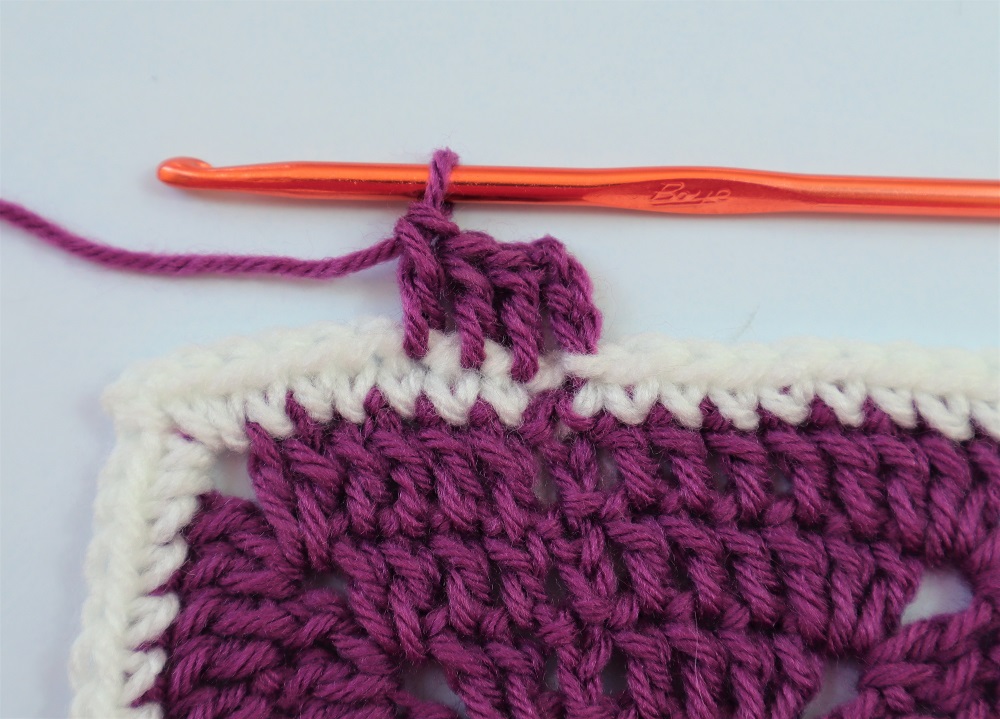
Row 6: Insert hook in top of ch 2, drop white yarn (cut off), attach purple yarn by completing the sl st. Ch 3. Dc in top of next 8 sc, 2dc in ch 2 space, ch 2. *2dc in same ch2 space, dc in top of next sc and ea sc across, 2dc in ch2 sp, ch2*. Repeat from * to * 2x, then 2dc in same ch 2 space, dc in top of next 10 sc, slip st in top ch of ch3. Four clusters of 23 dc total.
Row 7: Continue in pattern for four clusters of 27 dc
Row 8: Continue in pattern for four clusters of 31 dc
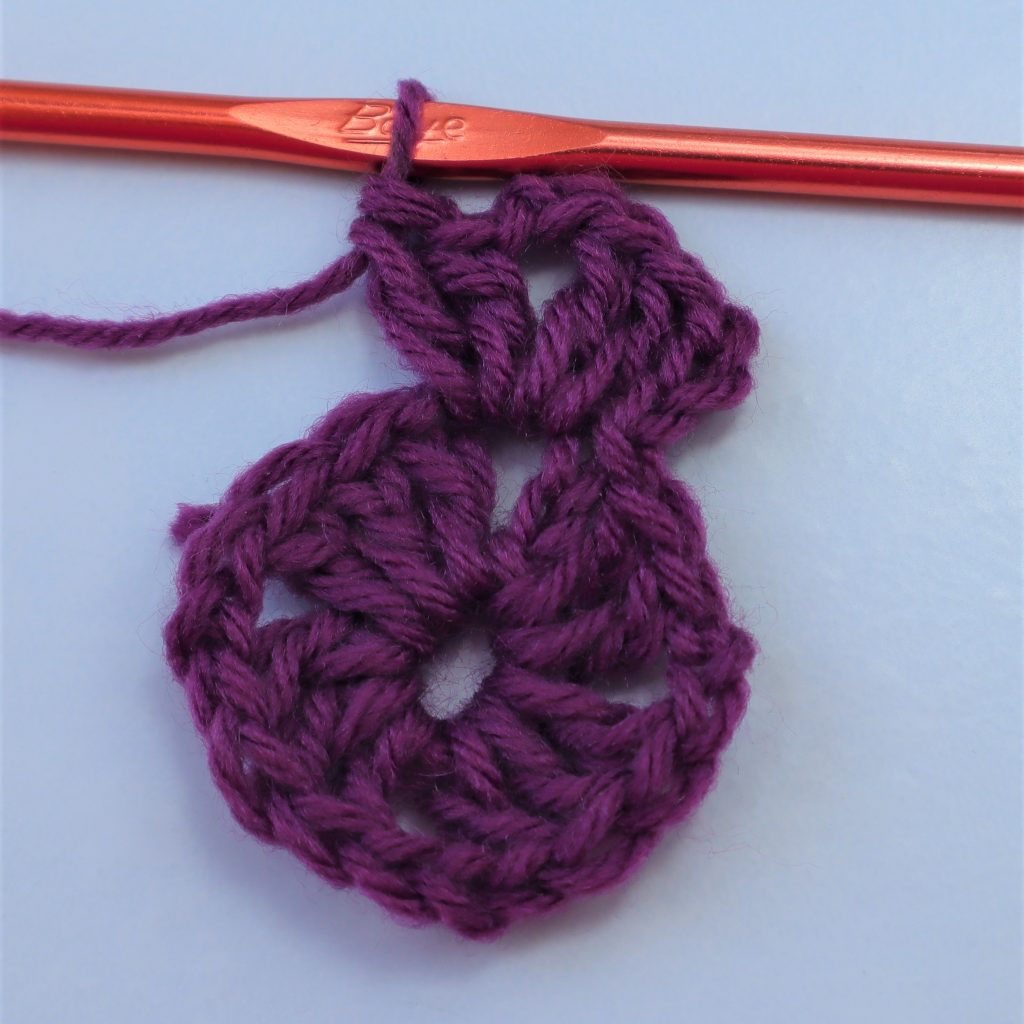
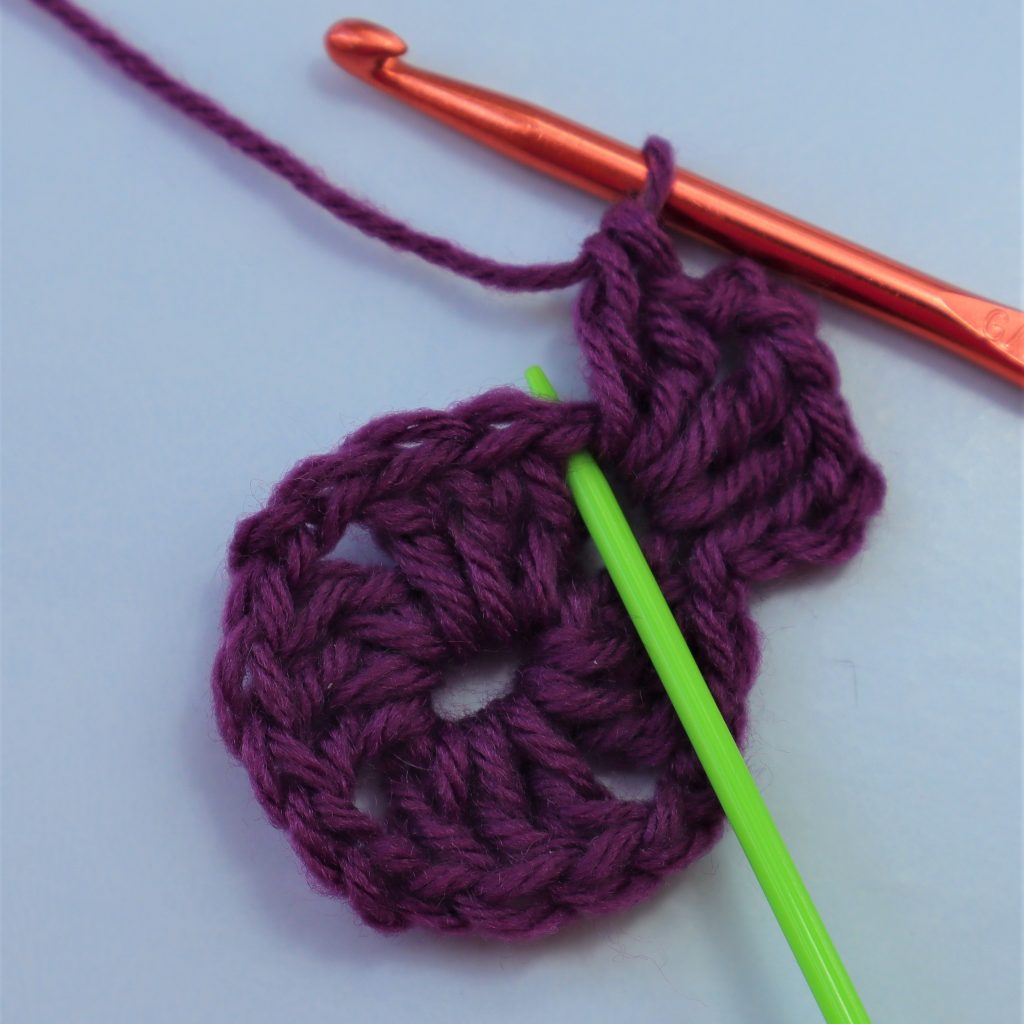
Row 9: Continue in pattern for four clusters of 35 dc. After last dc of last side, do not join with sl st.
Row 10: Insert hook in top of ch 3, drop purple yarn (do not cut off), attach white yarn by completing the sl st. Ch 3. Hdc in top of next 16 dc, 2hdc in ch 2 space, ch 2. *2hdc in same ch2 space, hdc in top of next dc and ea dc across, 2hdc in ch2 sp, ch2*. Repeat from * to * 2x, then 2hdc in same ch 2 space, hdc in top of next 18 dc. Four clusters of 39 hdc total. Cut off white yarn.
Row 11: Continue in pattern for four clusters of 43 dc
Row 12: Continue in pattern for four clusters of 47 dc
Row 13: Continue in pattern for four clusters of 51 dc
Row 14: Continue in pattern for four clusters of 55 dc
Row 15: Continue in pattern for four clusters of 59 dc
Row 16: Continue in pattern for four clusters of 63 dc. After last dc of last side, do not join with sl st.
Row 17: Insert hook in top of ch 3, drop purple yarn (do not cut off), attach white yarn by completing the sl st. Ch 3. Dc in top of next 36 dc, 2dc in ch 2 space, ch 2. *2dc in same ch2 space, dc in top of next dc and ea dc across, 2dc in ch2 sp, ch2*. Repeat from * to * 2x, then 2dc in same ch 2 space, dc in top of next 26 dc. Four clusters of 67dc total. Cut off off white yarn.
Row 18: Continue in pattern for four clusters of 71 dc
Row 19: Continue in pattern for four clusters of 75 dc. Sl st to close row. Tie off purple yarn.
Weave in tails on the wrong side as needed.
Attach Panels
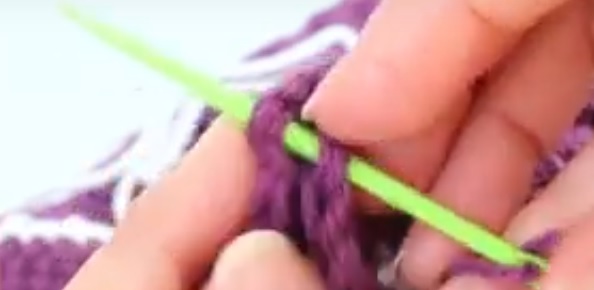
Place panels right sides together, wrong side facing you. With yarn needle and length of yarn, insert hook under two strands of each panel, use whip stitch to seam along 3 sides.
Turn pillow cover right side out; insert pillow, continue seaming to close final side.
Copyright © 2020 Sylvia Talo You may sell items made from my patterns. Please include a link or reference to my shop CrazyCoolCrochetUS.etsy.com . Pattern and photos are copyright protected; may not be reproduced, redistributed, or displayed publicly in any way.
If you like working with granny squares you might also enjoy this granny square cushion cover:


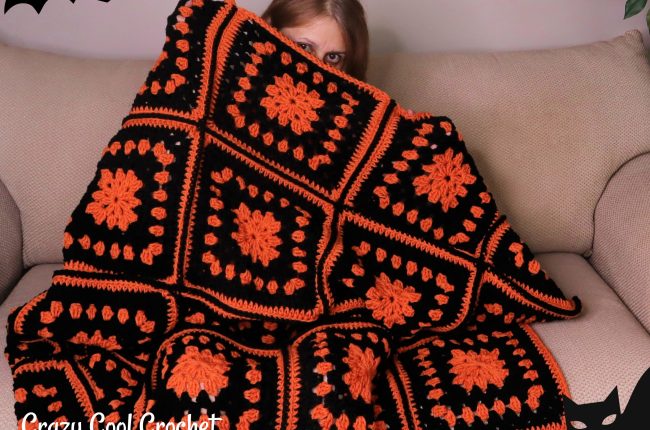
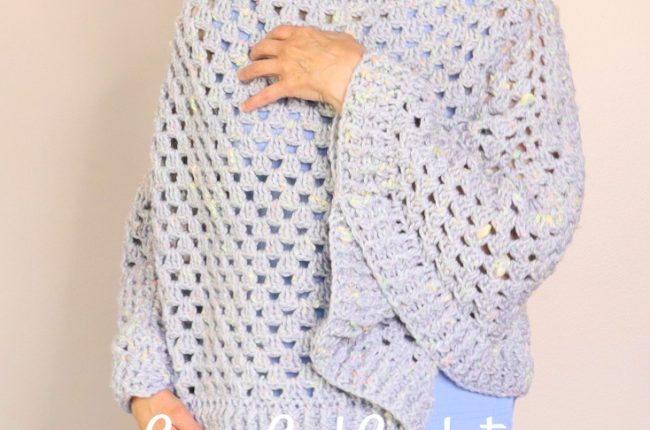
[…] 2. Granny Square Cushion Cover […]