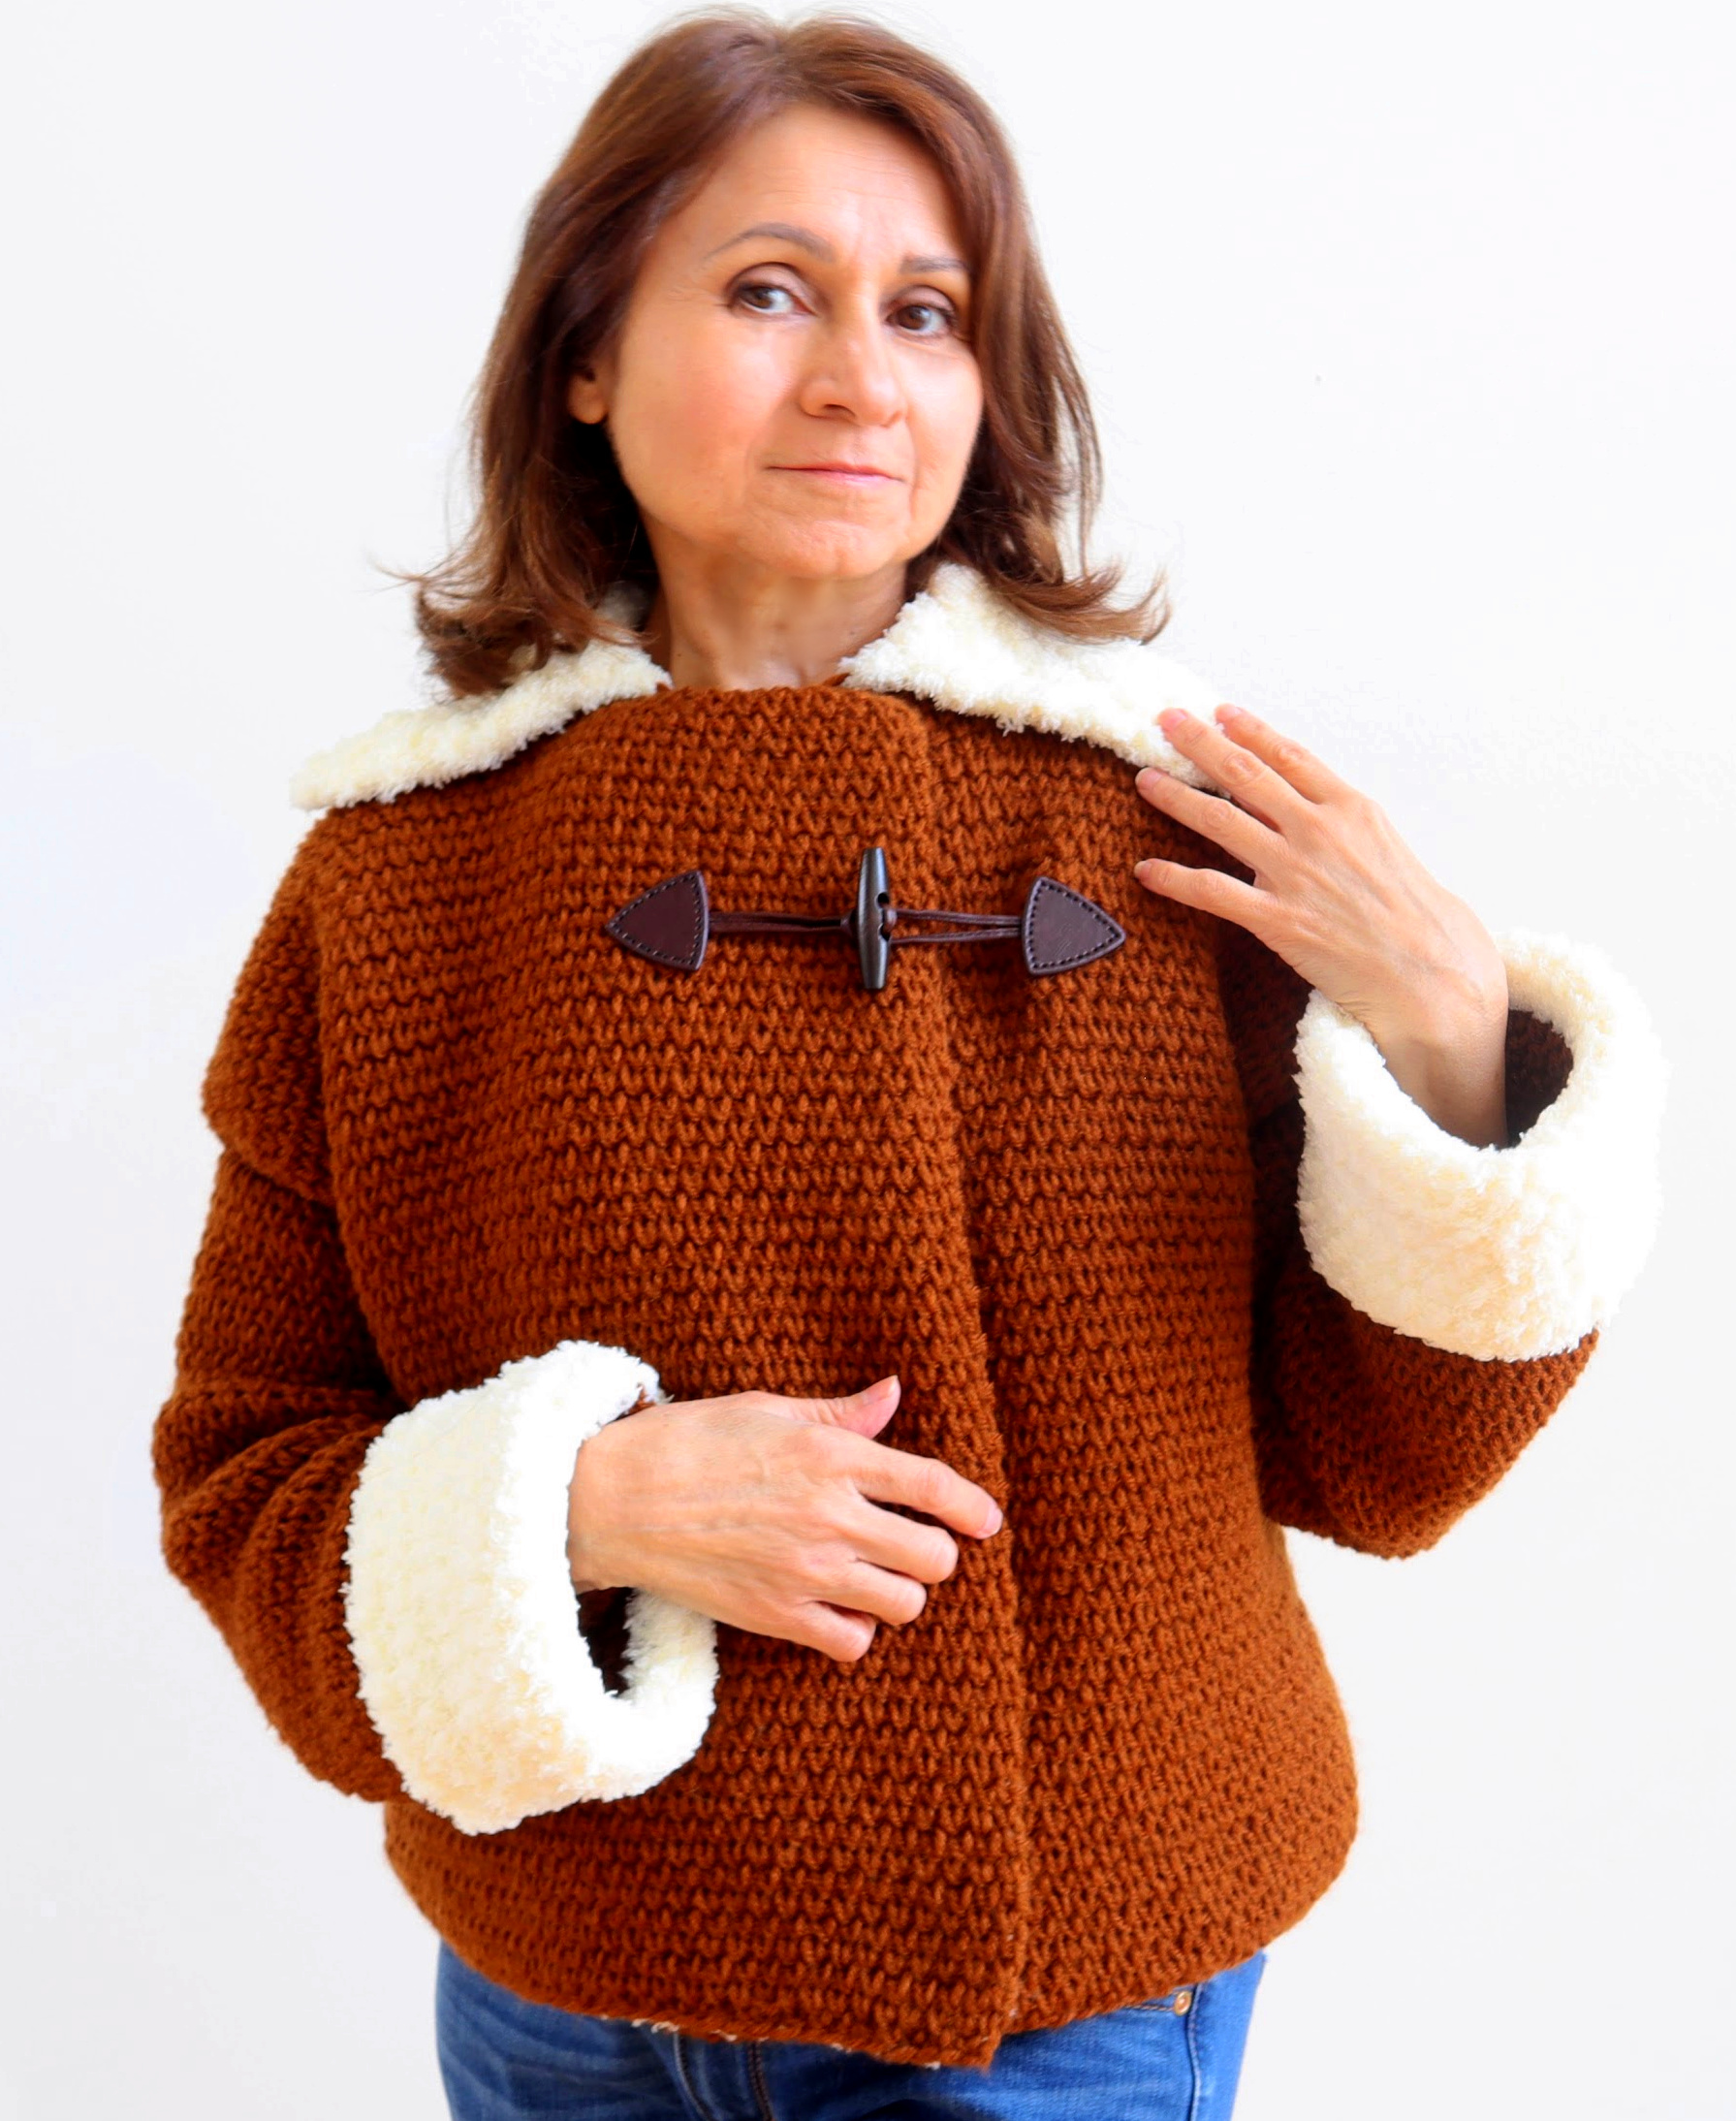
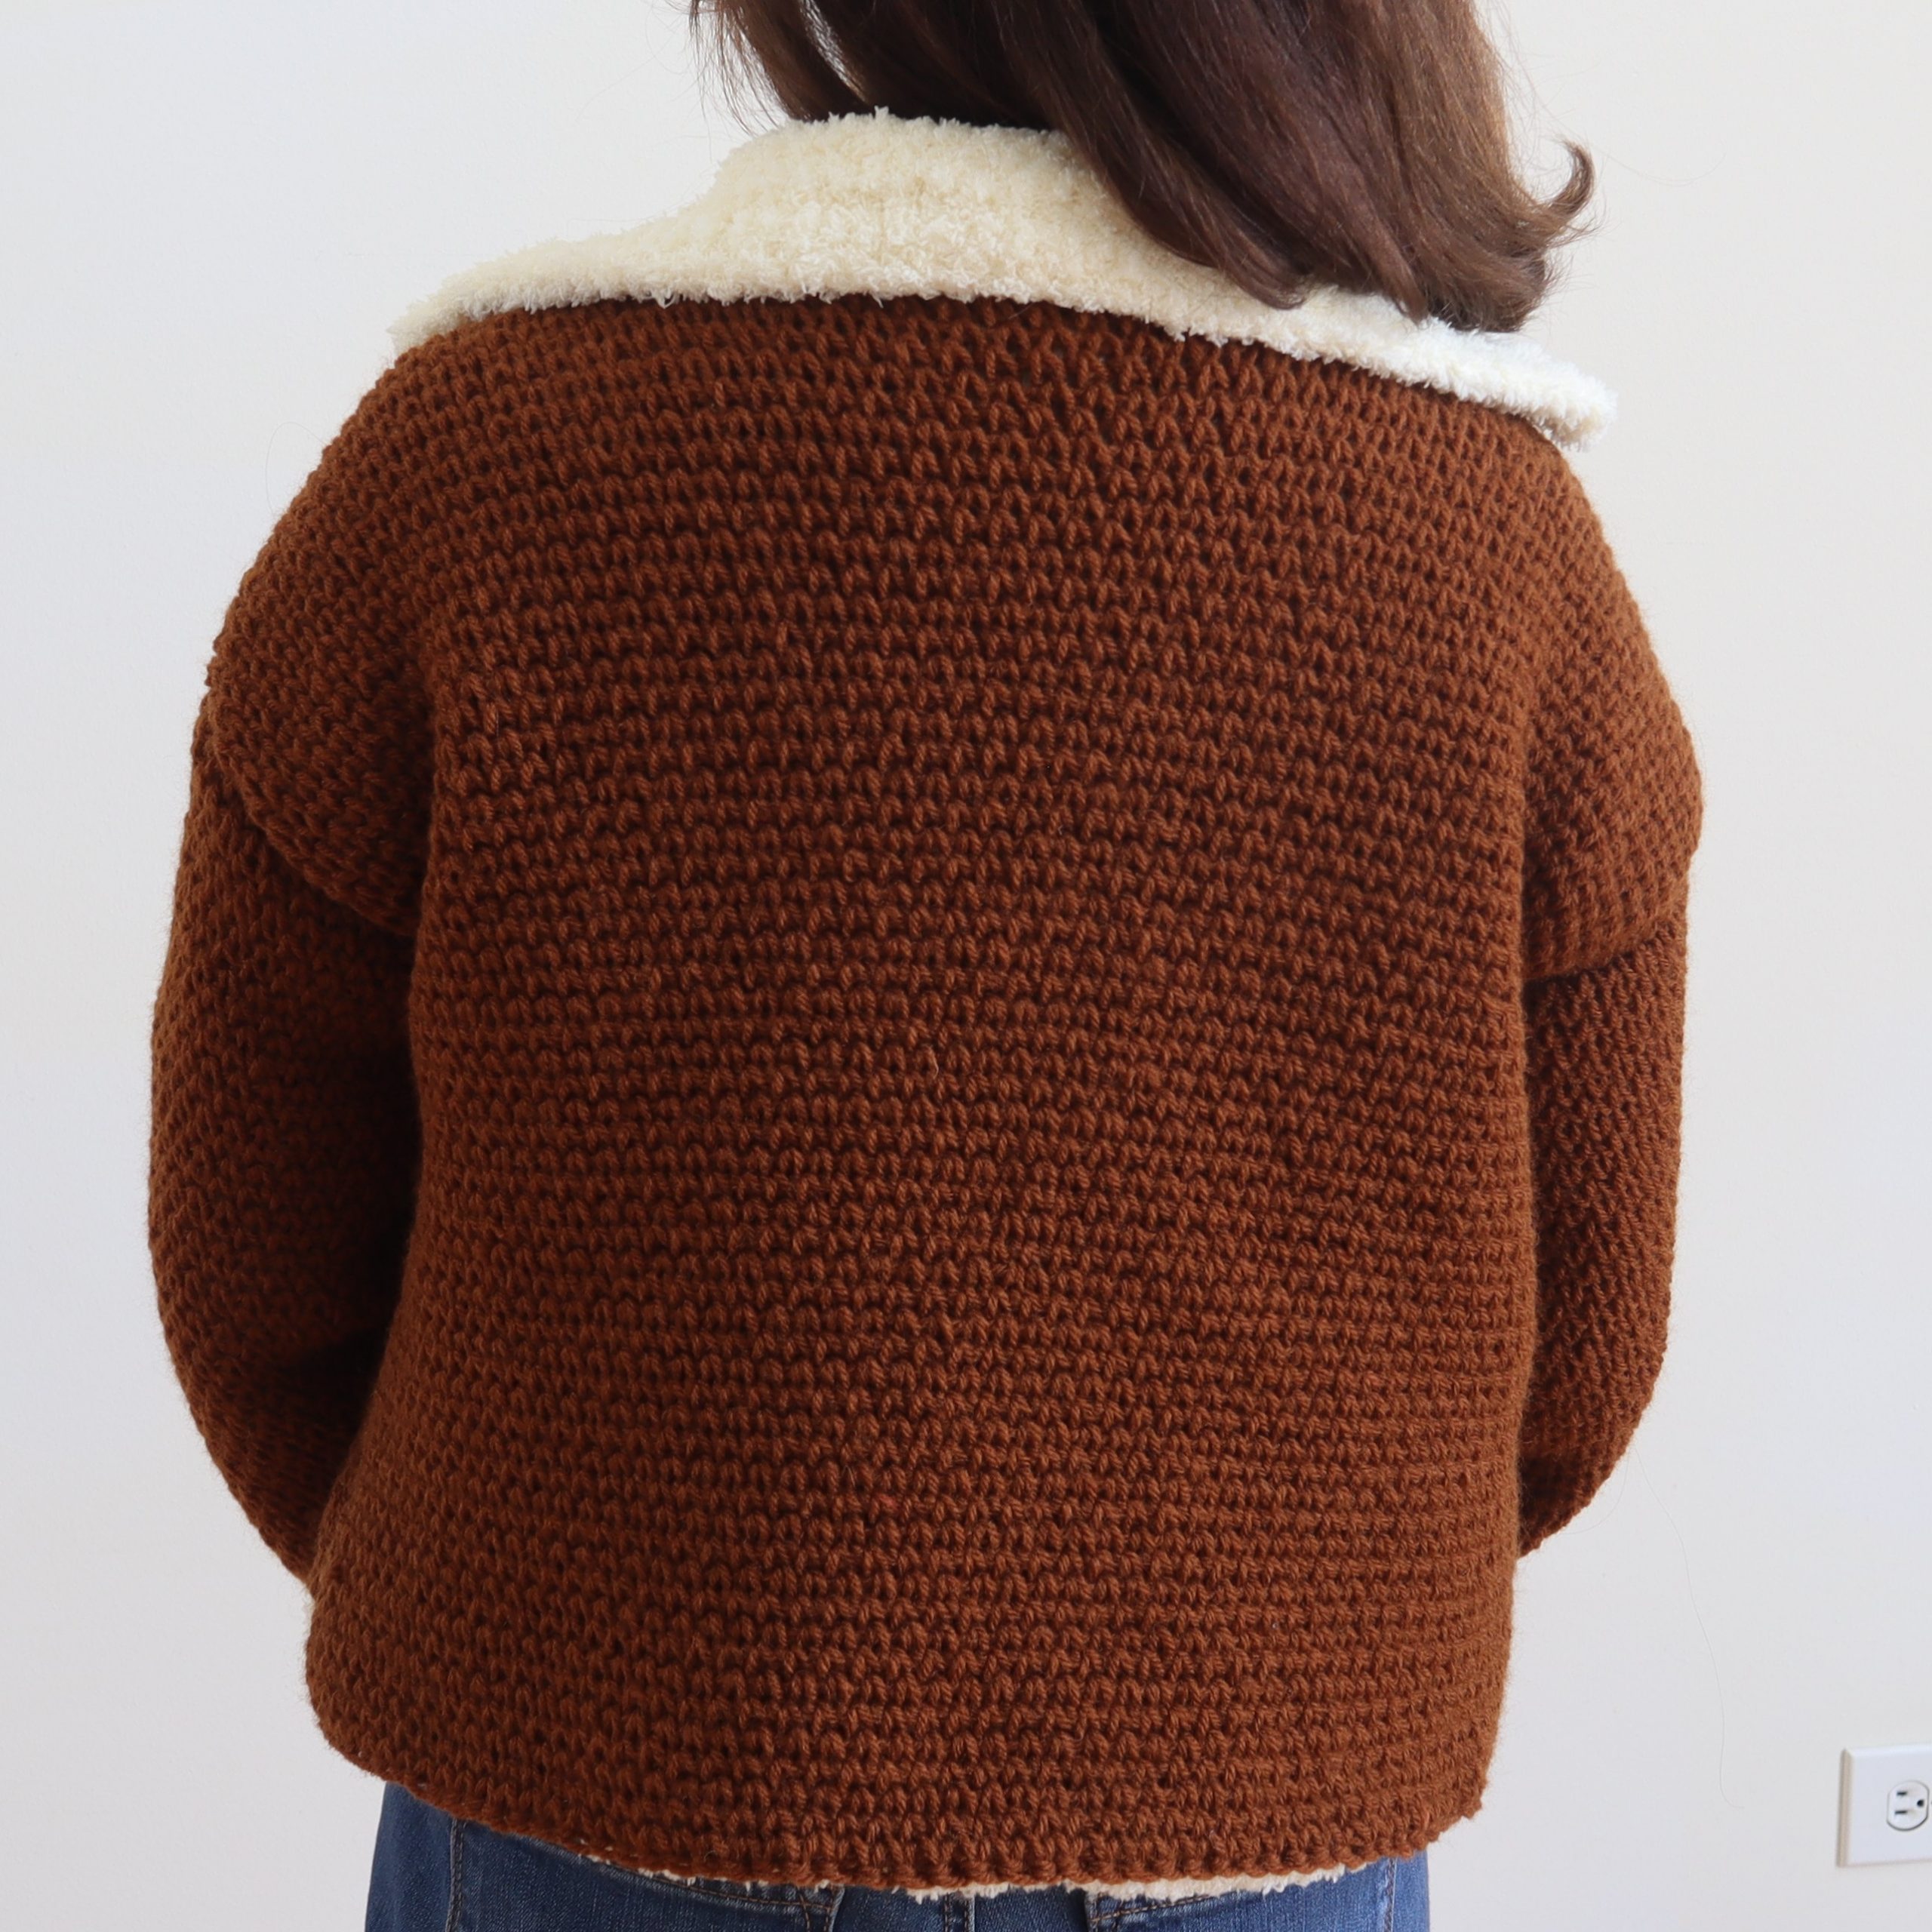
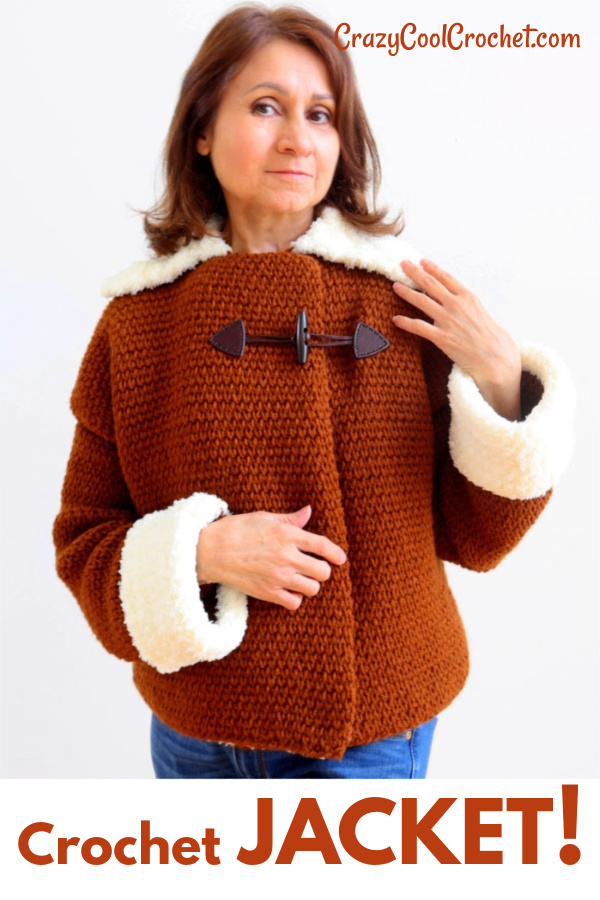
This crochet jacket FREE PATTERN will be the coolest crochet project you ever made! I call this the Crochet Sherpa Wool Jacket. Of course we use yarn, not actual sherpa wool! This pattern uses the knit-look stitch, center single crochet, which makes it look that much more impressive. This truly is an actual jacket!
This pattern is actually fairly simple. You make a few straightforward panels and add a simple collar and even simpler sleeves and VIOLA! You have yourself the most gorgeous, knock their socks off handcrafted, crochet jacket!
The video tutorial is below and the written, free version of the pattern will follow below shortly. The printable pattern will be available at my Etsy shop soon as well! In the meantime, watch the video and look around my Etsy shop for my other Crazy Cool designs. CrazyCoolCrochetUS.etsy.com
The video tutorial is provided for your convenience. Crazy Cool Crochet is my only source of income and your support for my work is greatly appreciated. You subscription to this blog and my YouTube channel would help me tremendously! I truly appreciate your support.
This post contains affiliate links which means I may earn a small commission for purchases made from these links at no additional to cost to you.
Size Small
This jacket is designed to be short and boxy. It should sit a few inches below the waist. You can make it longer by adding rows to the front and back panels as preferred.
For larger sizes simply add two inches to the foundation chains (per each size larger) of the front and back panels using an odd number for the starting chain. There is no need for a multiplier. Add an inch more to the foundation chain for the sleeves.
Materials:
#4 weight Lion Brand Wool Ease/ size Small 15 ounces / 985 yards/Color Umber
Pipsqueak #5; 3.5 skeins (3.5 ounces ea); Color Vanilla
Purchase here:
Crochet hook size K / 6.5 mm and I / 5.5 mm
Toggle button
Yarn needle
scissors
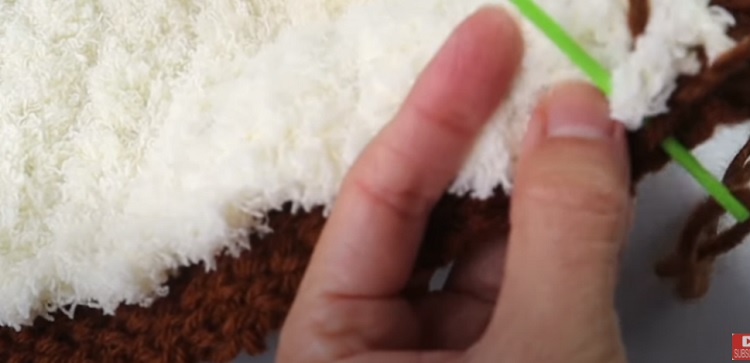
NOTE: Center single crochet: insert hook into the “heart” of the sc below. The sc will look like an upside down V with a little bar over it. Insert the hook into the center of the upside down V, below the little bar. Work the sc as normal.
TIP: work slightly loosely with the csc to better see and allow easier entry of hook.
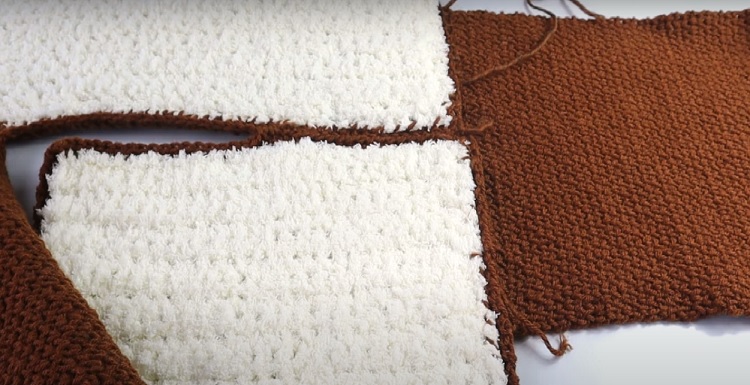
FRONT PANEL (make 2)
Ch 41
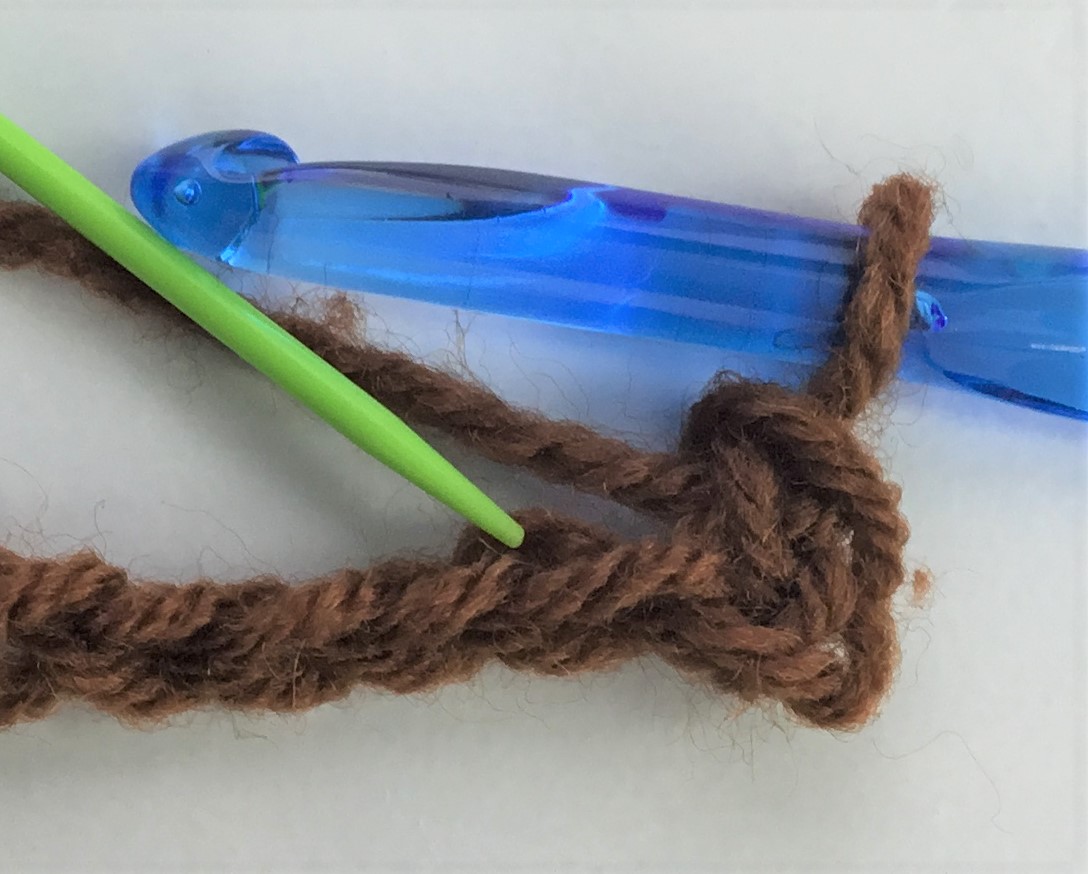
Row 1: With brown yarn, working loosely, in back loop (3rd strand) of ch’s, sc in 2nd ch from hook and ea ch across. 40 sc’s Ch 1 Turn
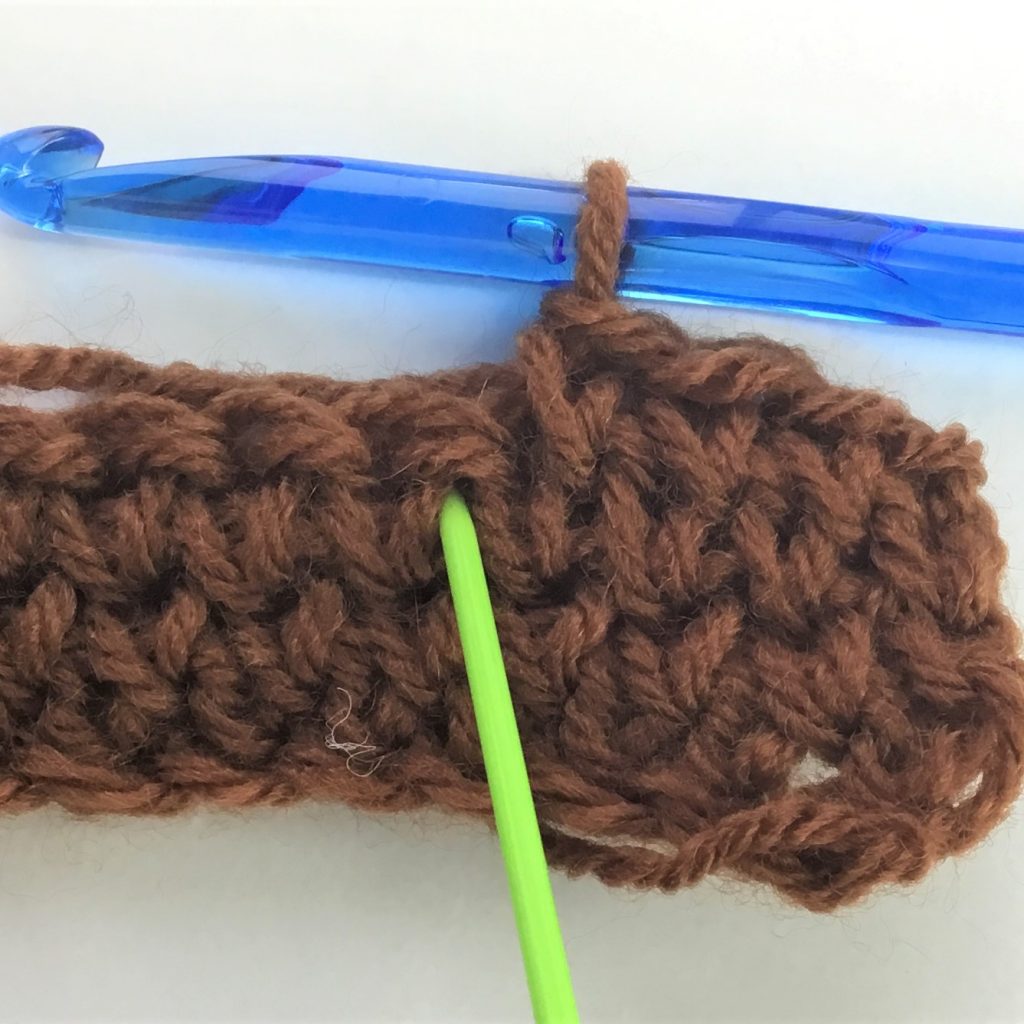
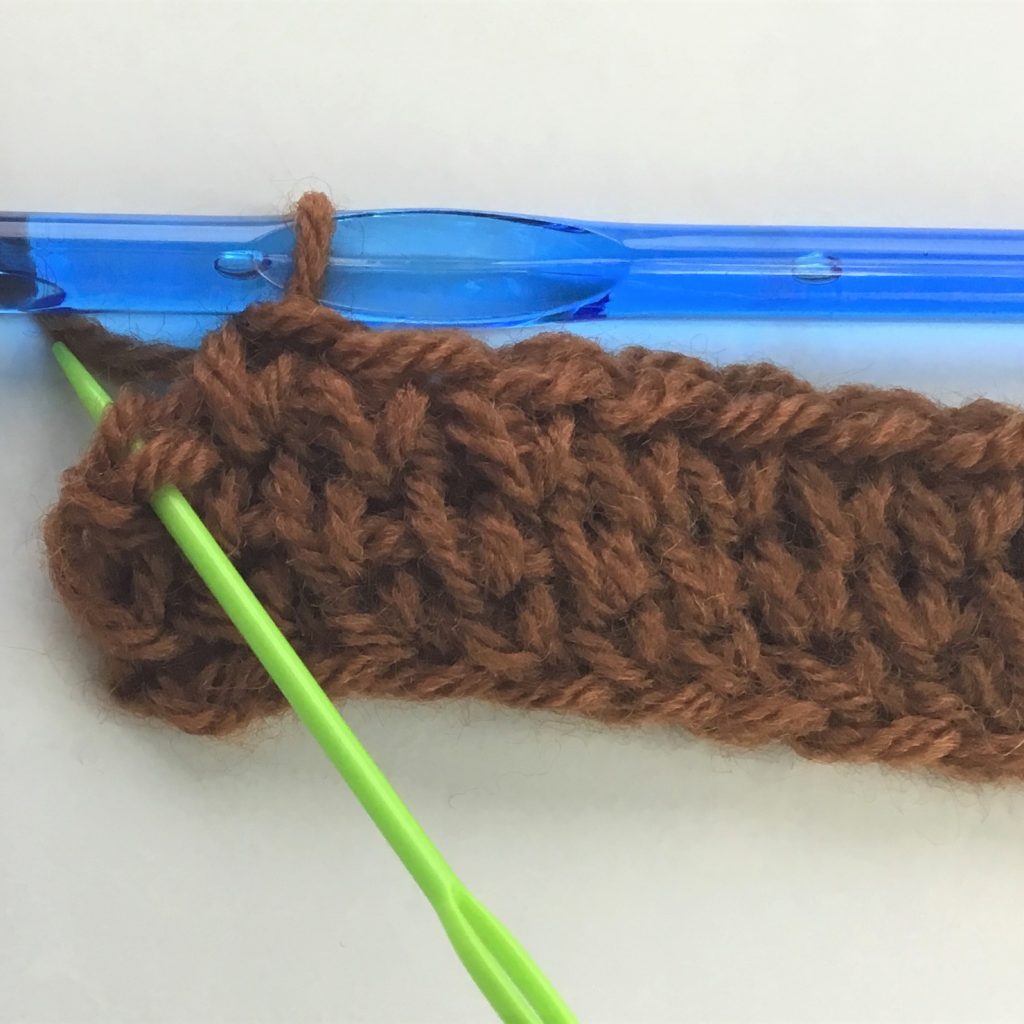
Row 2: (Photos above shows where to enter the hook for Row 3. The same method is used for Row 2.) Continue working slightly loosely, csc in 1st sc below and ea sc across. Take care to enter #39 in the last sc below and #40 in the sp between the turning ch and the last sc. 40 csc’s Ch 1 Turn
Row 3 – 60: Repeat Row 2. Tie off yarn.
BACK PANEL
Ch 59
Repeat instructions as for Front Panel
SLEEVES (make 2)
Ch 33
Repeat instructions as for Front Panel
SHERPA LINING (Pipsqueak yarn)
Front Panel (make 2):
Working very loosely, Ch 26
Row 1: Working with a loose tension, sc in 2nd ch from hook and ea ch across. 25 sc’s Ch 1 Turn
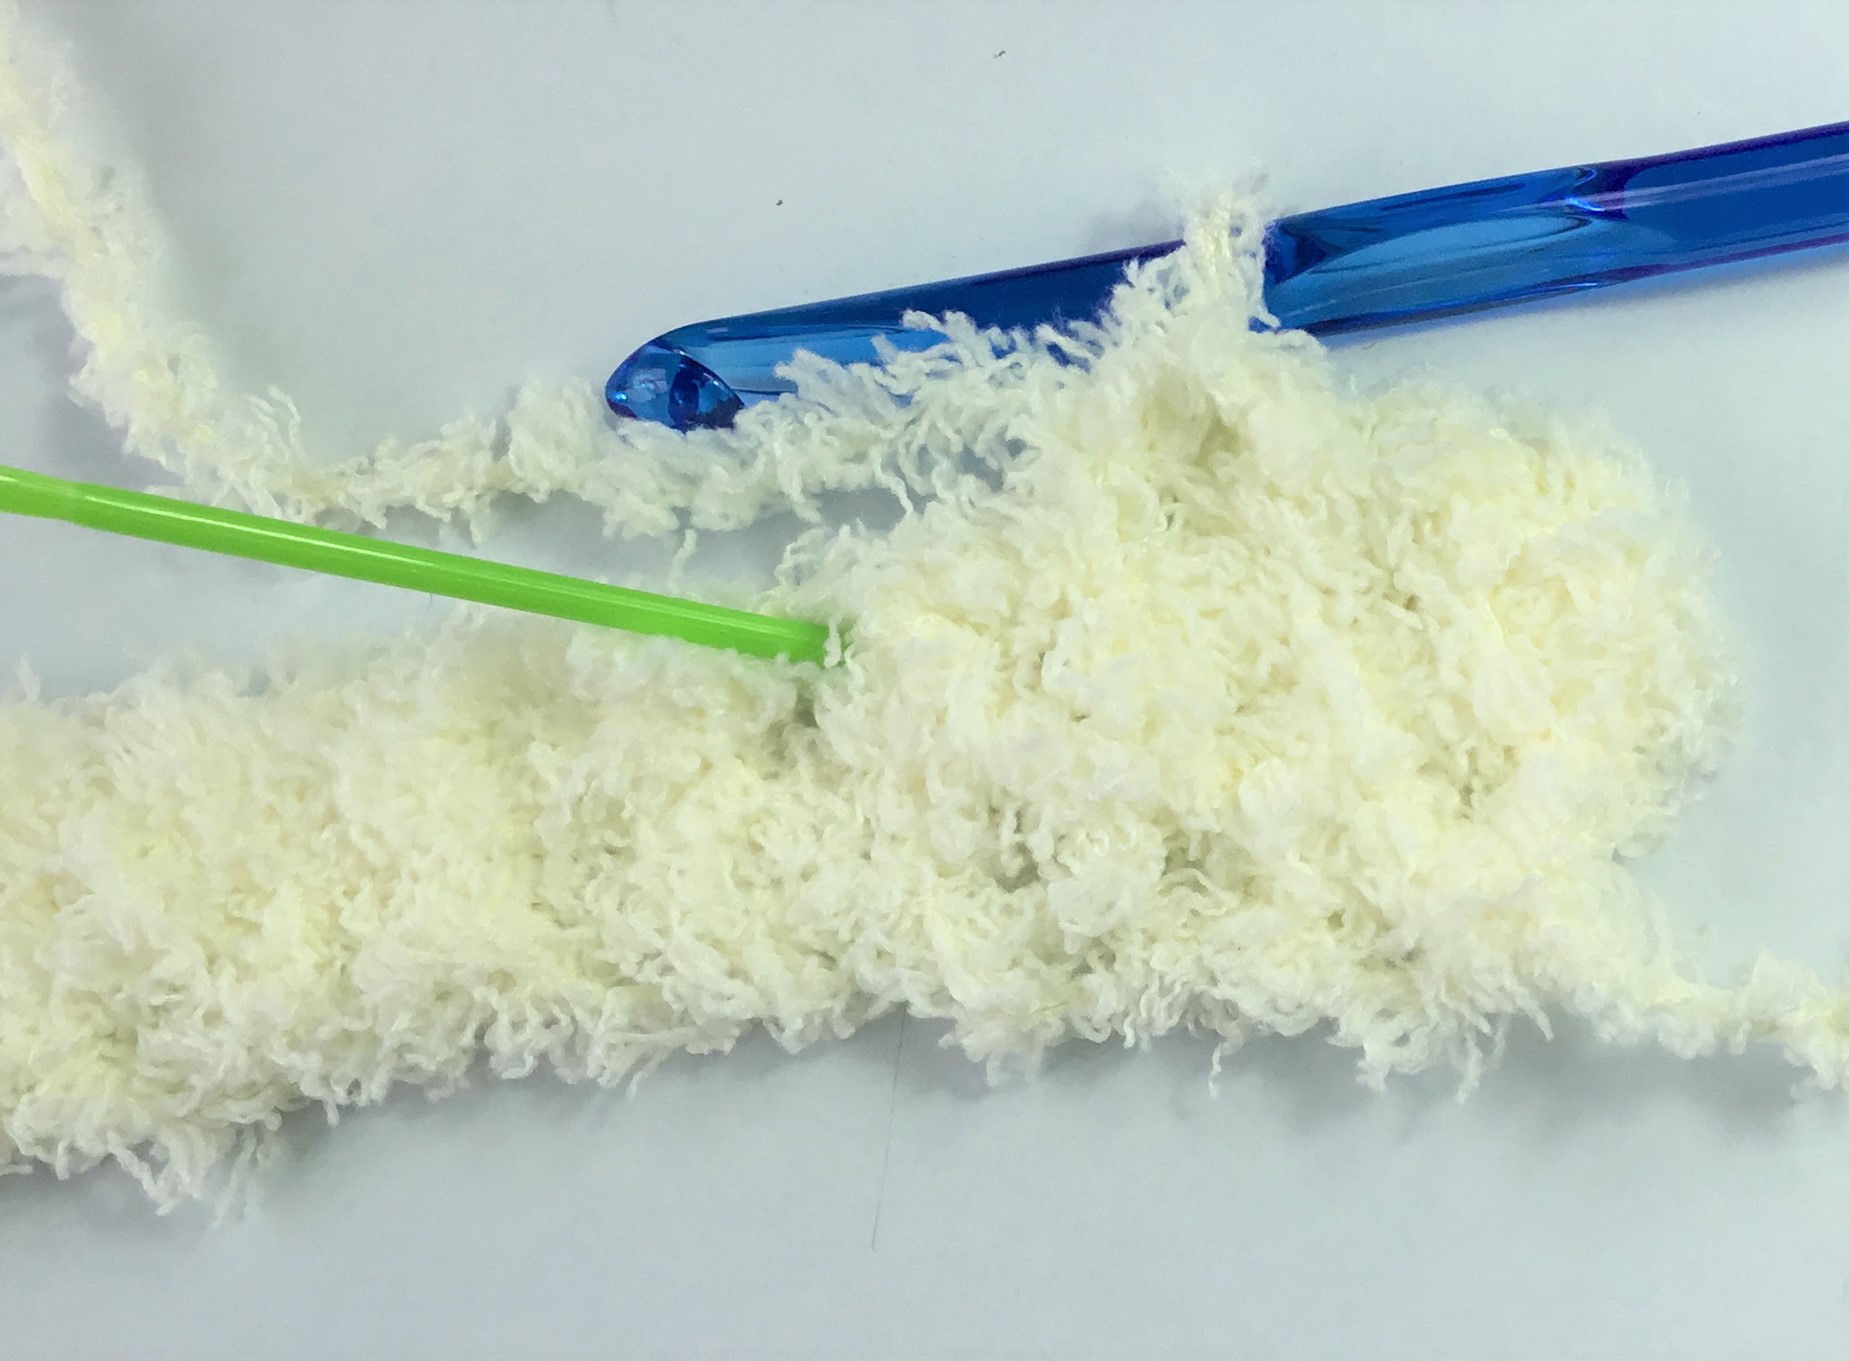
Row 2: sc in 1st sp and ea sp across. 25 sc’s Ch 1 Turn
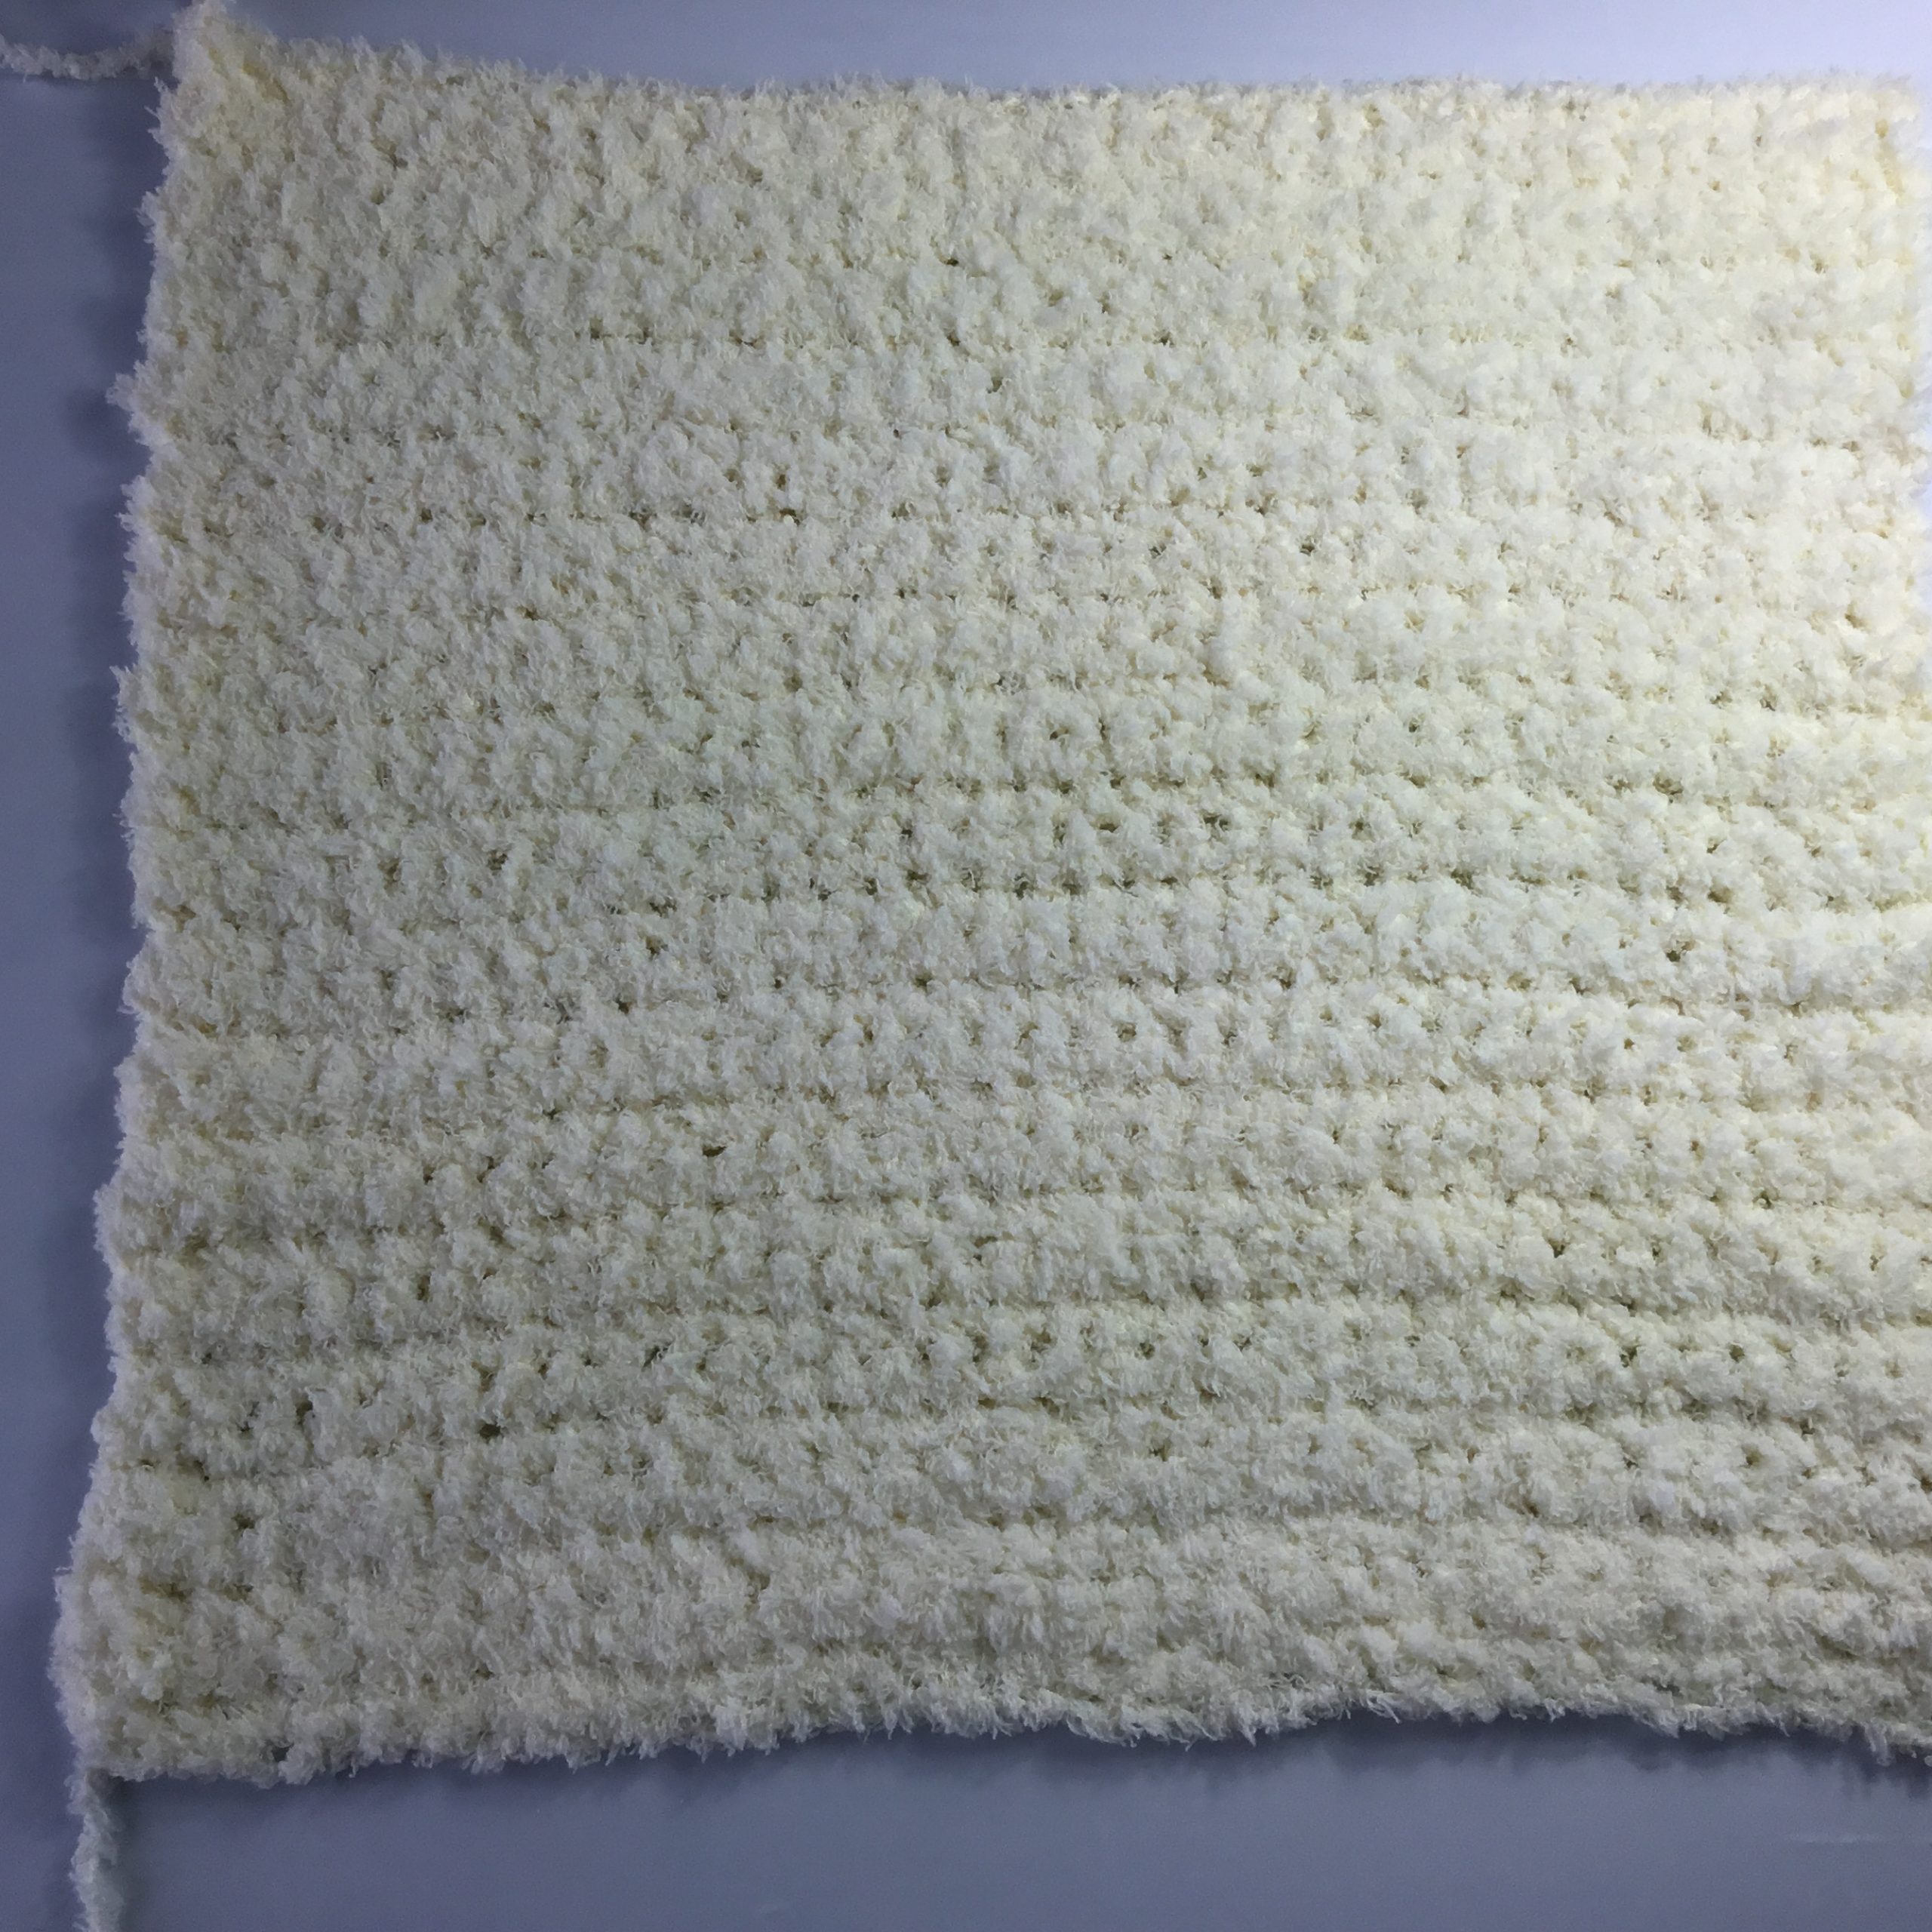
Row 3 – 35: Repeat Row 2 Tie off yarn at end of last row.
Back Panel
Working very loosely, Ch 36
Repeat instructions as for Front Panel
TOGGLE BUTTON
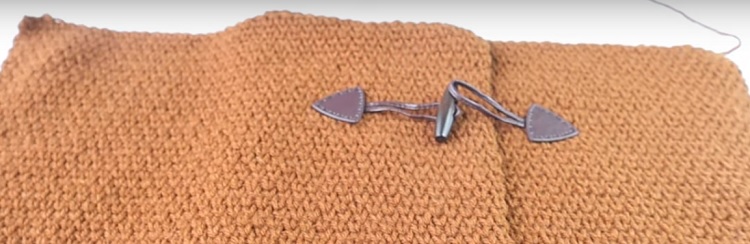
Prior to attaching lining to the panels, attach toggle button as required for your toggle. Example: the toggle I used required sewing with regular needle and thread into tiny holes in the leather patches. Ensure even placement on each of the front panels. For my jacket I placed the toggles 15 rows below the top of the front panels and 4.5 inches from the edge (the button piece) and 8.5 inches from the edge of the 2nd panel (the loop piece).
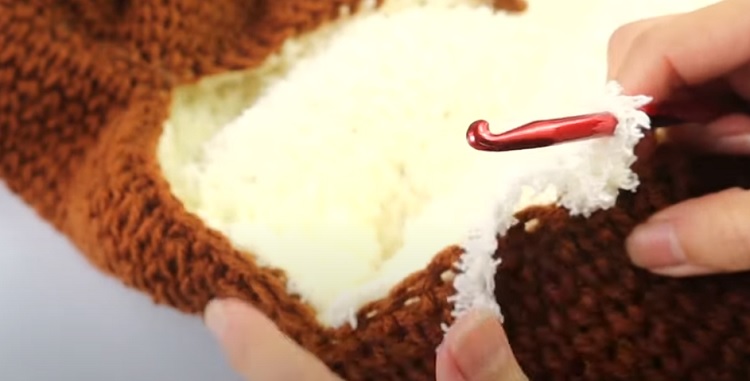
ATTACH LINING
Front Panels
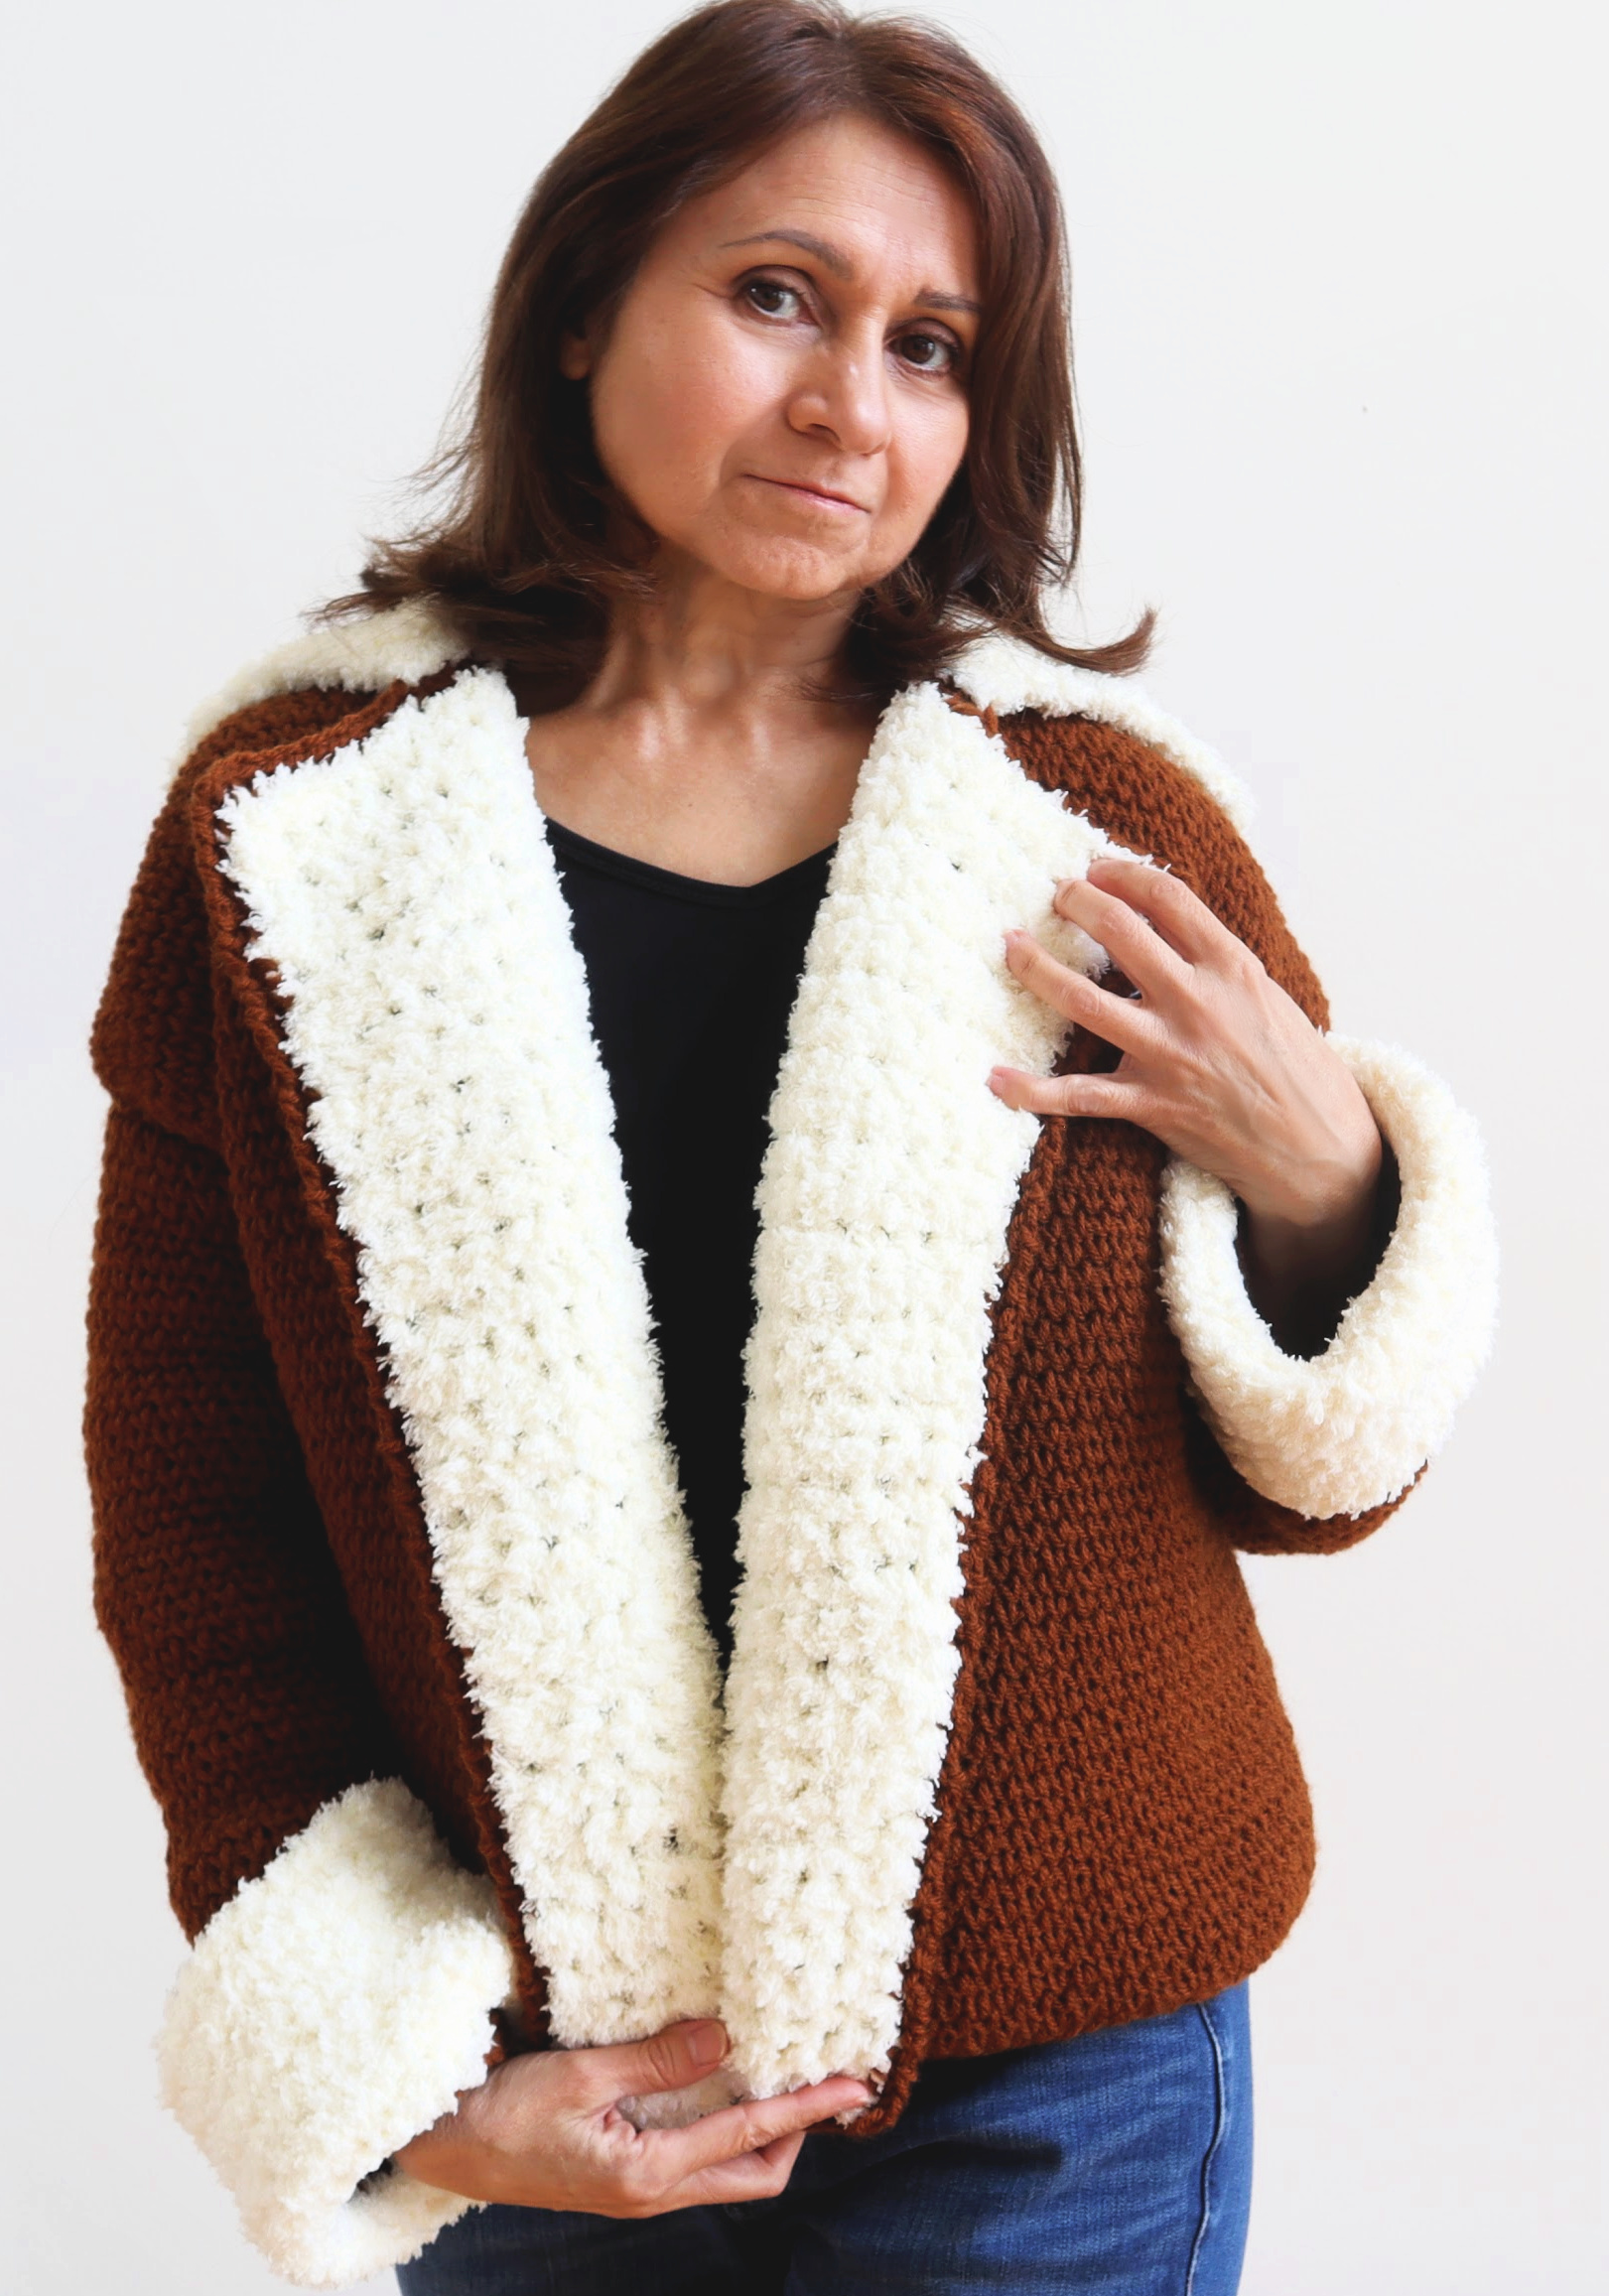
With wrong side of brown panel facing up and right side of sherpa panel facing up, place sherpa panel on top of brown panel. Position sherpa panel so you keep the very edge of the brown panel “free”. With yarn needle and brown yarn, use a whip stitch working under one strand of the brown (do not work into the front of the panel) just inside the edge, and under two strands of the Pipsqueak (“sherpa”). See Tip below! You will need the edge of the brown available for seaming the finished panels.
TIP: For the sides of the panel that will be showing when the front panels fall open (untoggled), work under only ONE strand of the sherpa panel. For the sides of the panel that will not show when slightly open (the inside seam and the shoulder) you may go under two strands.
Back Panel
Attach lining using the same process as for front panels.
ATTACH PANELS
Shoulders
With wrong side up, use yarn needle and brown yarn to seam back panel to front panels at the shoulder. Working from the edge to the center, seam for 8 inches on each shoulder.
Sleeves
Position the body of the garment fully opened with wrong side up. Position the top edge of sleeve (wrong side up) centered at the shoulder edge seam. With yarn needle seam with whip stitch using brown yarn.
Front and Back Panels
With wrong side up, using yarn needle and brown yarn, whip stitch, beginning at the bottom of front and back panel, seaming up to the underarm and down the arm seam.
COLLAR
With jacket right side facing up, attach Pipsqueak yarn with the smaller I hook, to front right panel, 3 inches from the shoulder seam.
TIP: use a normal tension for the collar. If you normally use a looser tension, tighten up the tension a bit.
Row 1: Ch 1. sc in same sp and in ea sp around to 3 inches past the shoulder seam to the left front panel. Ch 1. Turn
Row 2: Enter 2 sc’s in 1st sp for a scinc (single crochet increase). Sc in ea space to the second to last sp. Enter a scinc in the last sp. Ch 1. Turn
Row 3 – 10: Repeat Row 2
Row 11: sc in 1st sp and ea sp of the row. Ch 1. Turn
Row 12: Repeat Row 11. Tie off yarn.
CUFFS
With Pipsqueak yarn and I hook, attach yarn at the sleeve seam. Use normal tension.
Row 1: Ch 1. sc in same sp and each sp around perimeter of sleeve. When you reach the end of the row, sl st into the beginning sc. Ch 1. Turn
Row 2: sc in 1st sp and sp around. When you reach the end of the row, sl st into the beginning sc. Ch 1. Turn
Row 3 – 12: Repeat Row 2. At end of last row, tie off yarn.
Flip cuff up, over the sleeve.
Copyright © 2020 Sylvia Talo You may sell items made from my patterns. Please include a link or reference to my shop CrazyCoolCrochetUS.etsy.com . Pattern and photos are copyright protected; they may not be reproduced, redistributed, or displayed publicly in any way.
Please share this pin to your favorite Pinterest board:
You May Also Like


[…] Crochet Jacket Free Pattern […]
This is very beautiful and seems like it would get a lot of wear on cold winter evenings!
Thank you so much Andrea. Thank you for visiting.
You have a very website!
Sylvia
CrazyCoolCrochet.com