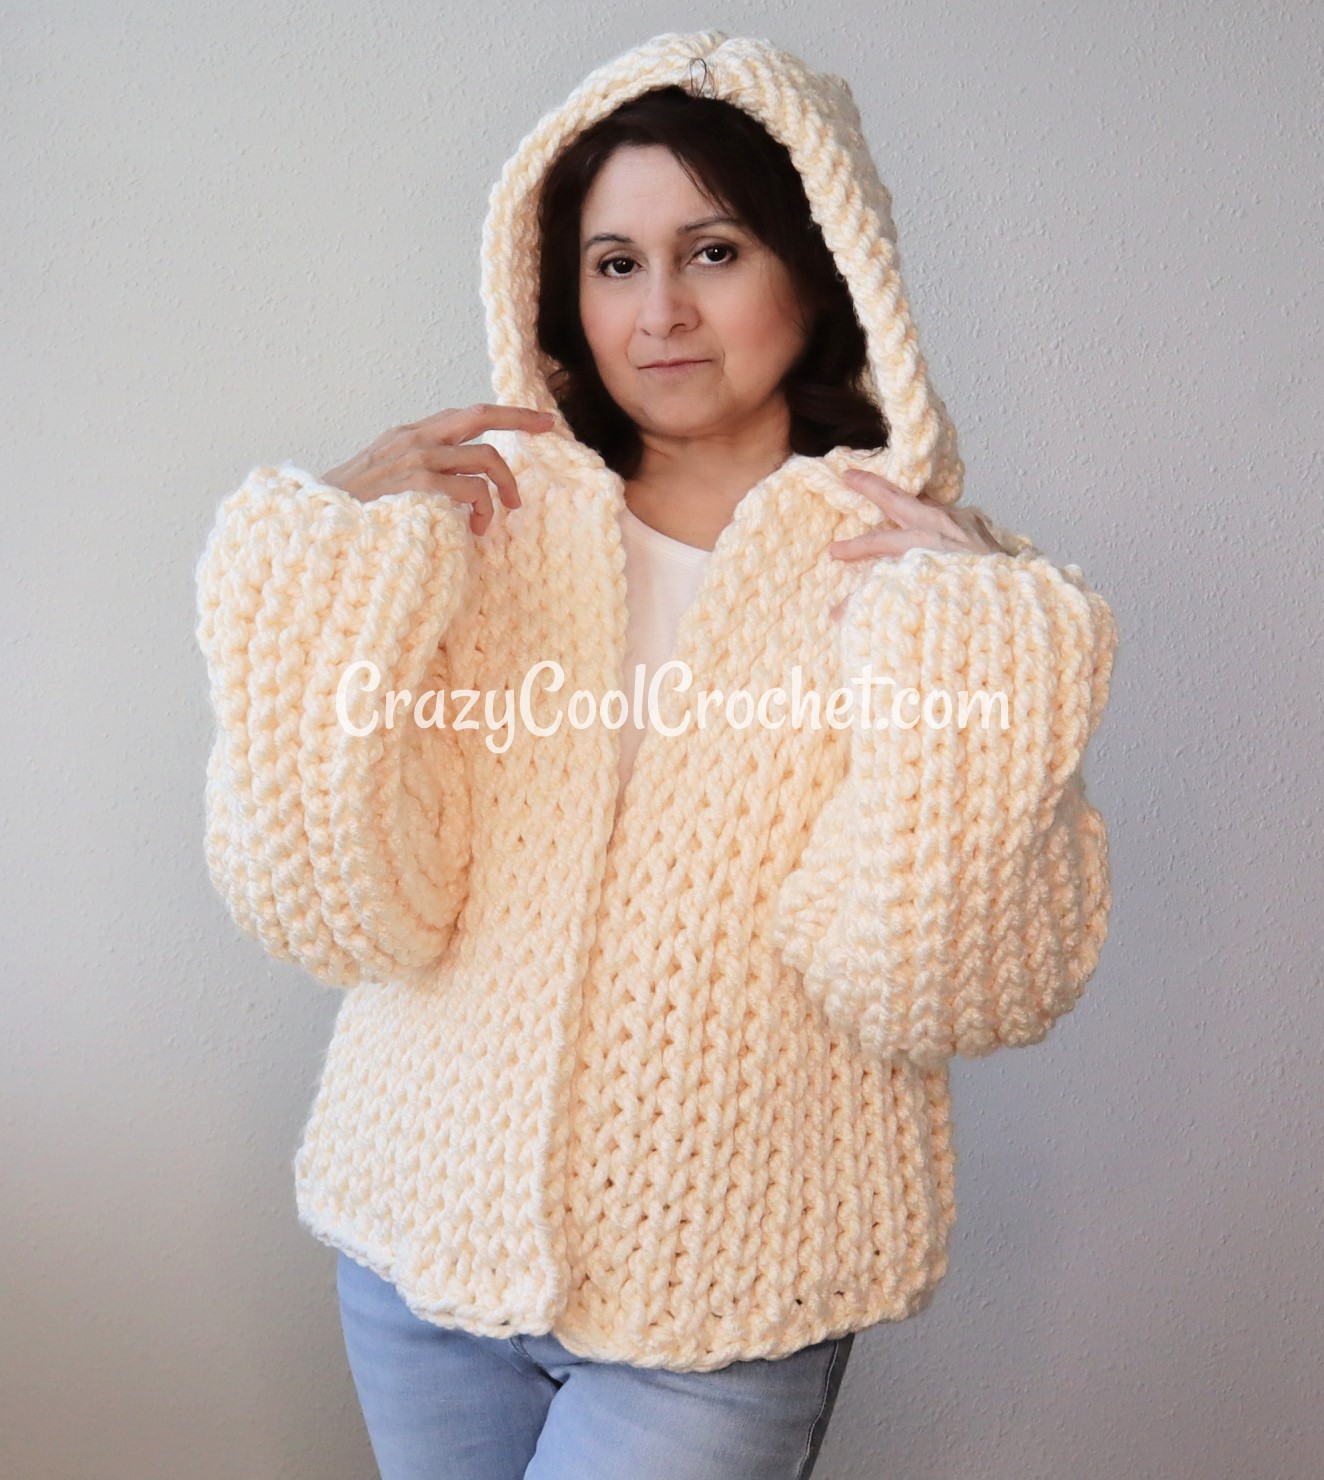
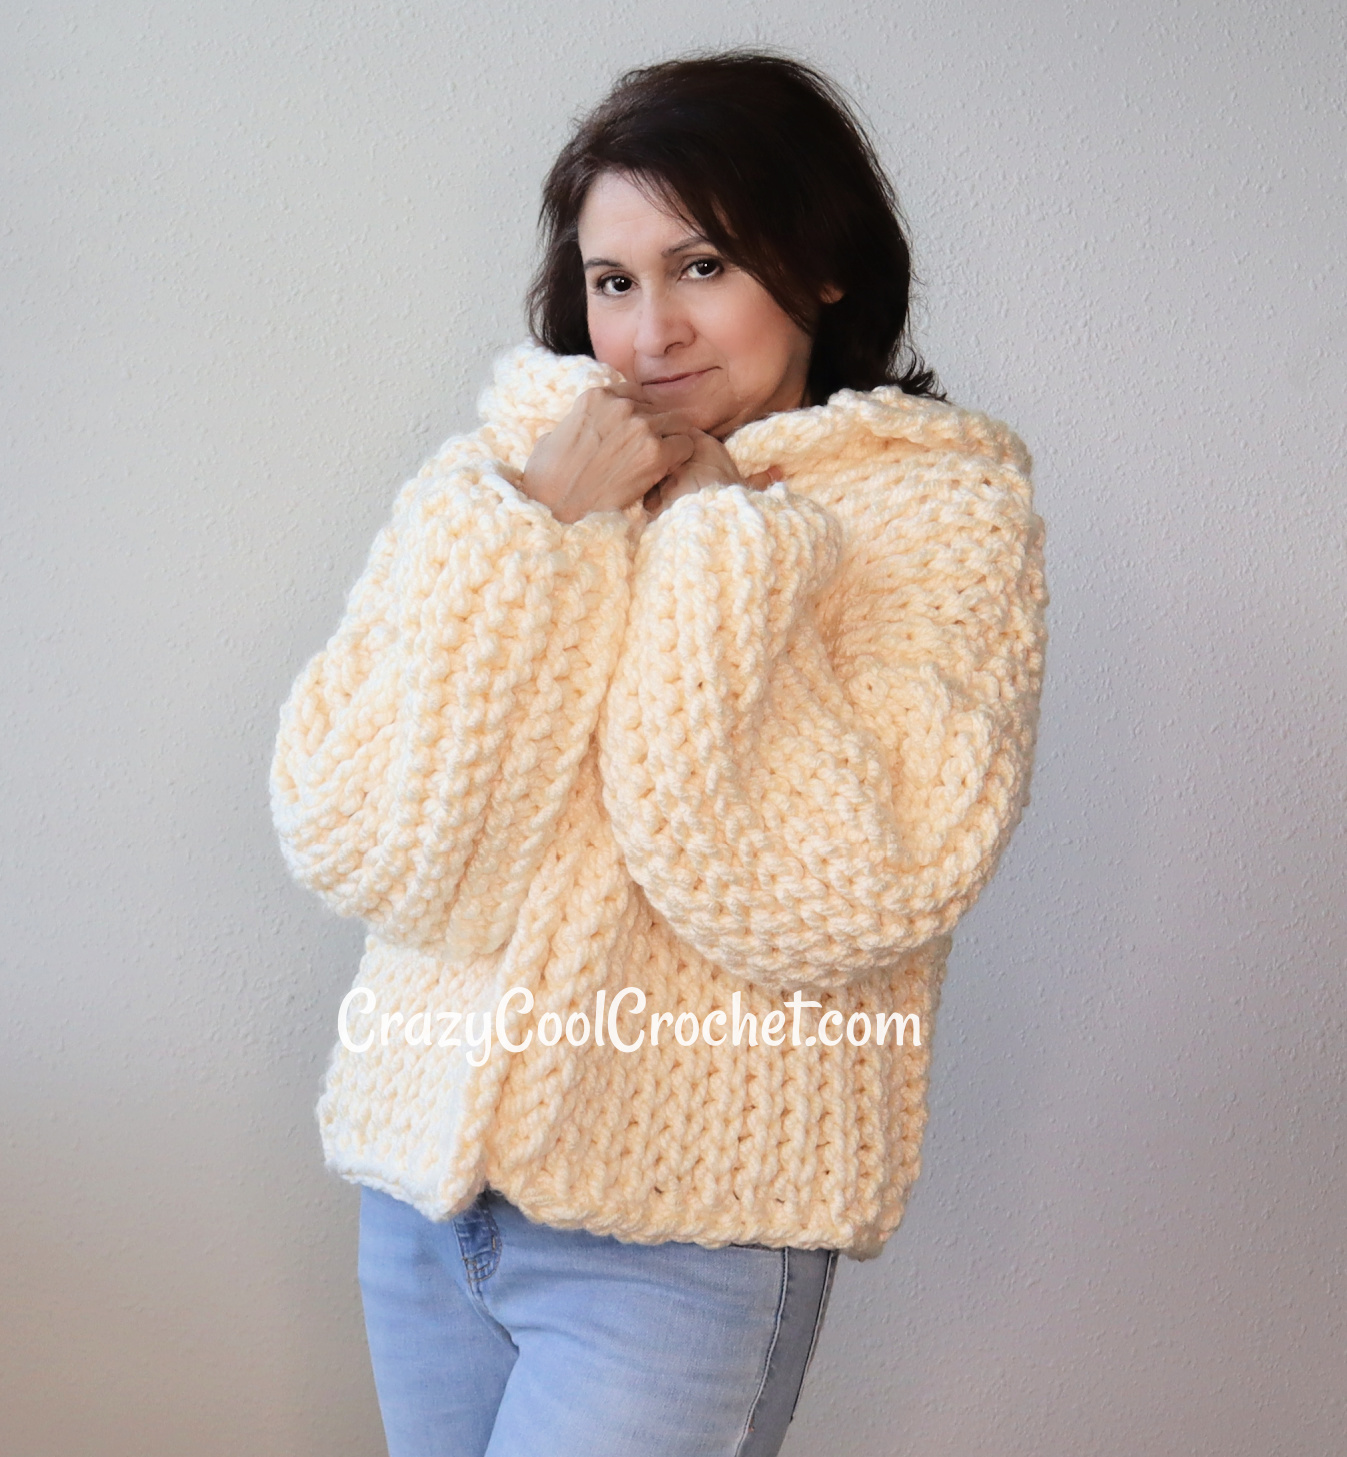
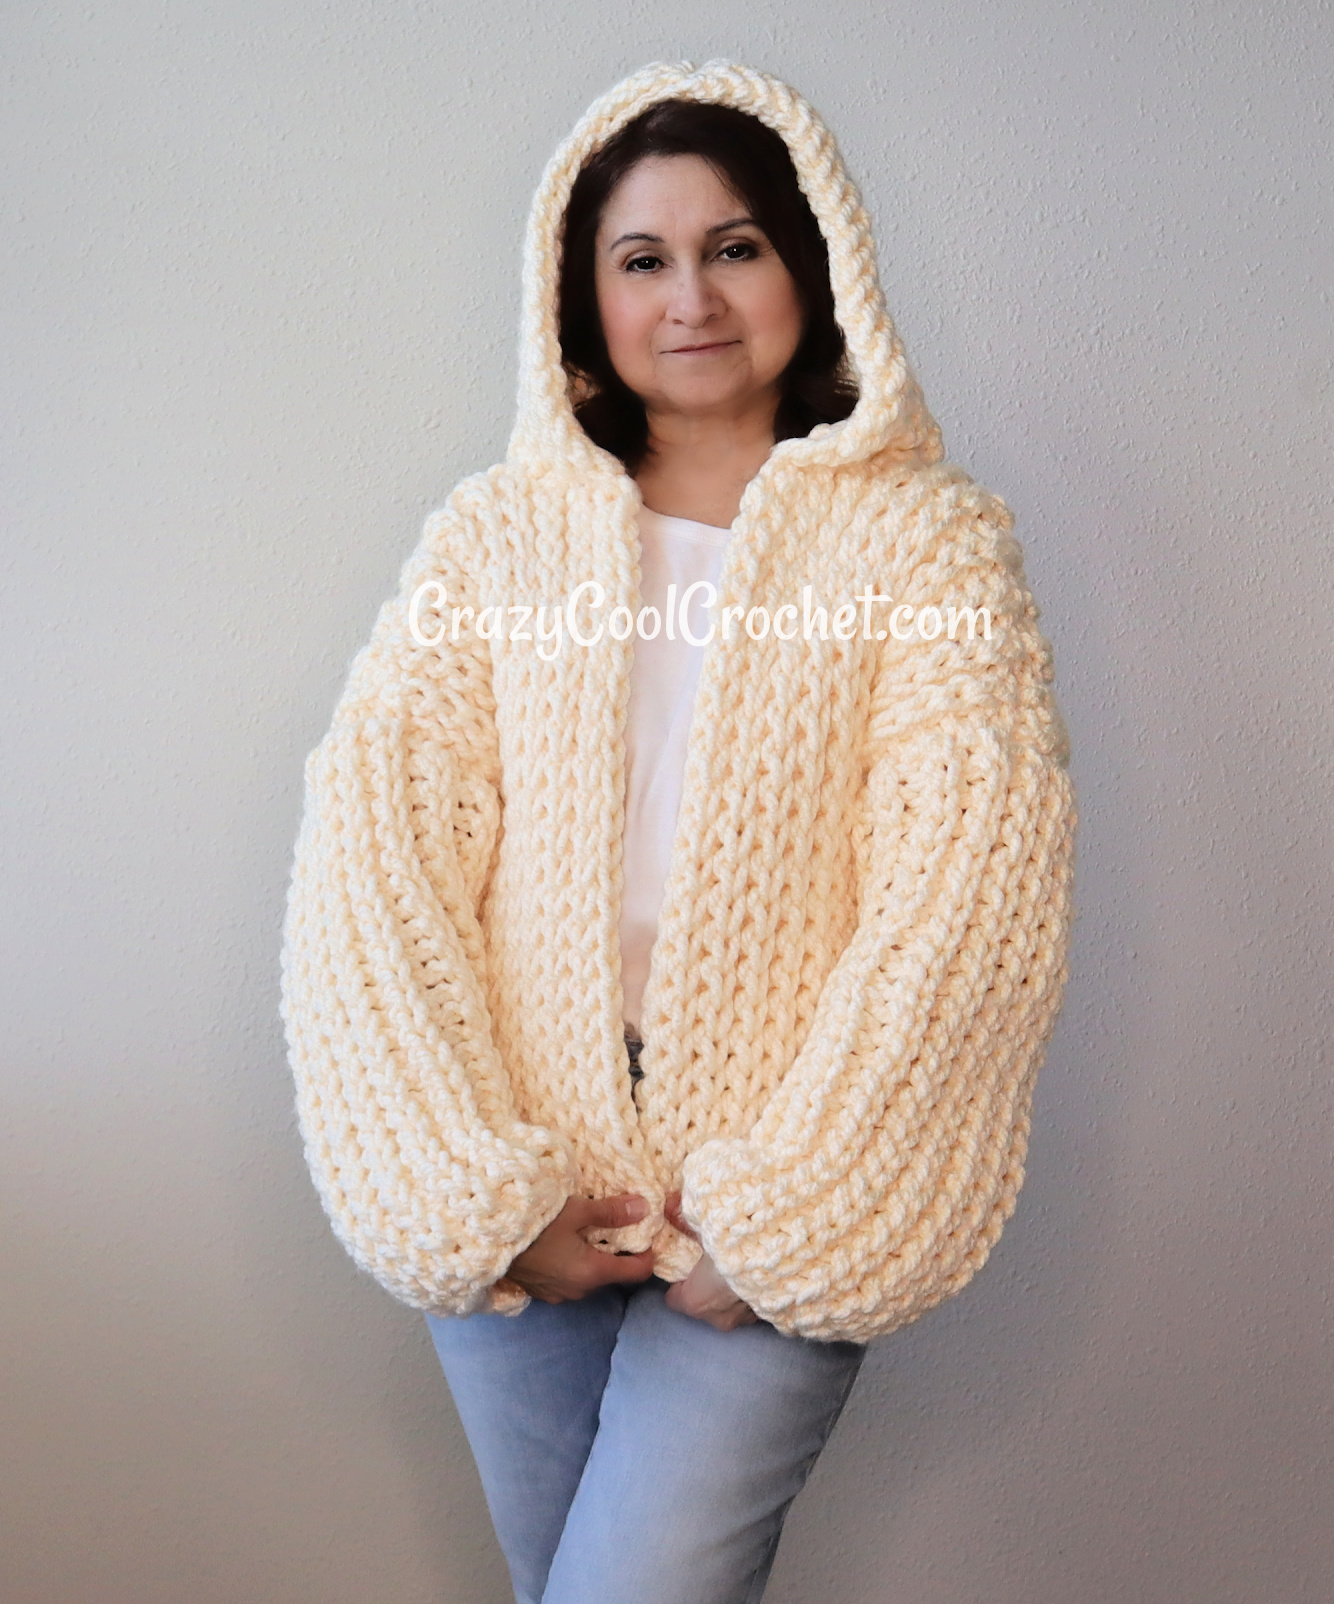
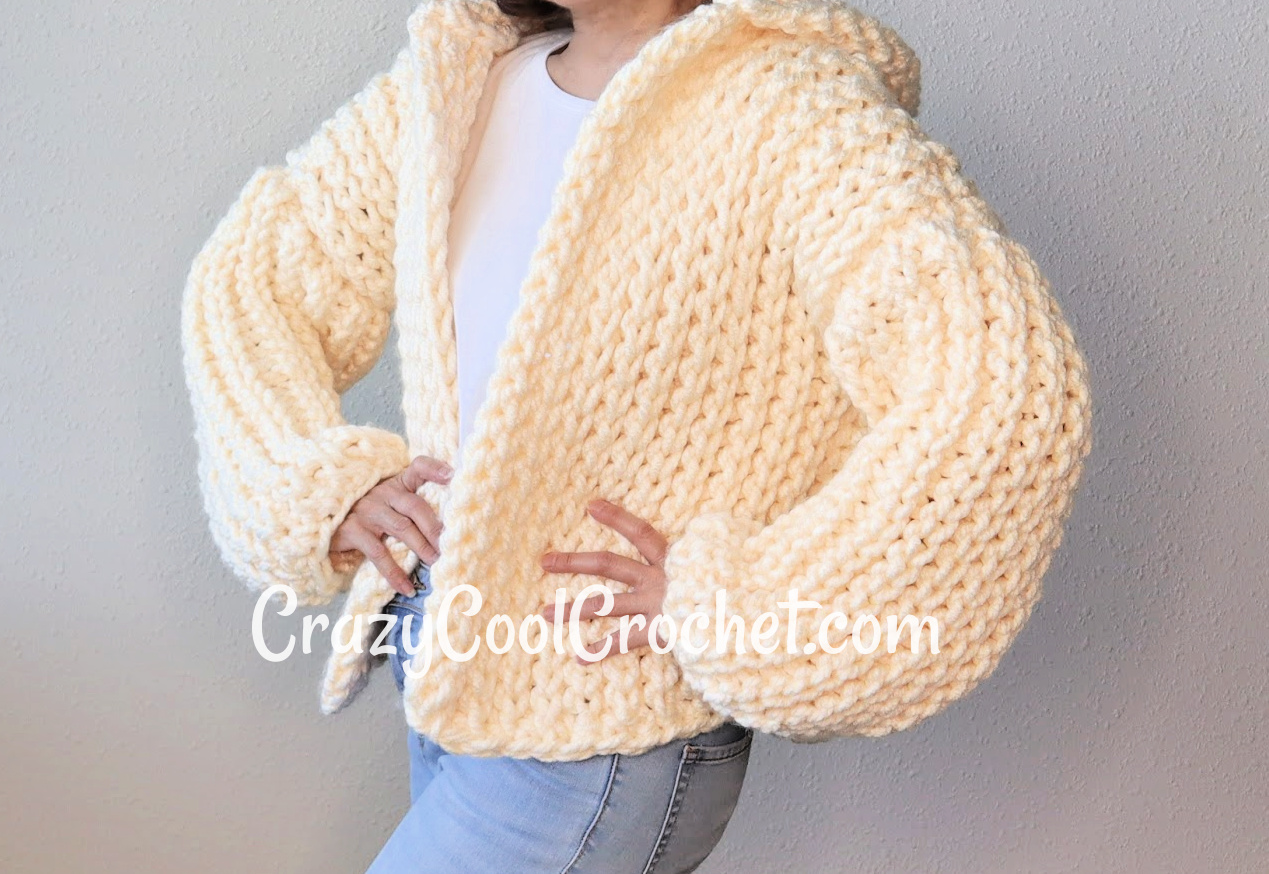
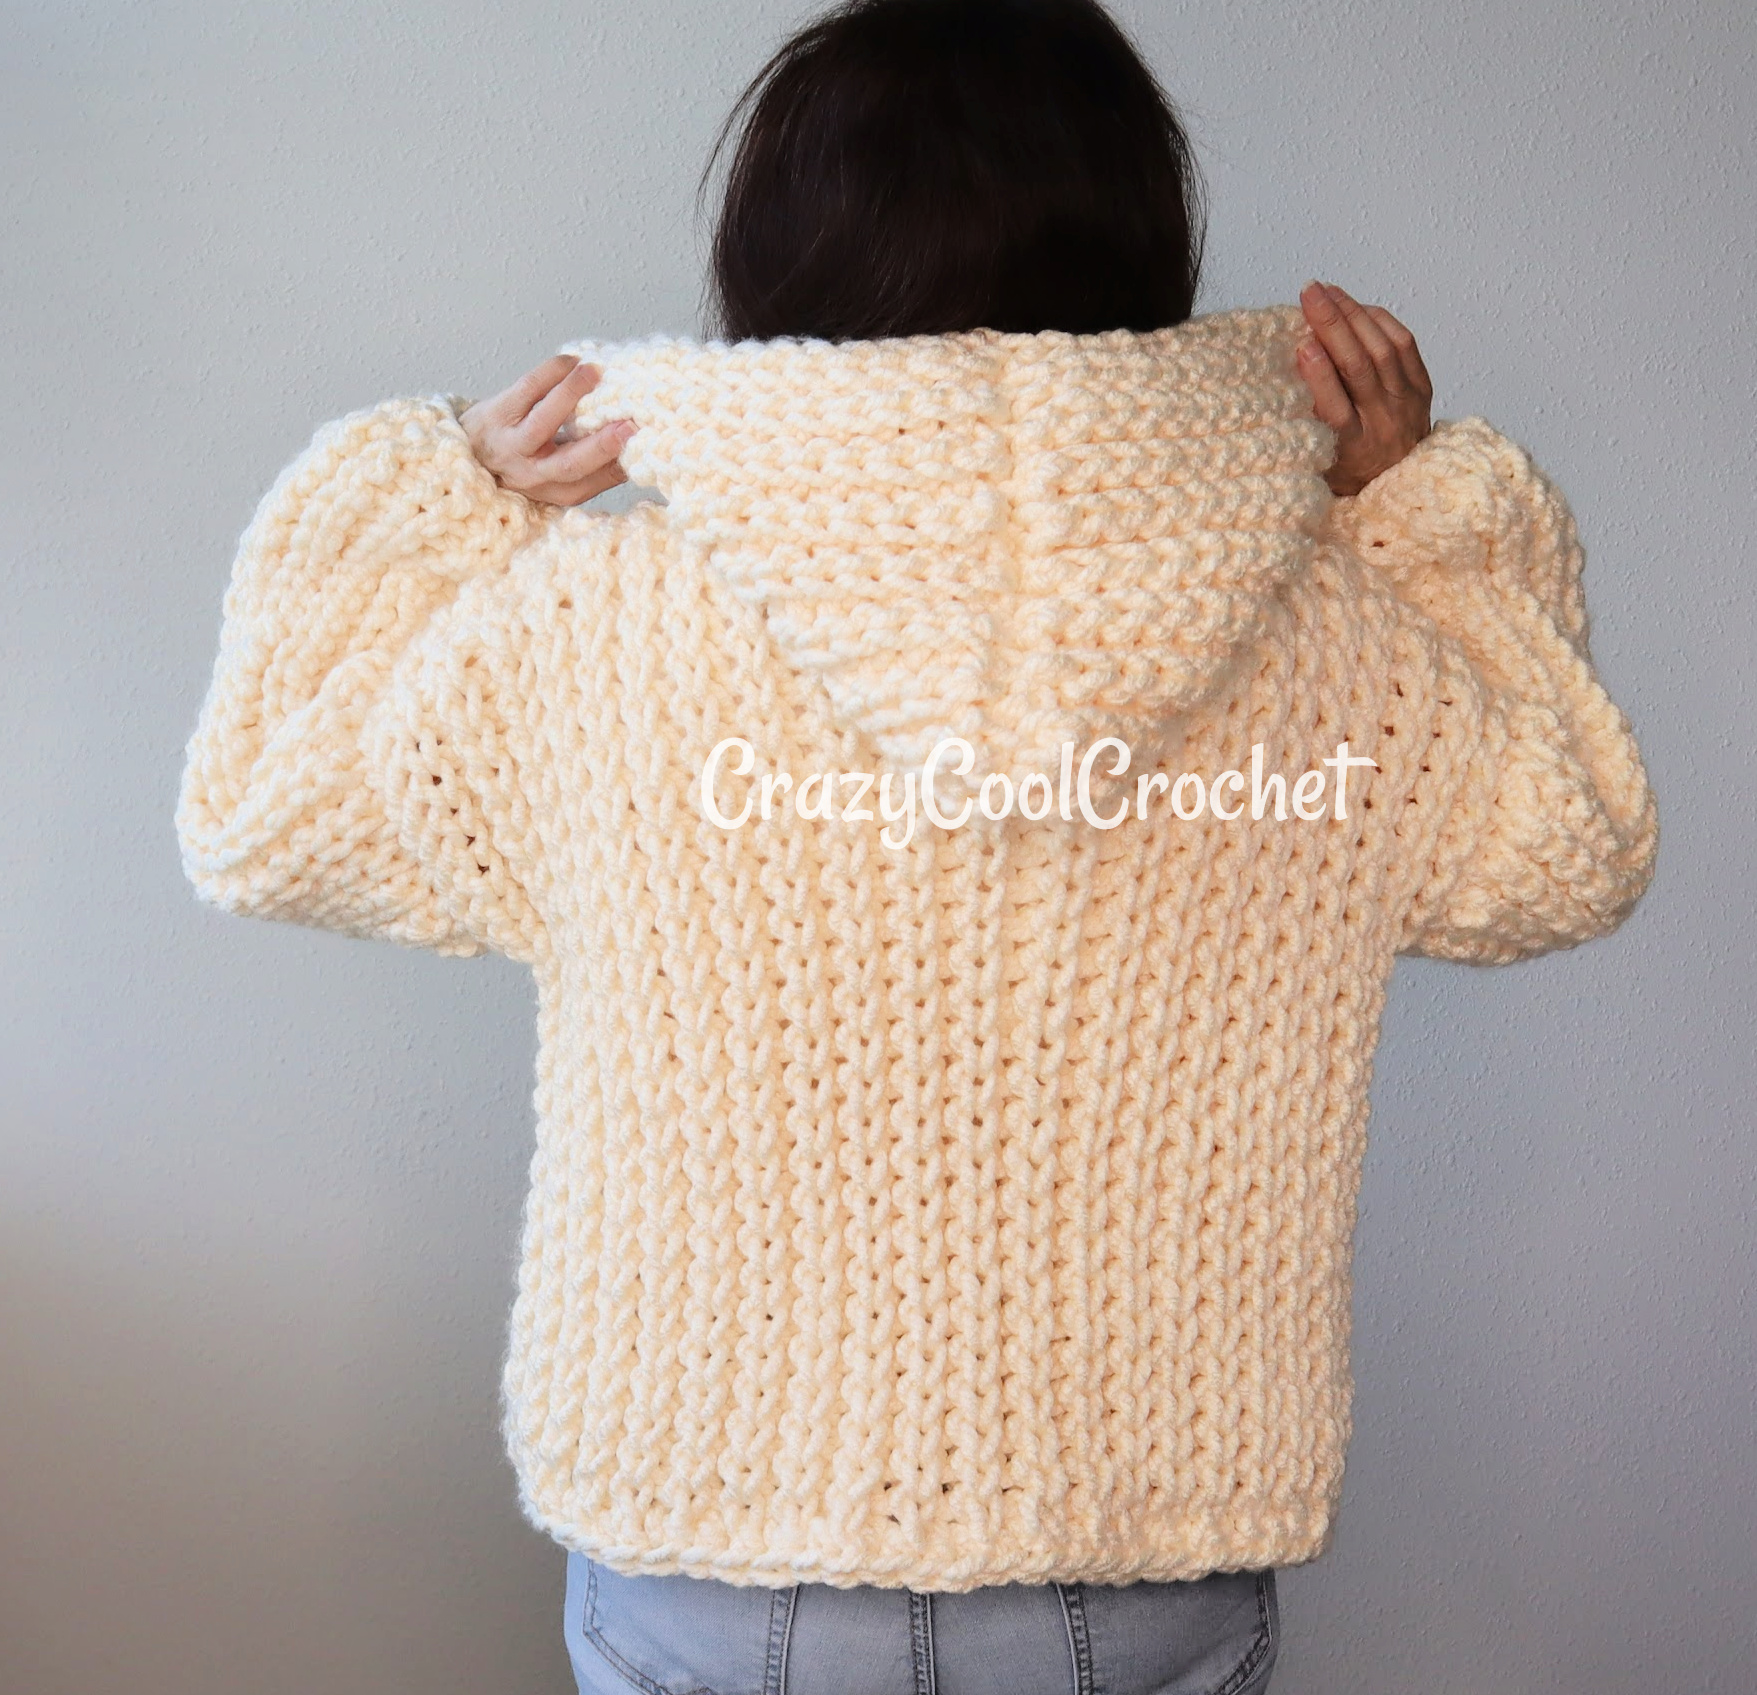
Wow right?! Is this the most sumptuous, chunky crochet cardigan EVER? And you won’t believe how easy it is to work up. A simple crochet stitch, super bulky yarn and super easy pattern help you work this up super fast. Scroll down for the crochet jacket with hood free pattern.
Video Tutorial for Chunky Crochet Cardigan
The video tutorial below is provided for your convenience. Please be sure to watch it on the YouTube platform so you can interact with me! I love to read and reply to your comments and appreciate your Thumbs Up.
Printable Pattern for the Chunky Crochet Cardigan
This post may contain affiliate links which allow me to earn a small commission on purchases made from these links at no additional cost to you.
Size Small
Instructions for Medium, Large and XLarge are in parentheses (X). This pattern easily adjusts for length by adding or subtracting chains to the foundation chain and adjusts for width by making more or fewer rows.
Results will vary according to yarn and tension used. Sizing should be considered “suggestions”. Adjust as needed.
Materials size Small:
Yarn Used: Yarn Bee Soft & Sleek Super Bulky / #6 weight / 64 ounces / 560 yards / Color Ivory
NOTE: It is very important that you use a #6 super bulky yarn. A #5 is not thick enough and doubling up on a #4 will skew the stitches.

Crochet Hook Q / 16 mm
Smaller hook for seaming
Scissors
Dimensions: Entire front 21 (23, 25, 27) inch width; 19 (22, 24, 27) inch length shoulder to bottom hem. (This design is very stretchy. The dimensions above are with the garment “on the table”.)
Abbreviations:
BLO = back loop only
Ch = chain
Rpt = repeat
Sc = single crochet
Sk = skip
Sl st = slip stitch
Sp = space
St = stitch
NOTE: Photos are shown above corresponding rows.
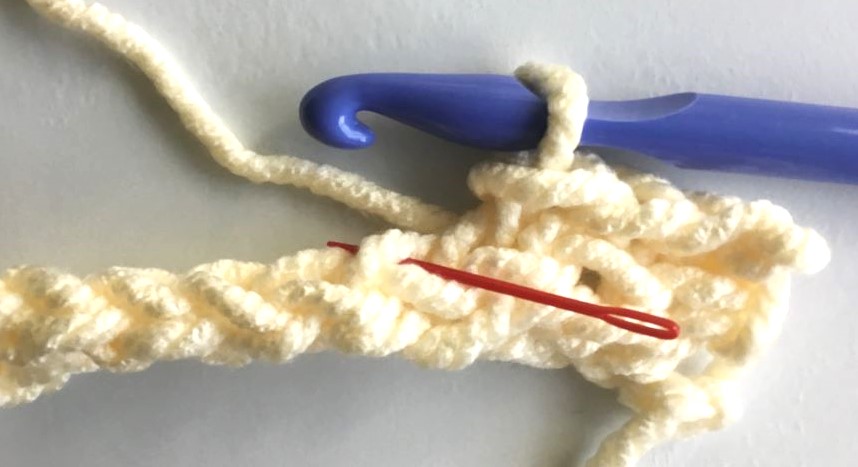
NOTE 2: It is very important that you use a very, very loose tension with this entire project.
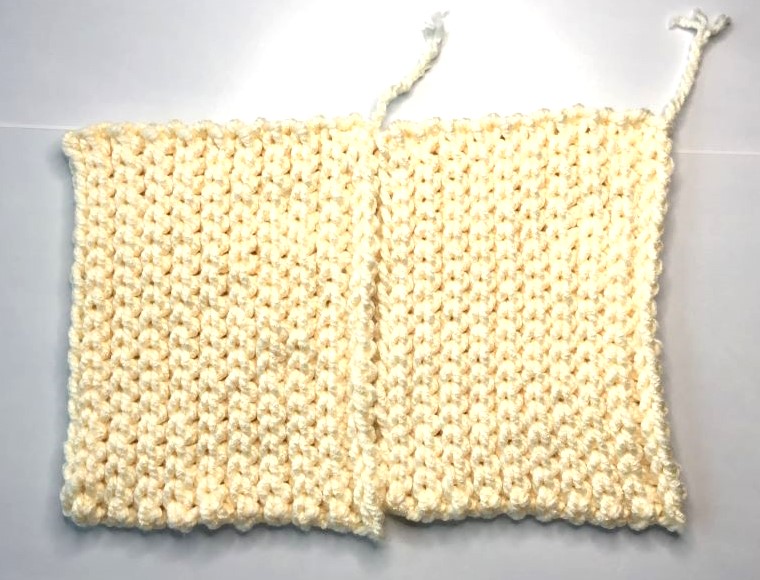
FRONT PANEL (make 2)
Foundation ch determines length from neck to hem. Add chains for longer garment.
Ch 26 (32, 34, 38)
Row 1: Loosely sl st in 2nd ch from hook and in ea ch. 25 (31, 33, 37) Ch 1. Turn
Row 2: Loosely sl st in BLO of 1st st and ea st across. 25 (31, 33, 37) BLO sl st’s. Ch 1 Turn
NOTE: you are entering the hook into the “v” of the “chain” that has formed at the top of the previous row. This places you in the “back loop” for a BLO stitch.
Row 3 – 21 (23, 25, 27): Repeat Row 2 Tie off yarn at end of last row.
Each of the two front panels should measure about 11 (12, 13, 14) inches wide and 19 (22, 24, 27) inches long when placed vertically. You may add rows for a wider panel.
BACK PANEL (make 1)
Ch 26 (32, 34, 38)
Follow pattern as for the front panels for 25 (31, 33, 37) st’s and 42 (46. 50, 54) rows.
SLEEVES (make 2)
Ch 24 (24, 26, 28)
Follow the pattern as for the Front Panel working for 23 (23, 25, 27) st’s per row. Work 26 (28, 30, 34) rows.
HOOD (make 2 panels)
Ch 20 (20, 22, 24)
Follow the pattern as for the front panels for 19 (19, 21, 23) st’s and 20 (20, 22, 22) rows.
SEAM SHOULDERS
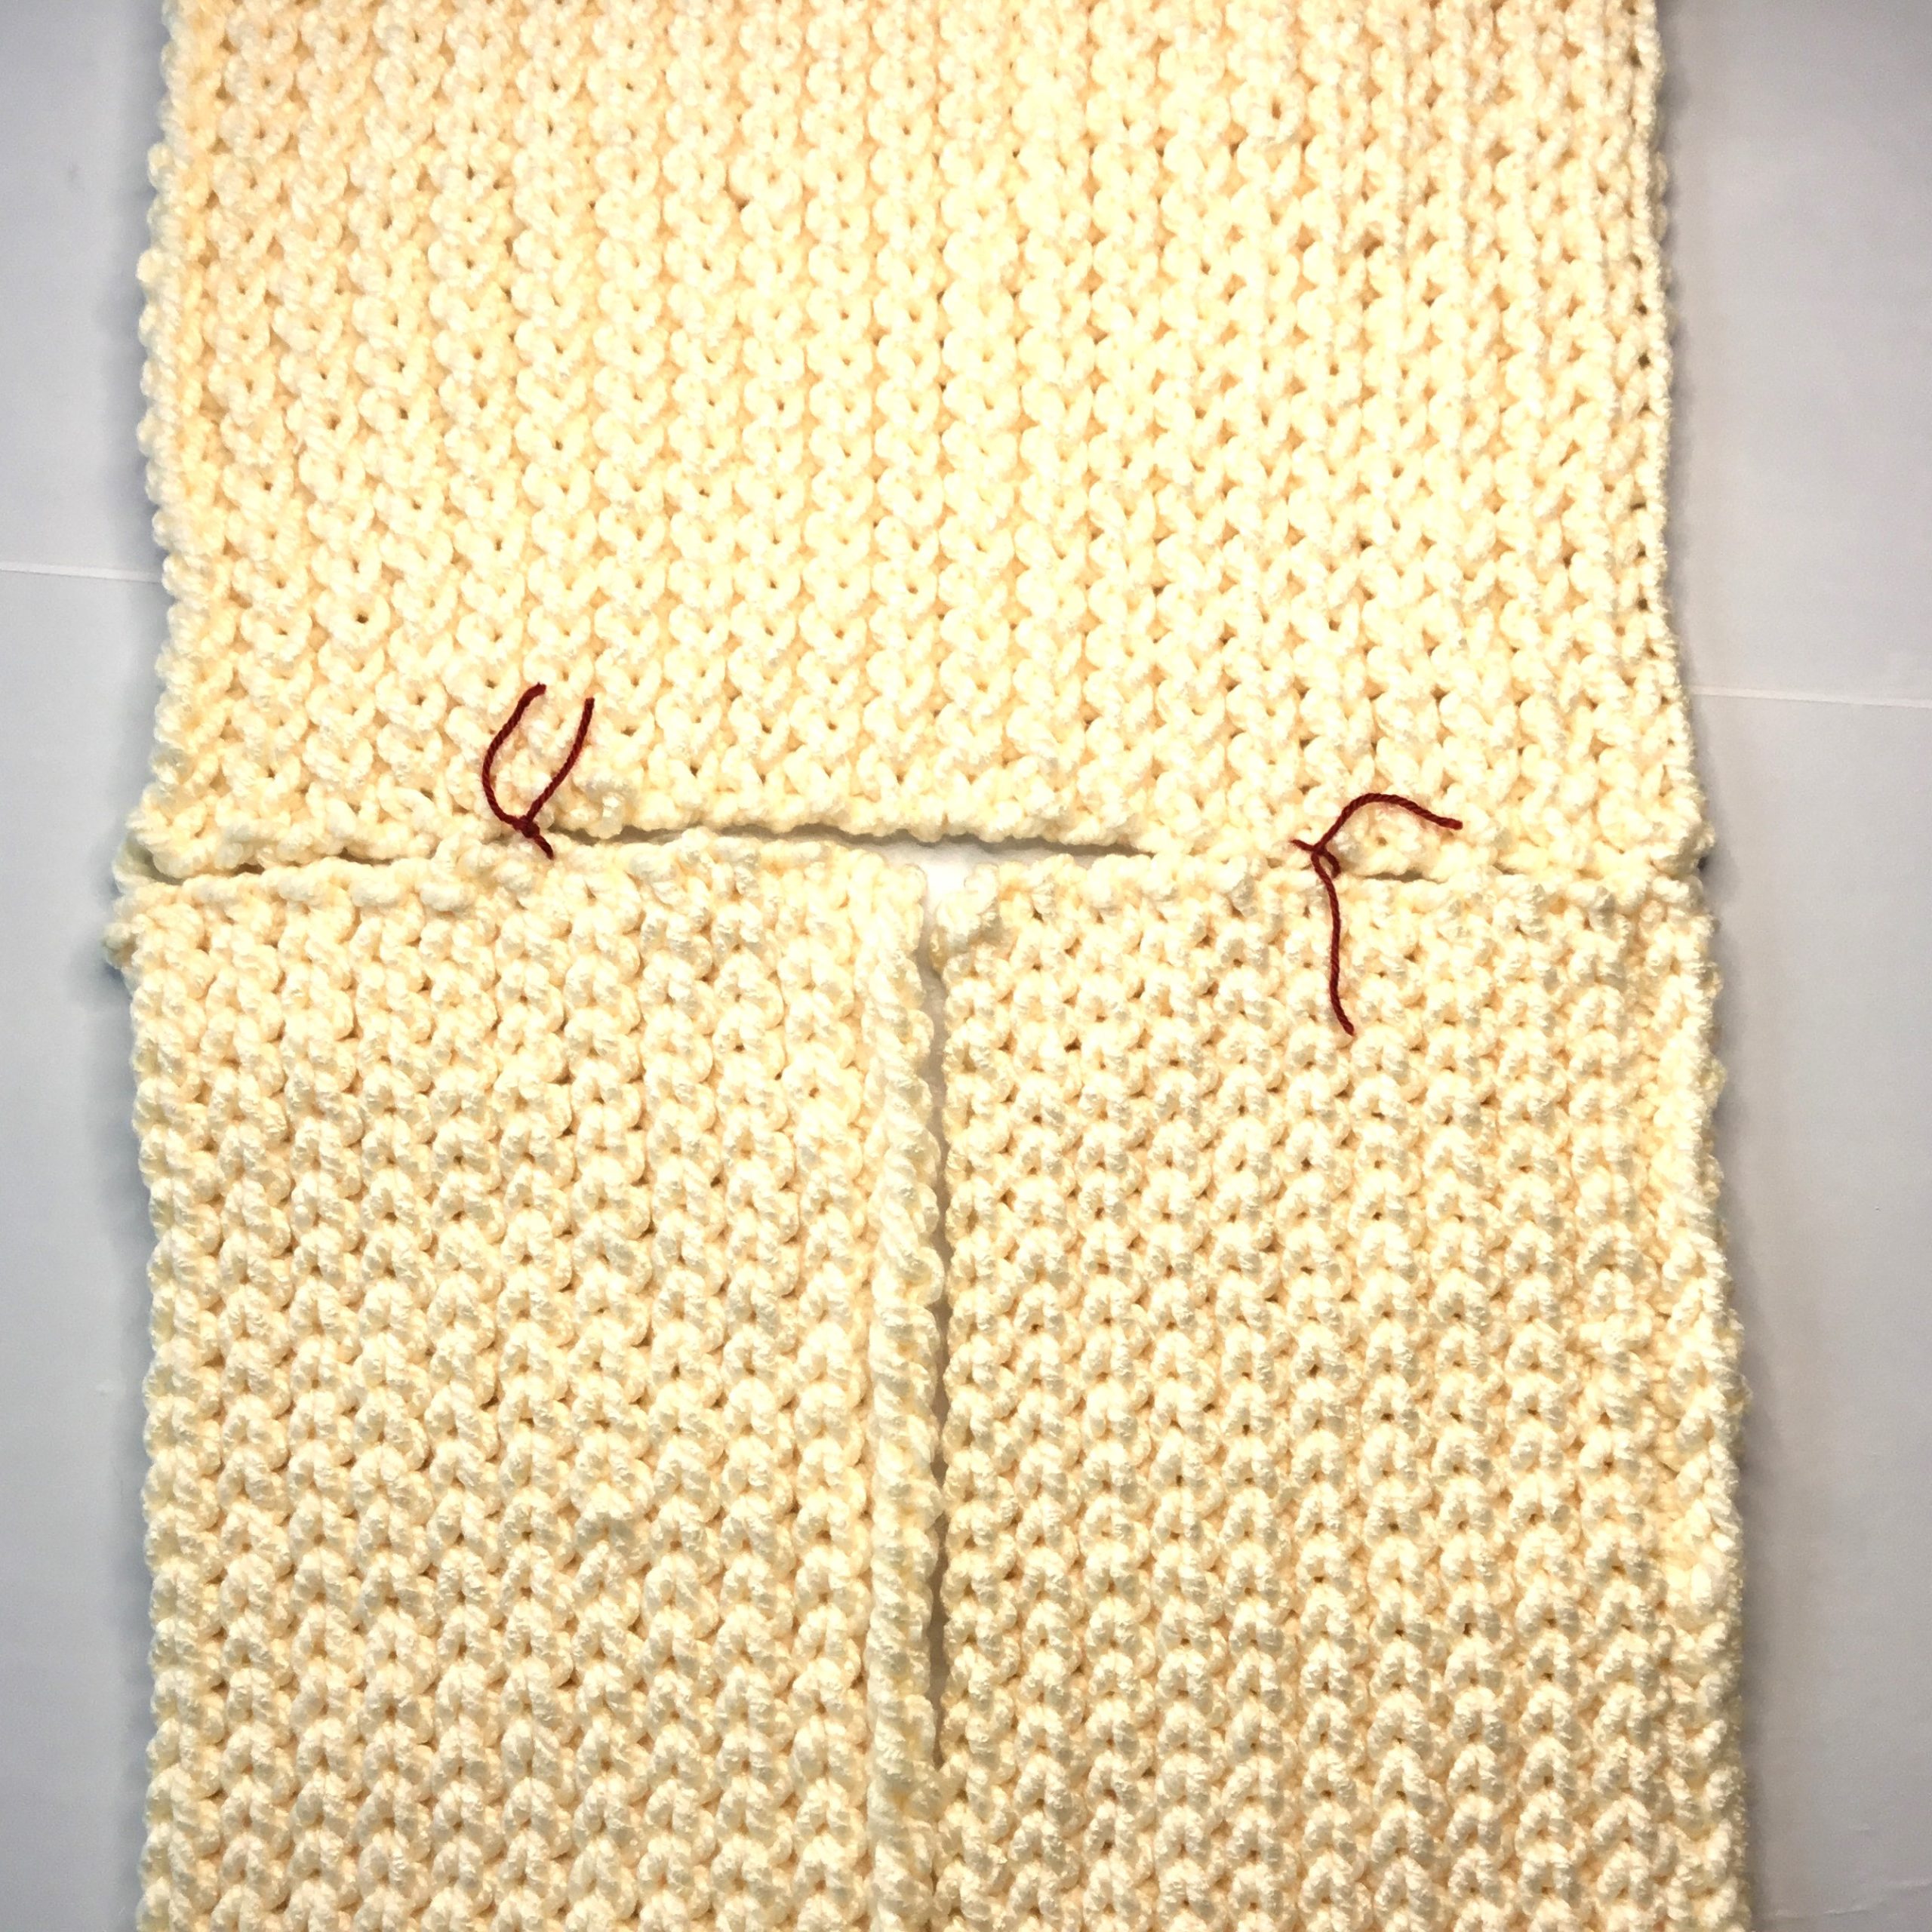
With wrong sides facing up, position the front and back panels as shown in photo. Using a slightly smaller hook to more easily insert hook into st’s, sl st to seam at shoulders working from edge to neck area, seaming for 6 (7, 8, 8) inches (do not seam entire front panel to backI). Use stitch markers to mark the 6 (7, 8, 8) inches as shown in photo. Leave the remaining portion unworked.NOTE: It is very important that you tie off and weave in the tail very securely.
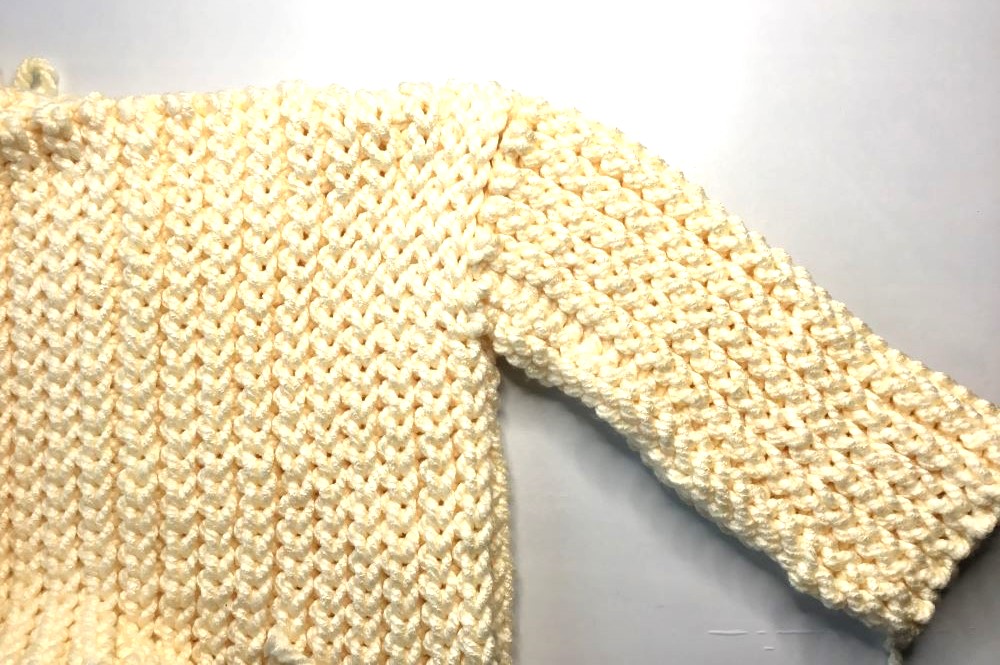
ATTACH SLEEVES
Position sleeves as shown in photo centering with the shoulder seam.
NOTE: Situate the sleeve with the foundation ch row against the body where the seaming takes place. This ensures the “chains” of the design are sitting in the same direction as the body.
Use the slightly smaller hook to sl st seam.
SEAM SIDES
Use the slightly smaller hook to sl st the edges and along the bottom of sleeve.
SEAM HOOD
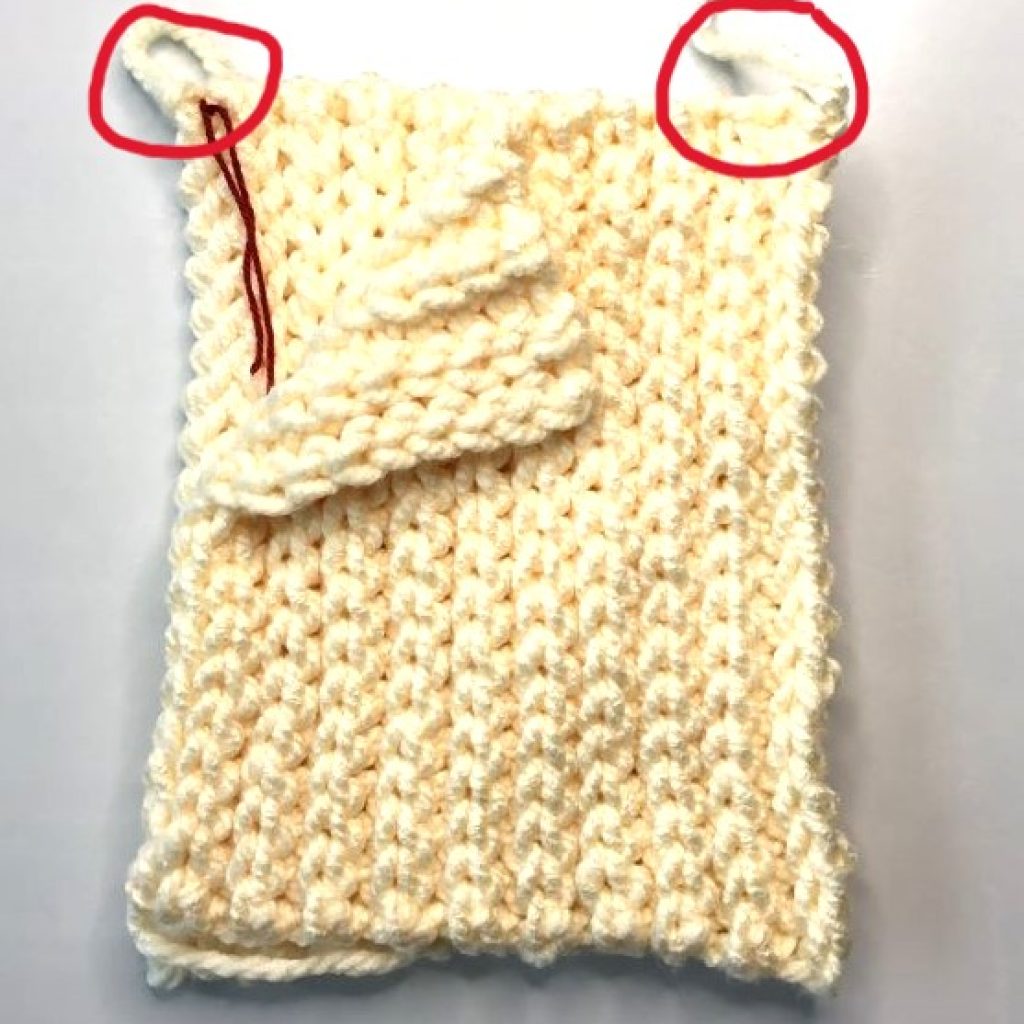
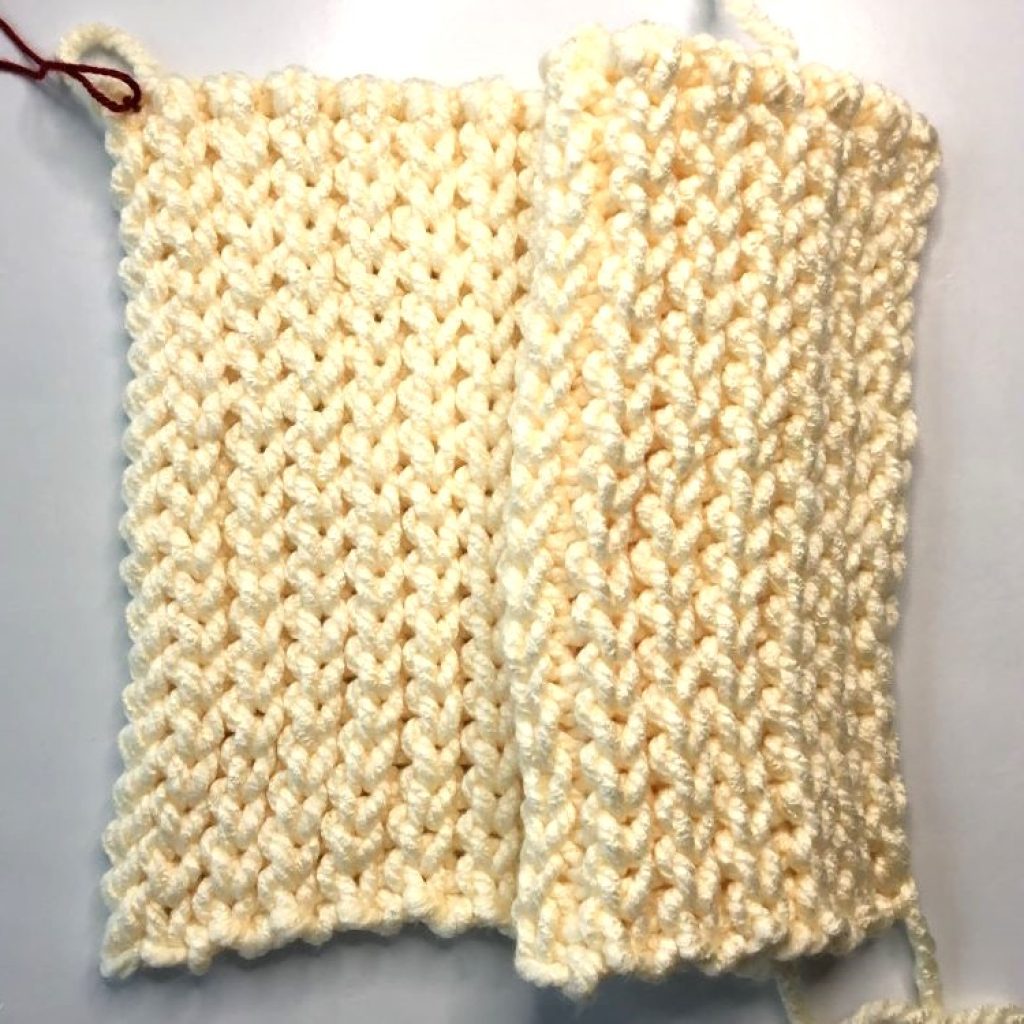
Position hood panels as shown in photos above.
1st photo: note the foundation tails at top right of panels.
2nd photo: panels are placed on top of each other, wrong sides out. Foundation ch tails are circled.
3rd photo: ensure the “chain” design on both panels are facing the same direction.
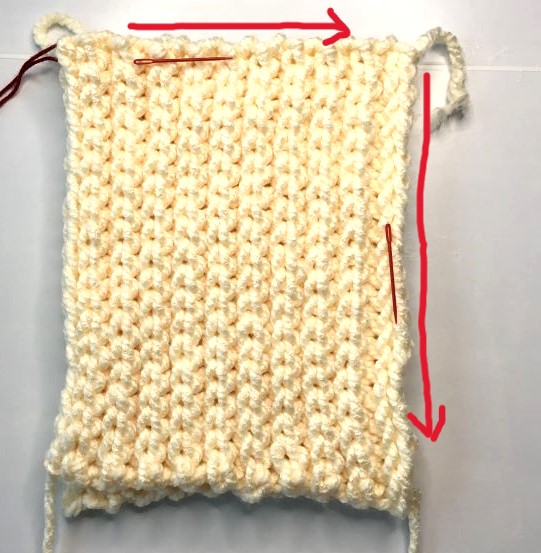
4th photo: Seam with a sl st along the top and down the back.
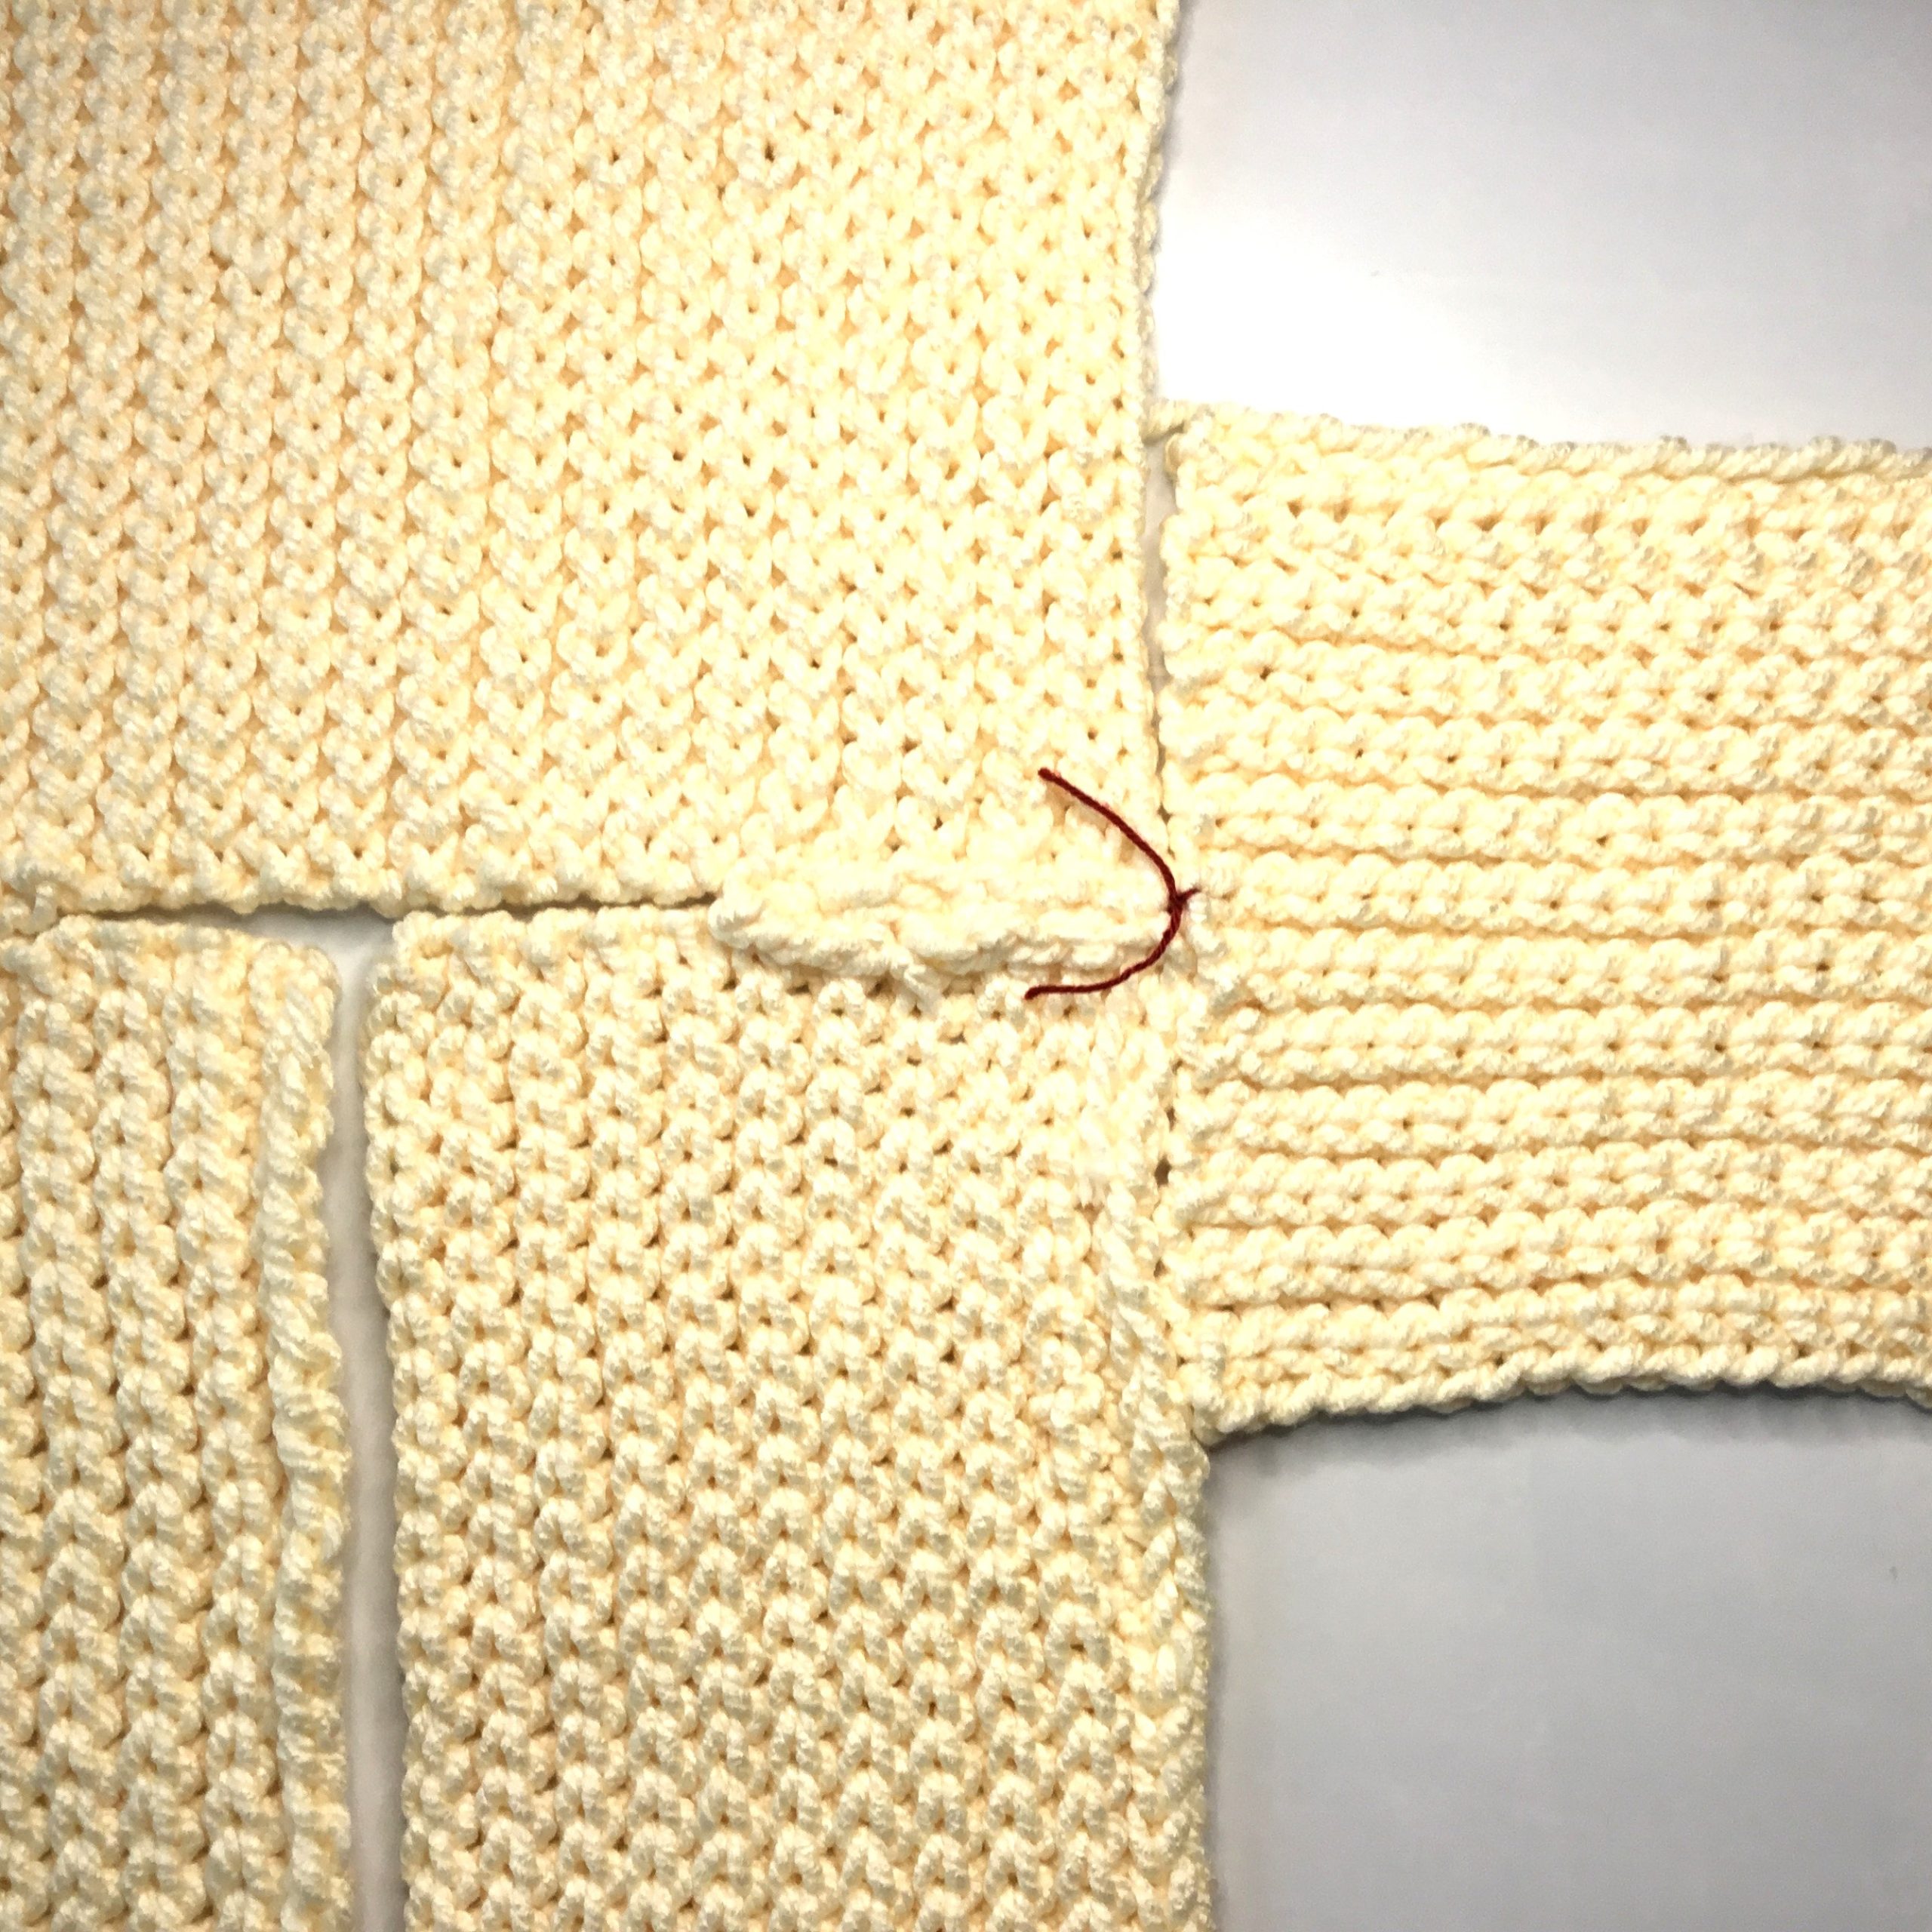
ATTACH HOOD
Please view the video tutorial above for detailed instruction on how to add the hood.
Position hood along the neckline. Working on the wrong side (the photo shows the right side facing to show the positioning, however, you will seam the wrong sides), using sl st, seam the hood to the front panel shoulder that was left unworked from the previous shoulder seaming (see red arrow in photo above). Continue the seaming along the back neck and back around to the opposite unworked front panel. Tie off yarn.
SLEEVE BORDER
Working with right side facing you, add one row of single crochet along the bottom of the sleeve. The goal is to gather the opening to make it smaller. Insert the larger hook in the seam with a ch. SC in same sp. Work the sc’s along the bottom edge of sleeve, skipping several stitches, evenly spaced, to gather the opening and make it smaller (to your preference). Tie off yarn.
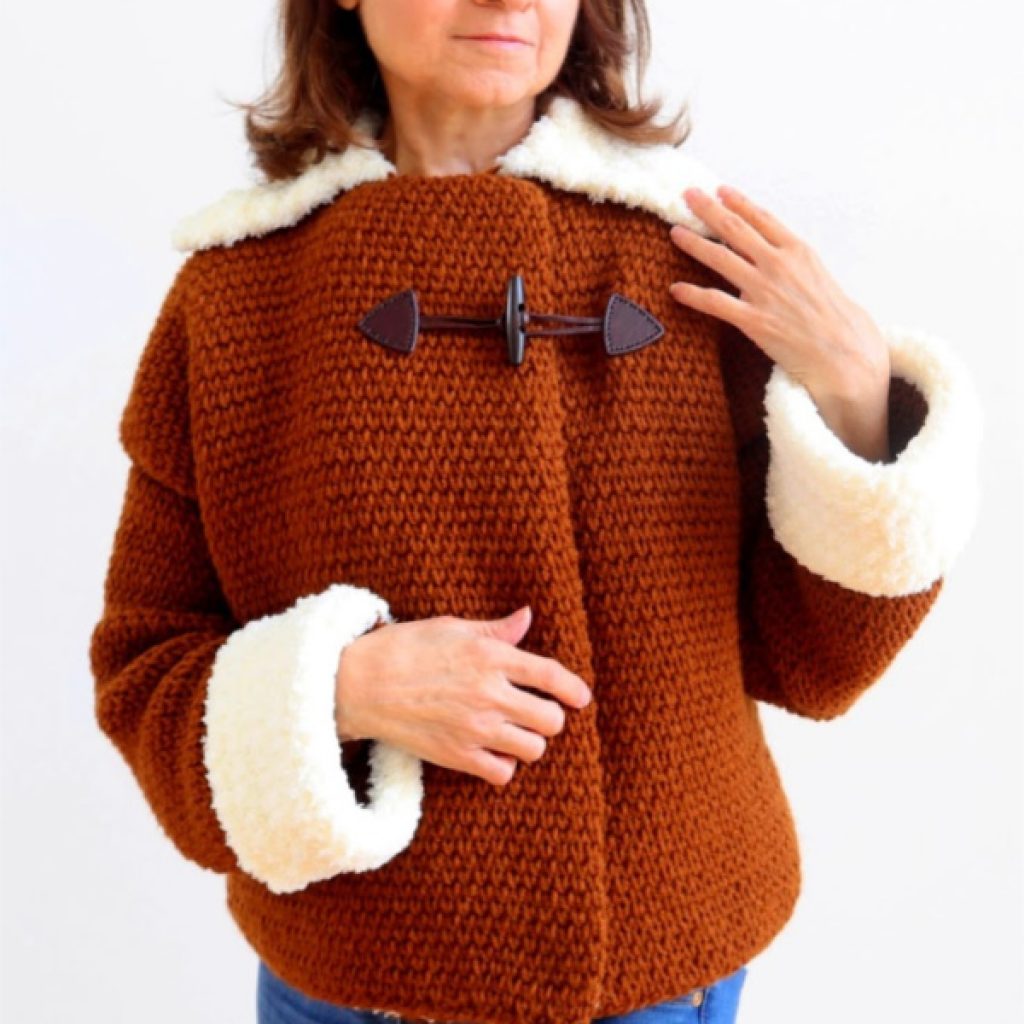
Be sure to check out my other Crochet Jacket Free Pattern:
You are welcome to include one or two photos of this crochet jacket with hood along with a link to this post in your round up blog post. Do NOT include the written pattern! Thank you!
Copyright © 2022 Sylvia Talo You may sell items made from my patterns. Please include a link or reference to my shop CrazyCoolCrochetUS.etsy.com . Pattern and photos are copyright protected; they may not be reproduced, redistributed, or displayed publicly in any way.
You May Also Like


