Crochet Knit Look Sweater
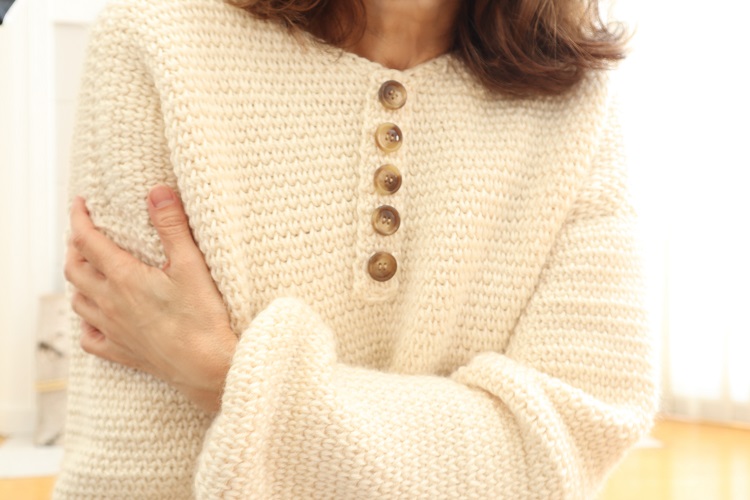
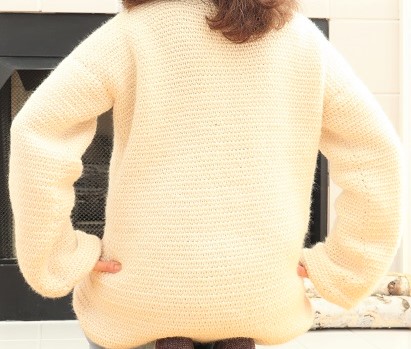
So comfy! This crochet knit look sweater will be your go-to winter sweater pullover. Soft, cozy and warm. The center single crochet stitch, also known as the waistcoat stitch, gives the appearance of a knit stitch. Gorgeous!
This classic crochet women’s sweater pullover can be made with a gently gathered bottom hem or a straight, flat hem on the body and sleeves. The buttons add a pop of interest and style.
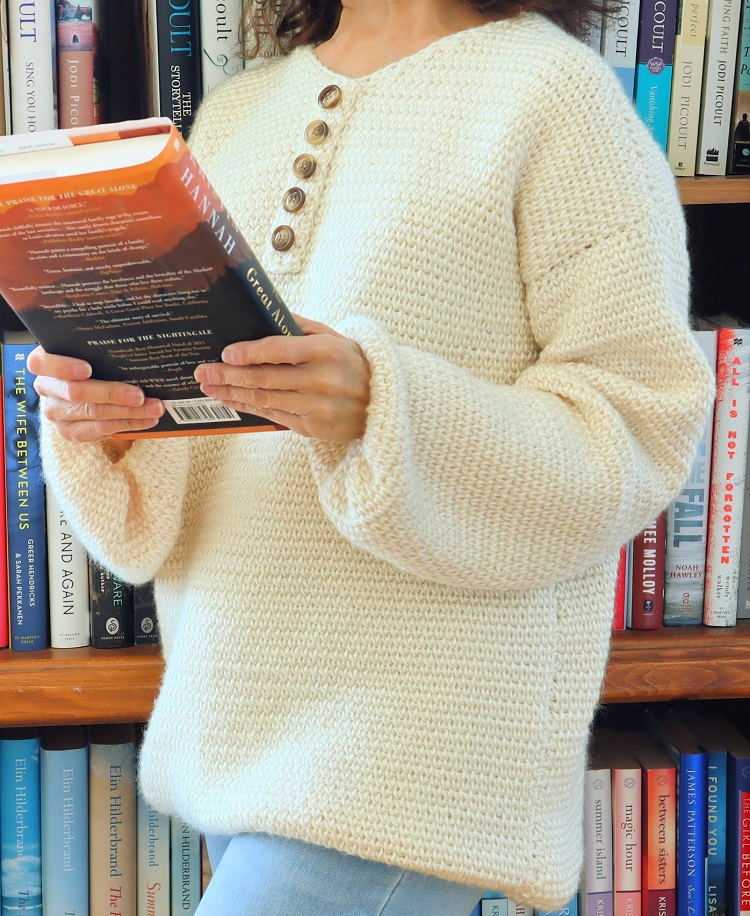
The video tutorial is provided for your convenience and can be used along with the written pattern below. I ask that you please head over to YouTube and click the thumbs up and subscribe. Your support is needed and very much appreciated!
WHOO HOO! My design was featured here:
This tutorial is for a size Small. The printable, Etsy version WITH LINE BY LINE instructions for multiple sizes, can be found here: CrazyCoolCrochetUS.Etsy.com
This post contains affiliate links which means I may earn a small commission for purchases made from these links at no additional cost to you.
Materials:
Yarn: Red Heart Soft (must use the “Soft” version); 32.5 ounces / 1667.25 yards
Crochet hook size J / 6.00 mm and optional I / 5.5 mm for tab.
Buttons
Yarn needle
Scissors
Measuring Tape
This pattern requires no multiple and easily adjusts for size by adding rows for length and adding chains to the beginning foundation chain (in an odd number).
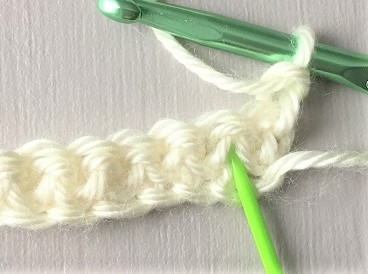
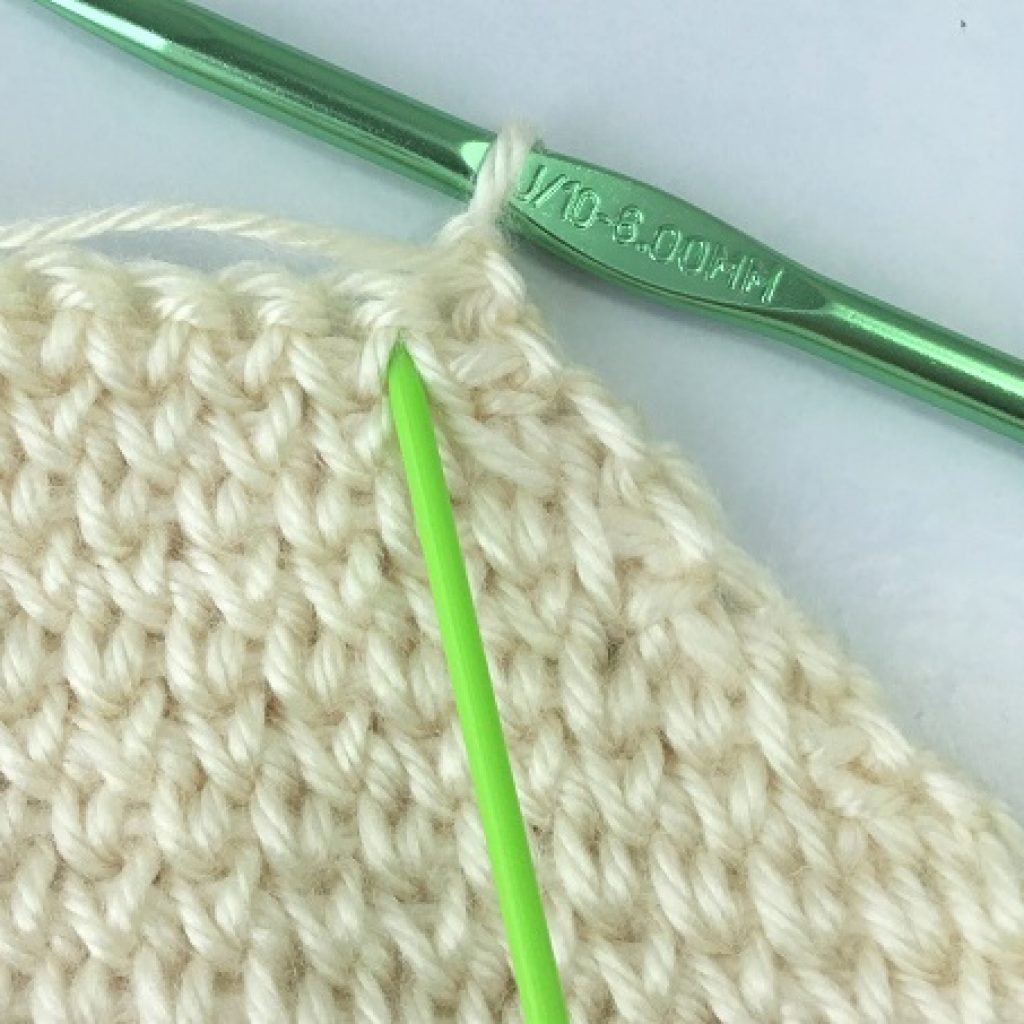
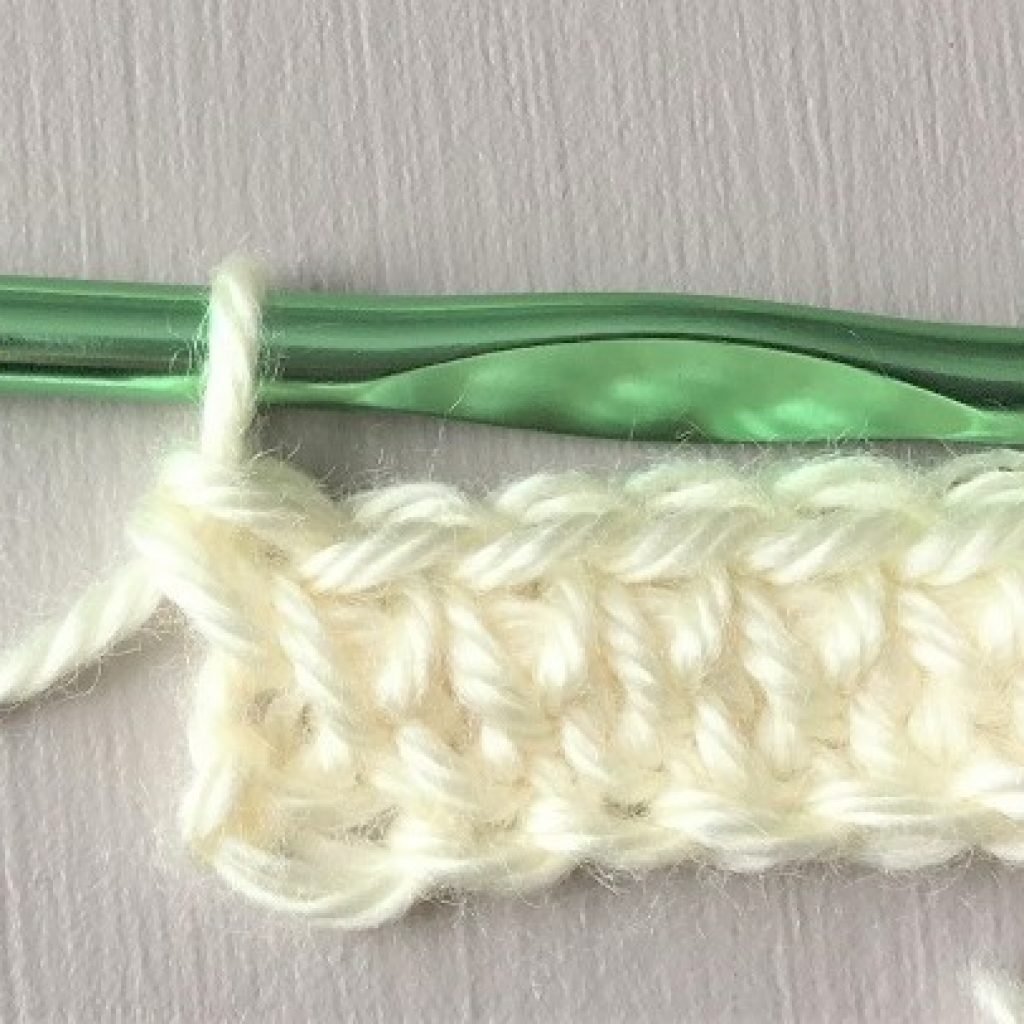
NOTE: Center single crochet: insert hook into the “heart” of the sc below. The sc will look like an upside down V with a little bar over it. Insert the hook into the center of the upside down V, below the little bar. Work the sc as normal.
TIP: work slightly loosely with the csc to better see and allow easier entry of hook.
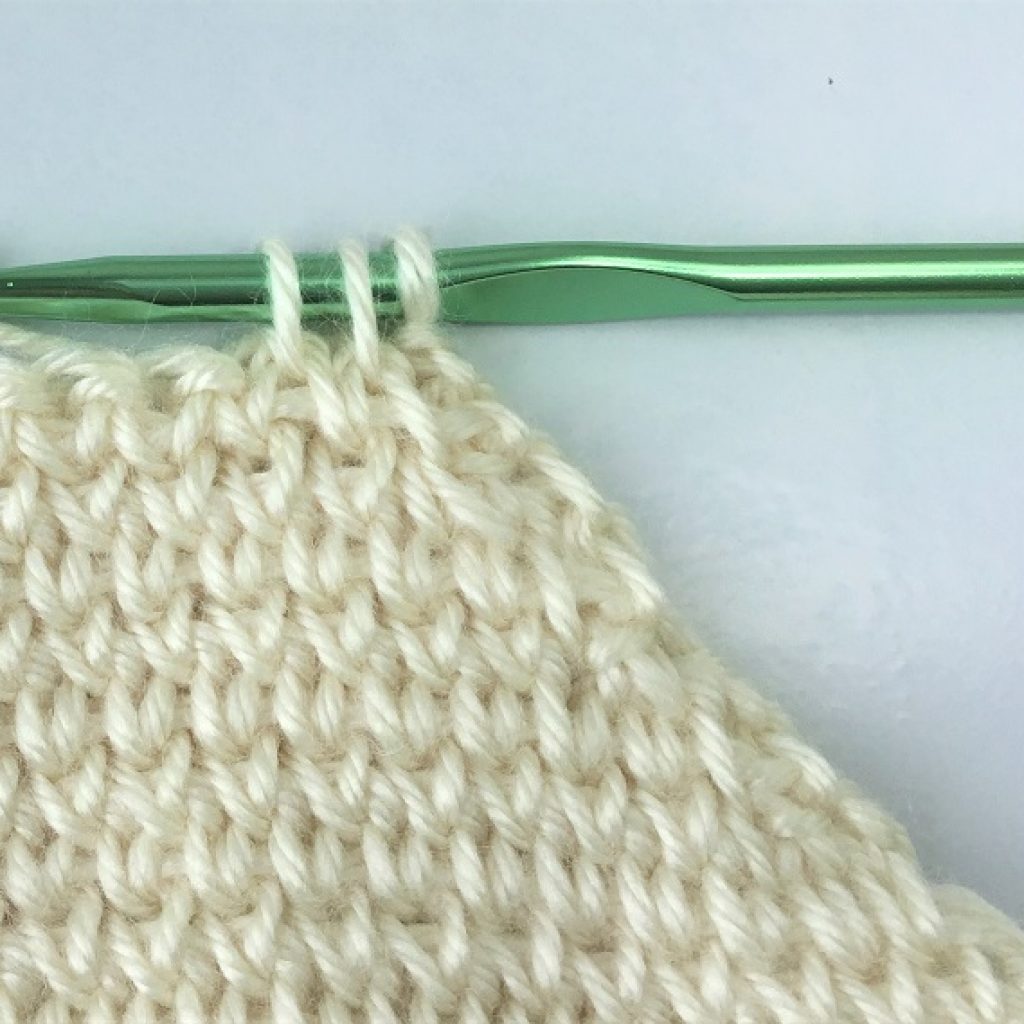
NOTE 2: Center single crochet decrease: insert hook in 1st sc, pull up a loop for 2 loops on hook. Insert hook into next sc, pull up a loop for 3 loops on hook. Pull yarn through all 3 loops. Cscdec made.
FRONT PANEL
Ch 71 (85, 99, 113, 127) loosely
Row 1: Working in back loop (3rd strand) of ch’s, sc in 2nd ch from hook and ea ch across. 70 (84, 98, 112, 126) sc’s Ch 1 Turn
Row 2: csc in 1st sc and ea across. 70 (84 , 98, 112, 126) csc’s Ch 1 Turn
NOTE: the last st of ea row is a sc into the turning ch at the end of the row.
Rows 3 – 86 (91, 99, 107, 115): Repeat Row 2. Ch 1 Turn
Row 87 (92, 100, 108, 116): csc in the first 35 (42, 49, 56, 63) st’s. Ch 1 Turn
Row 88 (93, 101, 109, 117): (Photos above in Note 2) cscdec over 1st 2 st’s; csc over remaining st’s. Ch 1 Turn
Rows 89 (94, 102, 110, 118): csc to last two st’s; cscdec over the last two st’s (the last st of this row is a sc into the turning ch as you have been doing in the pattern).
Ch 1 Turn
Rows 90 (95, 103, 111, 119)) – 98 (103, 111, 119, 127): Repeat Rows 88 and 89. You are decreasing at ea neck edge.
At end of last row, cut off yarn.
Opposite Side
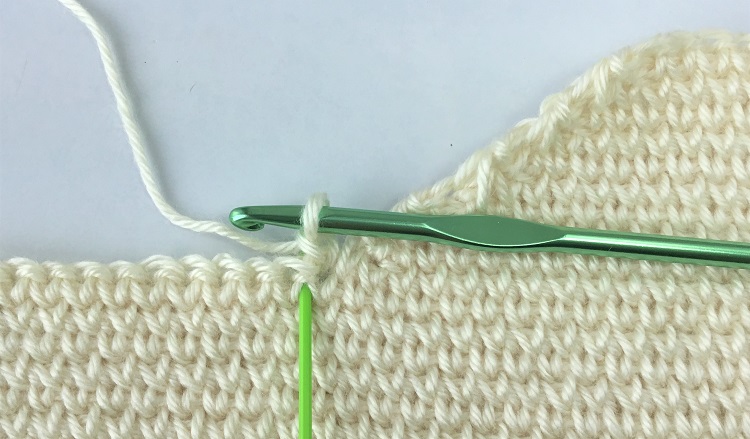
Row 87 (92, 100, 108, 116): Attach yarn into st immediately next to the last st worked on that row. Csc in ea st to the end. You should have the same number of st’s as for the other side. Ch 1 Turn
Continue in pattern for Rows 88 (93, 101, 109, 117) – 98 (103, 111, 119, 127). At end of last row cut off yarn.
BACK PANEL
Ch 71 (85, 99, 113, 127) loosely
Rows 1 – 2: Repeat instructions as for Front Panel
Row 3 – 95 (100, 108, 116, 124) : Repeat Row 2. You may adjust rows for your preferred length. Ensure the front and back panels have the same total number of rows.
Row 96: (101, 109, 117, 125) csc in the first 26 (30, 34, 39, 43) st’s. Ch 1 Turn
Row 97: (102, 110, 118, 126) csc in ea st. Ch 1 Turn
Row 98: (103, 111, 119, 127) csc in ea st. Cut off yarn.
Opposite side:
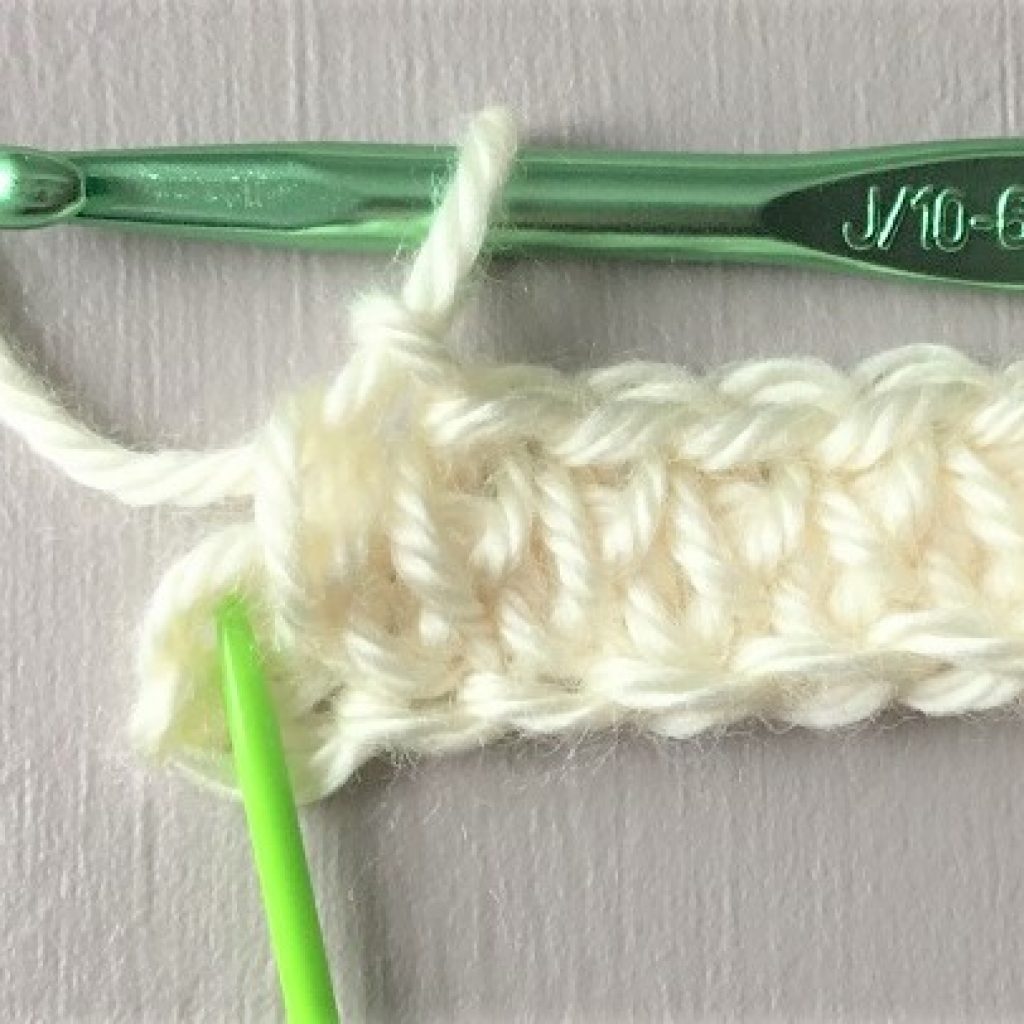
Row 96: (101, 109, 117, 125): skip next 18 (23, 29, 33, 39) st’s from the last sc entered on this row (see photo avove). Attach yarn with a ch into next st. Csc in next st and remaining st’s. Ch 1 Turn
Row 97: (102, 110, 118, 126) csc in ea st. Ch 1 Turn
Row 98: (103, 111, 119, 127) csc in ea st. Cut off yarn.
SLEEVES (make 2)
Ch 47 (55, 55, 61, 67) loosely
Repeat instructions as for Front Panel Rows 1 and 2 for 46 (54, 54, 60, 66) sc’s per row, working for a length of 19 inches (adjust as necessary). No increases or decreases.
SEAM
Shoulders
With wrong side up, use yarn needle and length of yarn to seam back panel to front panel at the shoulders.
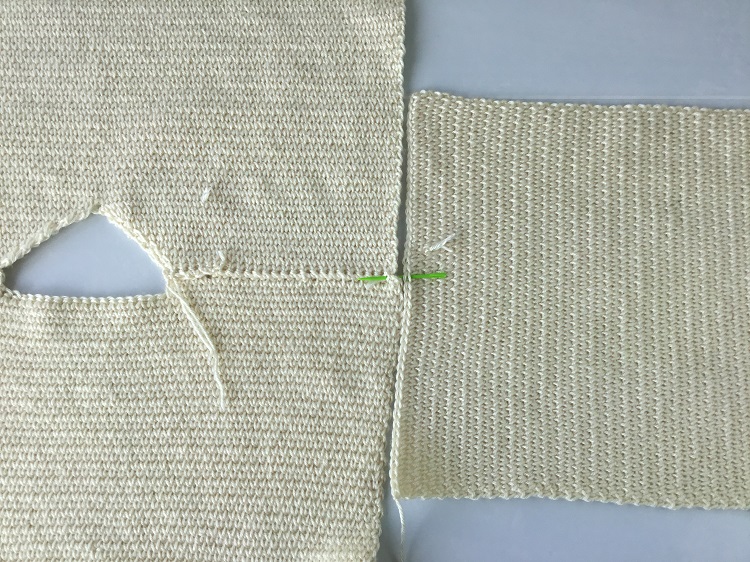
Sleeves
Position the body of the garment fully opened with wrong side up. Position the top edge of sleeve (wrong side up) centered at the shoulder edge seam. With yarn needle seam with whip stitch.
Front and Back Panels
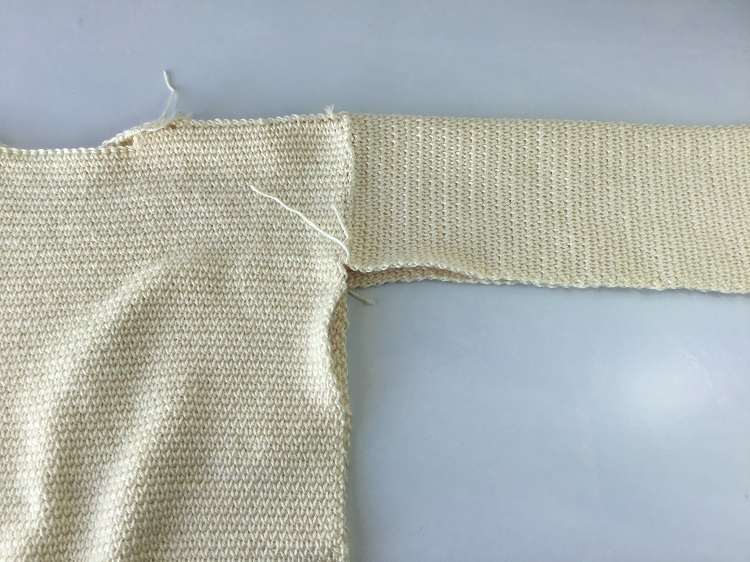
With wrong side up, using yarn needle and length of yarn, whip stitch, beginning at the bottom of front and back panels, seaming up to the underarm and down the sleeve seam.
NOTE: If you choose to leave the bottom hem flat (not gathered), start the bottom side seam two inches up from the bottom.
GATHERS
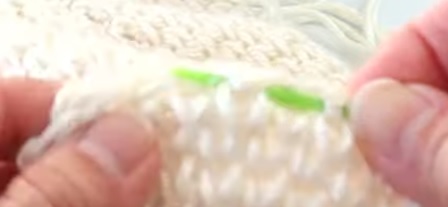
If you choose to use gathers at the sleeve and body hems, use a very long double strand of yarn and yarn needle. Working close to the bottom edge, weave needle in and out, in and out between st’s until you reach where you began. For bottom hem, gather very gently for a very slight gather. Cut off yarn leaving a 5 inch tail. Tie the tails strongly and weave in the ends to hide.
For the sleeve gathers you will gather more tightly to allow for the wrist to come through and create a slightly puffy sleeve. Tie off as for the bottom hem.
TAB
Ch 5; sc in 2nd ch from hook into back loops for 4 sc’s. Ch 1, turn. Csc in ea st. Continue in pattern for 24 rows or 6 inches long, or as needed to accommodate your buttons.
Attach buttons with regular thread and needle.
Attach tab to front panel at top center with yarn and yarn needle working around the edges of the tab.
Copyright © 2021 Sylvia Talo You may sell items made from my patterns. Please include a link or reference to my shop CrazyCoolCrochetUS.etsy.com . Pattern and photos are copyright protected; they may not be reproduced, redistributed, or displayed publicly in any way.

Could I ask the size breakdowns? I don’t see them listed.
Thank you.
Small, Medium, Large, XLarge and 1X
Sylvia
CrazyCoolCrochet.com
I think she was too lazy to do size breakdowns. I don’t think these patterns are worth even buying. don’t bother!!
Hello Martha (heart of) Stone,
I could easily delete this comment but I will leave it since you don’t mind being ugly in public. I normally would reply would a nice comment and take the high road. The irony of this comment is that I just spent 8 hours, literally just finished, doing the sizing for my latest pattern. This on 3 hours of sleep!
As a matter of fact, this particular sweater you are referring to does come with line by line instructions for multiple sizes in the Etsy pattern. Sometimes, if a pattern has taken a particularly long time to work out the sizing, I will only show the free version on the blog. Considering it takes days and days of 18 hour work days to conceive, design, plan, write, photograph, video tape, edit the photos and video, upload to YouTube, write the blog post, create graphics and Pins, update all social media, reply to questions on the blog, on YouTube, on Instagram, on Facebook, on Etsy and email…And you dare call me lazy.
Instead of offering a thank you for all of this, you call me lazy.
On top of all that work, much of which is given to you for FREE, folks like you balk at the idea of paying for a pattern. Or worse yet, tell others my patterns aren’t worth buying.
I have never replied back to a rude comment with another rude comment. Until this one. I feel terrible doing this but I’m about dead on my feet, still have another 3 hours of work ahead of me, and I may not be in my right mind.
Sylvia
Good stuff!
Hi Terry,
Well I’m a bit late with this reply. I just today am seeing this and a couple of others. I am SO sorry! I do appreciate your kind words to much!
Sylvia
CrazyCoolCrochet.com
[…] Here is the pattern link […]