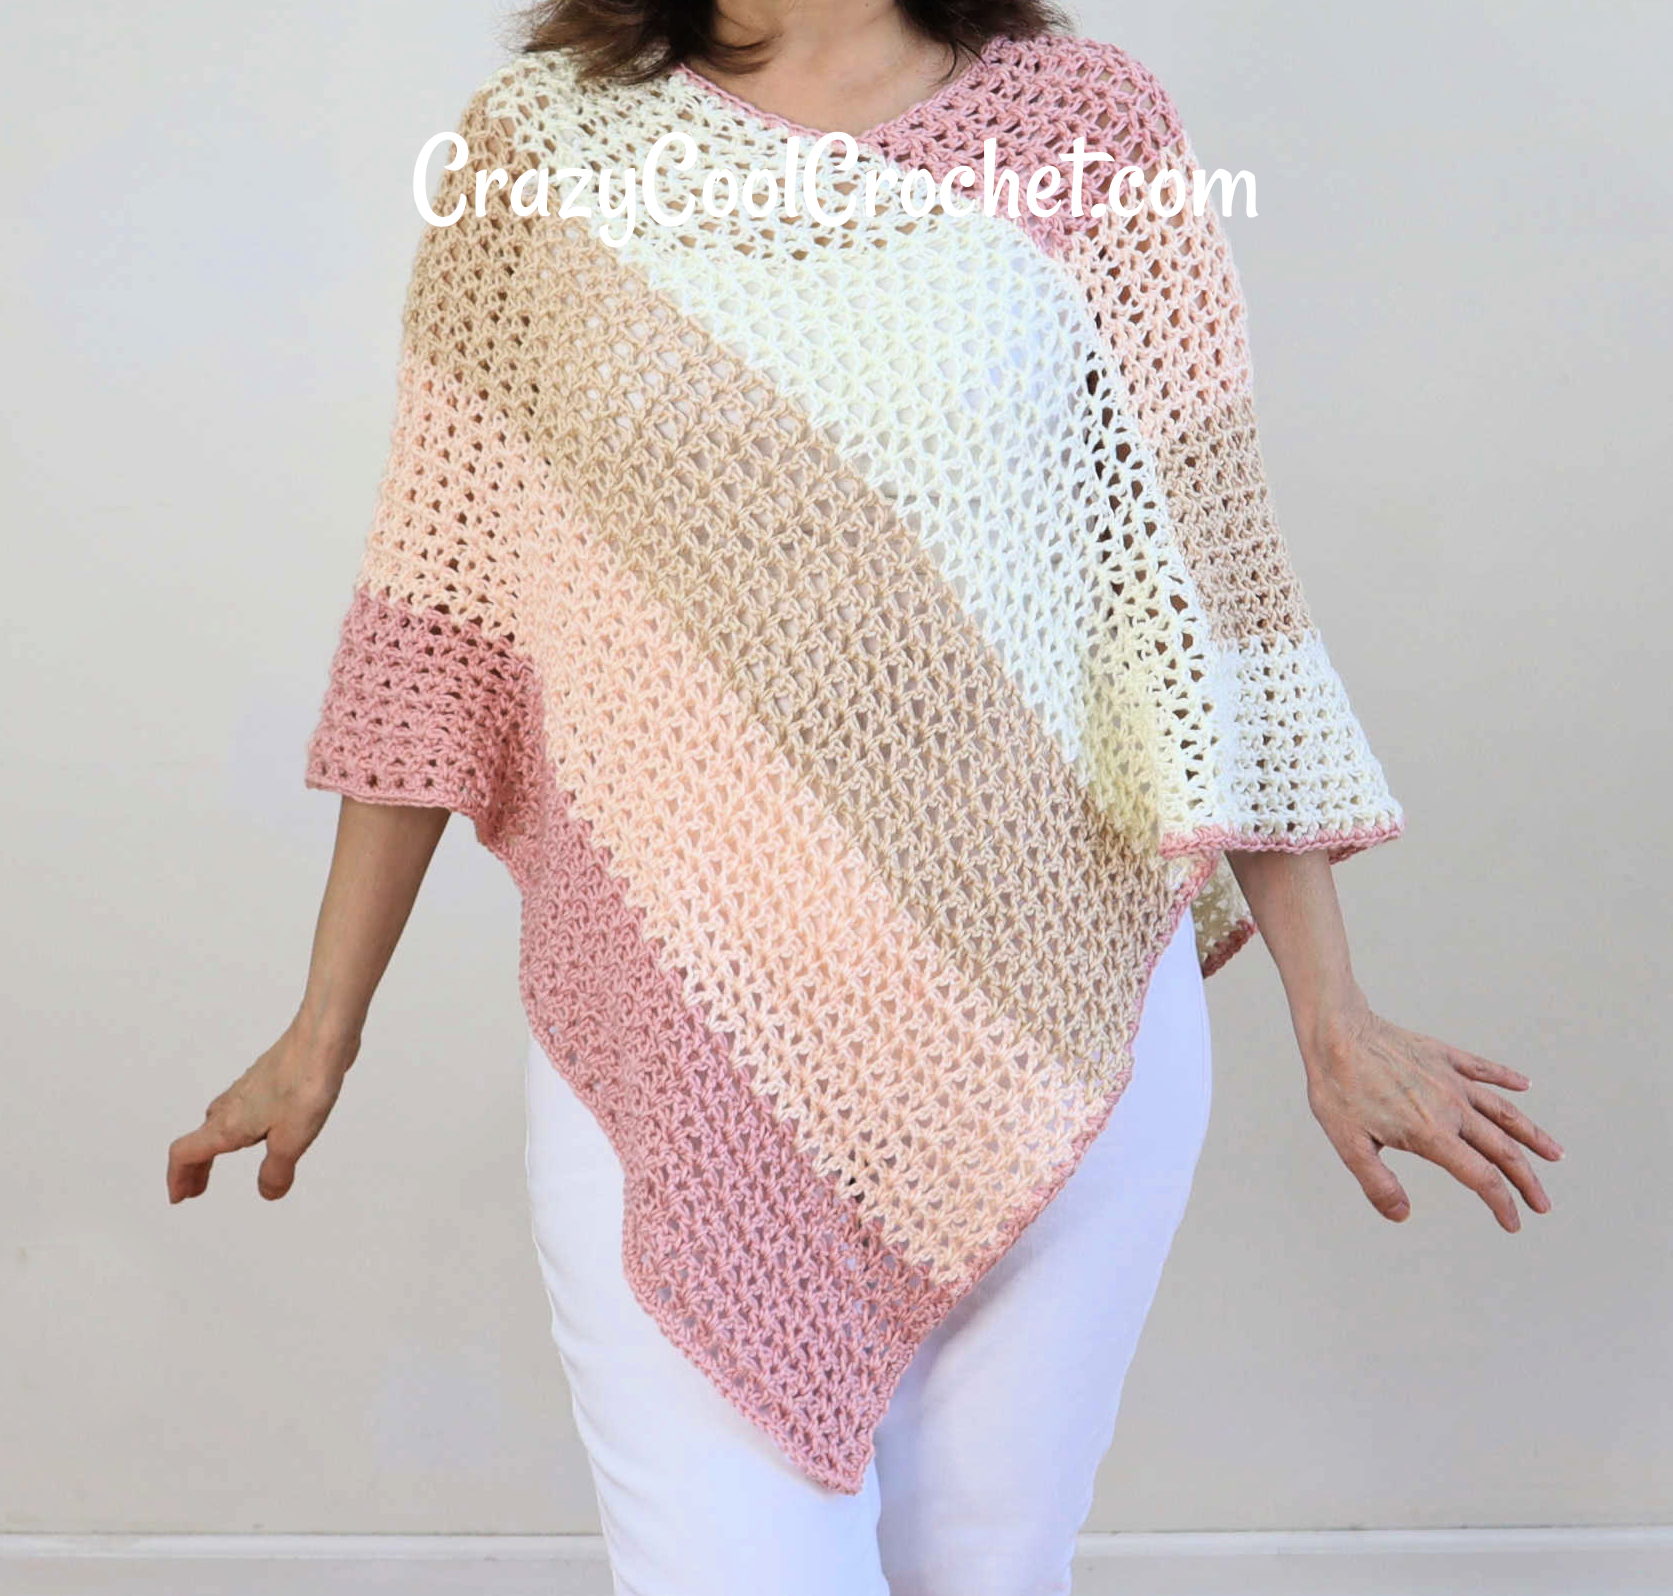
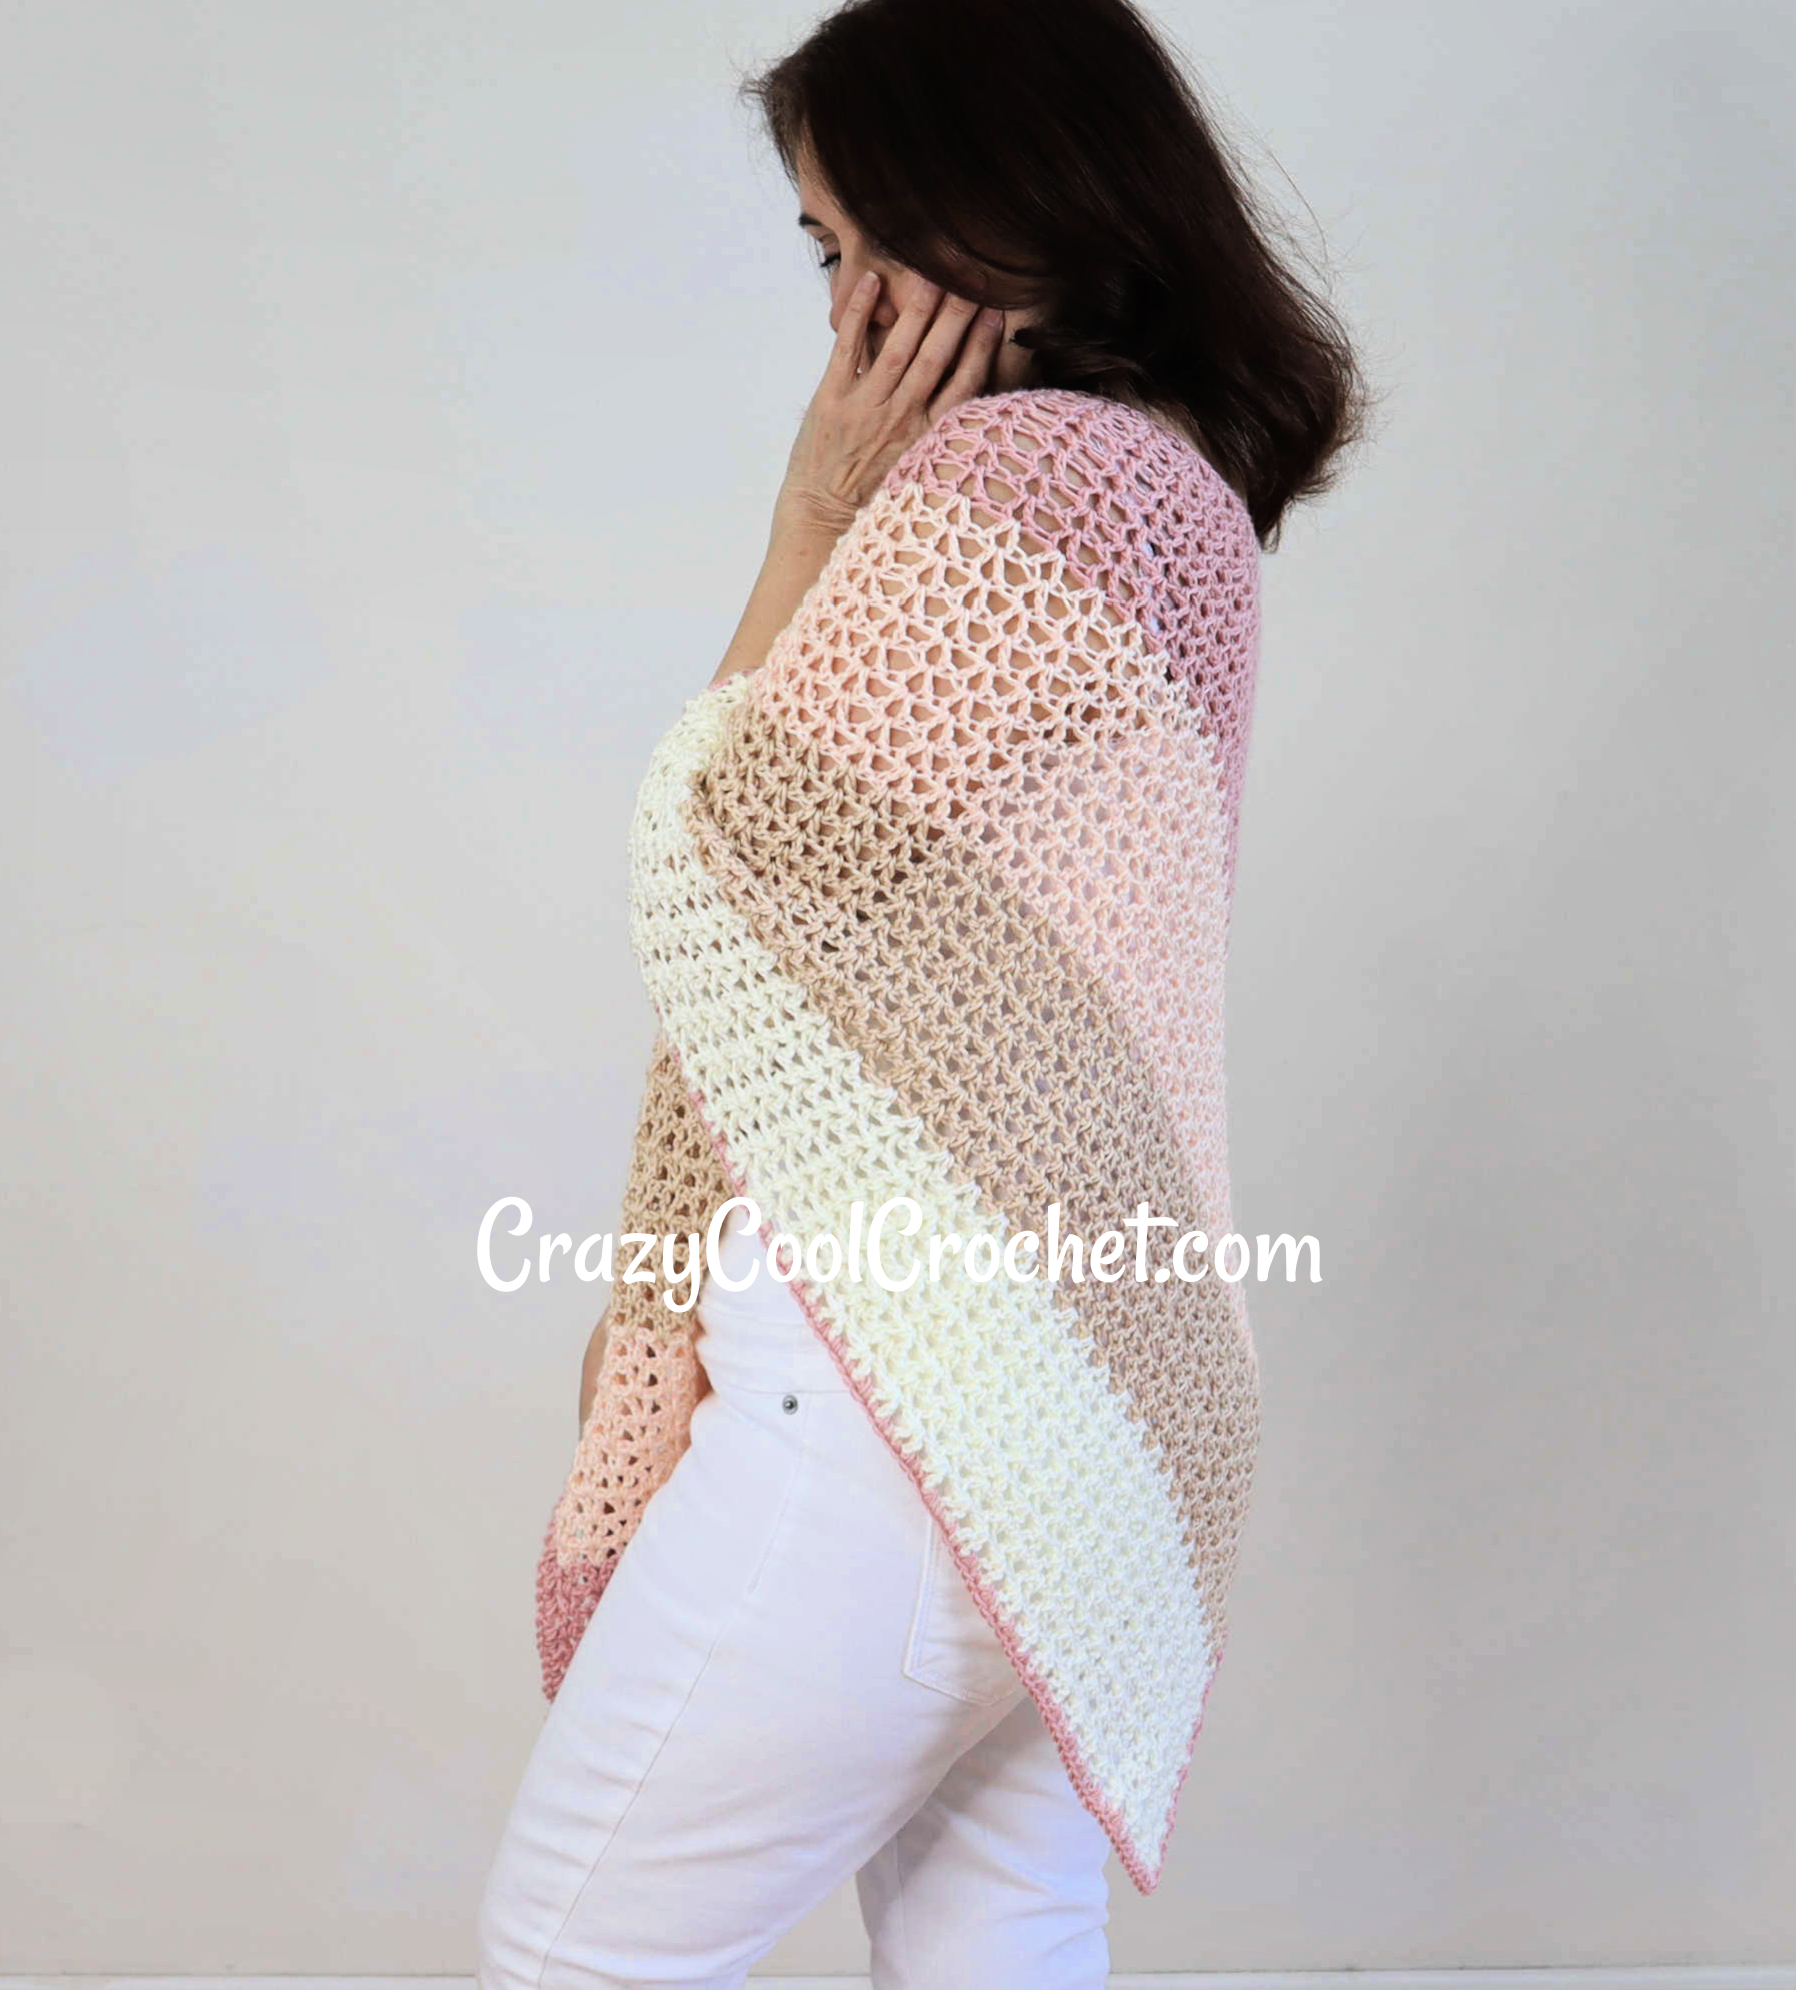
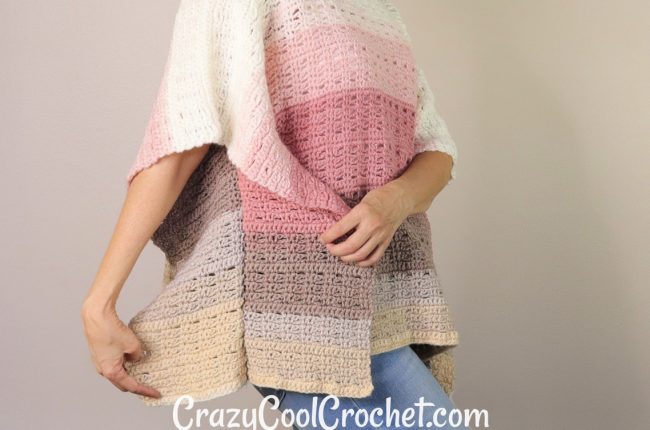
This gorgeous crochet lightweight summer poncho can also be used as a swimsuit cover up. It is super flowy and drapes effortlessly.
The yarn used here (see Materials list below) is a number two lightweight or fingering weight yarn. This creates the softest, most comfortable, most drapey (is that a word? LOL) crochet summer poncho.
Crochet V Stitch
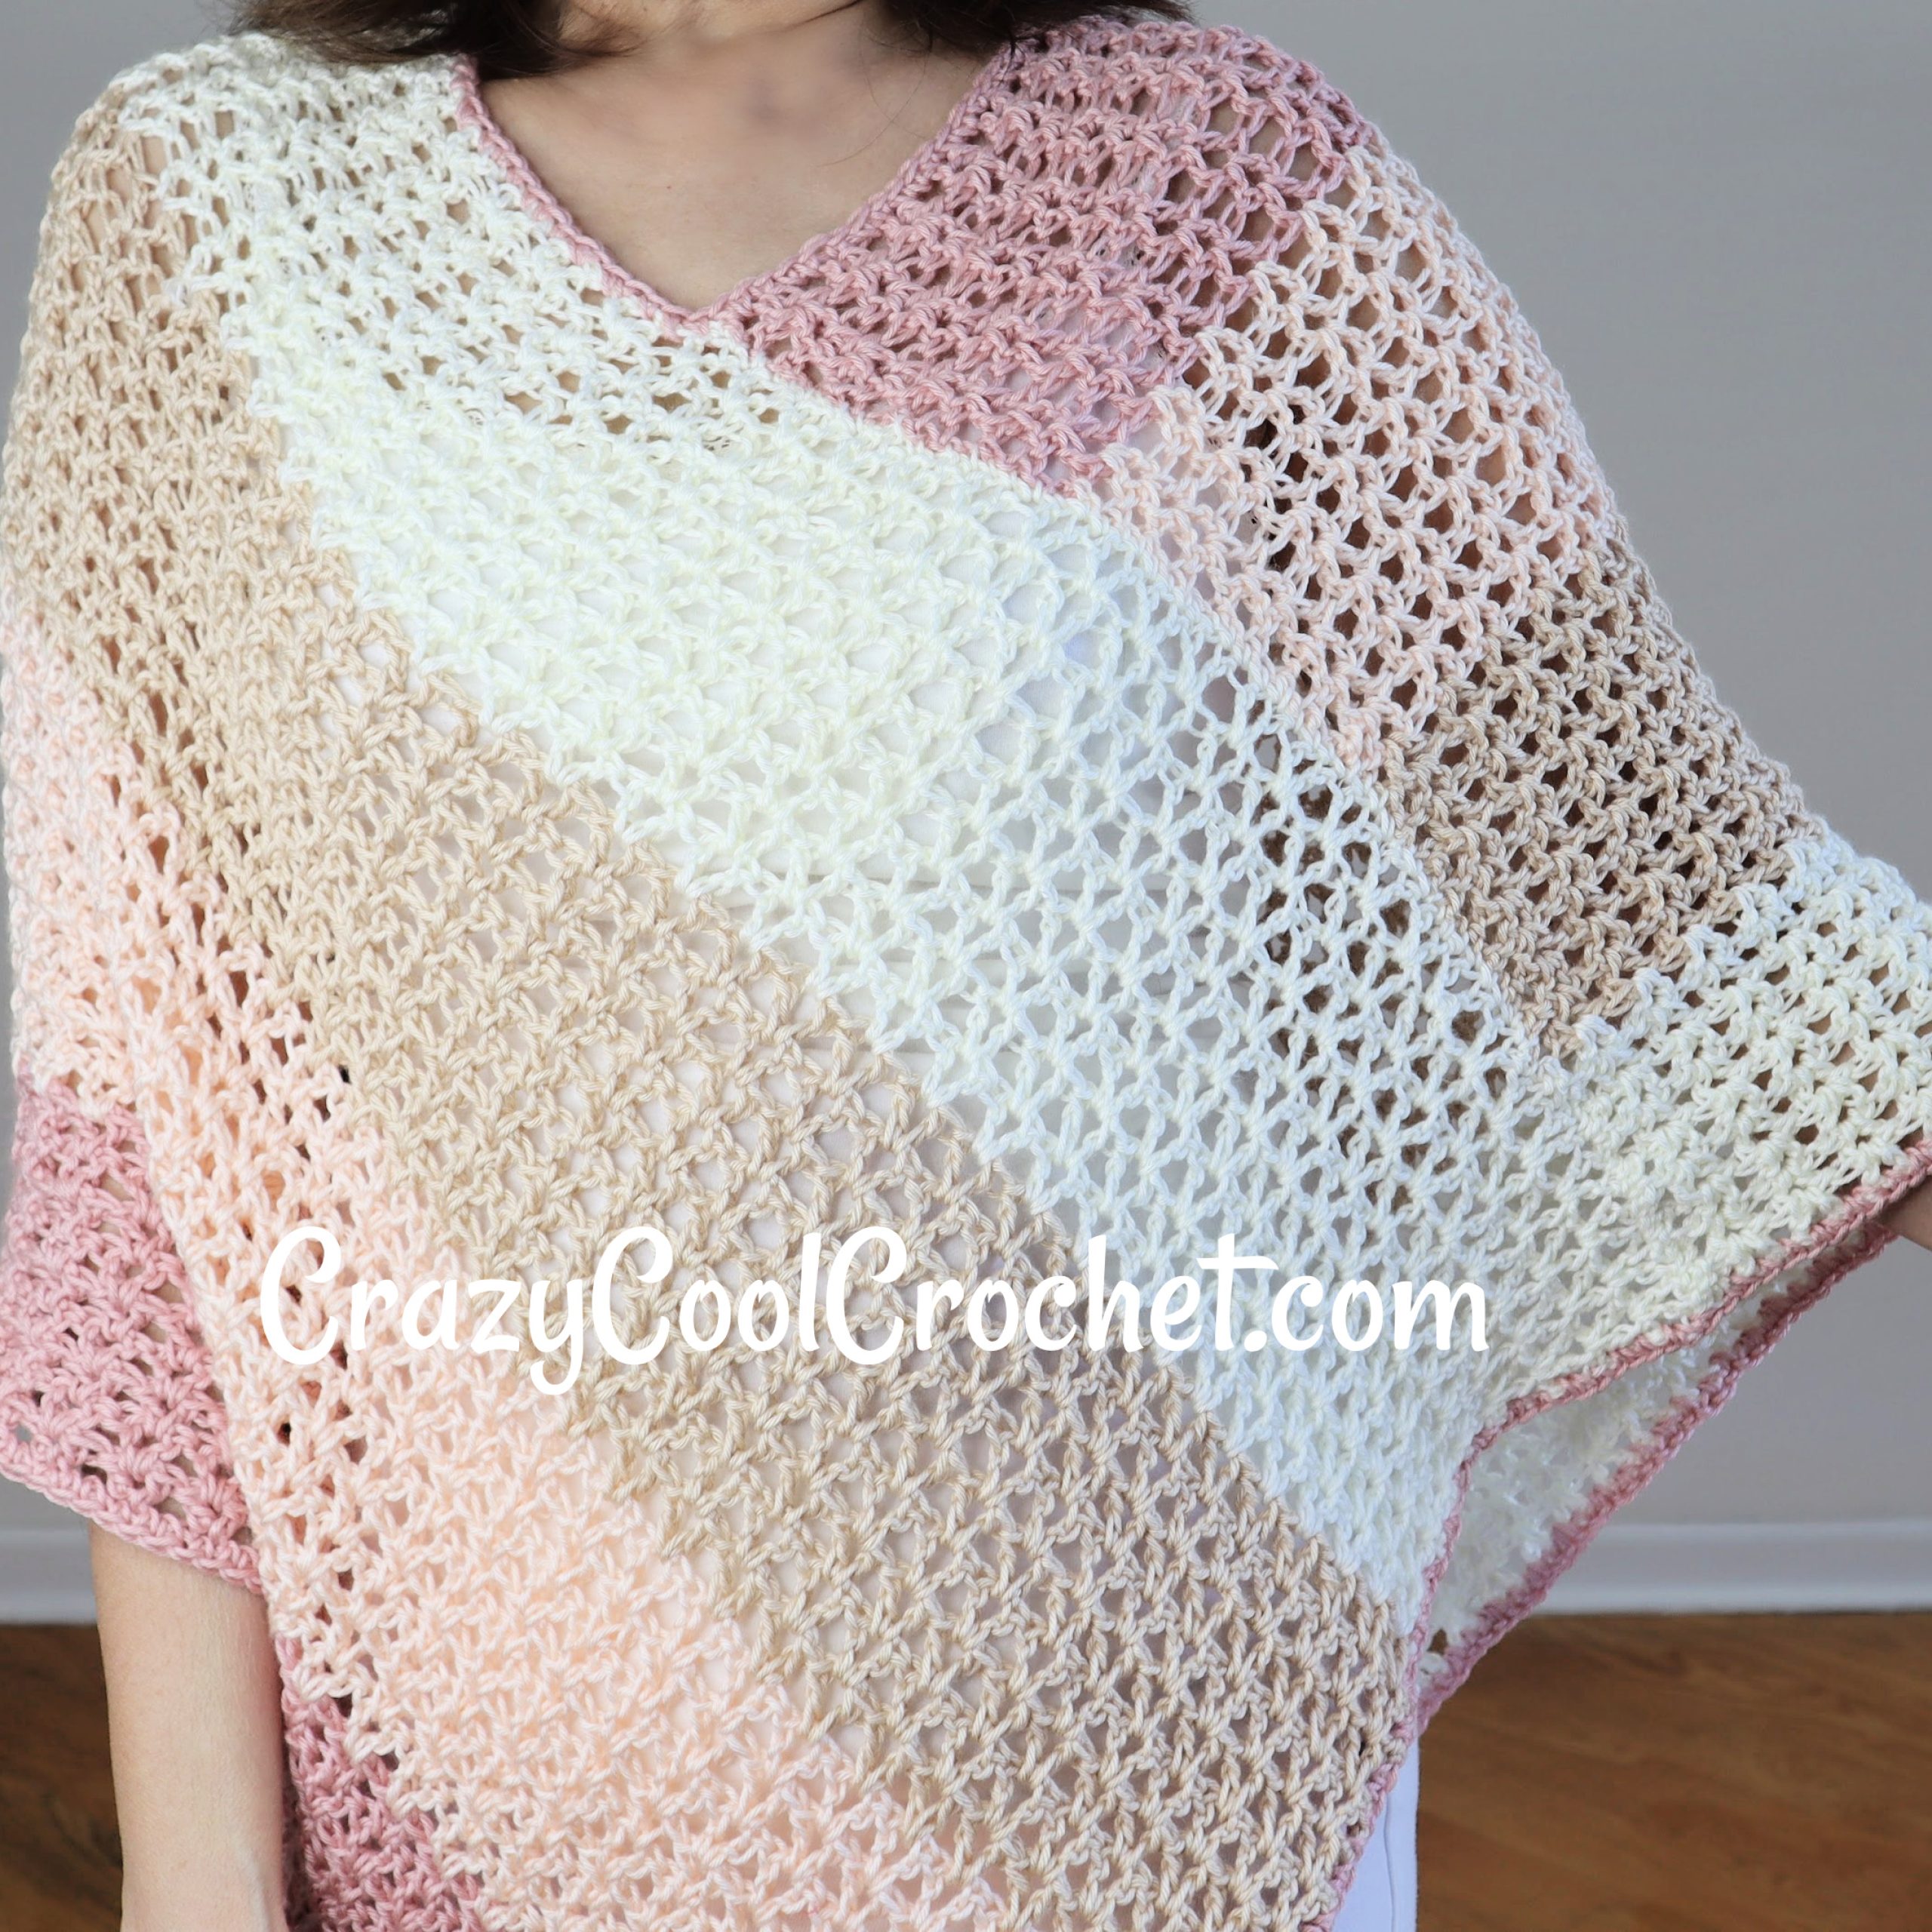
We use the super easy, super popular double crochet V stitch that works up fast. This pattern uses very little yarn! Two identical panels are seamed together, a simple single crochet border and viola! You have the most beautiful crochet summer poncho EVER!
Crochet Summer Poncho
This crochet poncho is so versatile. You can wear it as an every day summer staple. So much more stylish than a boring cardigan. Or you can wear it to the beach as a cute little cover up.
Crochet Summer Poncho Video Tutorial
I truly enjoy designing and creating crochet patterns, most of which are provided to you for free. This takes quite A LOT OF WORK! Hours and hours, days and days of dozens of different tasks to be able to bring you these patterns. I offer most of my patterns here on CrazyCoolCrochet.com for your convenience and use. Because the calculations and work required to provide additional sizes can take many more hours (or days) I sometimes only include the line by line instructions in the Etsy pattern to be purchased for a nominal cost (link is below above the written pattern). Folks…this is my only income. As much I would like to give it all away, that is not always possible. I ask for your understanding and your support.
How can you support my efforts? Thank you so much for asking! Watch the video tutorials on the YouTube platform (click the blue link below). NEW!!! YouTube now allows my viewers to give a Super Thanks which is like a “Tip Jar”. This helps me to continue to provide cool crochet designs, patterns and videos. I am eternally grateful for your support in this way!!
CLICK LINK BELOW TO WATCH FULL VIDEO TUTORIAL ON YOUTUBE
VIDEO CROCHET LIGHTWEIGHT SUMMER PONCHO
Printable Crochet Summer Poncho Etsy Pattern:
Click here: Crochet Lightweight Summer Poncho
Adult/Teen Small
Instructions for sizes Medium, Large/XLarge, 1X/2X, 3X/4X shown in parenthesis (X, X, X, X).
For more custom sizes increase the beginning chain in multiples of 5 for length. Add V-Stitch rows as needed for width.
Sizes are recommendations only. Personal tension and yarn used will result in size variations. Adjust as needed.
This post contains affiliate links which means I may earn a small commission for purchases made from these links at no additional cost to you.
Crazy Cool Crochet is a participant in the Amazon Services LLC Associates Program, an affiliate advertising program designed to provide a means for sites to earn advertising fees by advertising and linking to Amazon.com
Materials:
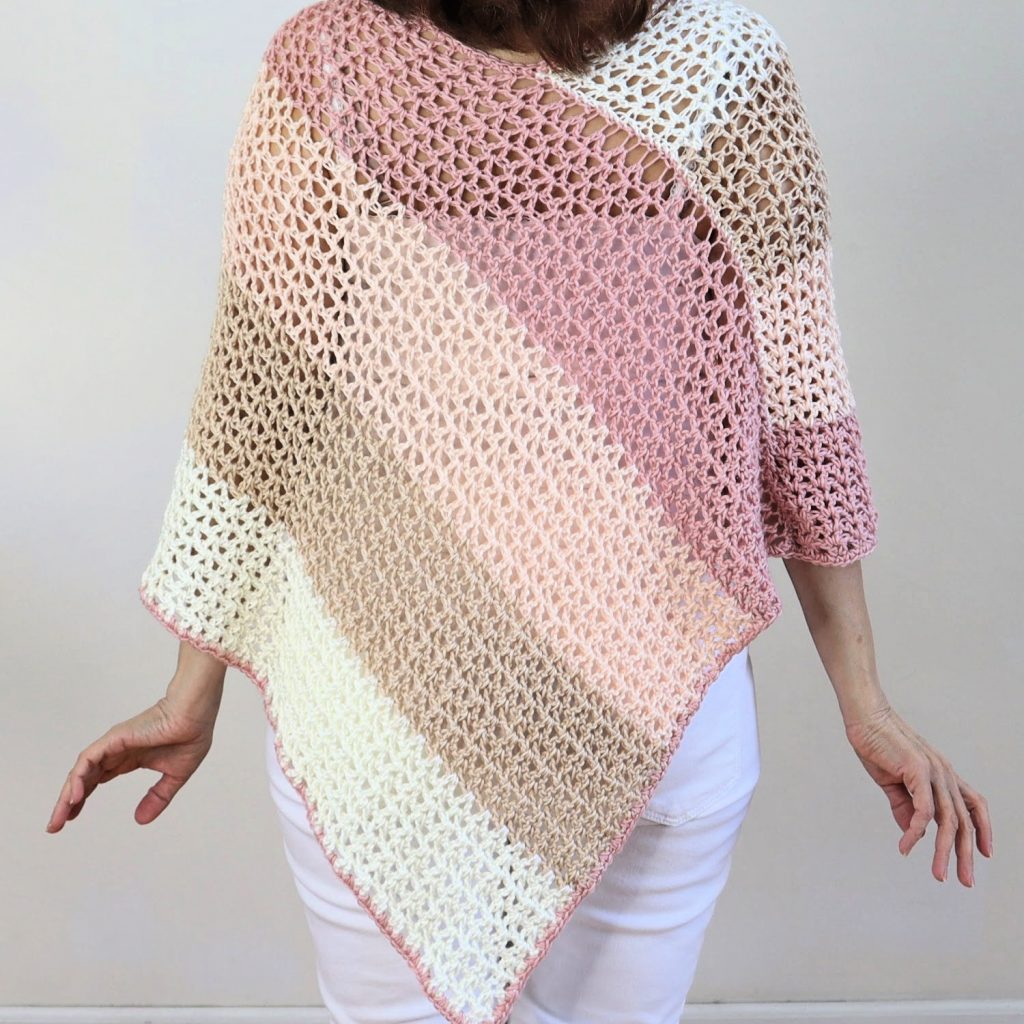
#2 Fingering weight or lightweight yarn/ Used here Yarn Bee Yarntopia
Colors: Rose, Blush, Ivory and White

2 ounces each color (add at least one additional ounce per color per ea additional size)
Crochet hook size G/ 4.25 mm
Yarn needle
Scissors
Stitch marker (1) or contrasting piece of yarn
MAKE 2 PANELS
Ch 110 (120, 140, 150, 150 )
This foundation chain determines length. To add width we will increase rows.

Row 1: dc in 5th ch from hook, ch 1, dc in same ch (V st formed); *skip 2 ch’s, V st in next ch*. Repeat from * to *, to last 3 ch’s. Sk next 2 ch’s, dc in last ch. Ch 3. Turn. 35 (38, 45, 48, 48) V st sets.
Row 2: *V st in V st ch1 space of row below*. Repeat from * to *, to last V st. V st in that last ch 1 sp. Dc in top of turning ch. Ch 3. Turn. 35 (38, 45. 48, 48) V st sets
Rows 3 – 9 (3 – 10, 3 – 11, 3 – 12, 3 – 13): Repeat Row 2
NOTE: At end of last row, change colors: Begin the last dc in the turning ch for the final 2 loops on hook; pull next color yarn through the 2 loops to complete the dc. Ch 3. Turn.
Rows 10 – 18 (11 -20, 12 – 22, 13 – 24, 14 – 26): WIth second color repeat Row 2
Rows 19 – 27(21 – 30, 23 – 33, 25 – 36, 27 – 39): WIth third color repeat Row 2

Rows 28 – 36 (31 – 40, 34 – 44, 37 – 48, 40 – 52): WIth fourth color repeat Row 2. At end of last row cut off yarn.
Repeat all for 2nd panel.
ATTACH PANELS

With wrong sides up, the panels are perpendicular to each other. Yarn used here is very stretchy so you must ensure the panels are evenly situated. Use a stitch marker (red yarn shown here) to indicate where the seam will begin. Use a yarn needle, length of yarn and whip stitch to seam the two panels. Arrow indicates where the seam is.
Please view the video tutorial above for a better visual understanding.
With panels right side up, fold the bottom panel all the way to meet the opposite edge (shown in 1st two photos above). Panels are now wrong side up. Then fold the remaining portion of the “top” panel (in relation to the photo) to meet the 2nd panel as shown in the 3rd photo above. Seam with a whip stitch along the seam line shown by the white arrow. Tie off.
NECK BORDER

Turn poncho right side out. Attach yarn (your choice of color) to neck, ch 1, sc in same space, sc evenly spaced along the neck edge. At end of row, sl st into the first sc. Tie off.
PONCHO BORDER

With right side up, attach yarn (your choice of color) anywhere along the raw edge of the poncho. Sc in ea sp evenly around the entire piece, placing 3 sc’s in ea of two corners to maintain the pointy corners. Sl st in the beginning sc to join. Tie off.
Copyright © 2022 Sylvia Talo You may sell items made from my patterns. Please include a link or reference to my shop CrazyCoolCrochetUS.etsy.com . Pattern and photos are copyright protected; they may not be reproduced, redistributed, or displayed publicly in any way.
You May Also Like


I love this! Thank you for sharing!
Hi Nancy,
I’m so happy you like this! Thank you for letting me know.
Sylvia
CrazyCoolCrochet.com
It’s beautiful…I immediately went out and bought the yarn! I do have one question, though. I’m doing this in medium so I chained 120. About how high (or deep) should my first color be at 10 rows? Thank You for this beautiful pattern!
Hi Dawn,
I”m so happy you like this and are making it!
The first 10 rows should be about 5 inches deep. This yarn is very stretchy so your measurement might differ a little bit.
Sylvia
CrazyCoolCrochet.com
Please help me. The pattern of row, if I understand correctly, is worked across the short side and its added to until it reaches the rectangle size. Correct? I am using Hobbii 8/4 Cotton Kings yarn #1 weight. My first attempt, the short side is 24 1/2″w. By 35″l. Too big for friend. Gave it to a neighbor. What are the multiples for the starting chain please? I want it more like 18 1=2″w. What should the length be? I have short term memory issues due to a stroke. Would truly appreciate a bit of clear direction. Thank you so much if you can. 🥰
Hello Kim,
Thank you for the question. I had a bit of trouble following your train of thought. The instructions did include the multiple: For more custom sizes increase the beginning chain in multiples of 5 for length. Add V-Stitch rows as needed for width.
The foundation chain determines the length.
If you follow the directions for the different sizes you should be good to go.
Sylvia
CrazyCoolCrochet.com
Nice pattern that is easy to follow! I used 4ply yarn so to make a fall poncho.
Hi Trisha,
I’m so happy to hear you enjoyed this pattern!
Sylvia