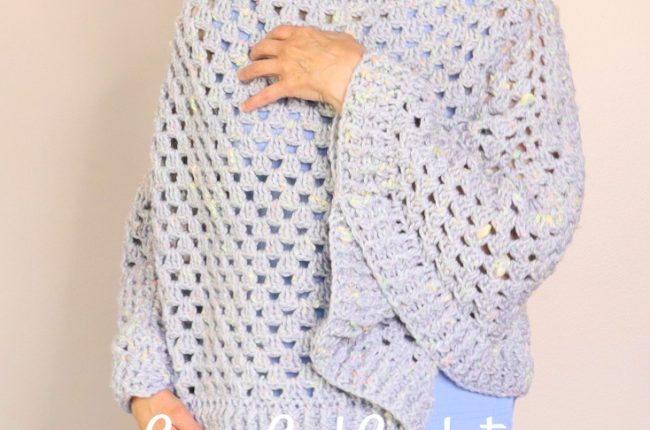
Crochet Long Cardigan Duster
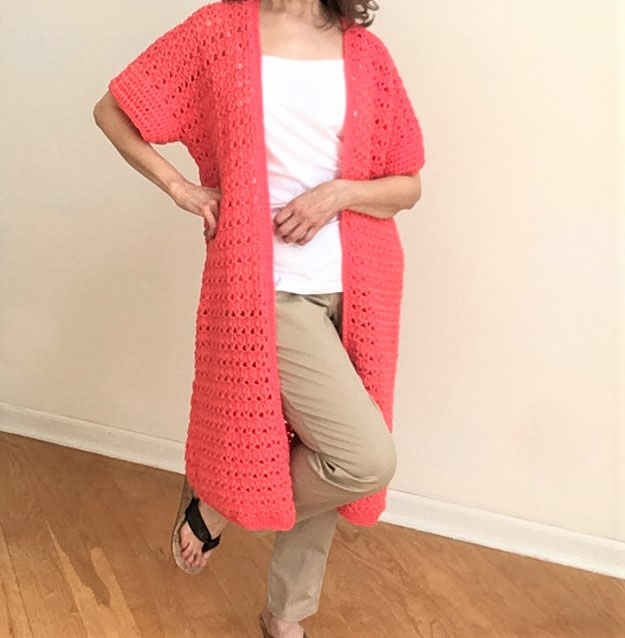
FREE crochet pattern and VIDEO for this lightweight, spring and summer crochet long cardigan duster is below. Easy pattern for crochet beginner. Simple short sleeves add to the unique design. Etsy printable pattern is also available here: CrazyCoolCrochetUS.etsy.com
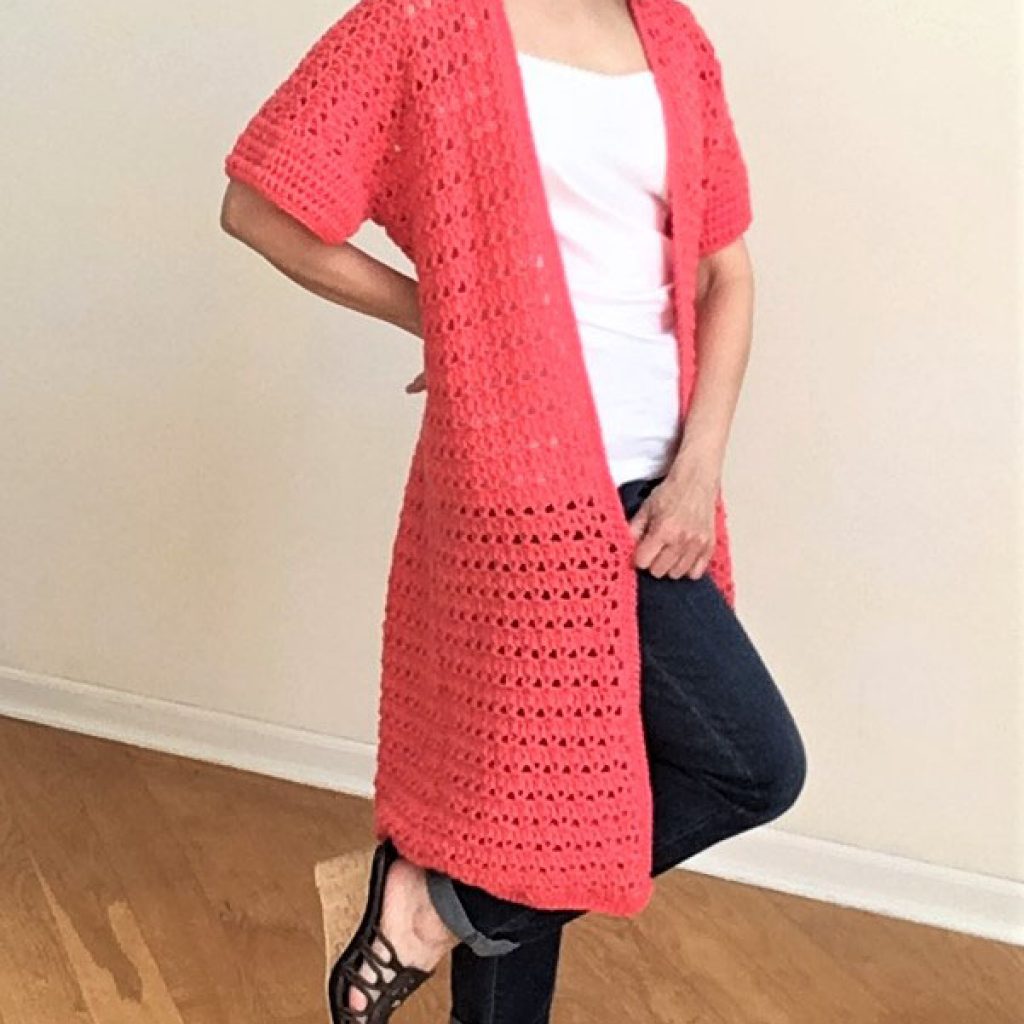
Etsy printable pattern contains additional photos, gauge and basic instructions for larger sizes. View here: CrazyCoolCrochetUS.etsy.com
Size Roomy Small
For additional sizes, for the back panel, measuring from hip to hip, make the foundation chain about 2 inches longer, per size, using multiples of 3, adding 2 inches more for each additional size. Then allow for another couple of inches for ease depending on how loose you want the garment. Add more chains, in multiples of 3, as needed for the ease.
For the front panels increase each panel by 1 inch, in multiples of 3, per size.
For the sleeves, similarly, place the stitch markers 2 inches further on each side. Increase length by as many rows as preferred ending with a double crochet row.
Dimensions: (Yarn used is very stretchy.) Back panel – Shoulder to bottom = 36”; edge to edge = 22”; arm circumference = 16”
This post contains affiliate links. I may receive a small commission for purchases made from my links at no additional cost to you.
Materials:
Yarn #3 sport weight; Used here: I Love This Yarn by Hobby Lobby; (4 skeins of 2.5oz ea used here) Color Coral
May substitute with equivalent #3 yarn:

Crochet hook size H / 5 mm
Tapestry needle
Scissors
BACK PANEL
Ch 86
Row 1: dc in 4th ch from hook and in each ch across. 82 total
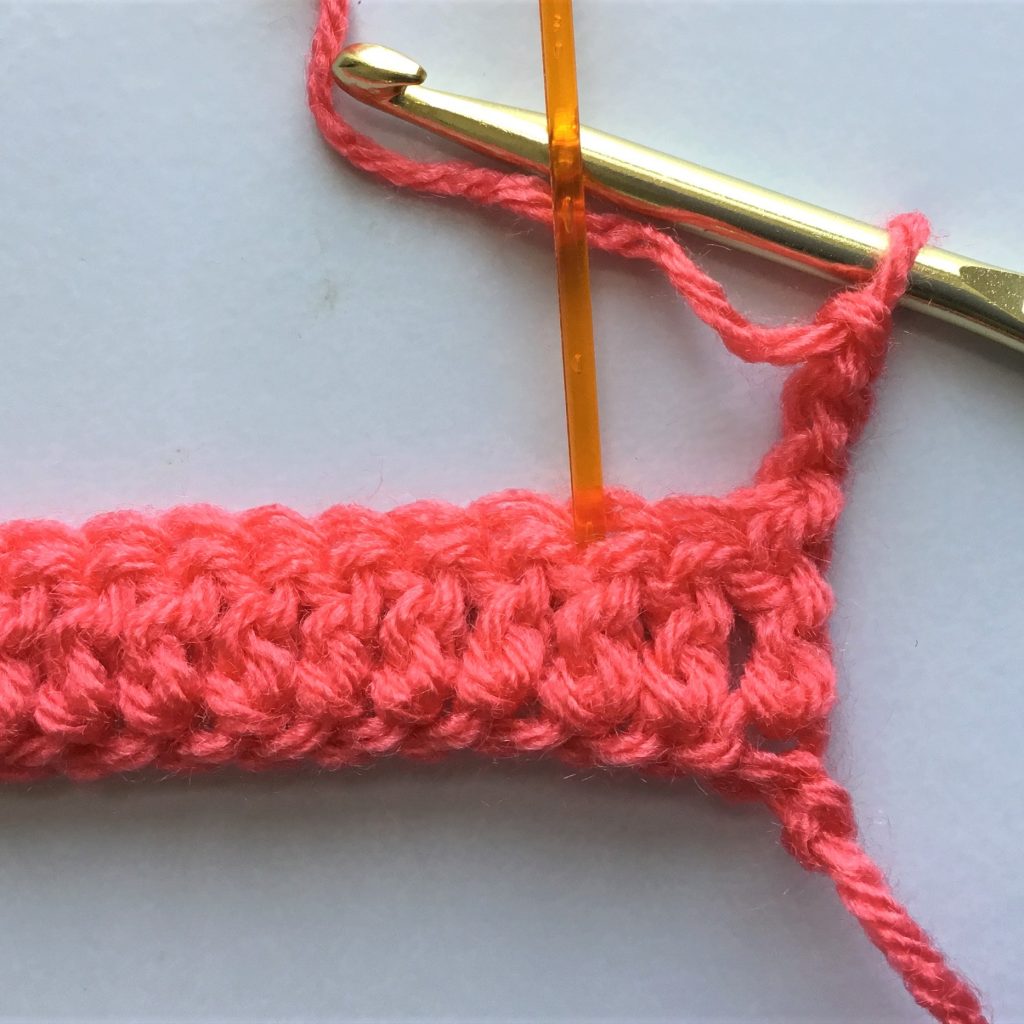
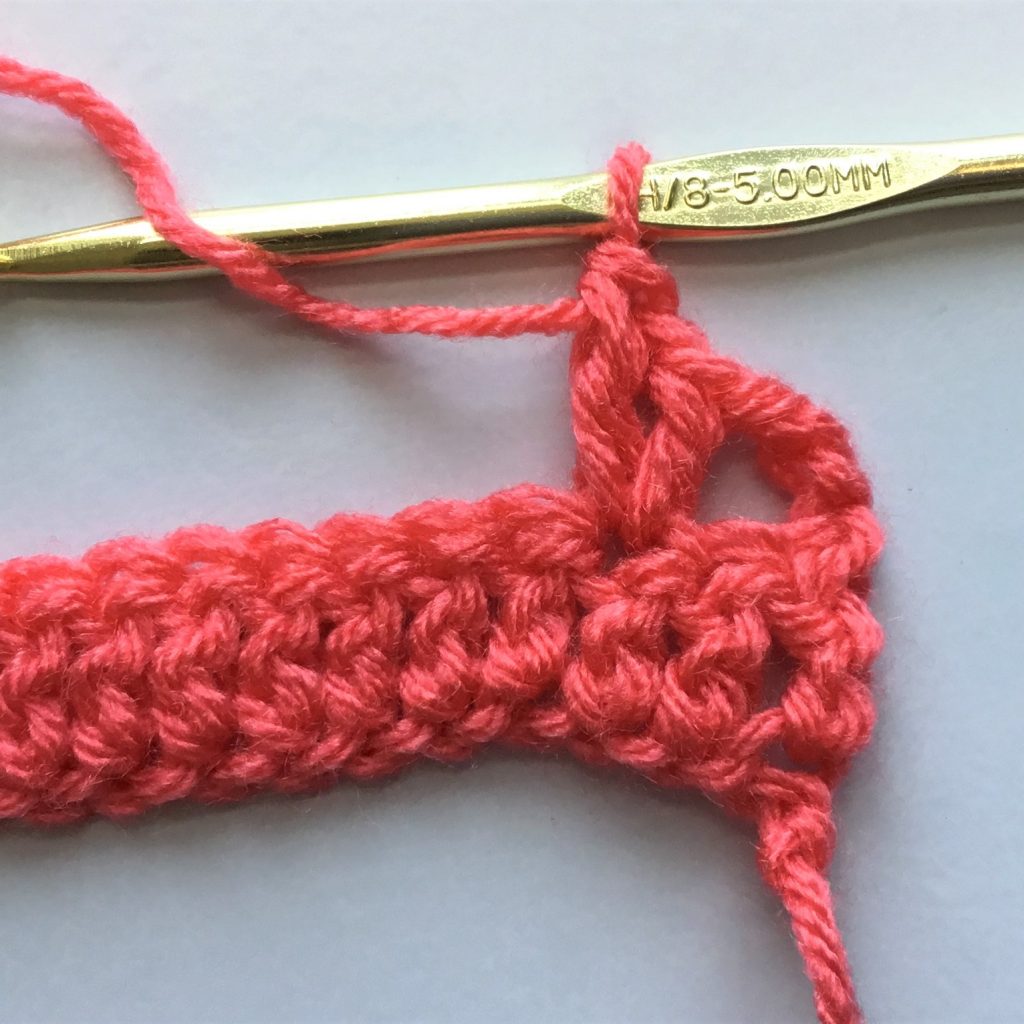
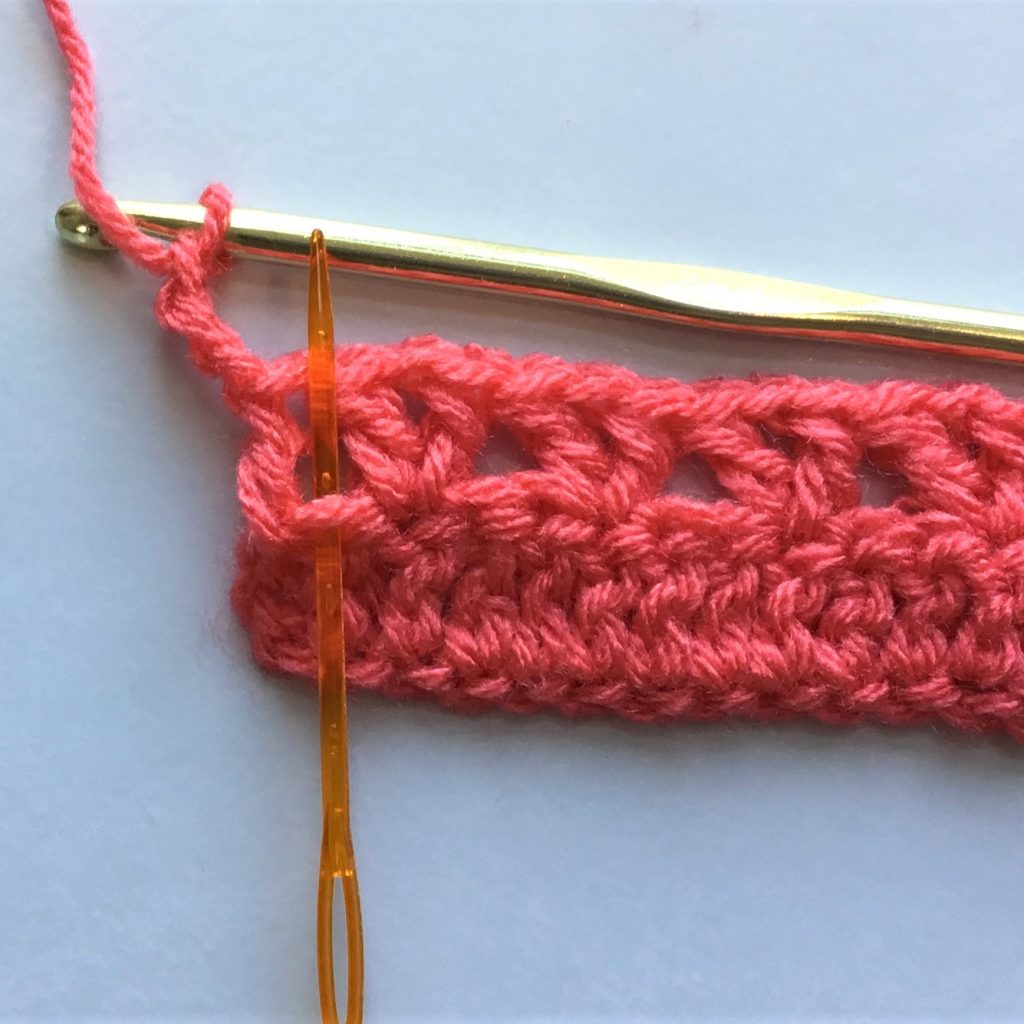
Row 2: See photos above. Skip 1st dc below, enter a dc in next dc (insert hook under the 2 strand ch at top of dc), ch 1, enter a dc in
Ch 3. Turn
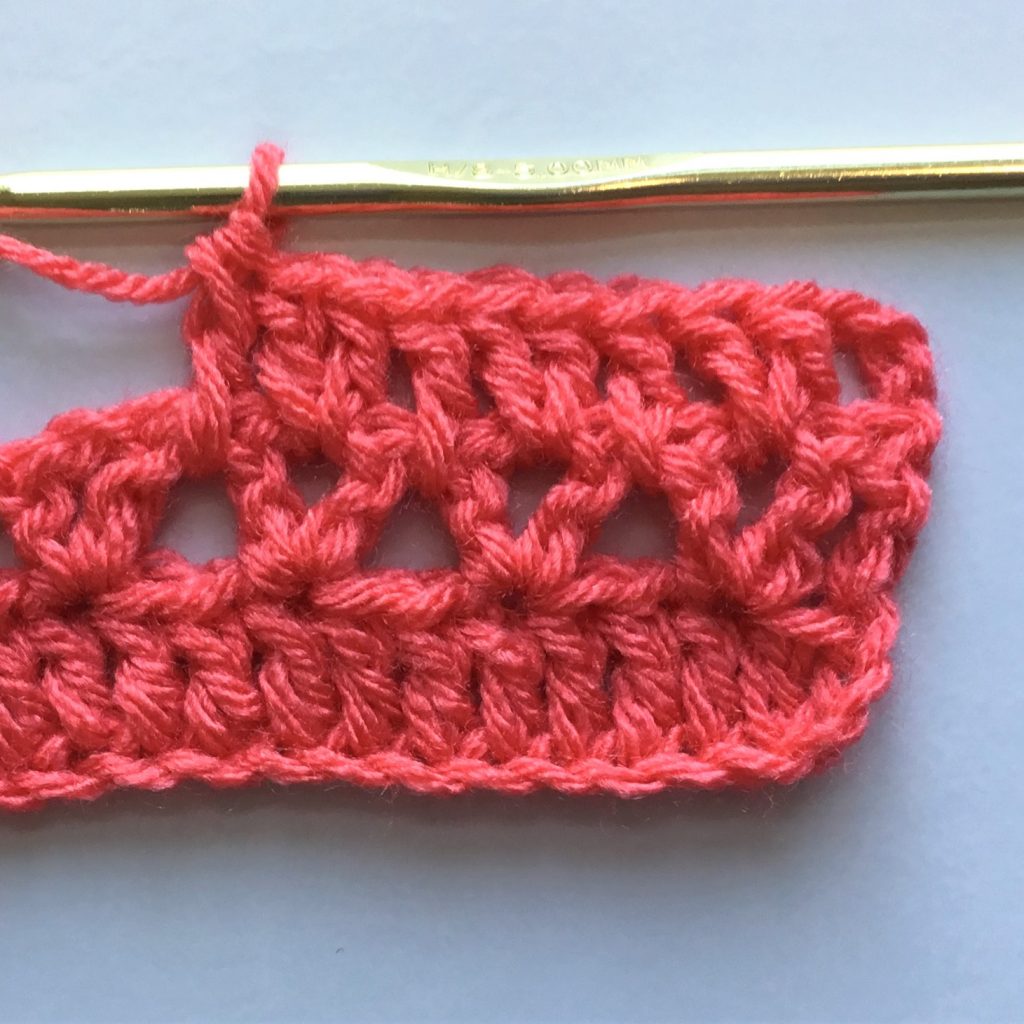
Row 3: *Enter 2 dc in center of V st below. Enter 1 dc in next sp*. Repeat from * to * to last V st. Enter 2 dc in last V; enter 1 dc in next sp; enter 1 dc in top of turning ch. 82 dc’s.
Ch3. Turn
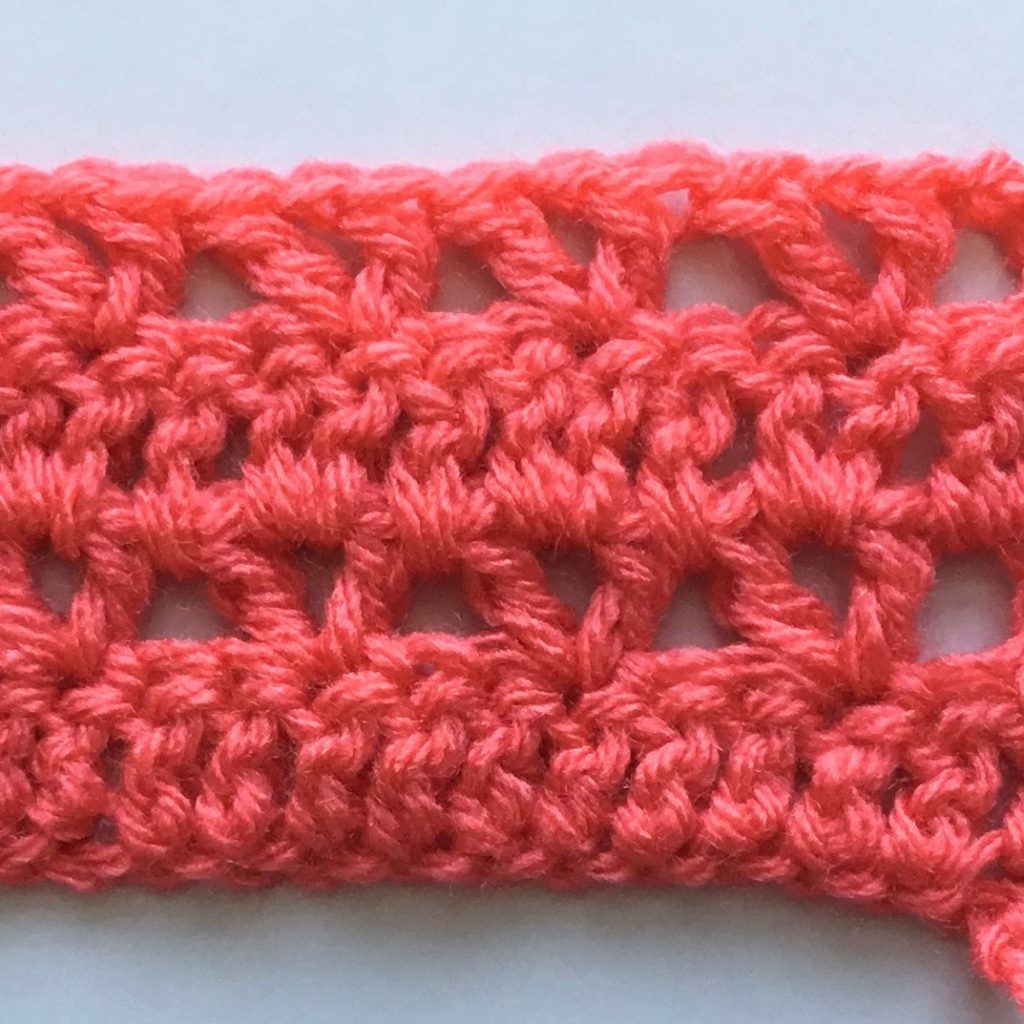
Row 4: See photo above. Sk 1st ch; enter V st in next ch. Sk next 2 ch. Repeat from * to * across to last dc below. Sk last ch (that forms at top of DC below), enter dc in top of turning ch.
Ch 3. Turn
Repeat rows 3 and 4 for a total of 65 rows, ending with a dc row. This will produce a length of 36” from shoulder to bottom.
FRONT PANELS (make 2)
Ch 42
Row 1: dc in 4th ch from hook and in each ch across. 39 total
Row 2: Skip 1st dc below, in next ch enter V st,
Ch 3. Turn
Row 3: Sk 1st sp; enter dc in next sp; enter 2 dc in center of V st below. Repeat from * to * to last V below; enter dc in next sp; enter dc in turning ch. 38
Ch 3. Turn
Repeat rows 2 and 3 for 65 rows, ending with a dc row.
ATTACH PANELS AT SHOULDERS
Please refer to YouTube video above for visual instruction. Place back panel right side up. Place front panel(s) on top of back panel, right side down; wrong side facing you. Using tapestry needle and length of yarn, sew at shoulders.
SLEEVES (make 2)
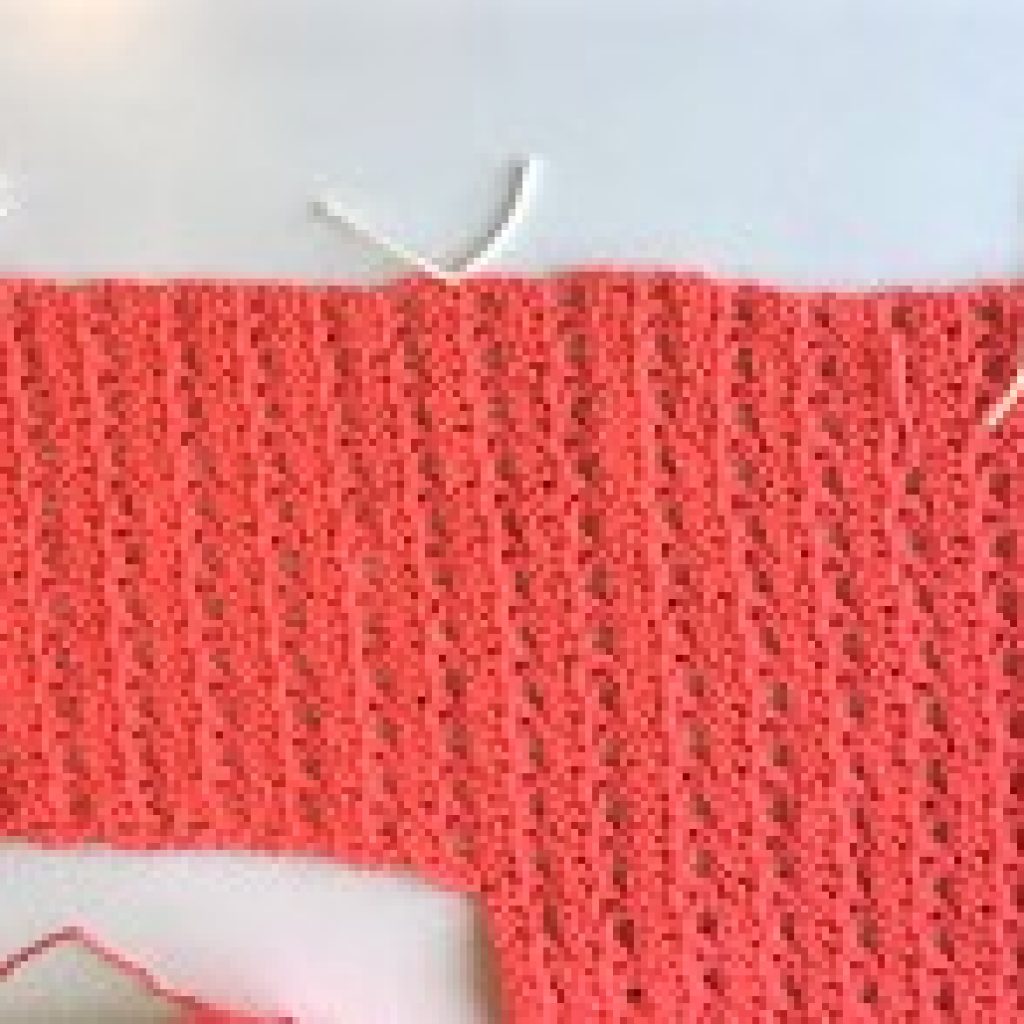
Insert 3 stitch markers. Center st marker is placed at shoulder seam as shown in
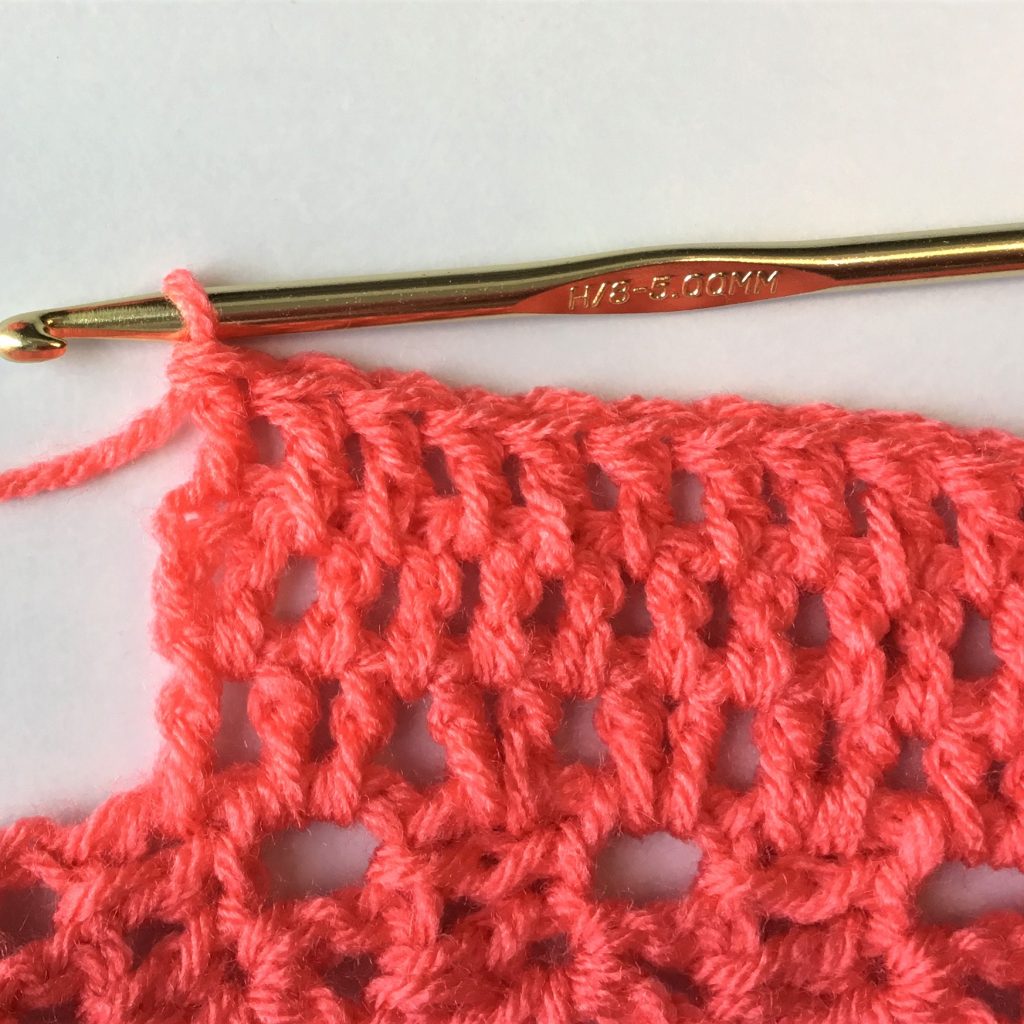
Row 1: Insert yarn at the right side st marker. Ch 3. Enter 1 dc in V st row; enter 2 dc in ea row across to the last V st row; (at arrow shown above) enter 1 dc in dc row (at st marker). 55 total dc’s (do not count 1st turning ch). Ch 3. Turn
Row 2: Enter dc in 1st sp (see photo above) and in ea sp across entering a dc in last sp and a dc in turning ch. 55 dc’s. Ch 3. Turn
Rows 3 – 5: Sk 1st sp; enter dc in next sp and ea sp across entering a dc in last sp and a dc in turning ch. 55 dc’s. Ch 3. Turn
Row 6: Sk 1st sp; enter dc in next sp and ea sp across entering a dc in last sp and a dc in turning ch. 55 dc’s. NOTE: Ch 1. Turn
Row 7: Sk 1st sp, enter
SEW SIDE SEAMS
Place garment right sides together,
BORDER
With cardigan right side facing you, insert yarn at center of
Enter sc’s as evenly around the garment as possible. At end of
Here is another crochet long vest you might enjoy: Long Crochet Vest Duster
Copyright © 2019 Sylvia Talo You may sell items made from my patterns. Please include a link or reference to my shop CrazyCoolCrochetUS.etsy.com . Pattern is copyright protected; it should not be reproduced, redistributed, or displayed publicly in any way.

How do you increase the different sizes? I wear XL in tee shirt sizes.
Thank you for your question. Increase the beginning foundation chain using a multiplier of 3. Increase beginning with about two inches for each additional size for back panel and one inch for each front panel. Increase length as needed.
Hope this helps.
Sylvia
CrazyCoolCrochet.com
I’ve tried making this and the front panels are 4 stitches different from back panel, so that would not leave enough space for neck. Can you please check your pattern again and tell me why or how the neck fits in?
Hi Shelly,
Thank you for the question. I’m so glad you are trying out the pattern.
Go ahead and follow the pattern. The stitches do not need to match to create the neck.
Hope this helps.
Sylvia
CrazyCoolCrochet.com
High my name is sheila, and i love your pattern . My problen is you say to chain 86 double in fiurth ch fron hook and you will gey 82 double s well i get 84 what is my problen .hope to hear from you soon thank you
Hi Sheila!
I’m so glad you like this pattern and are working it.
The instructions are correct; chain 86, start the first double crochet in the 4th ch from the hook (skipping 3 ch’s to enter into the 4th ch). This will result in 82 total dc’s.
Start the chain over as you might have miscounted along the way. Or you might have entered two dc’s in one chain. It’s easier to just start over.
Hope this helps!
Thank you for visiting.
Sylvia
CrazyCoolCrochet.com
Hi. Can this be made long sleeved if you just keep adding rows?
Yes,you can continue adding rows,however the sleeves might be too wide. You might need to do some decreases toward the bottom of the sleeves to taper it if you prefer.
Sylvia
CrazyCoolCrochet.com
WHERE CAN I FIND THE PLUS SIZE FOR THIS BEAUTIFUL SWEATER, IT IS SO PERFECT FOR THE SPING AND SUNNER FOR MYSELF..
Thank you for your question. Increase the beginning foundation chain using a multiplier of 3. Increase beginning with about two inches for each additional size for back panel and one inch for each front panel. Increase length as needed.
Hope this helps.
Sylvia
CrazyCoolCrochet.com
I get about 10 rows done then for some reason it starts getting wider! What do you think I am doing wrong? I have torn it out twice now!
Hi Vicky,
Without being able to look at your work, I can only guess that maybe you are entering your first and/or last stitches of the row in the first space rather than skipping the first space.
Look at the photos for rows 2 and 3. Be sure you are skipping the first space before entering the double crochets. Also, watch the video to see if that helps you.
Other than that, maybe you’re loosening your tension as you progress with the rows?
I hope this helps.
Sylvia
CrazyCoolCrochet.com
Thank you for getting back to me!
Hello,
Do you count the chain 3 as a double crochet for this pattern? For example in row one is it 82 double crochets + 1 chain 3? Or is it 82 double crochets including the chain 3?
Thanks.
HI,
Using the Row 1 example, start counting with the first created dc in the 4th ch from the hook, then ea dc across and count the last dc for the total of 82 dc’s. For subsequent rows you do not count the first “dc” turning ch, but you do count the last dc entered into the turning ch at end of the row.
Hope this helps!
Thank you for visiting.
Sylvia
CrazyCoolCrochet.com
I want to make this in a 1X. You say to count down 4 row on each side for the sleeves. To make the 1X how many rows should I count down to have the same ease in the sleeves as for the small pattern? This is lovely and I cannot wait to try it.
Hi Pam,
I’m so happy you like this and want to make it.
This is what the instructions say at the beginning of the pattern:
“For the sleeves, similarly, place the stitch markers 2 inches further on each side. Increase length by as many rows as preferred ending with a double crochet row.”
In the line by line instruction section for Sleeves it says to count 14 rows from the center st marker (shoulder seam) for the 8 inch wide sleeve.
Try counting 24 rows from the shoulder seam for a 14 inch wide sleeve. Adjust as needed for the width you prefer.
Hope this helps.
Sylvia
CrazyCoolCrochet.com