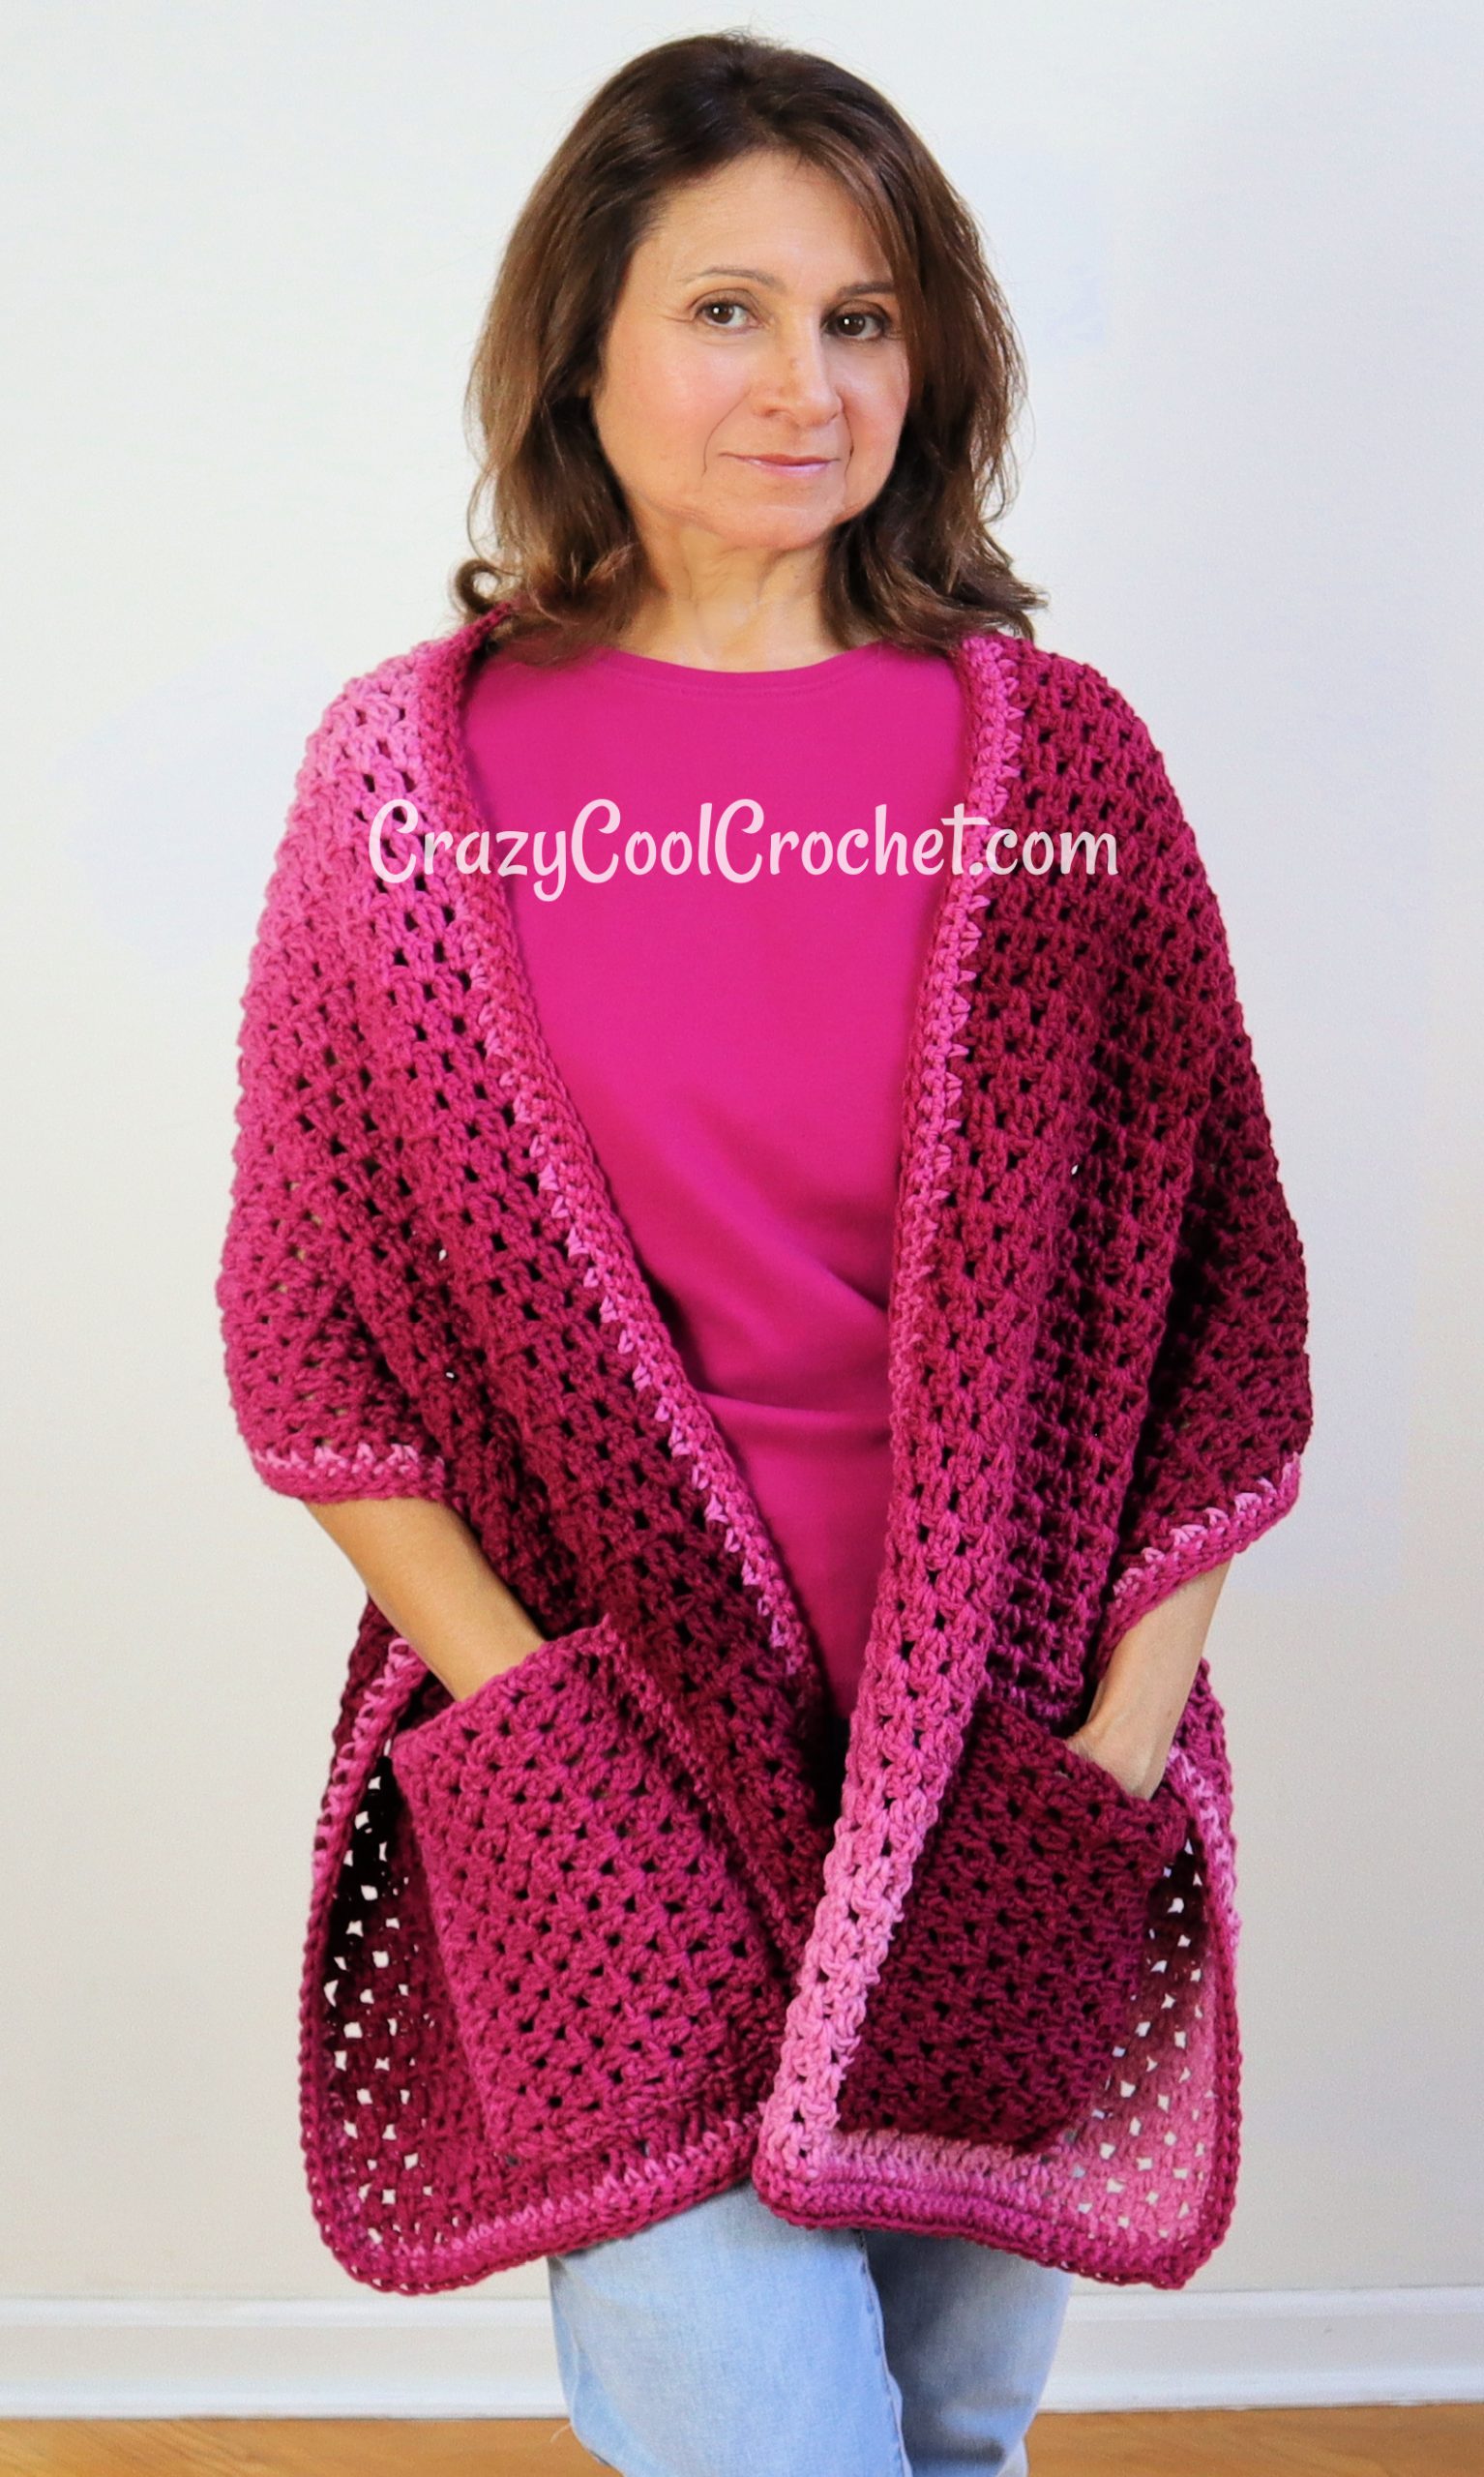
This super easy, super cute crochet pocket shawl for beginners is also great fun for experienced crocheters! It is lightweight and perfect to transition from season to season. Using only the most basic of stitches, the pattern simple enough that it works up super fast. Have I used enough ‘supers’ yet? LOL! Are you tired of seeing LOL everywhere? Ha ha! Not much better? Ok, let’s get moving with the FREE CROCHET PATTERN below!
PRINTABLE PATTERN:
The printable version is available at my Etsy shop: CrazyCoolCrochetUS.etsy.com
Red Heart Super Saver?
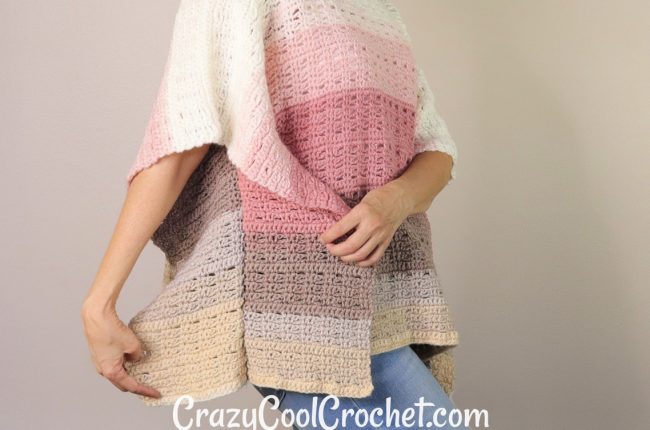
Yep. I broke down and used Red Heart Super Saver for this. I’m not a huge fan of this yarn because it is just so darn rough. However, it’s the best ombre type yarn I’ve yet found. If you know of a true ombre yarn that is nicer than this, please, please let me know (comment below). I had heard that this yarn softens up after washing so I tried it. And voila! It actually does. A little. Which is still a big improvement. The colors are so beautiful don’t you agree?
Yes Another Crochet Pocket Shawl
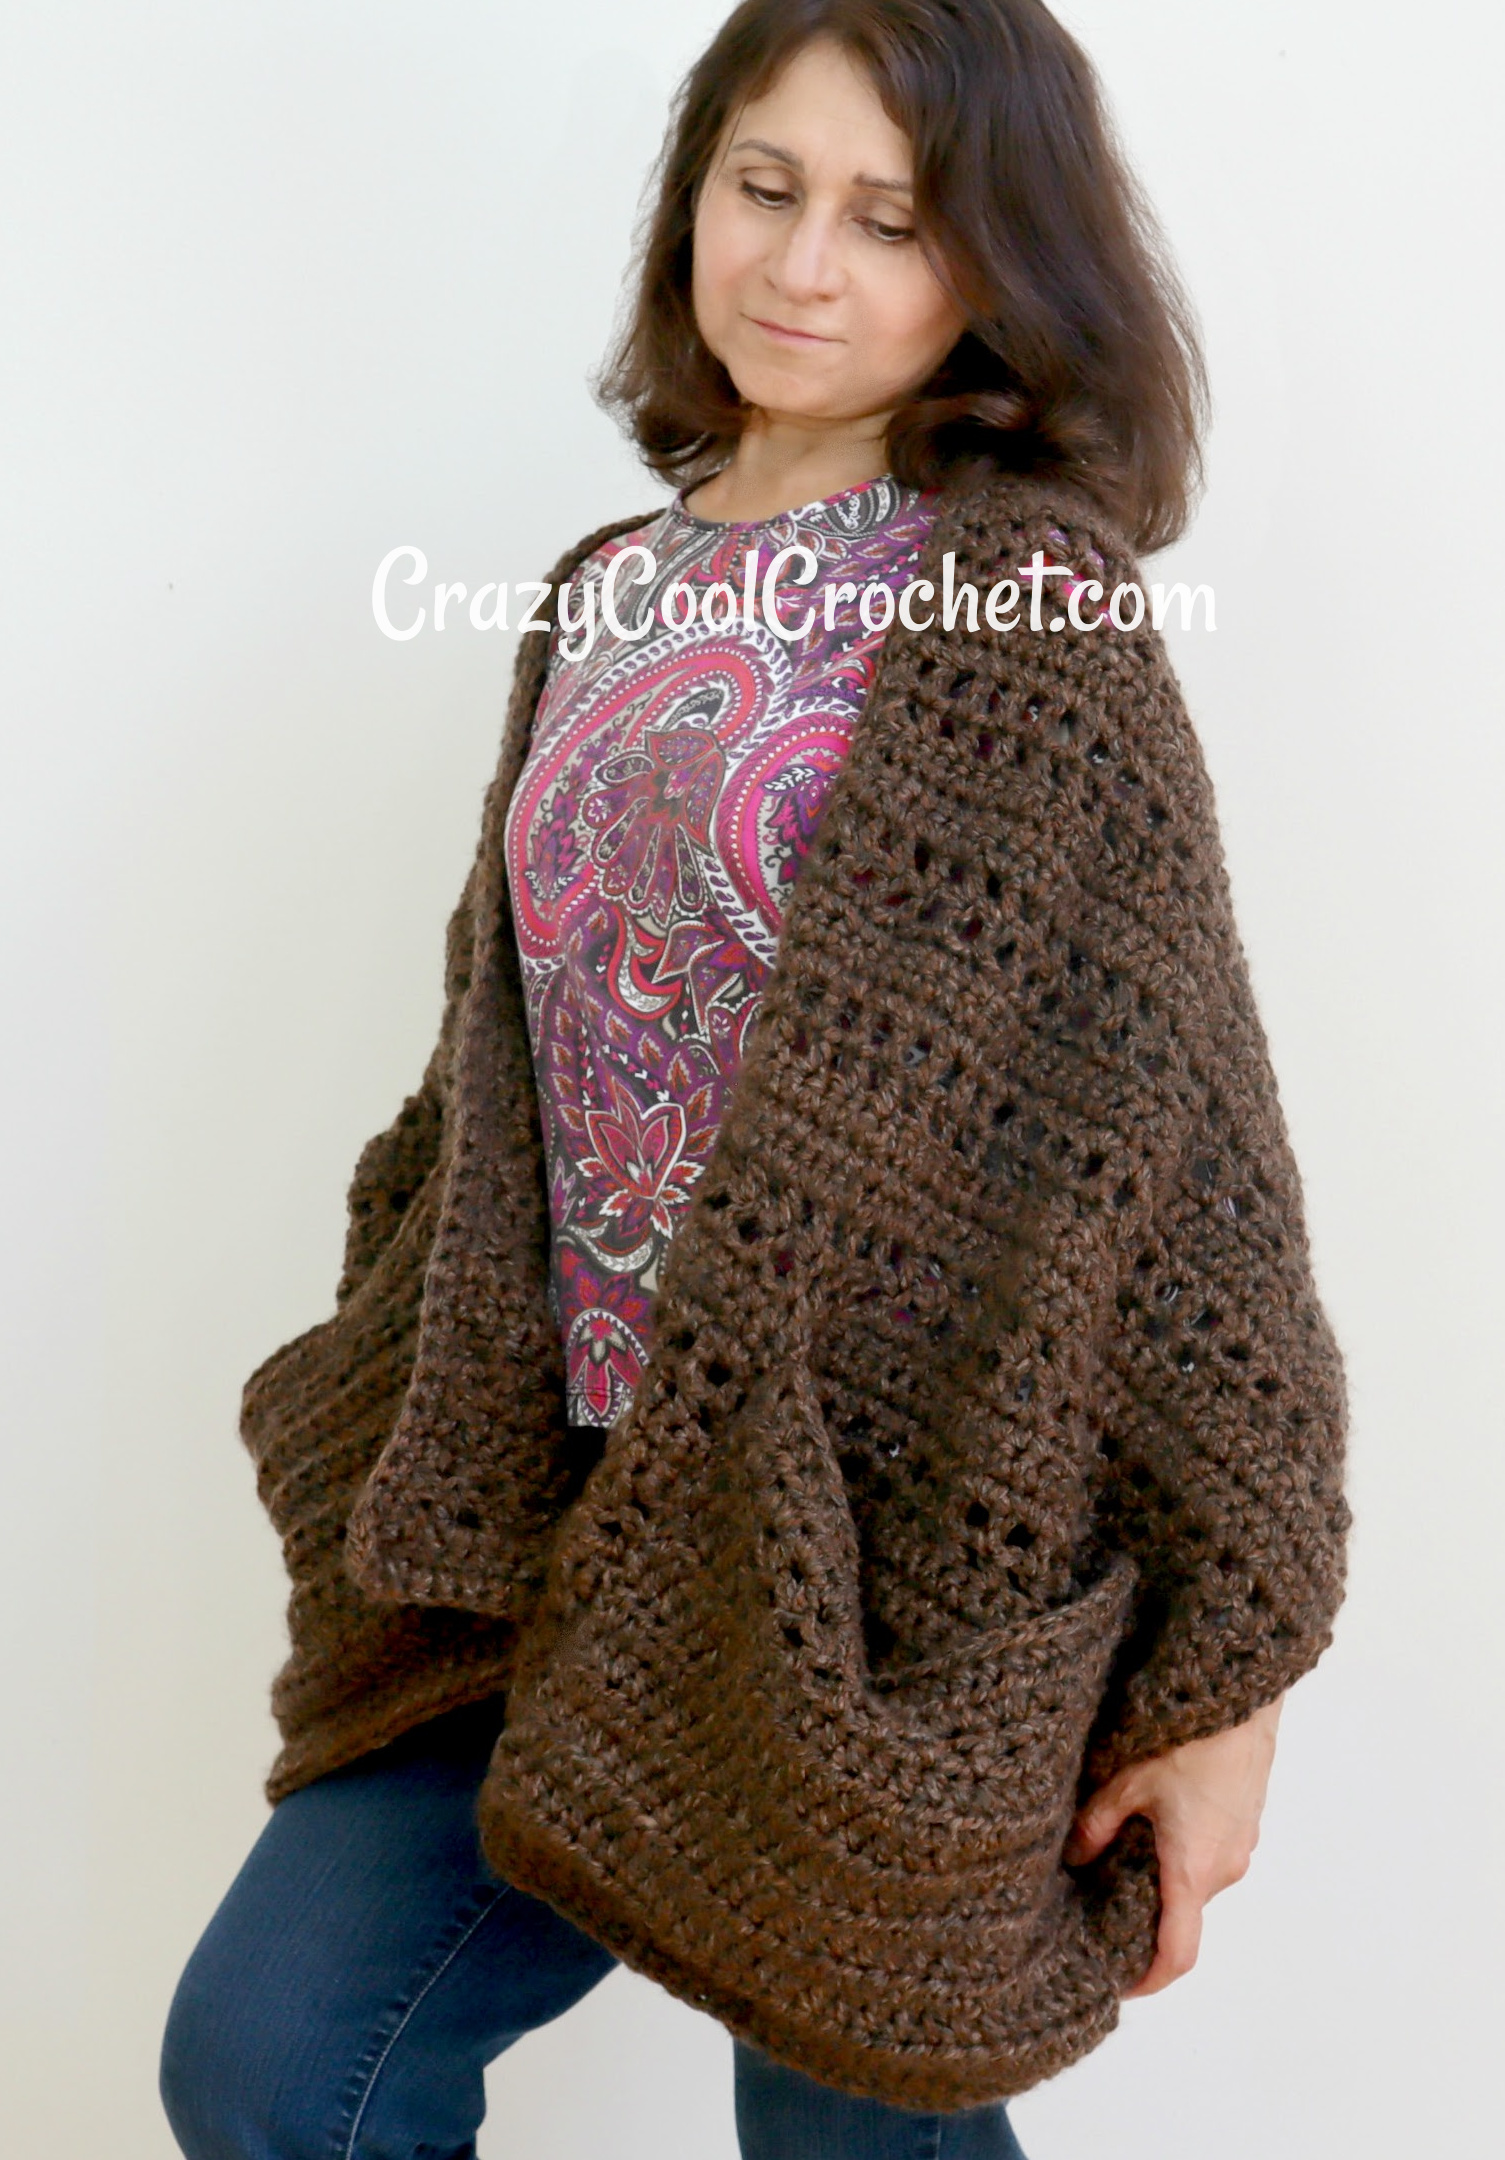
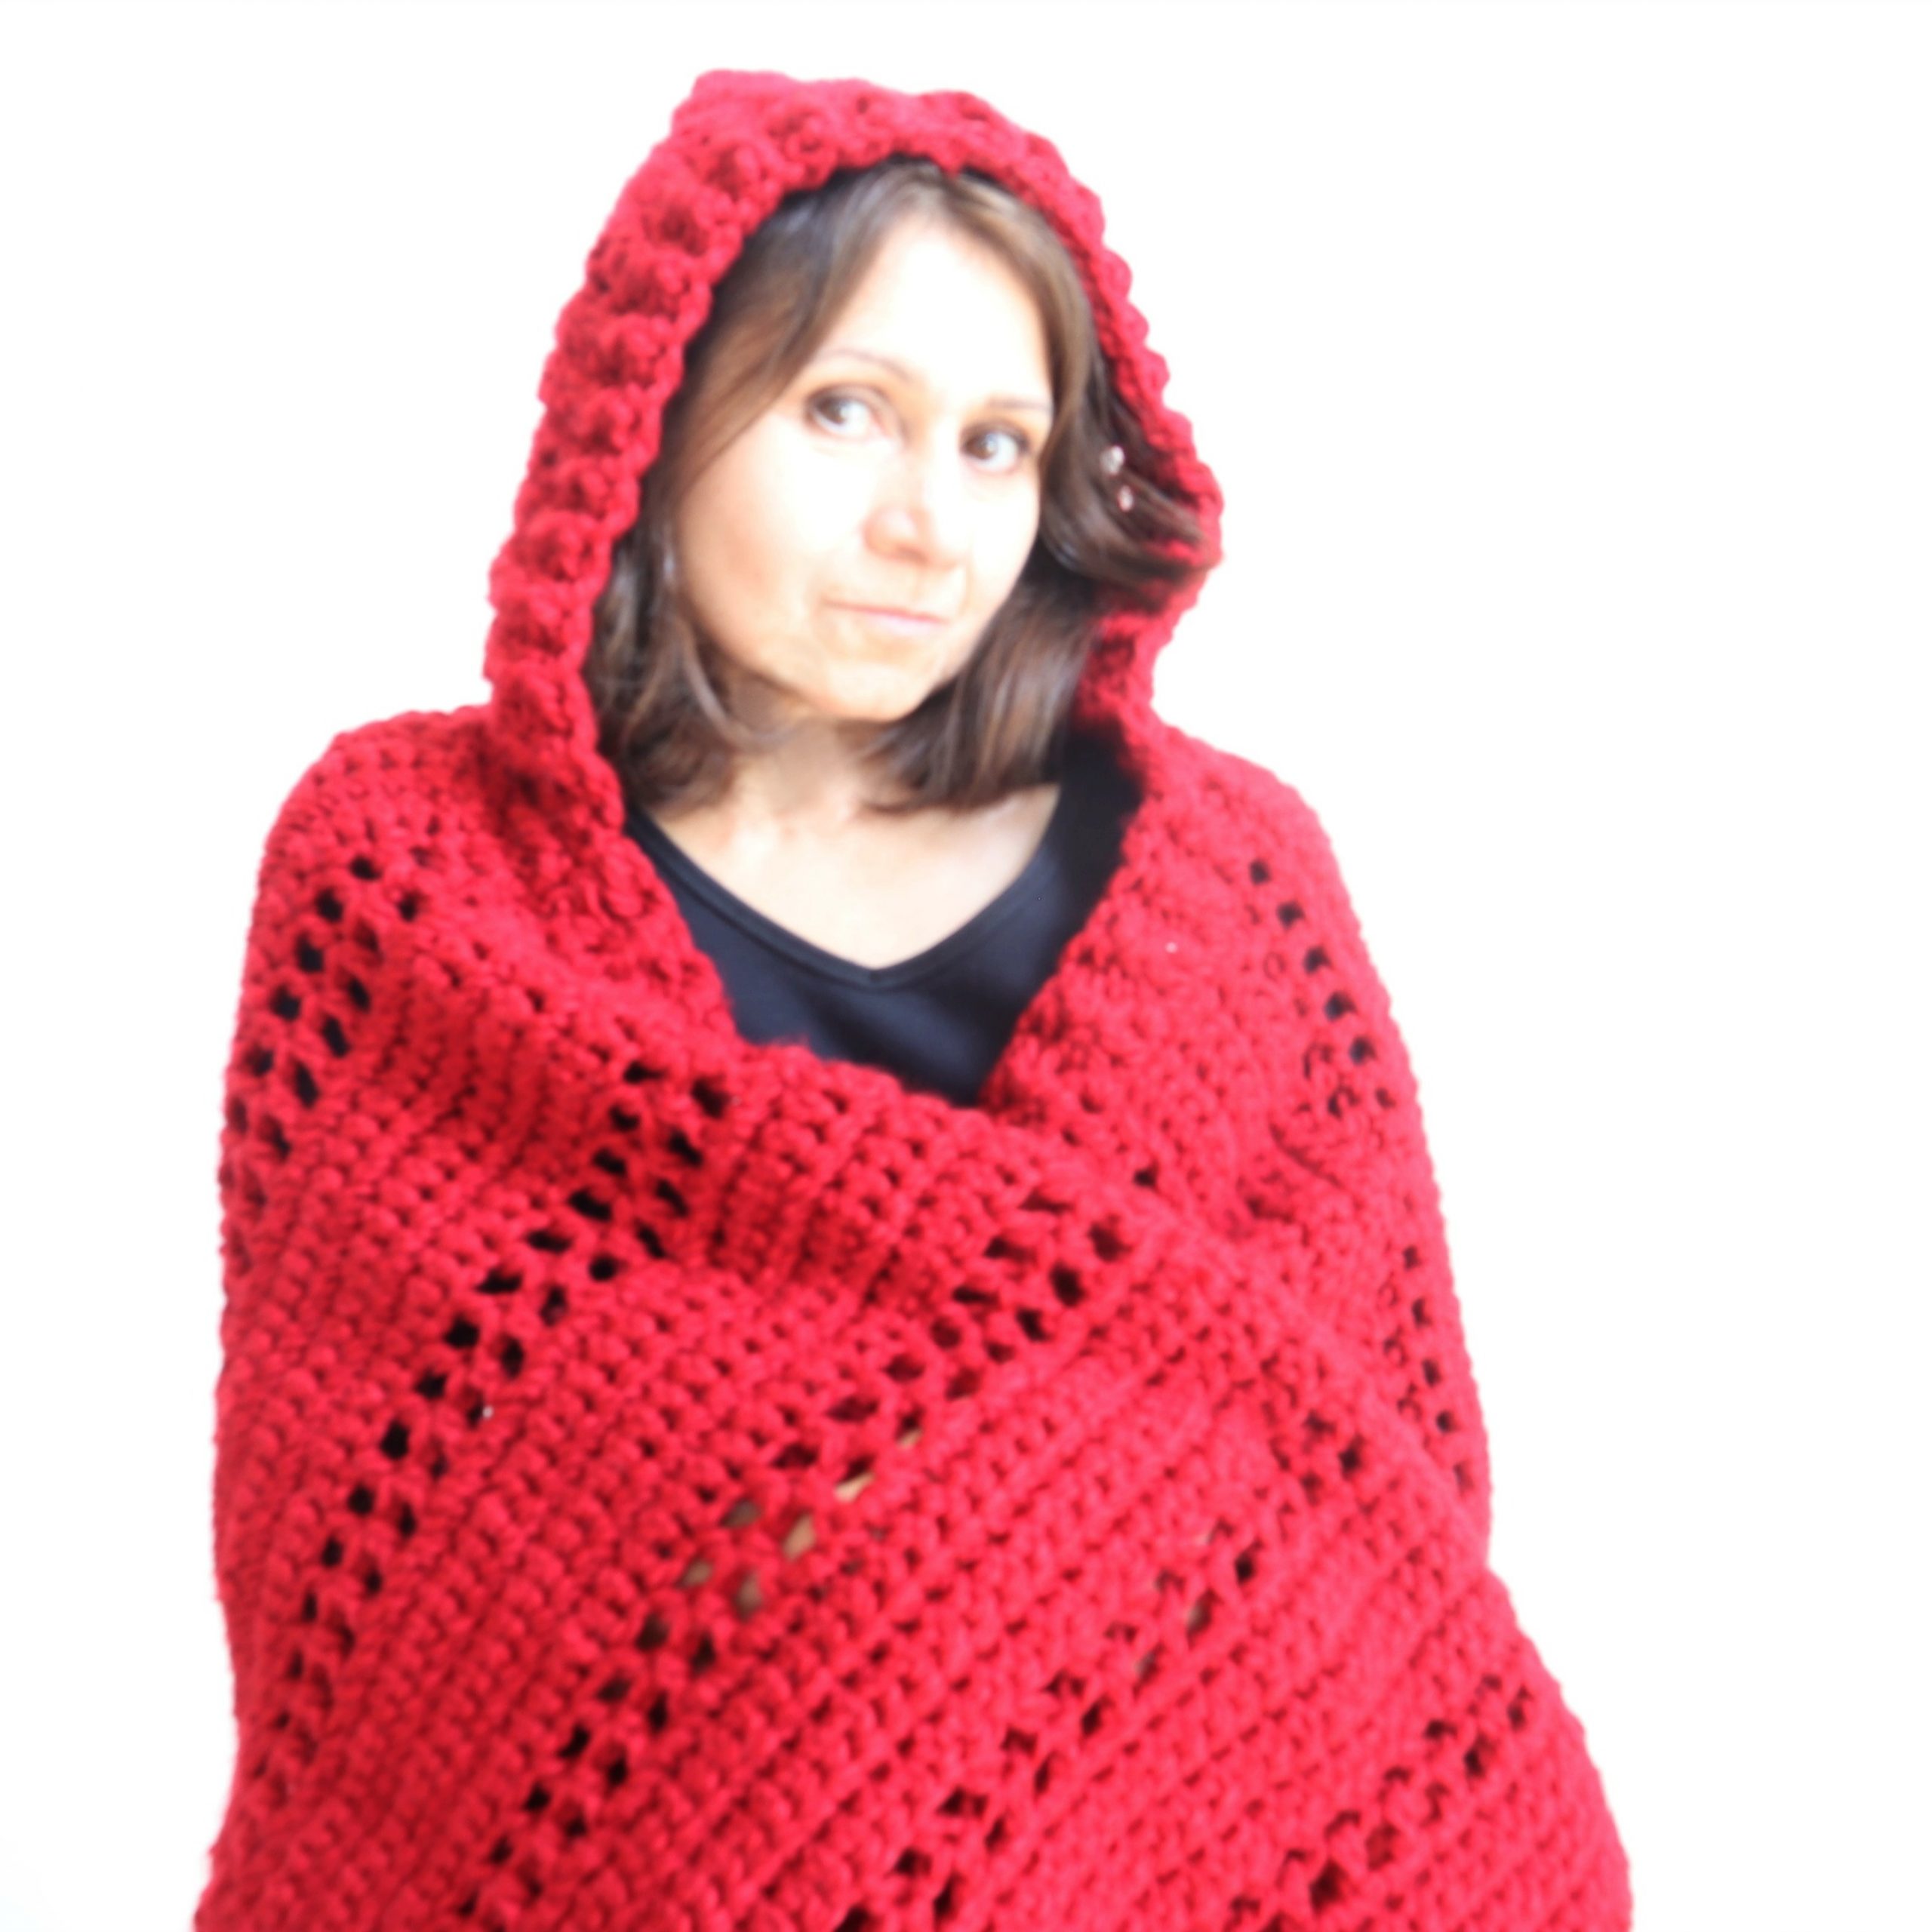
Crochet pocket shawls have been all the rage for a couple of years now and any designer worth their weight in yarn has done their own version. So why would I bother to make yet another one? My previous two (yes, two) versions were made with bulky yarn. This one uses medium-weight yarn. The end result is actually quite lightweight and perfect as a little cover up on cool summer nights. All three designs are vastly different from each other. I’ll leave photos and links of the other pocket shawls below. Scroll waaaaay down after the pattern instructions.
As always (or usually) I have worked up a VIDEO TUTORIAL to accompany the written pattern for my latest crochet pocket shawl. Please be kind (rewind….wow…who remembers what that was about?? Comment below if you do) and support my work by subscribing. I’m trying to reach my goal of 100,000 subscribers. Wouldn’t you love to know you helped? Cool! Click the video to head to YouTube so you can watch all the way through (or at least the first several minutes), subscribe, comment and click the thumbs up. That’s not asking too much is it? I guess when you see it all written out it sounds like a lot. Please know that I appreciate your support SO MUCH!
The printable version is available at my Etsy shop: CrazyCoolCrochetUS.etsy.com
Photos to be added soon. In the meantime please watch the video for additional instruction.
This post contains affiliate links which means I may earn a small commission for purchases made from these links at no extra cost to you.
NOTE: The row count for Row 4 was revised from 150 to 105 for size small. Larger sizes were also revised. The number 105 was previously transposed to 150. The row count now is correct. HUGE APOLOGIES!!
Size Small
For larger sizes (width):
Small – starting chain of 56 chains
Medium – starting chain of 65
Large/Extra Large – starting chain of 74
1X – 2X – starting chain of 83
3X – starting chain of 92
OR use multiple of 9 + 2.
For extra length add more rows ending on the right side of the work.
Suggested:
Medium – stay with size small length
Large – XL – add 6 additional rows
1X – 2X – add 12 additional rows
3X – add 18 additional rows
OR adjust to your preferred length. Each additional 6 rows = 3.25 inches
Materials:
Yarn used:
Red Heart Super Saver Ombre; #4, medium weight / Color Anemone/ 15 ounces / approximately 723 yards

Crochet hook H / 5 mm
Yarn Needle
Measuring tape
Scissors
Dimensions:
15 inches wide (includes border)
62 inches long (includes border)
Gauge:
12 DC = 4 inches (counting individual dc’s; not the 2dc cluster)
7 rows = 4 inches
Abbreviations:
Dc = double crochet
Sl = slip stitch
st = stitch
Sc = single crochet
Ch = chain
Sp= space
NOTE: Photos appear above corresponding rows.
MAIN PANEL
Sizes are Small (Med, L/XL, 1X/2X, 3X)
Ch 56 (65, 74, 83, 92)
Row 1: DC in 3rd ch from the hook (do not count the loop on the hook); *sk the next ch; 1 dc in ea of the next 2 ch’s*. Repeat from * to * to the last 2 ch’s. Sk the next ch; dc into the last ch. Ch 3. Turn
Row 2: DC into the very first sp; *work 2 dc’s into the sp between the next 2 dc’s below*. Repeat from * to * to he last “large” sp at end of row. Dc into the sp before the turning ch; dc into the turning ch. Ch 3. Turn
Row 3: Work 2 dc’s in the 1st “large” sp and in ea sp between the 2 dc’s below, to the last “large” sp at the end of the row. Work 2 dc’s in that last sp. Enter a dc into the sp before the turning ch; dc into the turning ch. Ch 3. Turn
NOTE: The row count here was revised from 150 to 105 for size small. Larger sizes were also revised. The number 105 was transposed to 150. The row count now is correct. HUGE APOLOGIES!! Rows 4 – 105 (105, 111, 117, 123): Repeat Row 3 ending on the right side of the panel. Ch1. Do NOT cut off yarn.
BORDER
Row 1: Working loosely, long edge, right side facing you, work 2 sc’s into 1st sp; *work 1 sc in next sp; work 2 sc’s in next sp*. Repeat from * to * to last sp. Work 3 sc’s in last sp to form a corner.
Working along the shorter edge, work 1 sc into ea sp. Work 3 sc’s into last sp to form a corner.
Continue working the border along the next long edge as for the 1st long edge. Continue working the border along the next shorter edge as for the 1st shorter edge. At end of last row of the border ch 1. Turn
Row 2: Work 1 sc into ea sp. At end of this row, sl st into the 1st st to close the row. Ch 1. Turn
Row 3: Work 1 sc into ea sp. At end of this row, sl st into the 1st st to close the row. Cut off yarn.
NOTE: the video tutorial shows 1 sc in 1st sp. That was an error that does not affect the outcome.
NOTE 2: if your corners are curling up too much, you may enter 4 sc’s to form the corners.
POCKET (make 2)
Ch 29
Follow the pattern as for the main panel working for 11 total rows.
ATTACH POCKETS TO PANEL
With right side of panel facing up and right side of pocket facing up, position pocket about 1.5 inches from the bottom and evenly positioned from both edges.
Using a yarn needle and length of yarn, attach using a whip stitch, beginning at top left of pocket and stitching down the left edge of pocket, along the bottom and up the right edge of pocket. Tie off yarn.
Weave in ends.
Enjoy!
Copyright © 2021 Sylvia Talo You may sell items made from my patterns. Please include a link or reference to my website CrazyCoolCrochet.com and/or to my Etsy shop CrazyCoolCrochetUS.etsy.com . Pattern and photos are copyright protected; they may not be reproduced, redistributed, or displayed publicly in any way.
Click on photo to view the free crochet pattern for my other pocket shawls:
You May Also Like


Can’t thank you enough for printing the different sizes for the pocket shawl. I had made 2 shawls as gifts, but both parties said the shawl was too big for them. I didn’t think about their height and build. so, now I can make them in all sizes!! Thank you so much!!
Hi Darlene,
I’m so happy my pattern was helpful for you! Thank you for letting me know.
Sylvia
CrazyCoolCrochet.com
I didn’t see that you had revised the sizes[ the length] of the shawl until I had made 4 of them- transposing the 150 back to 105. May I suggest that you put this at the top of your design directions. I took off the border and one pocket to shorten one of the shawls- my friend is only 5 ft even. The third shawl: I asked my friend to measure her arm lengths and the space between her shoulders. She is only 4’11, but rather broad and busty, so I made it to fit about 55″ all total. Not too much trouble. I love this pattern- I did add a fancy picot stitch to the top of the pockets on one of the shawls. And I love your video tutorial! So, Thank you again!
Hi Darlene,
I cannot tell you how sorry I am for the HUGE mistake! I’ve had so many people they made multiple of this pattern and nobody every mentioned it was too long. I’m glad it still worked out for them. Or possibly they adjusted the length on their own?
I’m 4’11” so the example shown on me is with the 105 rows.
I’m so glad you were able to work it out despite my blunder!
I will absolutely take your advice and explain the mistake at the top of the pattern! Thank you for the suggestion.
Sylvia
CrazyCoolCrochet.com
I use Premier Basix yarns. They start out soft and do not lose that softness. They wash like a dream and are very affordable–speaking from my position as an old person on Social Security. They have some beautiful ombres too.
Hi Jean,
Thank you so much for that tip. I will be on the look out for that brand! I have had such a terrible time finding ombre, true ombre, yarns.
I’m on a tight budget myself, so this is so good to know!
Best,
Sylvia
CrazyCoolCrochet.com
[…] wearable for the Fall season! It is trendy and FUN! If you have enjoyed making, wearing and gifting crochet pocket shawls, you will love this pocket scarf as well. Maybe even […]
I have found that the best yarn for my use comes from Premier Yarns out of North Carolina. It is soft to start, wears well and is a joy to use, whether for knitting or crocheting
Thank you so much for that suggestion! Good to know.
Sylvia