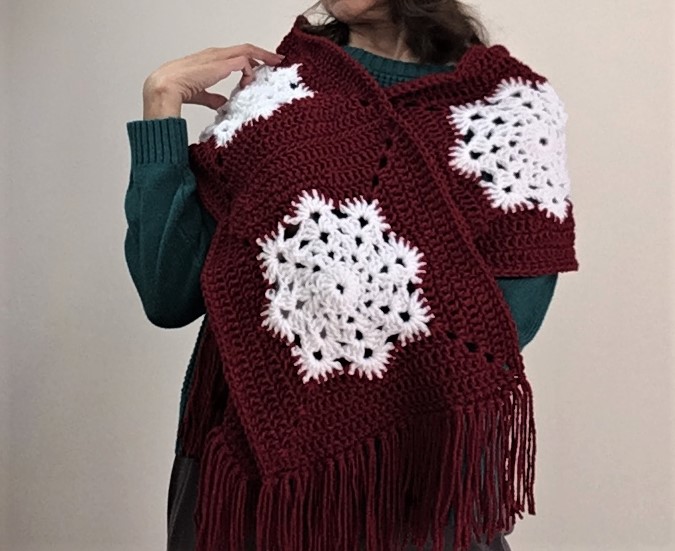
The FREE CROCHET PATTERN and VIDEO tutorial for this cool crochet snowflake scarf, featuring the super popular crochet Christmas snowflake design, is shown below.
Follow along with the video to find a matching crochet snowflake hat. The crochet snowflake scarf and hat set makes a beautiful holiday gift.

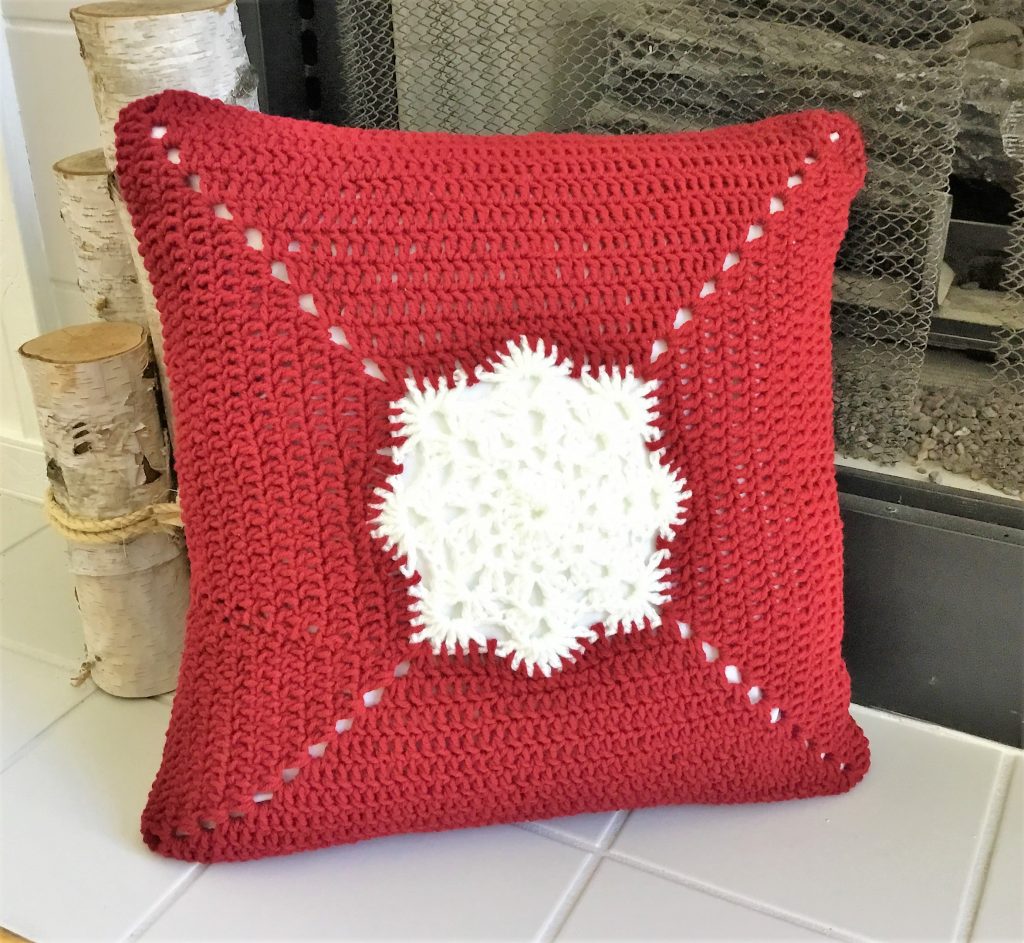
Also, featuring this snowflake design is my crochet snowflake pillow:
Please check out my Etsy shop for much more: CrazyCoolCrochetUS
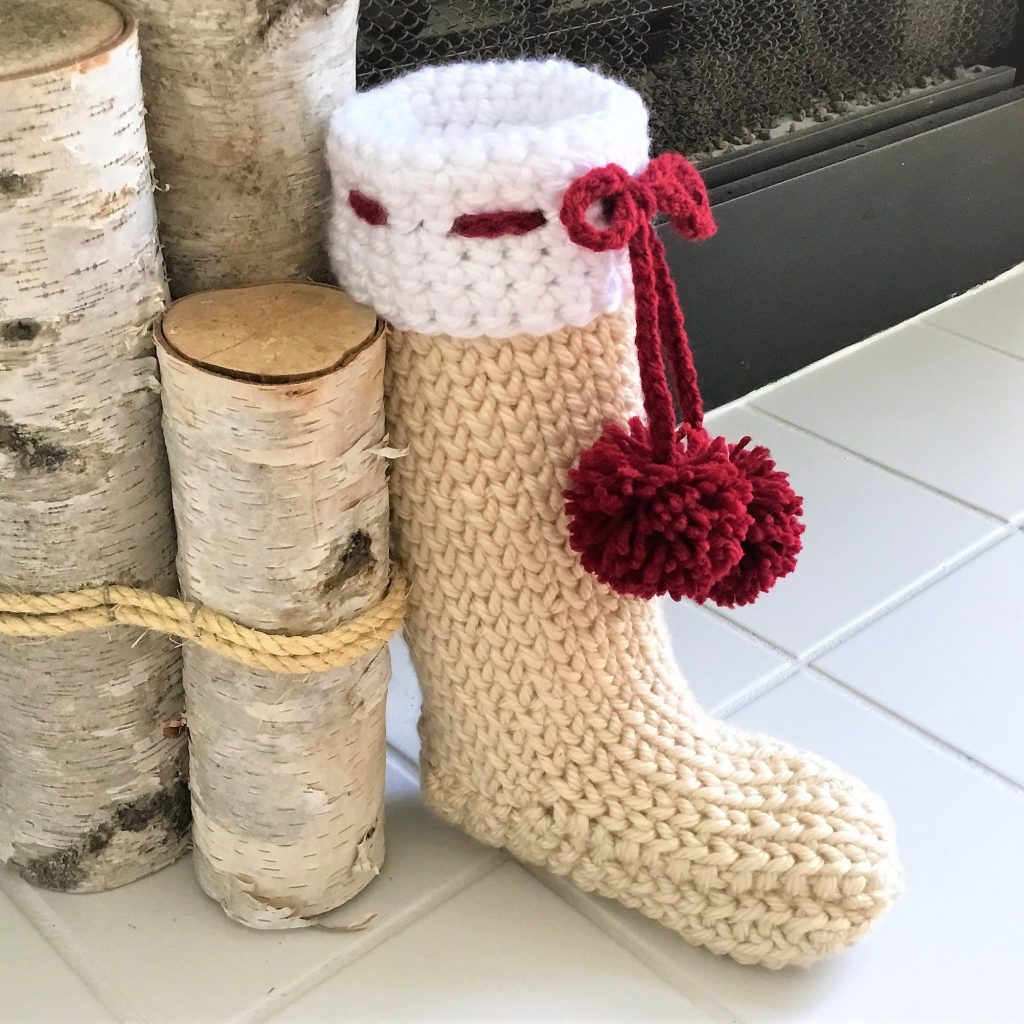
Scroll down to the bottom of the post to see my Crochet Farmhouse Style Christmas Stocking “As Seen in Country Living magazine”.

Crochet Snowflake Scarf measures 50 inches long (not including fringe).
To make a longer scarf, work additional 10 inch squares.
This post contains affiliate links. If you make a purchase through these links I may receive a small commission at no additional cost to you.
Materials:
Yarn: #4/ 3 ounces/Brand used here: Hobby Lobby I Love This Yarn acrylic/Super Soft/color Cranberry
#4/ 1 ounce Hobby Lobby I Love This Yarn/ color White

Crochet hook size G/4.25mm
Yarn needle
Gauge: 3 dc = 1”
SNOWFLAKE SQUARES (make 5)
With white yarn, ch 6; join to form a ring.
Row 1: (right side) Ch 3 (counts as a dc on this and following Rows), 15 dc in ring; join in 3rd ch of beg ch-3 – 16 dc.
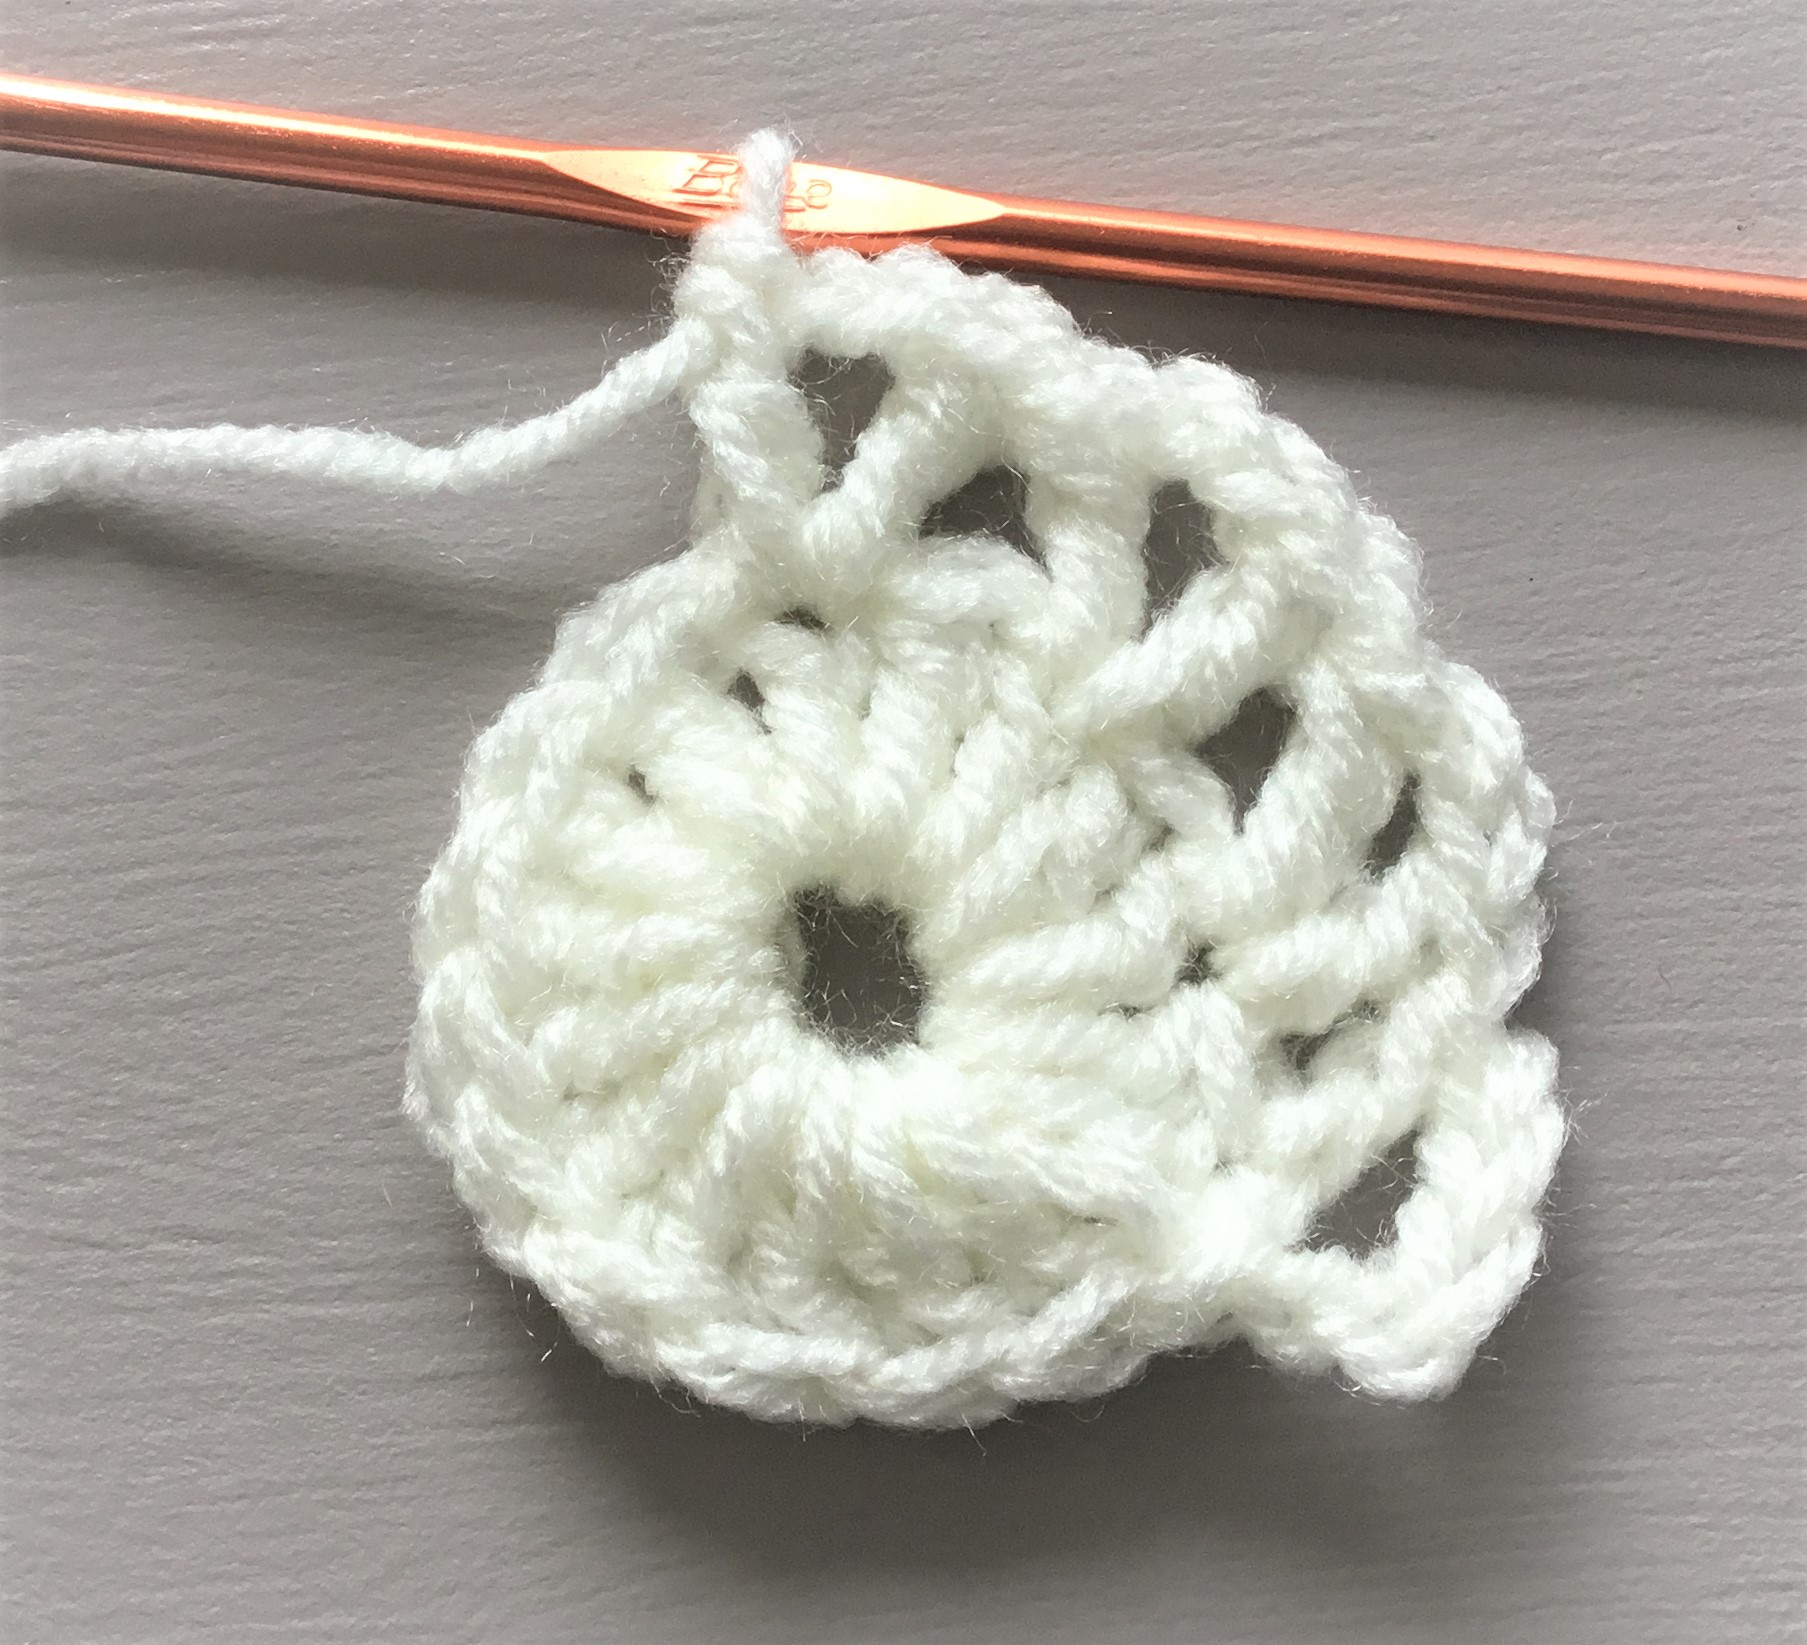
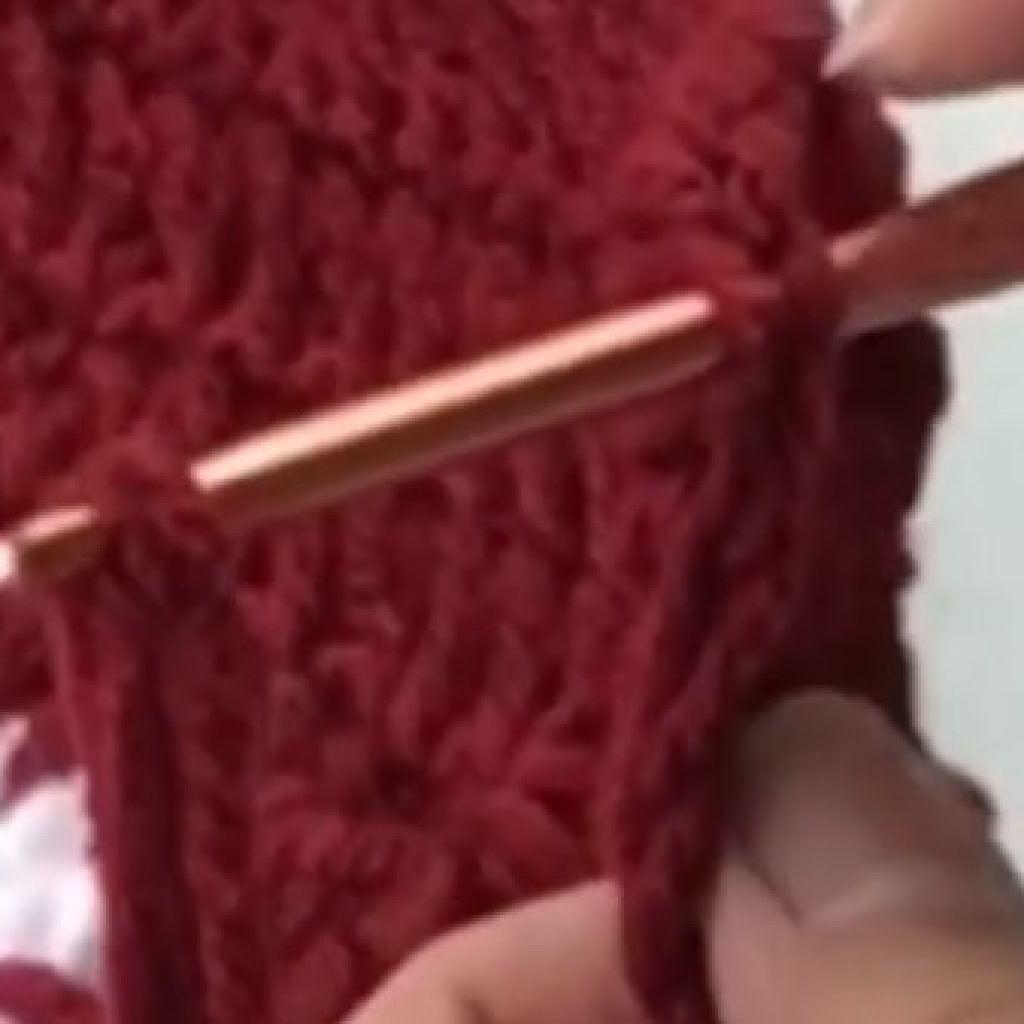
Row 2: (photo above) Ch 5 (counts as a dc and a ch-2 sp), dc in same ch; sk next dc; *in next dc work (dc, ch 2, dc); sk next dc; rep from * 6 times more; join in 3rd ch of beg ch-5 – 8 ch- sps.
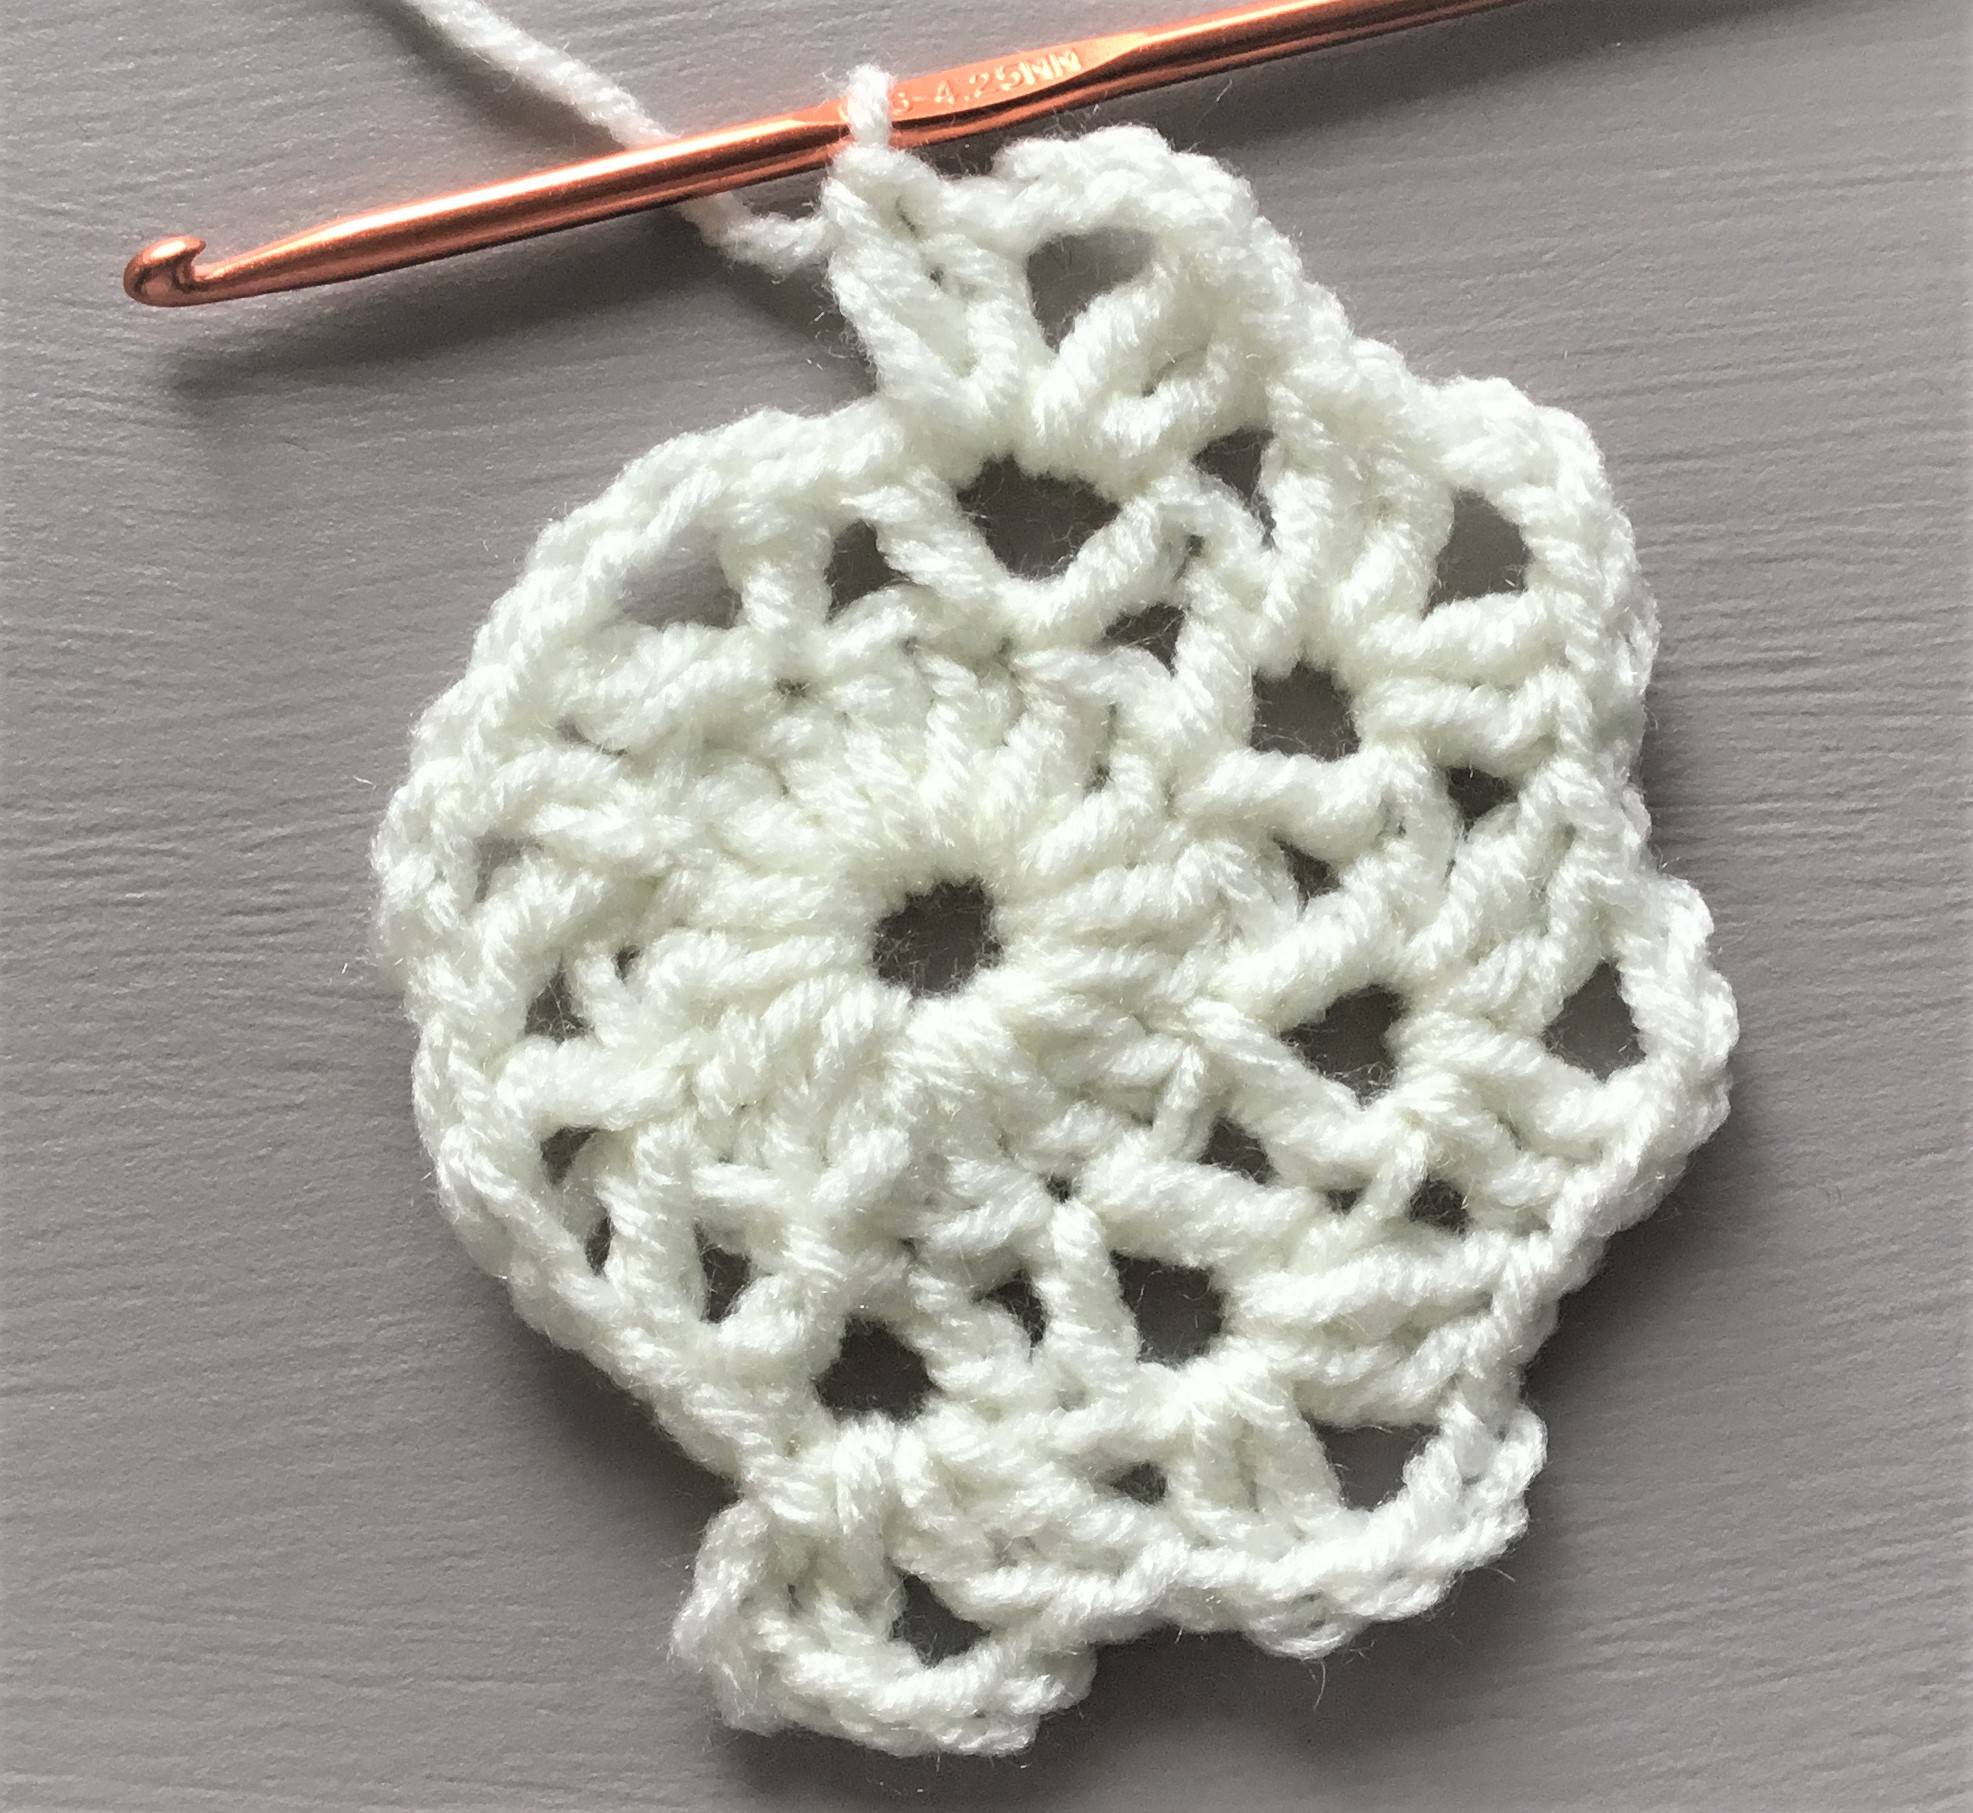
Row 3: Sl st in next ch-2 sp, ch 3, in same sp work (dc, ch 3, 2 dc); in rem ch-2 sp work (2 dc, ch 3, 2 dc); join in 3rd ch of beg ch-3 – 8 ch-3 sps.

Row 4: Sl st in next dc and in next ch-3 sp, ch 3, in same sp work (2 dc, ch 3, 3 dc); in each rem ch-3 sp work (3 dc, ch 3, 3 dc); join in 3rd ch of beg ch-3.
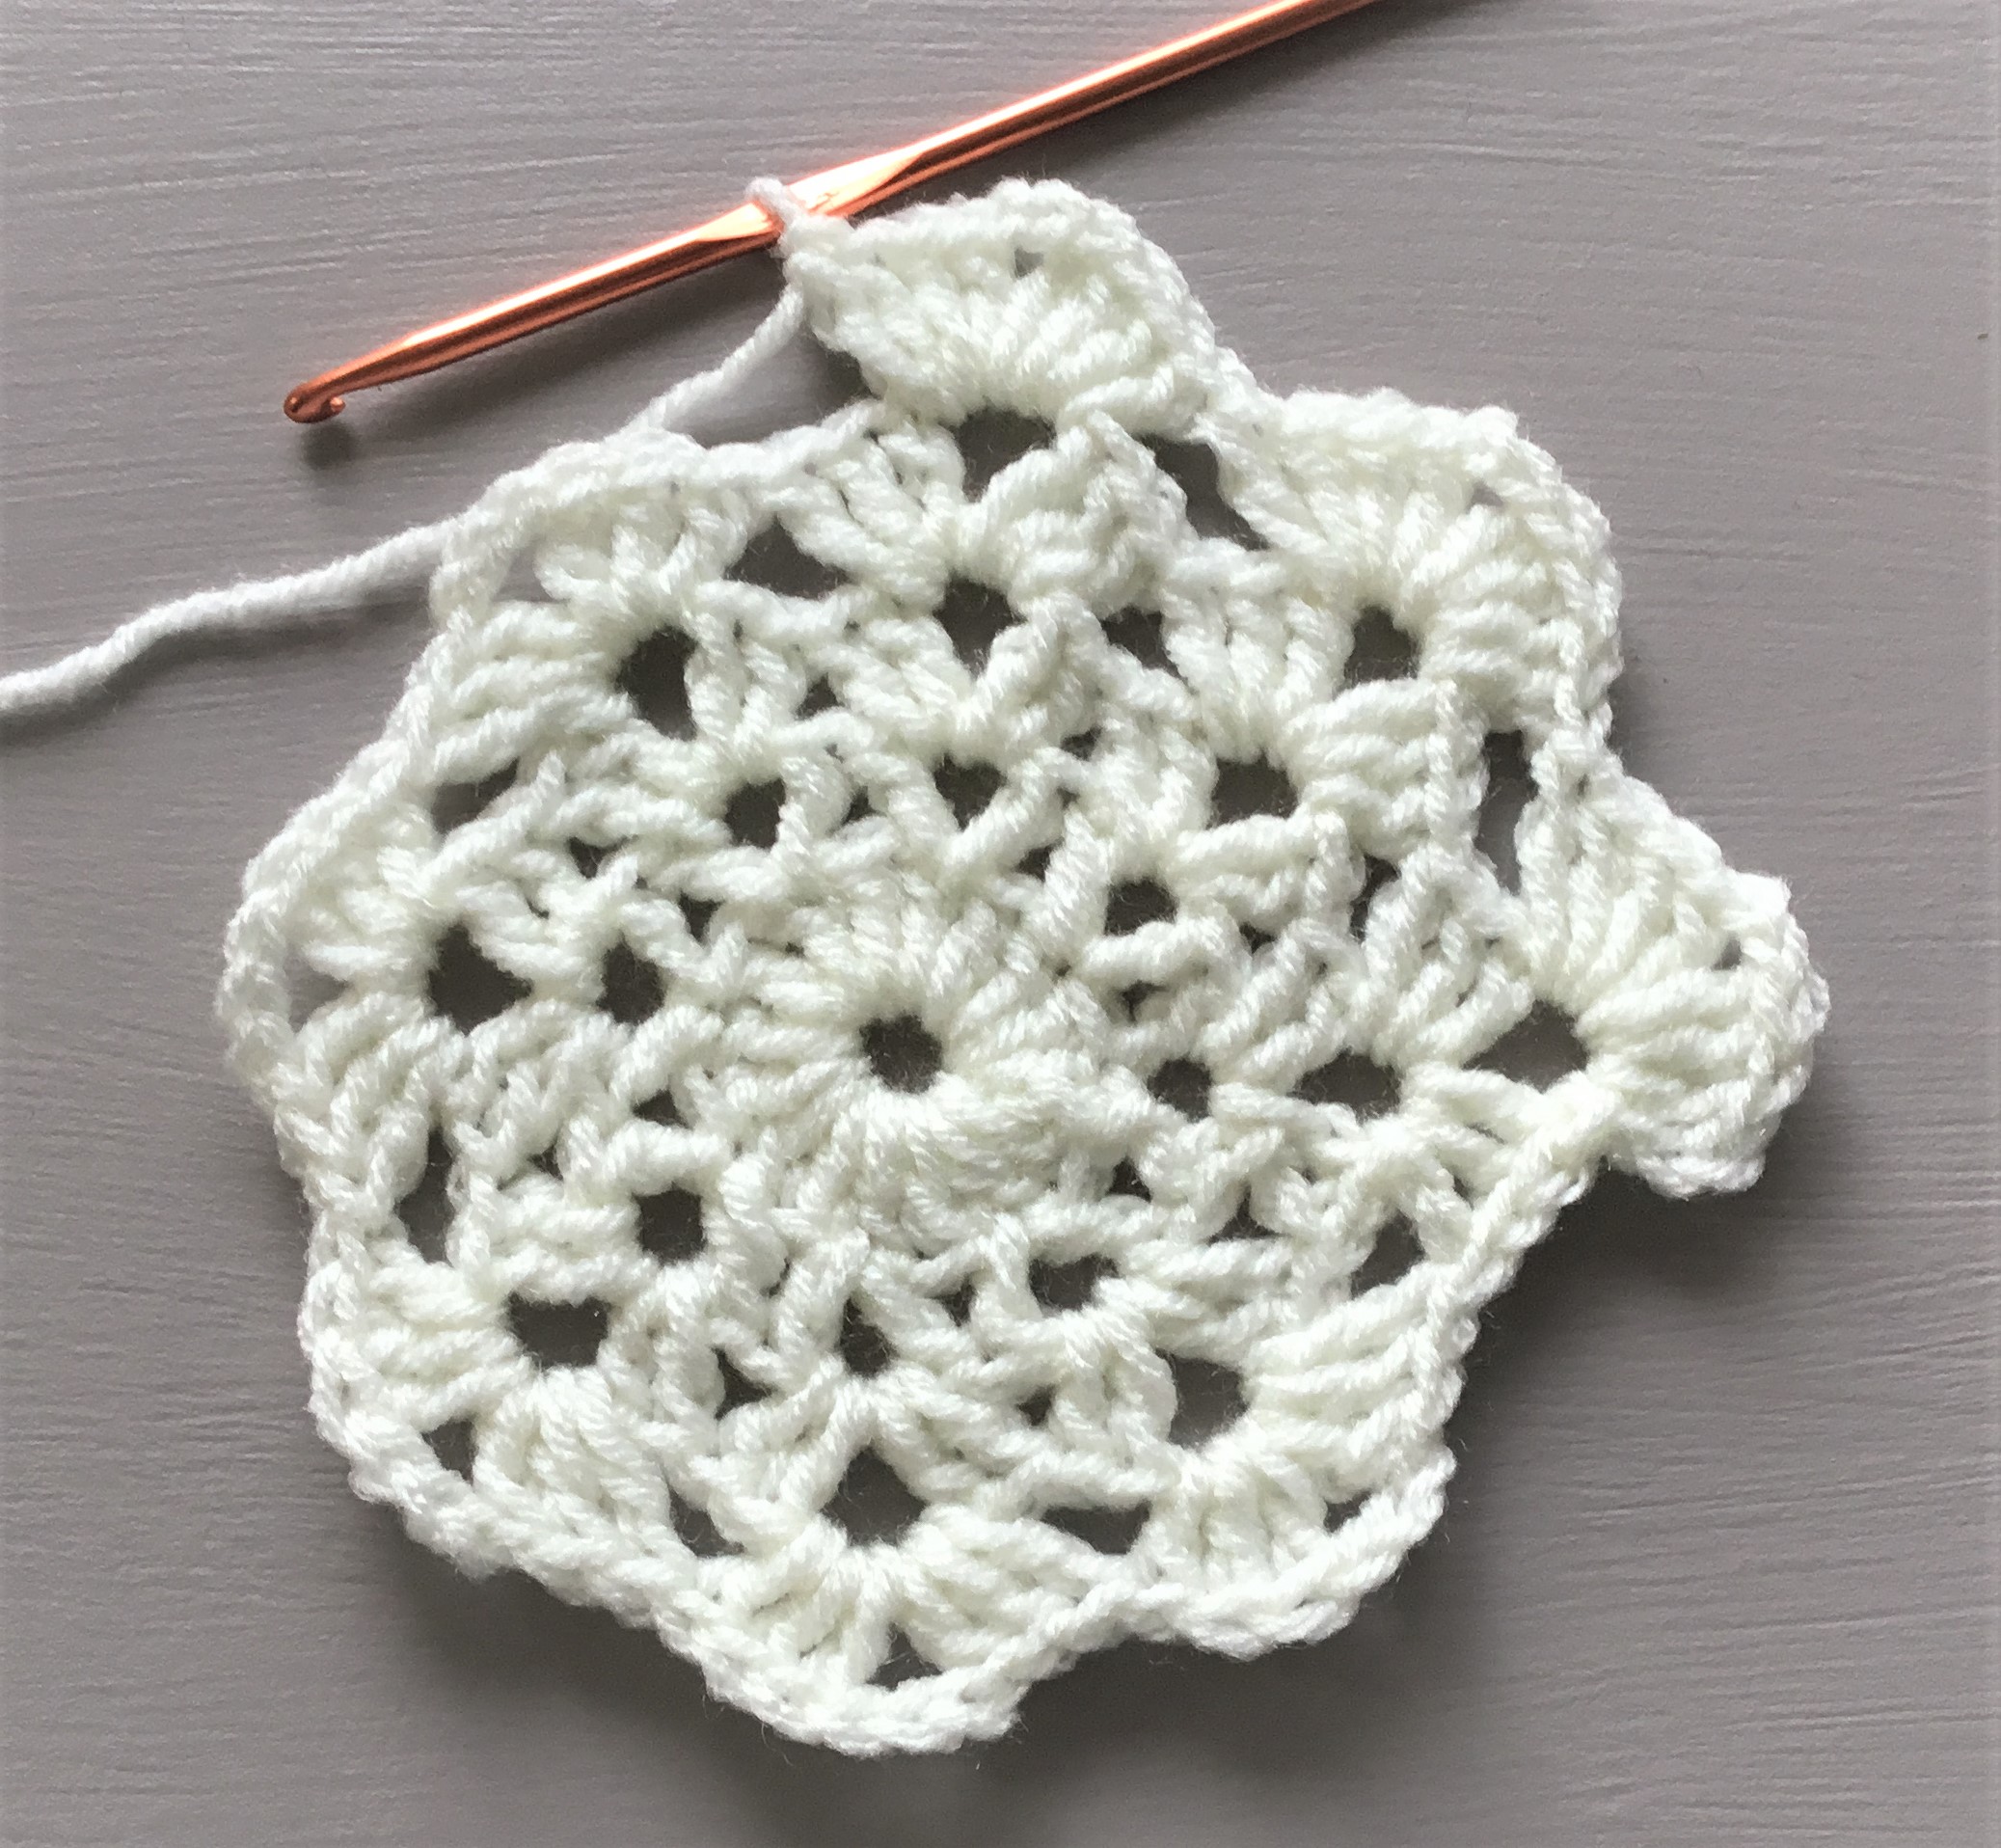
Row 5: Sl st in next 2 dc and in next ch-3 sp, ch 3, in same sp work(3 dc, ch 2, 4 dc); in each rem ch-3 sp work (4 dc, ch 2, 4 dc); join in 3rd ch of beg ch-3 – 8 ch-2 sps. Tie off.
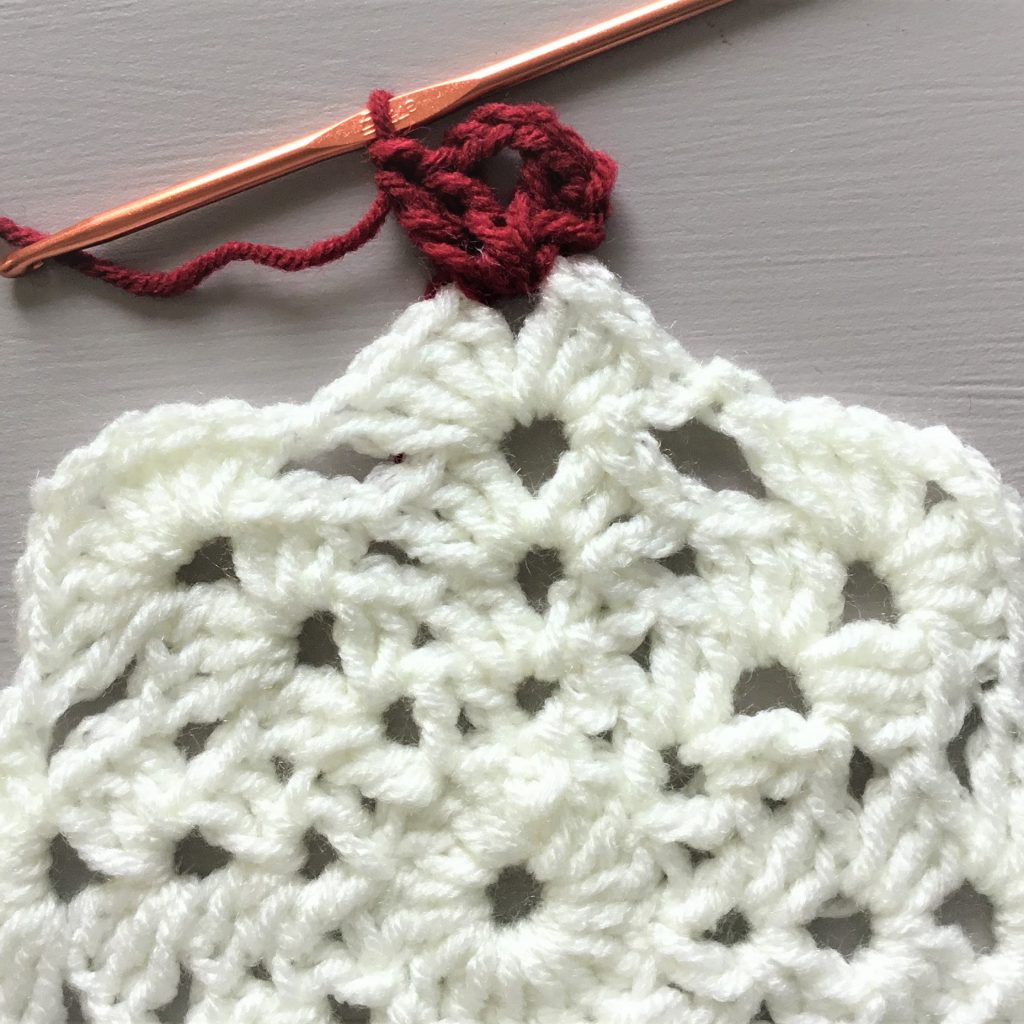
Row 6: Join red yarn with a sl st in any ch-2 sp; ch 3, in same sp work (dc, ch 3, 2 dc) – beg corner made; working in sps between dc, dc in next 5 sps, hdc in next sp, sc in next sp, sl st in next ch-2 sp; sc in next sp, hdc in next sp, dc in next 5 sps; * in next ch-2 sp work (2 dc, ch 3, 2 dc) – corner made; dc in next 5 sps, hdc in next sp, sc in next sp, sl st in next ch-2 sp; sc in next sp, hdc in next sp, dc in next 5 sps; repeat from * twice more; join in 3rd ch of beg ch-3.
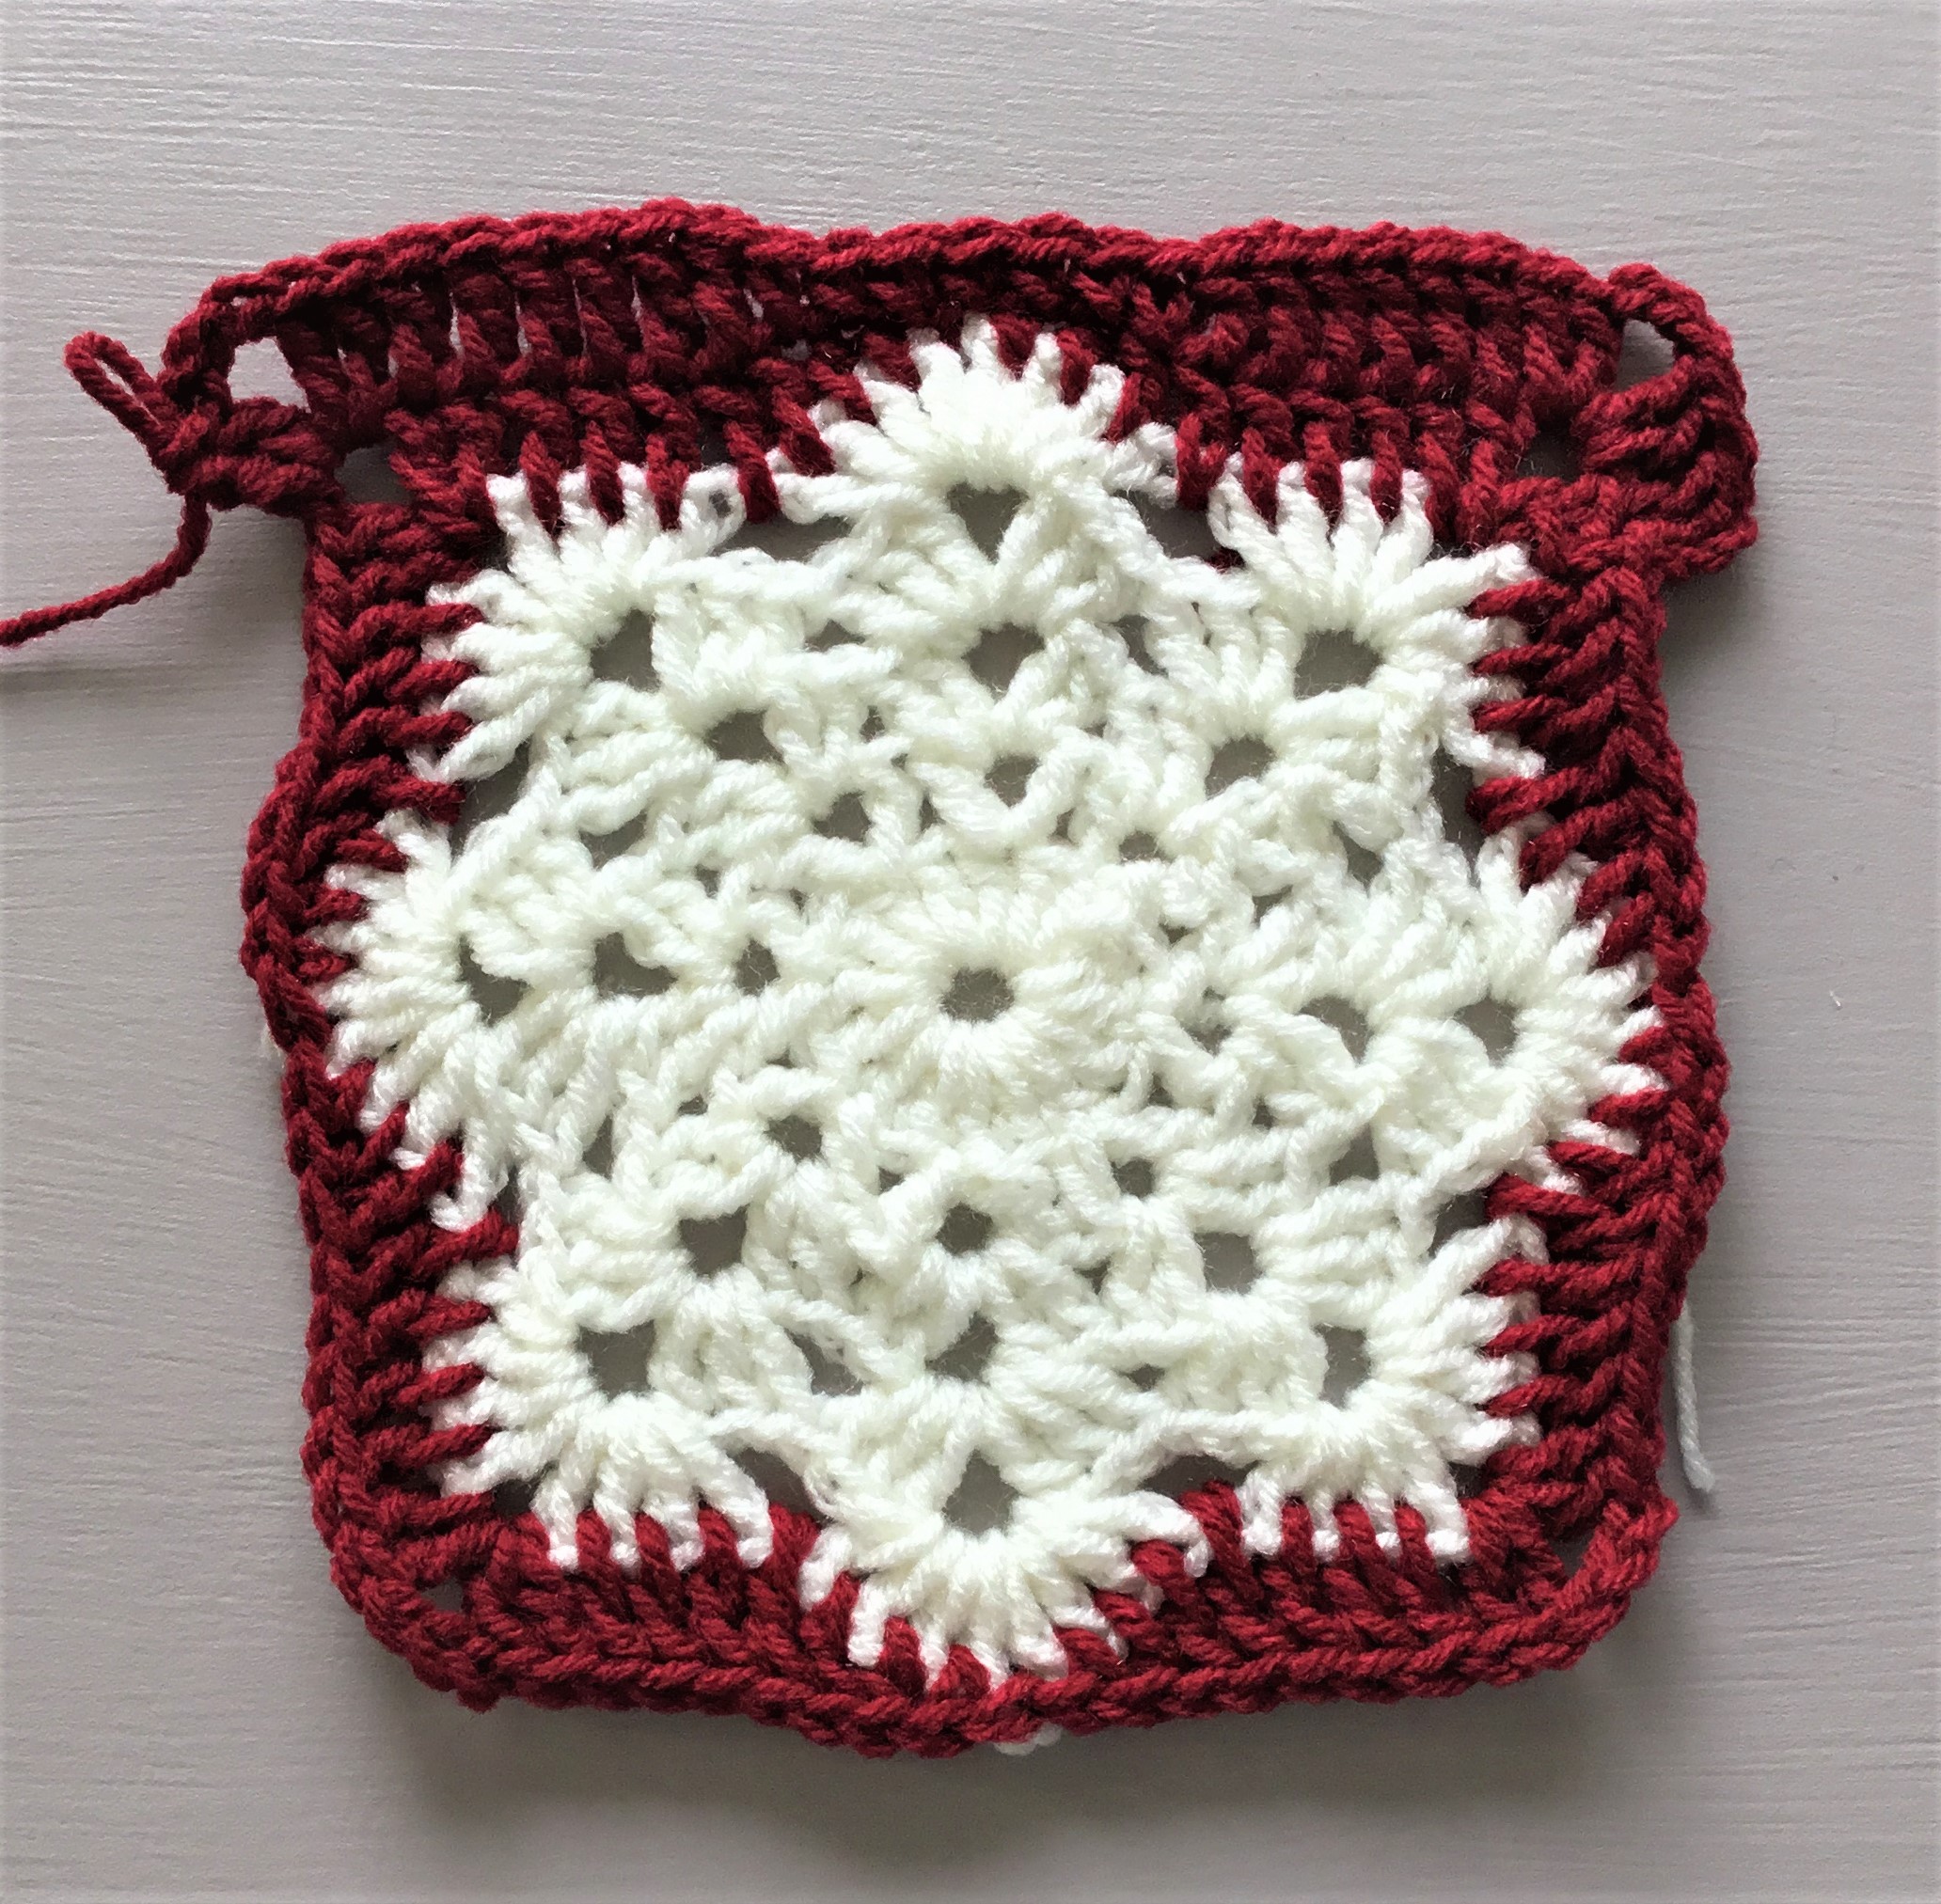
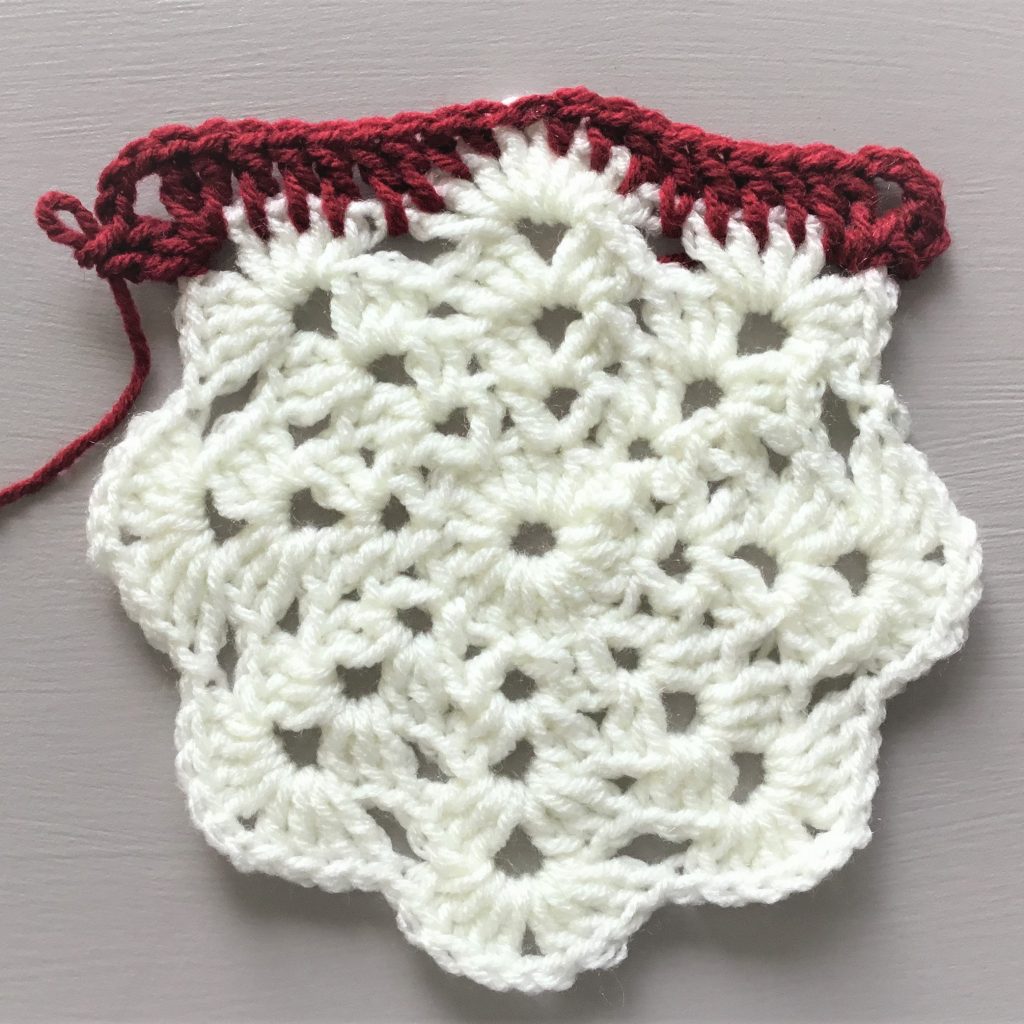
Row 7: Ch 3, dc in next dc, in next corner ch-3 sp work corner (2dc, ch3, 2dc); * dc in next 6 dc, sc in next 7 sts, dc in next 6 dc, in next corner ch-3 sp work corner; rep from * twice more; dc in next 6 dc, sc in next 7 sts, dc in next 4 dc; join in 3rd ch of beg ch-3.
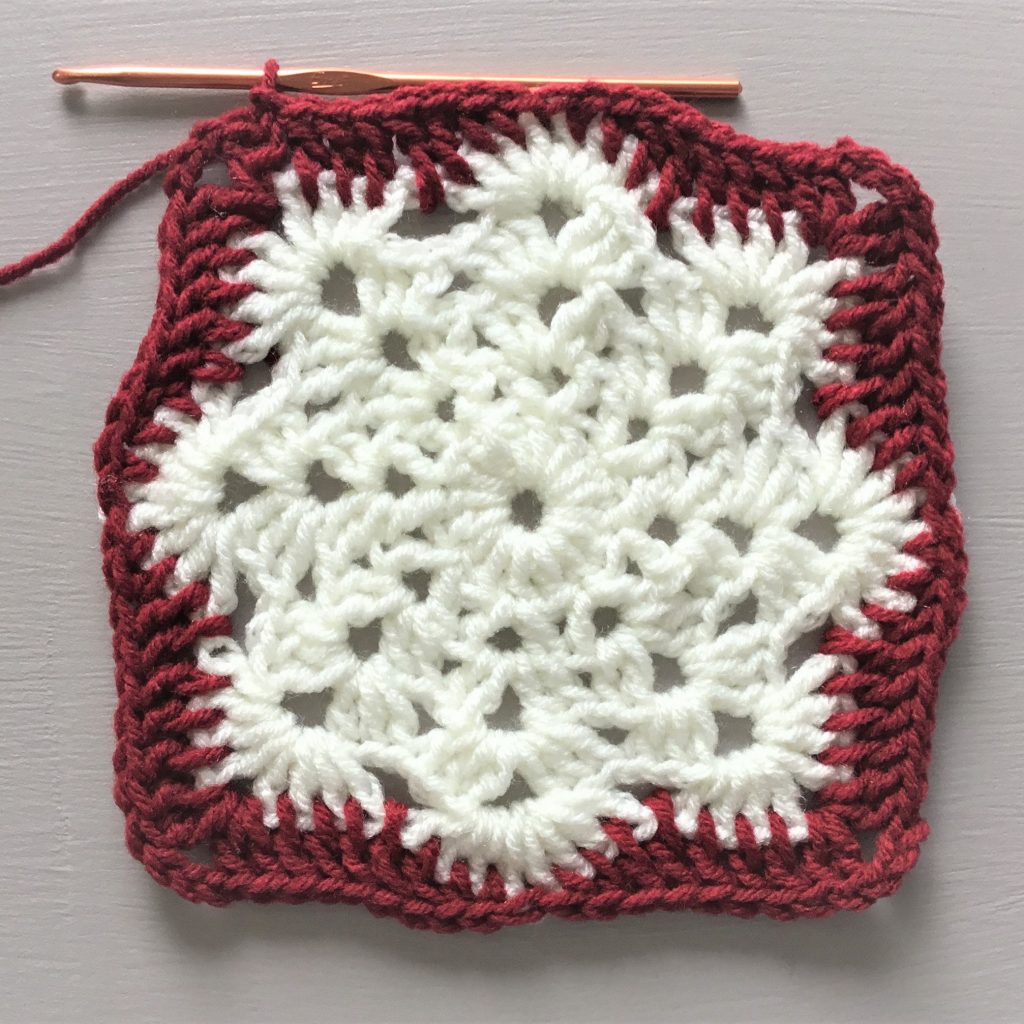
Row 8: Ch 3, dc in next 3 dc, work corner, dc in next 23, work corner, repeat twice more, 19 dc. Join with sl st.
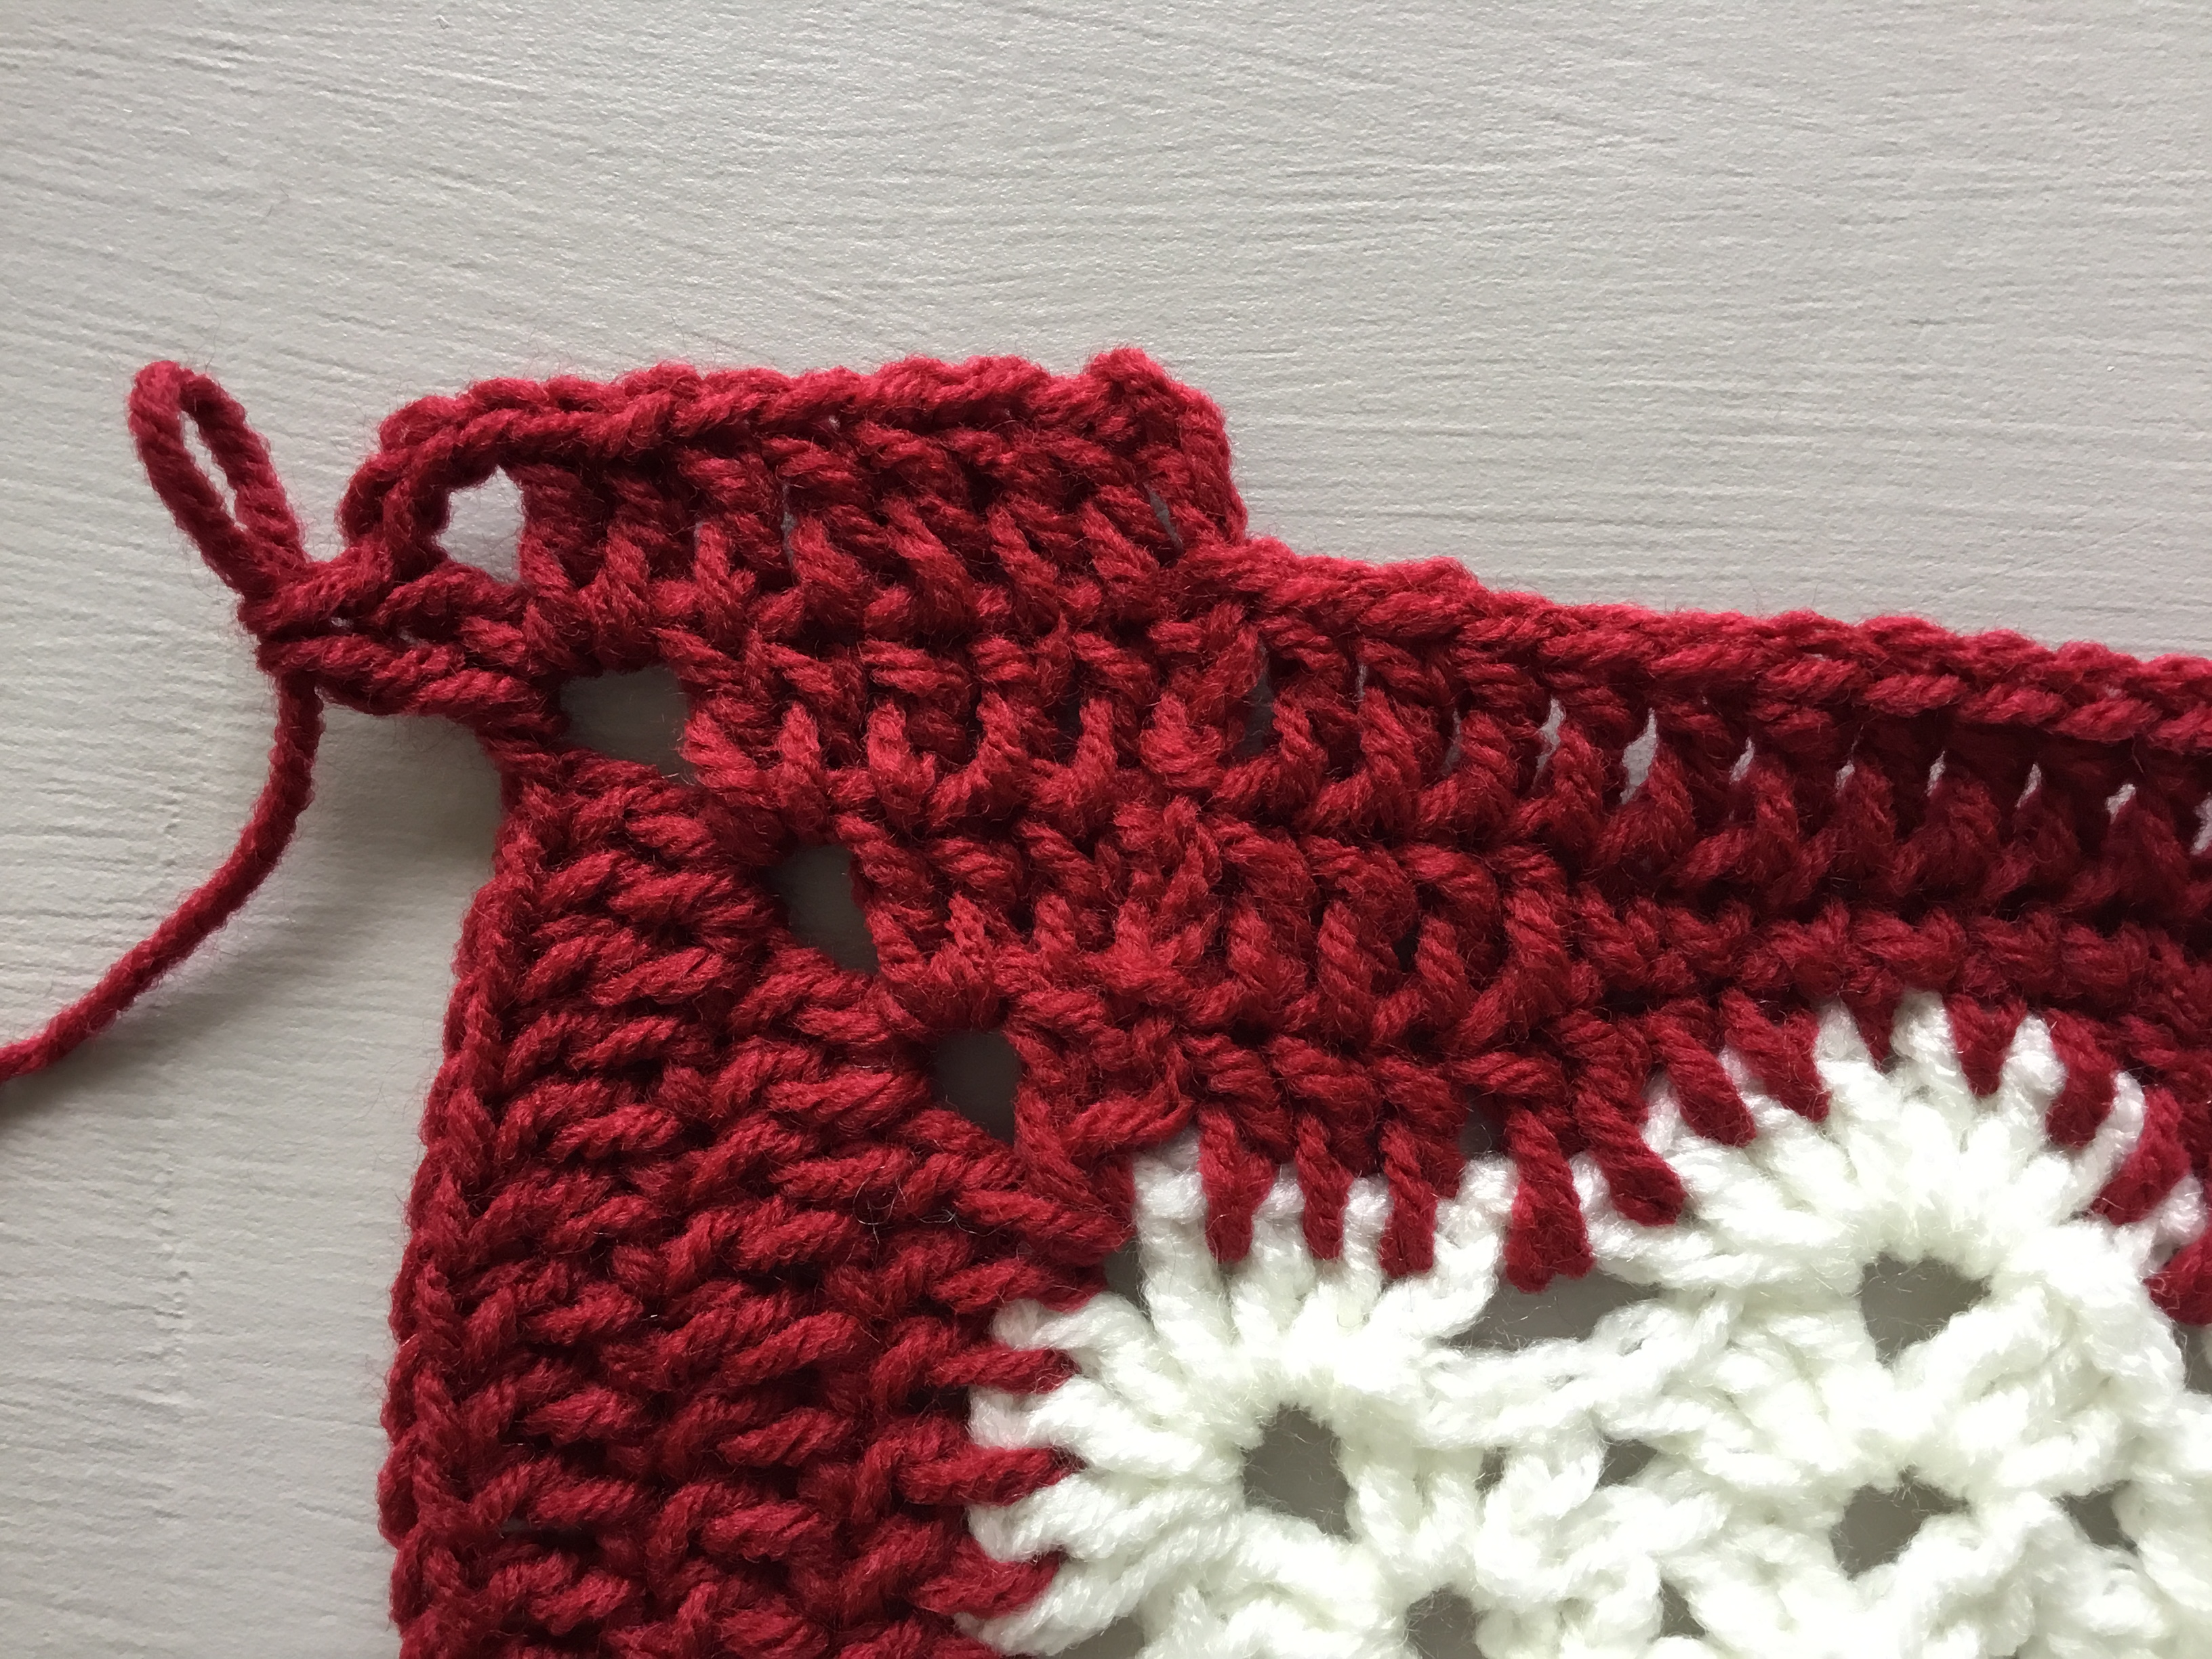
Row 9: Ch 3, dc in next 5 dc, work corner, dc in next 27, work corner, repeat twice more, 21 dc. Join with sl st. Tie off.
JOIN SQUARES:
Place two squares side by side, right side up. Using yarn needle and length of cranberry yarn, insert needle from underside in center chain of corner; pull yarn through leaving a 4 inch tail. Then insert the needle into corresponding center chain of corner of second square; pull yarn through. Continue in this manner using a whip stitch. Tug yarn gently as you go to secure. After joining last square tie off.
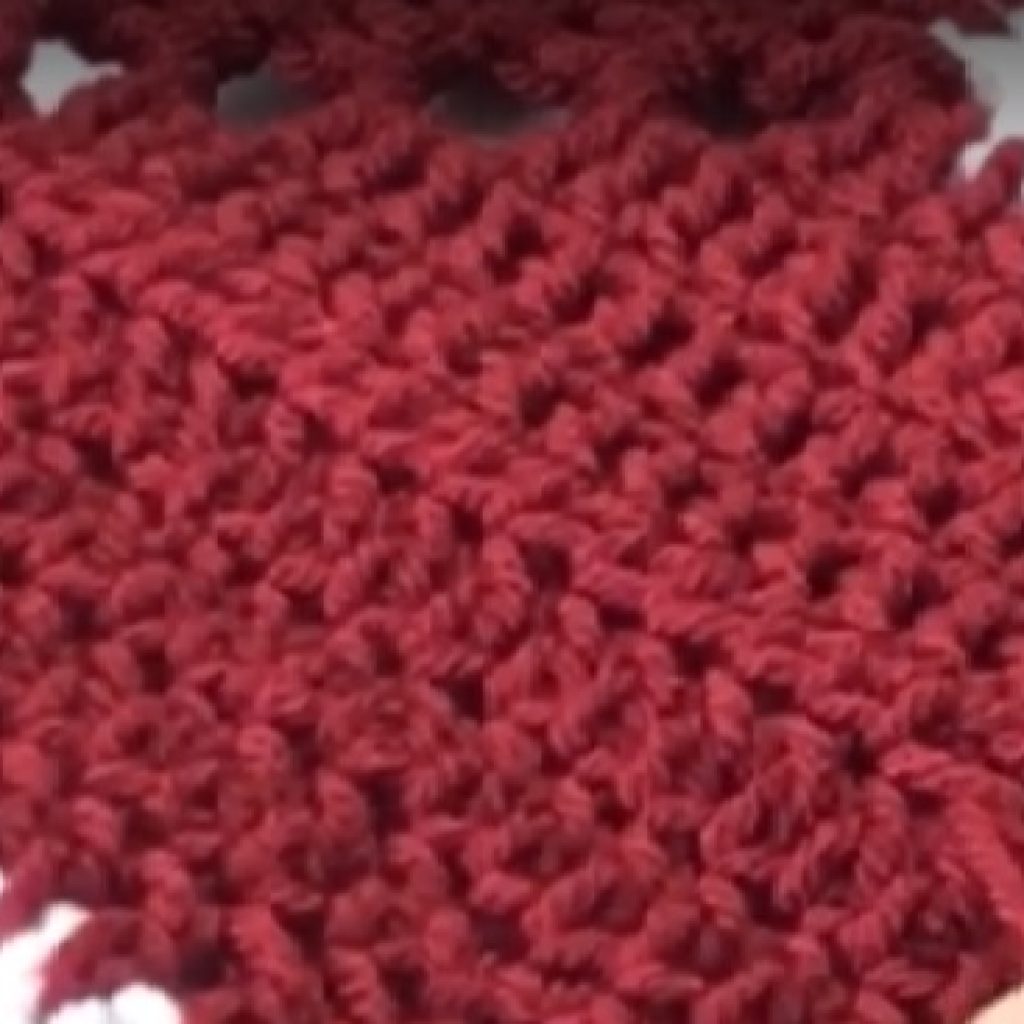
BORDER:
Using cranberry yarn, enter one row of sc’s along all four edges. At ea corner enter 3 sc’s. Tie off.
FRINGE:
Using any object to get approximately 11” lengths of yarn (I used a paperback book), wind yarn around aprox 30x. Cut along the bottom. Repeat as necessary to get enough lengths of yarn, using 2 per tassel.
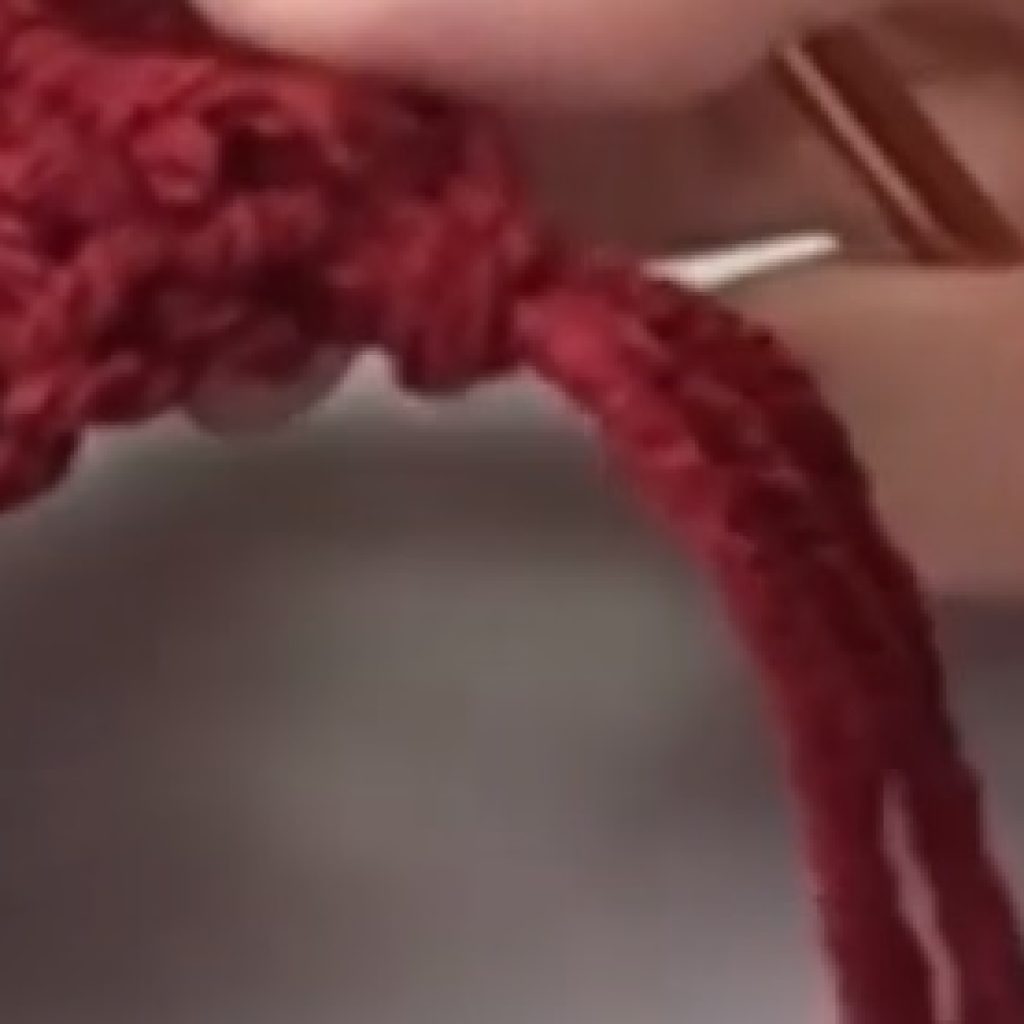
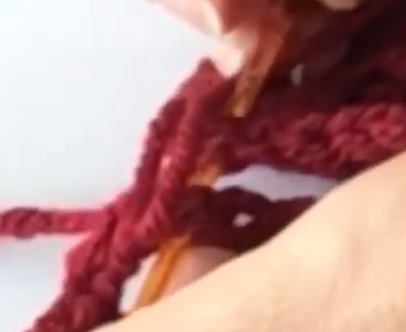
Insert hook in sp, grab 2 lengths of yarn on hook, pull through the space forming a loop large enough to pull the yarn through as shown below. With hook, pull the tail ends through loop. Tighten slightly at the knot. Repeat about at every space along the edge.
Copyright © 2019 Sylvia Talo You may sell items made from my patterns. Please include a link or reference to my shop CrazyCoolCrochetUS.etsy.com . Pattern is copyright protected; it should not be reproduced, redistributed, or displayed publicly in any way.
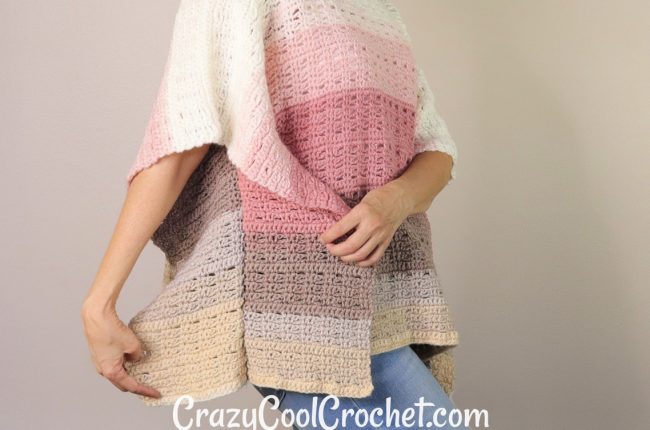
You May Also Like


Absolutely love this pattern! I chose a navy blue border around a sparkle white. Why did you use a ch 6 to begin rather than a magic circle? Truly just wondering if it is preference or sturdiness of stitch. Thanks 😊
Hello,
So sorry for the very late reply. Dealing with holidays then a health set back.
I used a foundation chain.
Sylvia