
FREE CROCHET PATTERNS. Be ON TREND with this crochet top with puff sleeves, or crochet bolero with balloon sleeves. This design is unique and gorgeous! The puff sleeves make this a true statement piece.
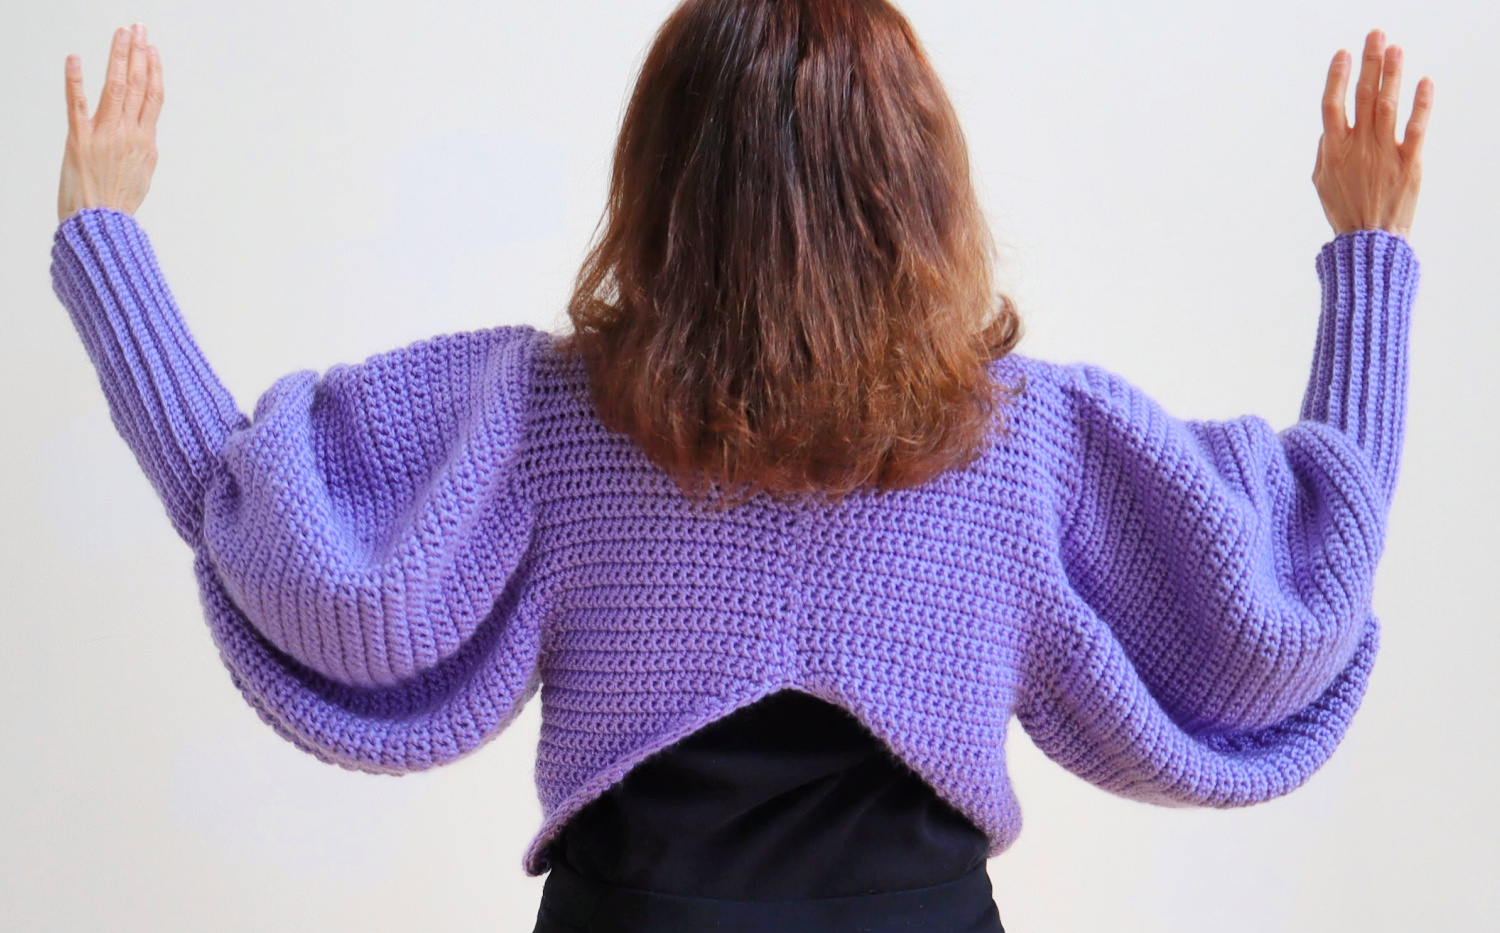
Wow your friends with this crochet bolero. Wear it over a cami and jeans or over a dress. So versatile!
The written pattern will be available soon. In the meantime, here is the video tutorial for your convenience. Most of my designs are available as FREE PATTERNS and FREE VIDEO tutorials. These take SO MUCH WORK to design, create, write, produce…not to mention all the behind the scenes work and graphic design. And of course all the expense that goes into this. WHEW! All I ask in return is your support for my efforts by way of subscribing to this blog and to my YouTube channel. Of course, purchasing patterns at my Etsy shop is also a huge help. I appreciate you all so much. Thank you!!
Photos coming soon.
This post contains affiliate links. If you make a purchase from these links I may earn a small commission at no additional cost to you.
Materials:
Yarn: Loops & Threads Soft and Shiny / Color Lavender Fields/ 4 skeins (6 oz each)
Substitute equivalent yarn here: https://amzn.to/31ndWu3
Crochet Hook size H and I
Yarn needle
Measuring tape
scissors
Instructions are for a size Small.
Medium: use larger hooks (I and J) and follow the same instructions as for Small. You may add additional rows at rows 27 and 56 as needed.
This pattern is not currently available in larger sizes.
Body Panel (make 2)
With larger hook Ch 2
Row 1: 2 sc in 2nd ch from hook. Ch 1, turn
Row 2: 1 sc in 1st sp; 2 sc in next sp. Ch 1, turn
Row 3: 2 sc in 1st sp; 1 sc in remaining sp’s. 4 sc total. Ch 1, turn
Row 4: 1 sc in 1st sp; 1 sc in ea sp to last sp; 2 sc in last sp. 5 sc’s total. Ch 1, turn.
Row 5: repeat row 3.
Row 6: repeat row 4.
Rows 7 – 27: Repeat rows 5 and 6.
You are working with one side as a straight edge and the other side as the tapered edge. On the straight edge you work 1 sc in the last (or first depending on which way the panel is facing you) sp. On the tapered edge, every row, you enter 2 sc’s on the last (or first depending on which way the panel is facing you) sp.
On row 27 you will have a total of 28 sc’s. Do not turn at end of row 27.
Row 28: Underarm shaping. sl st in the 1st 4 sp’s, then work 1 sc in ea remaining sp. 24 sc total. Ch 1. Turn
Row 29 – 46: sc in ea sp. 24 sc’s. At end of row 46, do not ch. Turn
Row 47: Neck shaping. sl st in 1st 4 sp’s, then work 1 sc in ea remaining sp. 20 sc total. Ch 1. Turn
Row 48: sc in ea sp to the last 2 sp’s. scdec over the last 2 sp’s. 19 sc total. Ch 1. Turn
Row 49: scdec over 1st two sp’s. Sc in ea remaining sp. 18 sc total. Ch 1. Turn
Row 50 – 55: repeat rows 48 and 49 working dec’s on ea row of the neck shaping until you have 12 sc’s remaining. Ch 1. Turn
Row 56: sc in ea sp. 12 sc’s total. Tie off.
Body Panel Opposite Side (make 2)
Ch 2
Row 1: 2 sc in 2nd ch from hook. Ch 1, turn
Row 2: 2 sc in 1st sp; 1 sc in next sp. Ch 1, turn
Row 3: 1 sc in 1st 2 sp’s; 2 sc’s in last sp. 4 sc total. Ch 1, turn
Row 4: 2 sc in 1st sp; 1 sc in ea remaining sp. 5 sc’s total. Ch 1, turn.
Rows 5 – 27: work the same as the first panel, working in reverse, as you have been, to achieve the tapering on the opposite side.
Row 28: Underarm shaping. Sc in next 24 sp’s. Leave remaining 4 st’s unworked. 24 sc total. Ch 1. Turn
Row 29 – 46: sc in ea sp. 24 sc’s. At end of row 46 ch 1. Turn
Row 47: Neck shaping. Sc in next 20 sp’s. Leave remaining 4 sp’s unworked. Do not ch 1. Turn
Row 48: scdec over the 1st 2 sp’s. 1 sc in ea remaining sp. 19 sc total. Ch 1. Turn
Row 49: sc in sp to last 2 sp’s. scdec over last two sp’s. 18 sc total. Turn
Row 50 – 55: repeat rows 48 and 49 working dec’s on ea row of the neck shaping until you have 12 sc’s remaining. Ch 1. Turn
Row 56: sc in ea sp. 12 sc’s total. Tie off.
Attach Panels
With wrong sides facing you, attach front and back panels at shoulders. Use a yarn needle, length of yarn and whip st.
Using the same method, seam at the sides from the bottom up to the underarms. Leave underarm openings open.
Using the same method, seam the center seams.
Sleeves (make 2)
Row 1: With larger hook, attach yarn at center, bottom of arm hole opening. Ch 1. Enter 1 sc in ea of the bottom sp’s (the straight bottom of the opening). Then work 2 sc’s in ea sp around the perimeter of the arm hole. At end of row, sl st into the 1st st of the row. Ch 1. Turn
Row 2: sc in ea sp. At end of row, sl st into the 1st st of the row. Ch 1. Turn
Repeat Row 2 until you work 8 inches in length.
In the next row: *sc in ea of next 20 sp’s. scdec over the next 2 sp’s*. Repeat from * to * to end of row. Ch 1. Turn
NOTE: The last of the sc’s of that row might not be 20. This is fine.
Repeat Row 2 until the sleeve is at 9 inches in length.
In the next row: *sc in ea of next 10 sp’s. scdec over the next 2 sp’s*. Repeat from * to * to end of row. Ch 1. Turn
NOTE: The last of the sc’s of that row might not be 10. This is fine.
Repeat Row 2 until the sleeve is at 12 inches in length.
In the next row: *scdec over the next 2 sp’s*; repeat from * to * to end of row. Do not turn.
In the next row: *scdec over the next 2 sp’s*; repeat from * to * to end of row. Do NOT cut off yarn.
Ribbing
Using the smaller hook, ch 41.
Sc in 2nd ch from hook and ea ch. 40 sc’s.
*sl st in the next sp of the arm opening; sl st in the next sp.
Sc in BLO of ea sc of the ribbing. 40 sc’s. Ch 1. Turn
Sc in BLO of ea sc. 40 sc’s*.
Repeat from * to * to end of arm opening sp’s. Ensure that you end at the arm opening. Tie off yarn.
Seam: Turn sleeve inside out. Seam closed using yarn needle, length of yarn and a whip stitch.
NOTE: If the arm opening appears to be too small for you, you may sl st in ea sp rather than in 2 sp’s. This will give you a wider opening. To clarify, the opening should fit snugly around the elbow area. The long ribbing should also be snug around the forearm/wrist.
BORDERS
BODY: Work 1 row of sc’s around the bottom of garment. You may add additional rows if you prefer more coverage/length for the body. Cut off yarn.
NOTE: At ea point (at side/hips) enter 3 sc’s.
NECK: Working with one row of RSC, add a border around the neck opening. RSC in ea sp around the neck opening. Sl st into the 1st st at end of row. Cut off yarn.
NOTE: With reverse single crochet (crab stitch), you are working sc’s along the row backward rather than forward (working along the right of the row rather than the left).
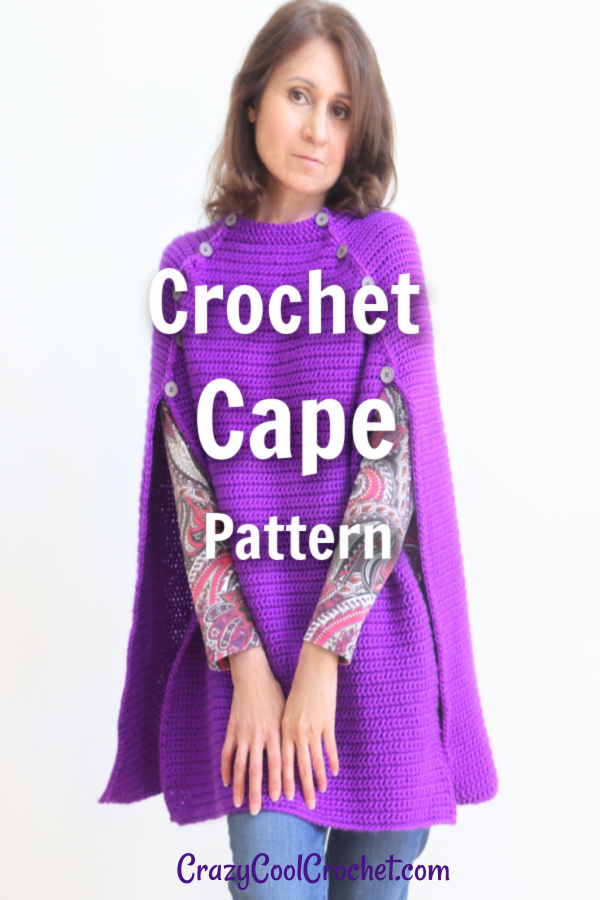
NOTE 2: Photos above show a different project.
Copyright © 2021 Sylvia Talo You may sell items made from my patterns. Please include a link or reference to my shop CrazyCoolCrochetUS.etsy.com . Pattern and photos are copyright protected; they may not be reproduced, redistributed, or displayed publicly in any way.
You might also enjoy this crazy cool crochet design:
You May Also Like


[…] Get Pattern […]