Crochet Vest for Beginners
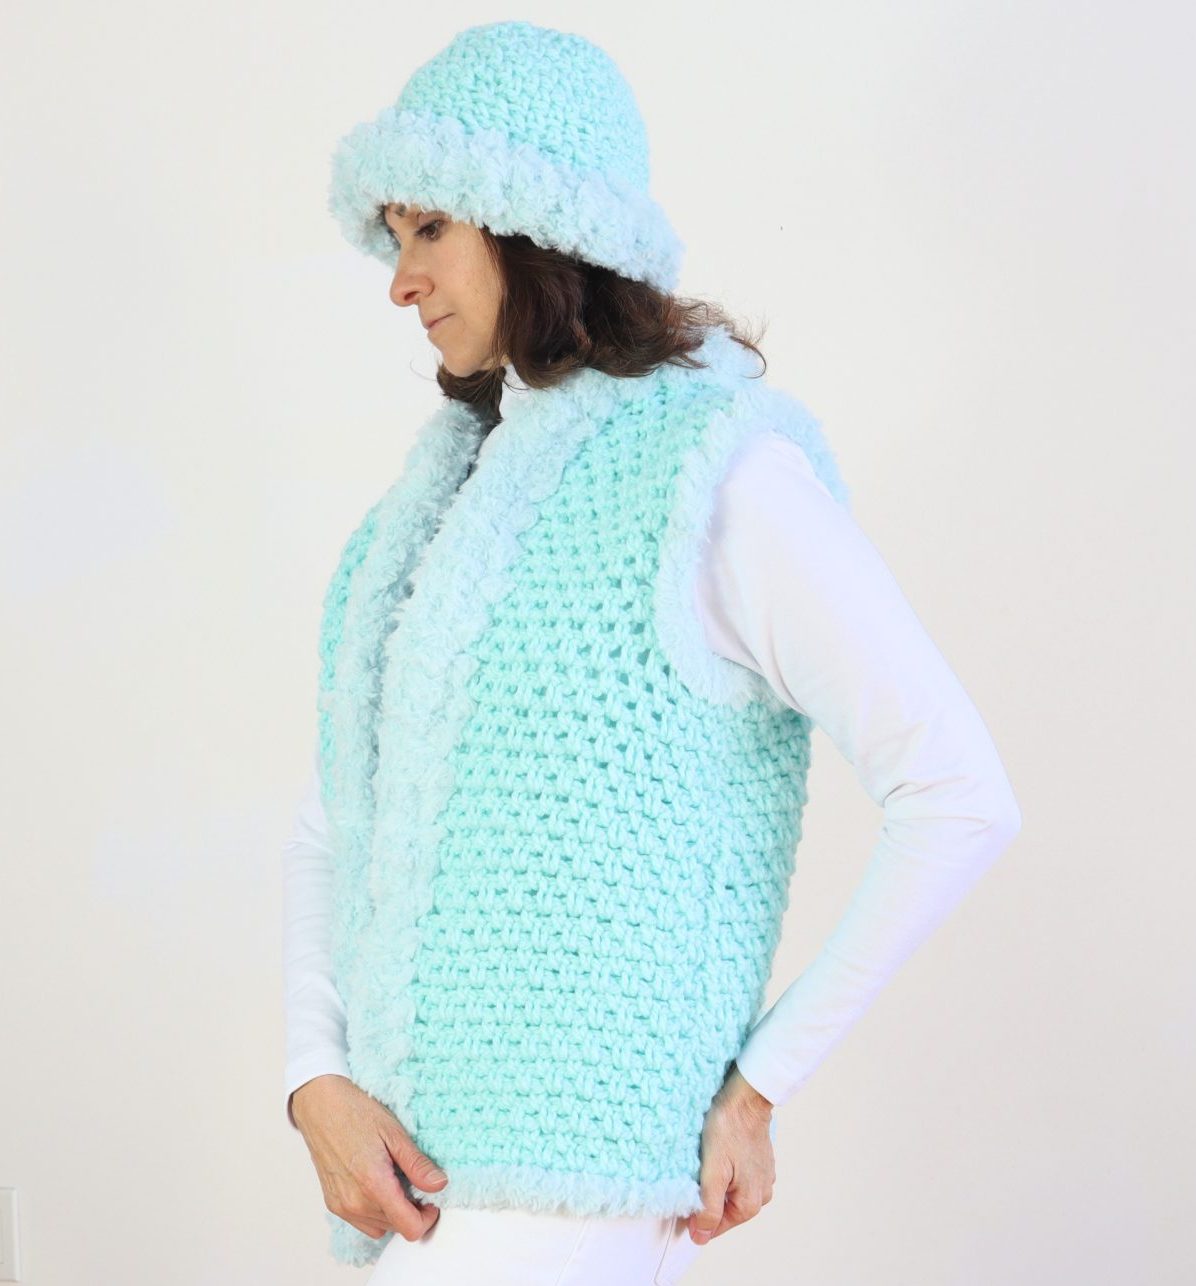
This crochet vest for beginners works up fast for instant creative satisfaction! The fur trim adds an extra special pop of interest. We use a #5 bulky yarn and the easy….I repeat…EASY crochet Moss stitch which uses only the most basic crochet stitches. Written pattern and separate video tutorial for matching hat on the way!
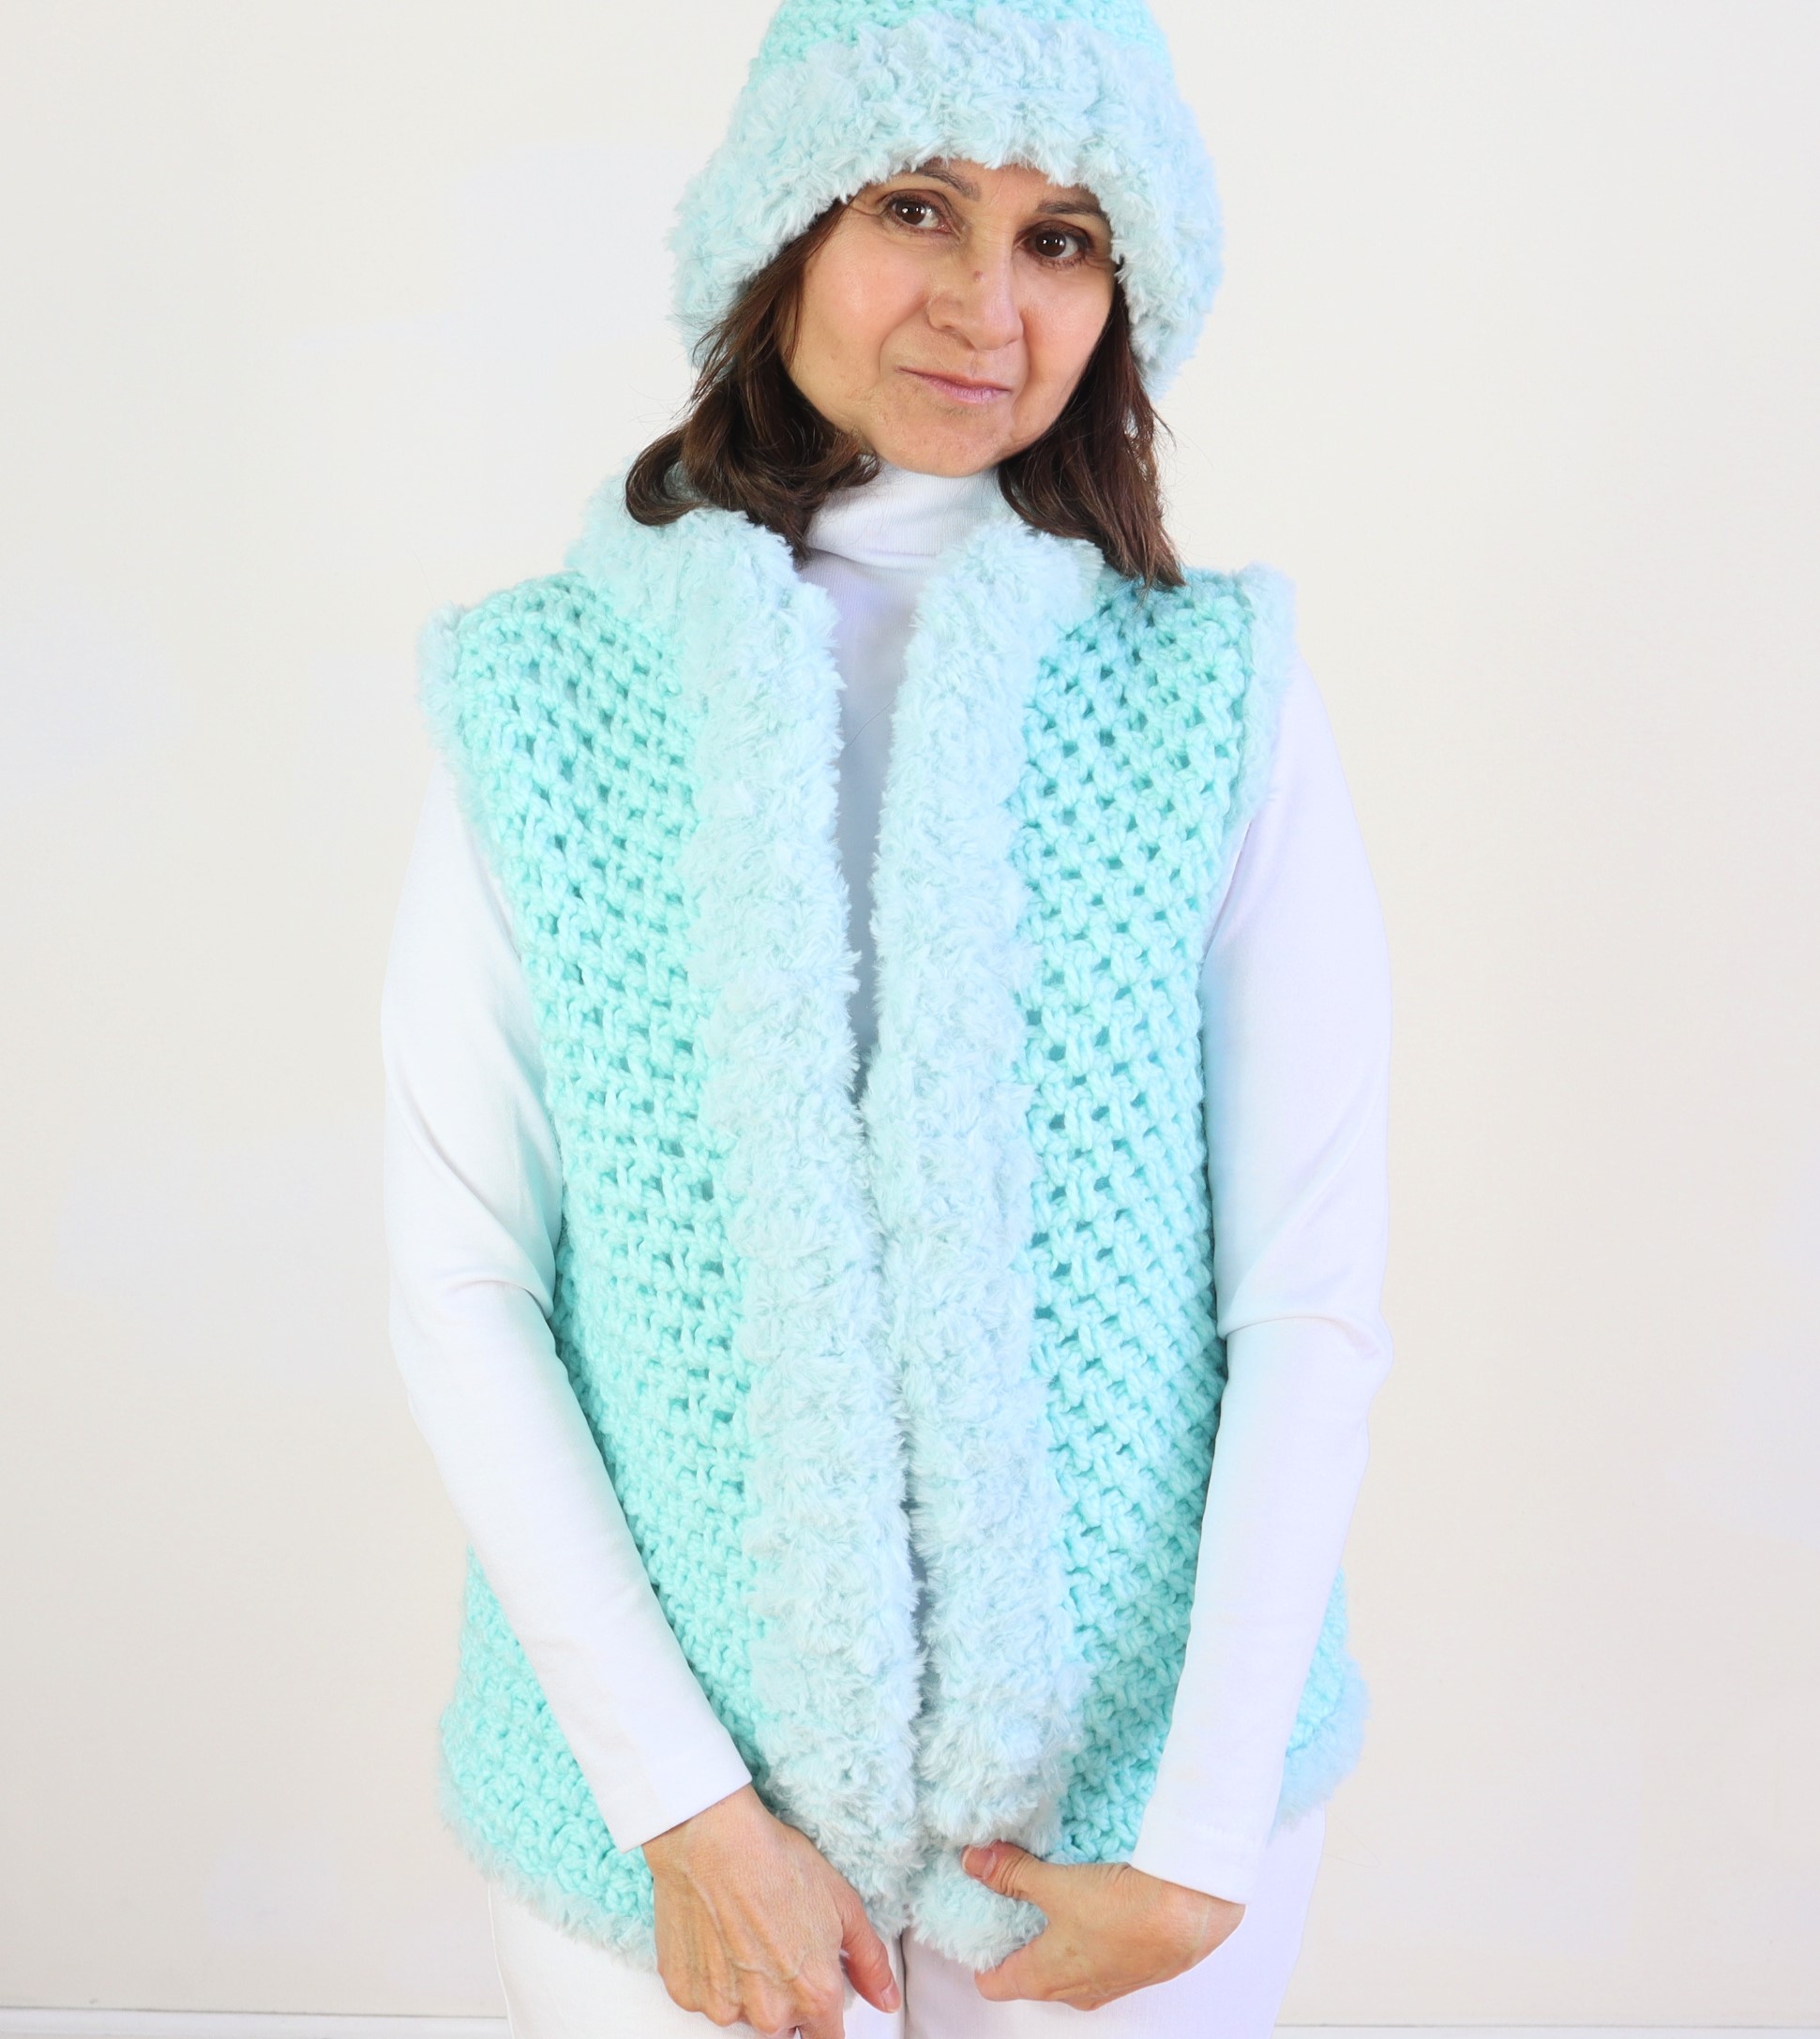
In the meantime, please view the video tutorial below to get started on this gorgeous crochet vest with fur trim. Please be sure to subscribe to both the blog and my YouTube channel below. I am forever grateful for your support!
Pattern is for a size Small and can be made larger by using a foundation chain in an even number with a multiple of 2 plus 4. The foundation chain determines width. Allow for an additional 2 inch border along the center edges.
Materials
Yarn/ Loops & Threads Charisma Sorbet/ color Aqua/ #5 bulky/ 6.25 ounces/ 191 yards
Yarn Bee Fur the Love/ color Mint / 7 ounces / 37 yards
Hook size K / 6.5 mm
Yarn needle
Scissors
NOTE: Work with a slightly loose tension for entire project.
NOTE 2: Photos appear above corresponding row.
FRONT PANEL (make 2)
Ch 22
Row 1: Sc in 4th ch from hook; ch 1; *sk.next ch; sc in next ch; ch 1*. Repeat from * to * to last two ch’s. Sk 2nd to last ch; sc in last ch. Ch 2. Turn
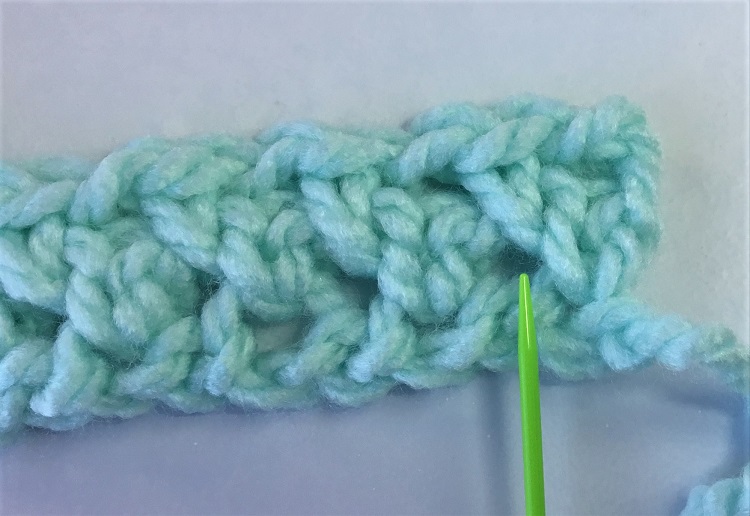
Row 2: sc in 1st ch 1 sp below; ch 1; *sc in next ch 1 sp; ch 1*. Repeat from * to * to last sp. Enter sc in last sp (created by the turning ch). Ch 2. Turn
Row 3 – 29: Repeat Row 2. At end of last row, ch 2. Turn
Row 30: Continue in the pattern leaving the last 3 sp’s of the row unworked. After completing the 7th sc, ch 2 and turn.
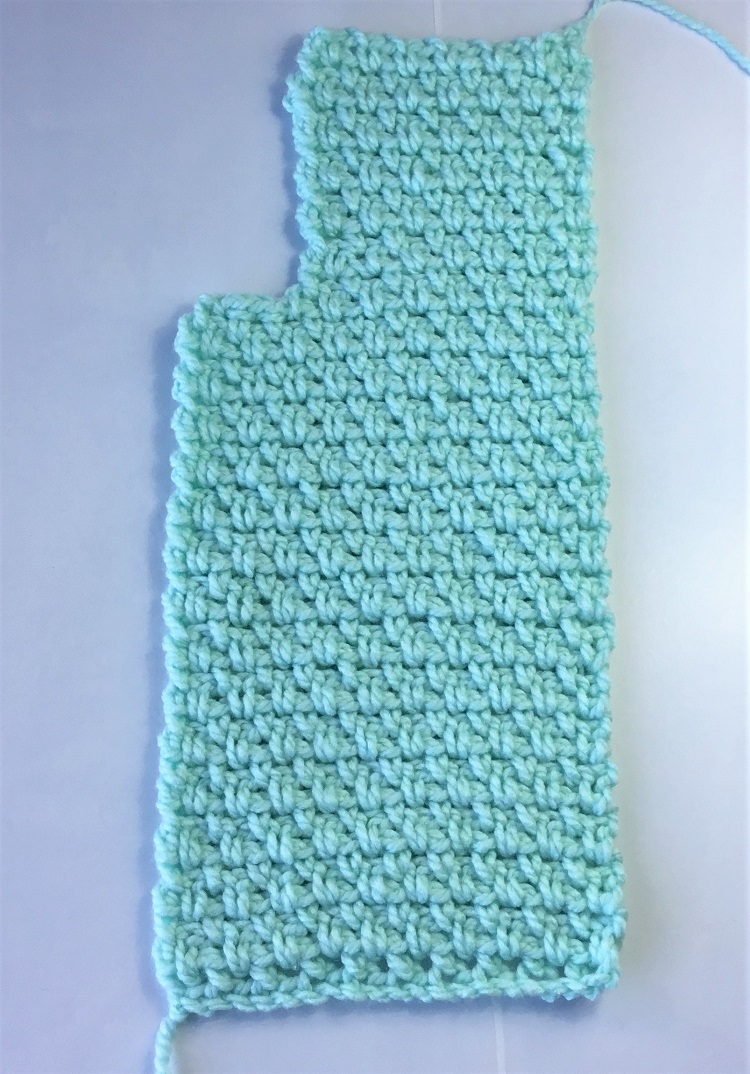
Row 31 – 42: Repeat Row 2 working 7sc’s per row. At end of last row, cut off yarn.
2nd Front Panel: Repeat pattern for the first front panel through Row 29. At the end of Row 29 do NOT chain. Turn.
Row 30: sl st into the first 3 sp’s. Ch 2. sc into the next sp (do not enter into the sp under the ch 2 you just created). Continue in pattern for 7 sc’s. Ch 2. Turn
Row 31 – 42: Repeat Row 2 working 7sc’s per row. At end of last row, cut off yarn.
BACK PANEL
Ch 48
Row 1: Sc in 4th ch from hook; ch 1; *sk.next ch; sc in next ch; ch 1*. Repeat from * to * to last two ch’s. Sk 2nd to last ch; sc in last ch. Ch 2. Turn
Row 2: sc in 1st ch 1 sp below; ch 1; *sc in next ch 1 sp; ch 1*. Repeat from * to * to last sp. Enter sc in last sp (created by the turning ch). Ch 2. Turn
Row 3 – 42: Repeat Row 2. At end of last row cut off yarn.
SHOULDER SEAM
Position back panel with right side facing up. Position front panels, wrong side up, on top of front panel. Right sides are touching each other. Wrong sides are “up”.
With yarn needle and length of yarn, use a whip stitch to seam from the arm opening to the neck for 3 inches. Cut off yarn. Repeat for the opposite side. The remainder of the shoulders are left unseamed.
SIDE SEAMS
WIth wrong side of work facing up seam, work from the bottom of the side edges seaming across the edge toward the armhole. Cut off yarn. Repeat for opposite side.
ARMHOLE BORDER
Working loosely, with right side of work facing up, attach the fur yarn at the bottom of the armhole opening. Sl st evenly spaced around the opening. At the end of the row, sl st into the 1st sl. Tie off yarn. Repeat for opposite side.
BOTTOM and FRONT BORDER
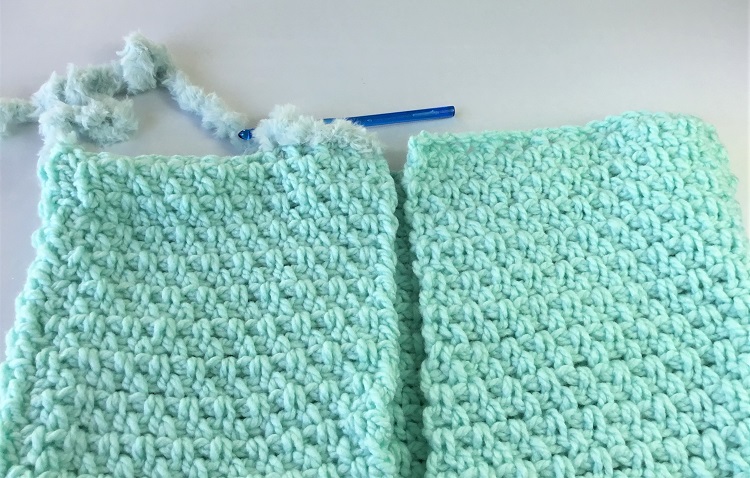
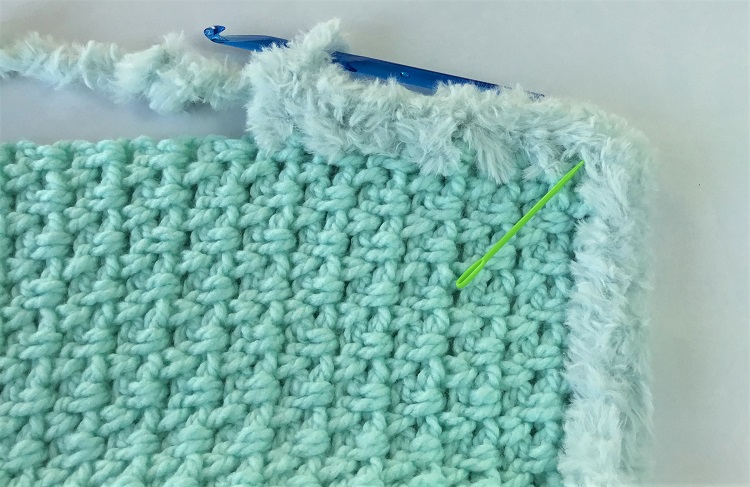
Working loosely, with right side of work facing up, attach the fur yarn at the bottom corner beginning on the left front panel. Sl st into the ch’s, not into the large sp’s, about every other ch or evenly spaced around the bottom edge. When you reach the opposite front panel corner, sc into corner sp, then sc evenly spaced around the front edge, continuing around the neck and down the opposite side.
When you reach the end of that row, sl st into the first sl of the bottom edge. Ch 1, turn.
Work a sc into ea sp around the row and cut off yarn at the end of that row.

Hello Marina,
I’m happy you like this vest.
The post has general instructions for sizing: “can be made larger by using a foundation chain in an even number with a multiple of 2 plus 4. The foundation chain determines width. Allow for an additional 2 inch border along the center edges.”
The printable Etsy version of the pattern has the line by line instructions for additional sizes. The link to my Etsy shop is in the post.
Thank you,
Sylvia
CrazyCoolCrochet.com