
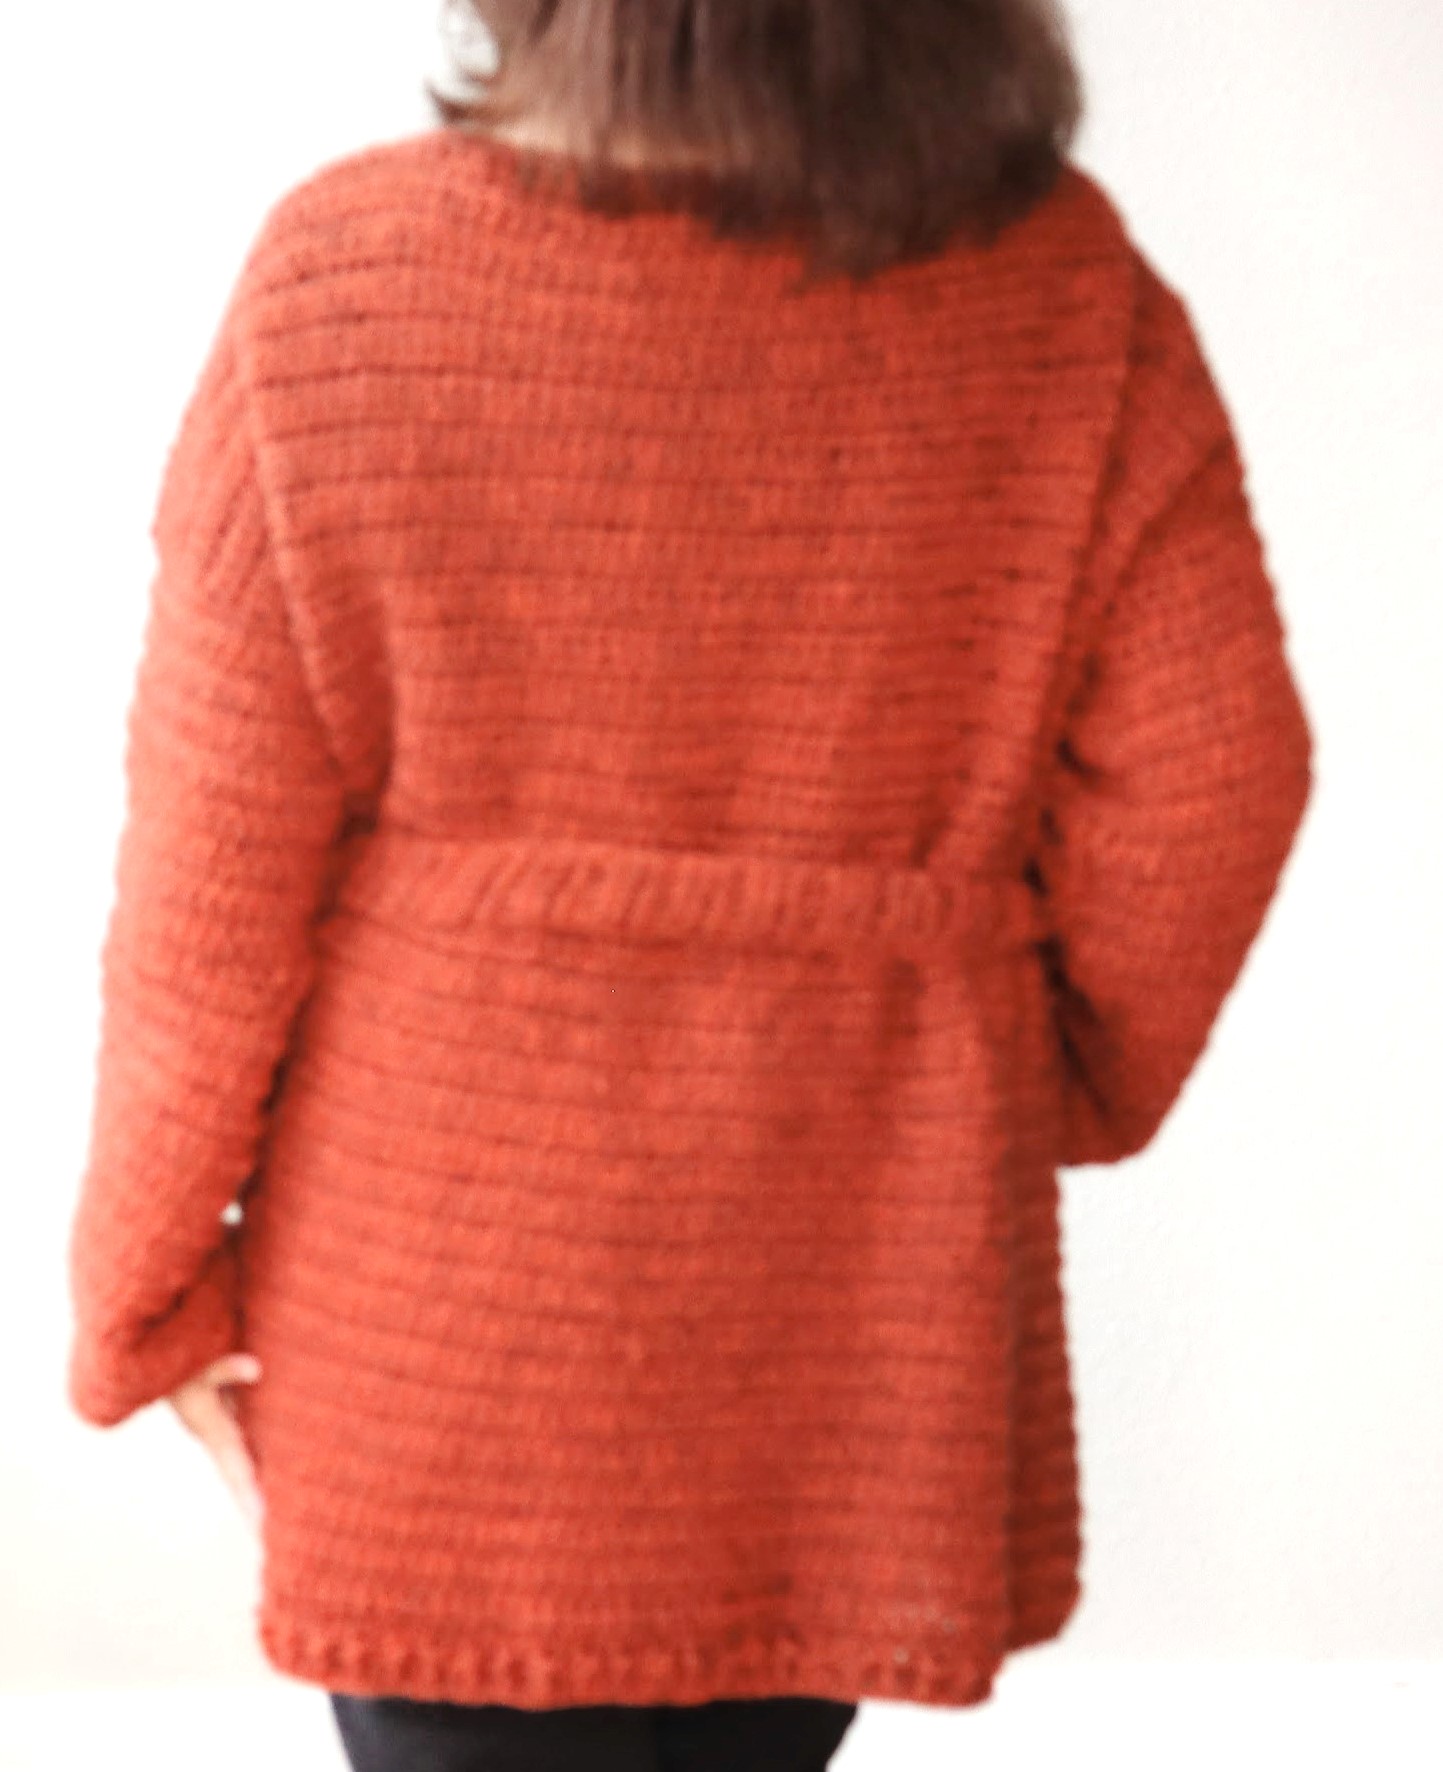
A must have as a staple in your wardrobe. This crochet wrap cardigan with belt can be made in so many different styles. Use a solid yarn as I did here or a multi-color yarn. Use a solid yarn with contrasting borders for a different look. So versatile!
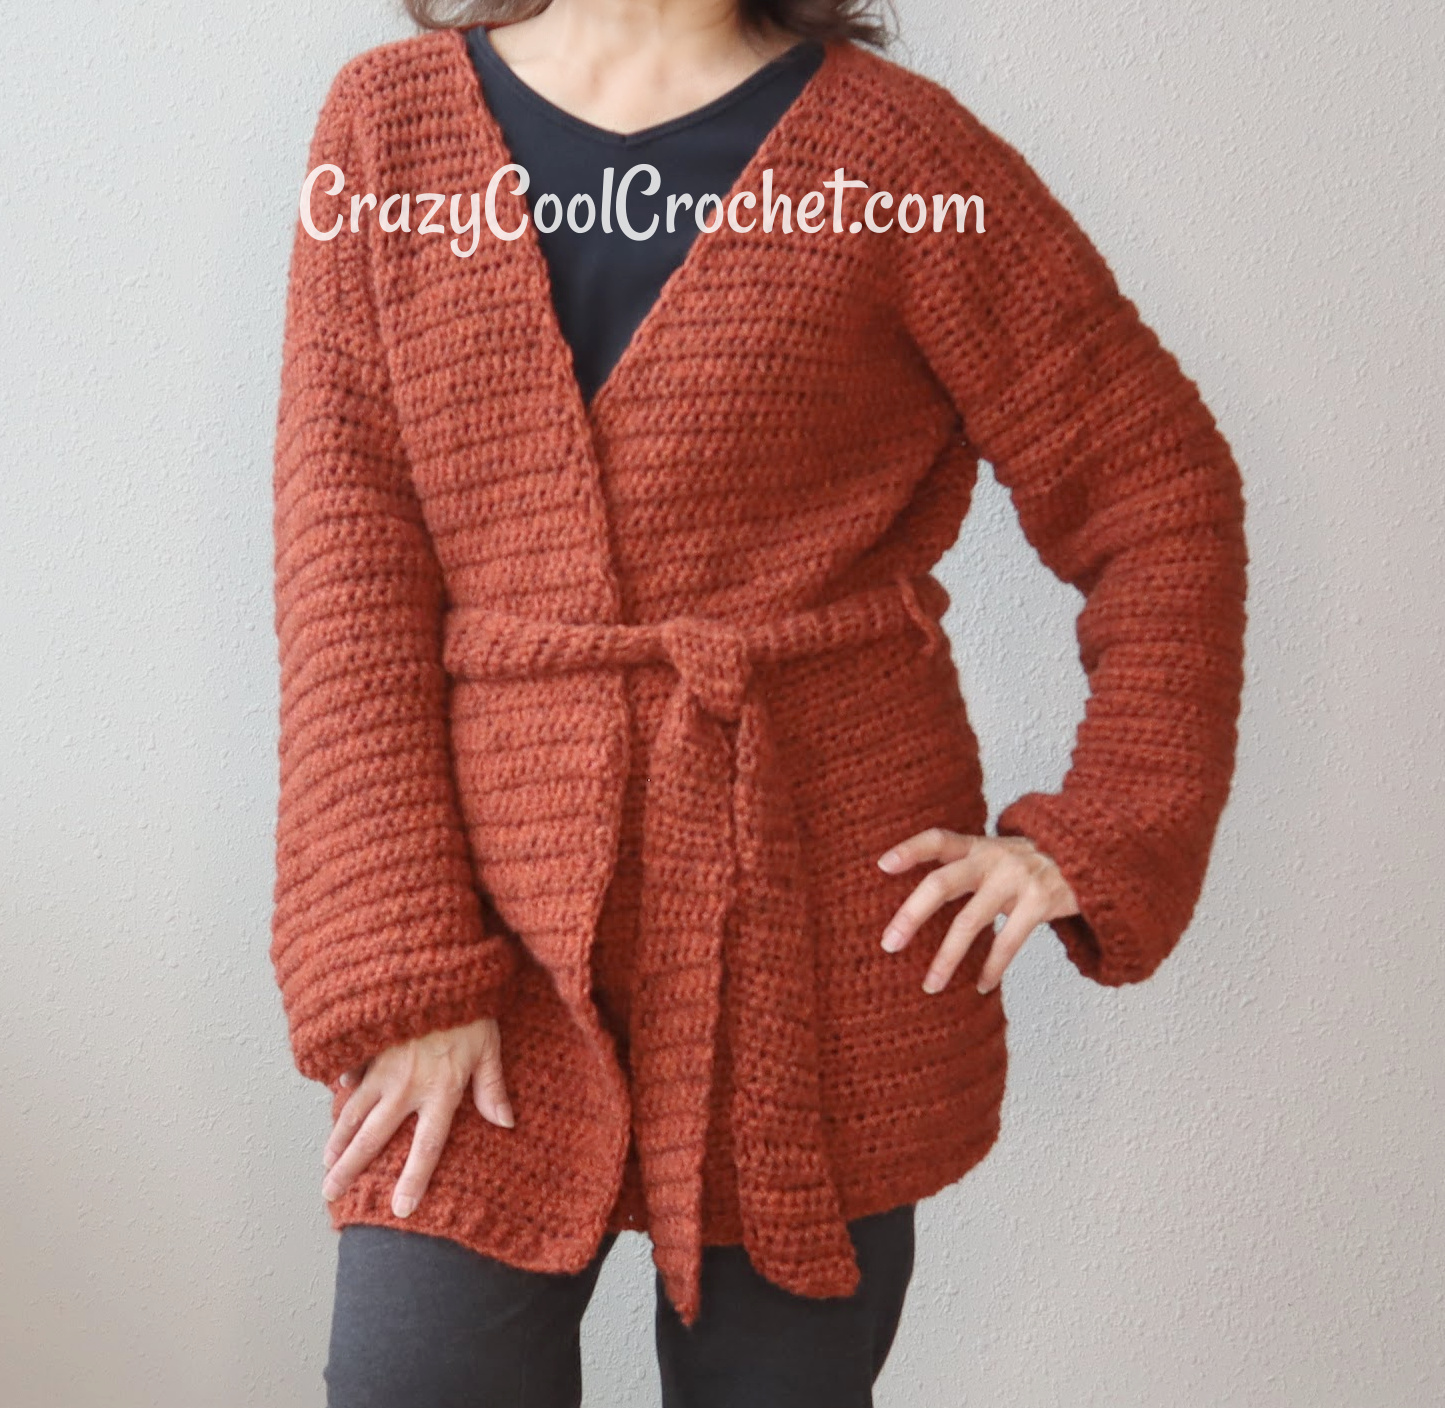
Very basic crochet stitches were used along with very easy decreases to create the classic tapered neckline.
The free crochet pattern is below the video tutorial. If you prefer a printable pattern you can go to my Etsy shop: CrazyCoolCrochetUS.etsy.com
Video Tutorial for Crochet Wrap Cardigan
The video can best be viewed on the YouTube platform by clicking the button on the bottom of the video below.
Size Small – Medium
This pattern easily adjusts for length by making more or fewer rows.
Instructions for Large – X Large and 1X – 2X are in parentheses (X).
Results will vary according to yarn and tension used. Sizing should be considered “suggestions”. Adjust as needed.
Materials size Small – Medium:
Use any #4 medium weight / 17.5 ounces / 1585 yards
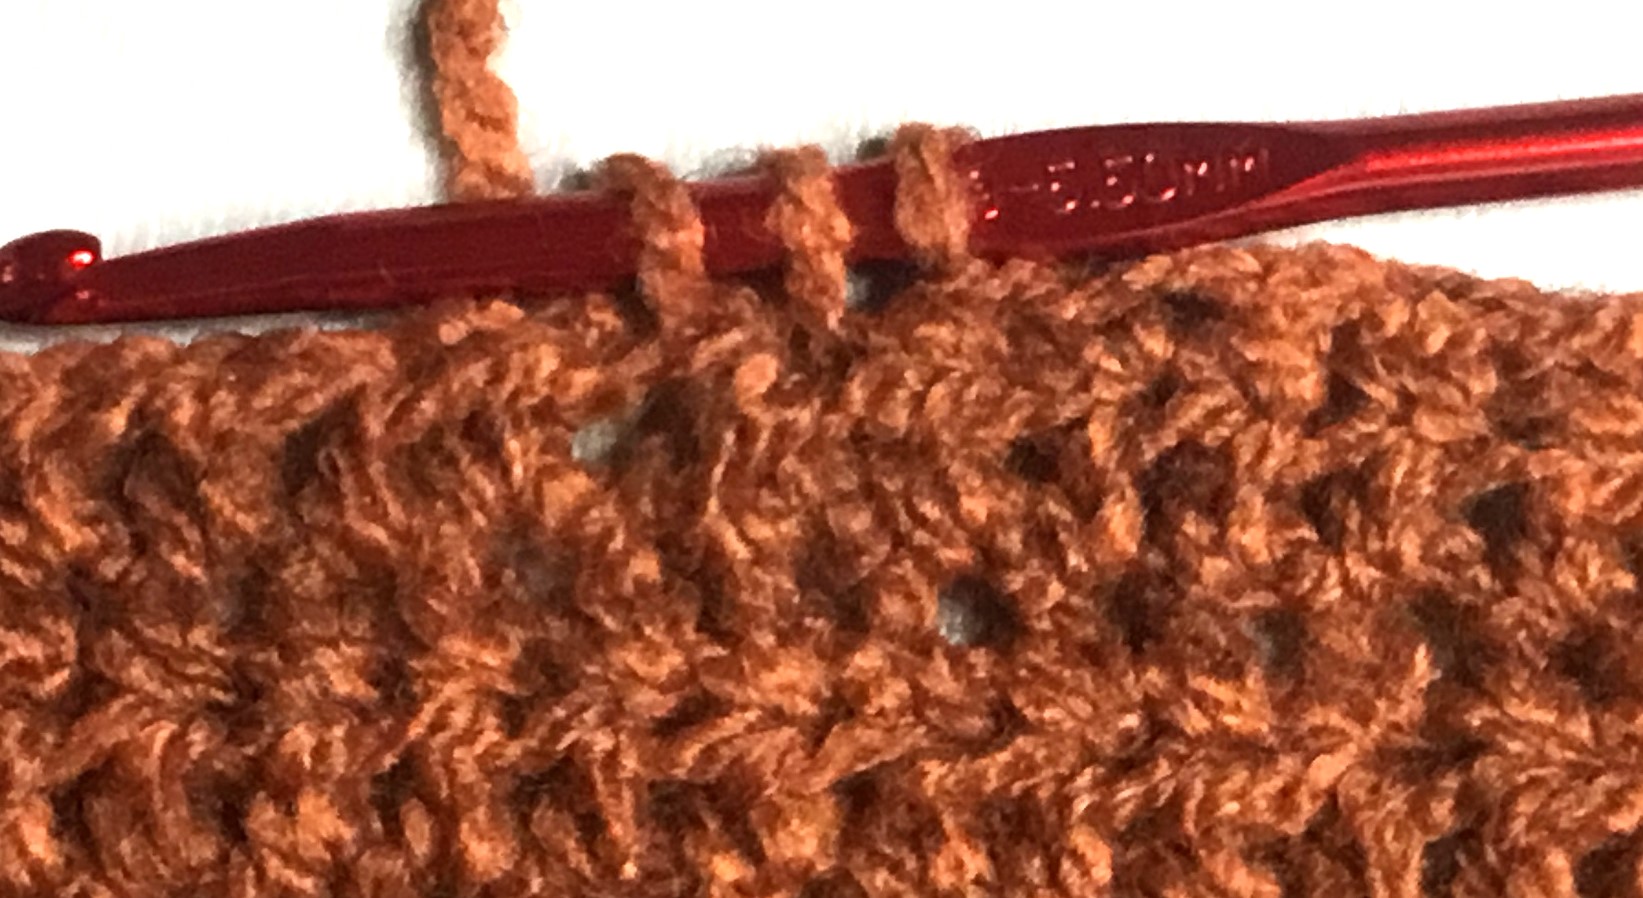
Crochet Hook I / 5.5 mm
Yarn needle
Scissors
measuring tape
Dimensions Size Small – Medium: Front at widest point (with two panels overlapping about 3 inches) = 24 inches wide; 26 inches long from shoulder to bottom hem
Abbreviations:
Ch = chain
HDC = half double crochet
Hdc2tog = half double crochet two together
Rpt = repeat
Sc = single crochet
SC2tog = single crochet two together
Sk = skip
Sp = space
St = stitch
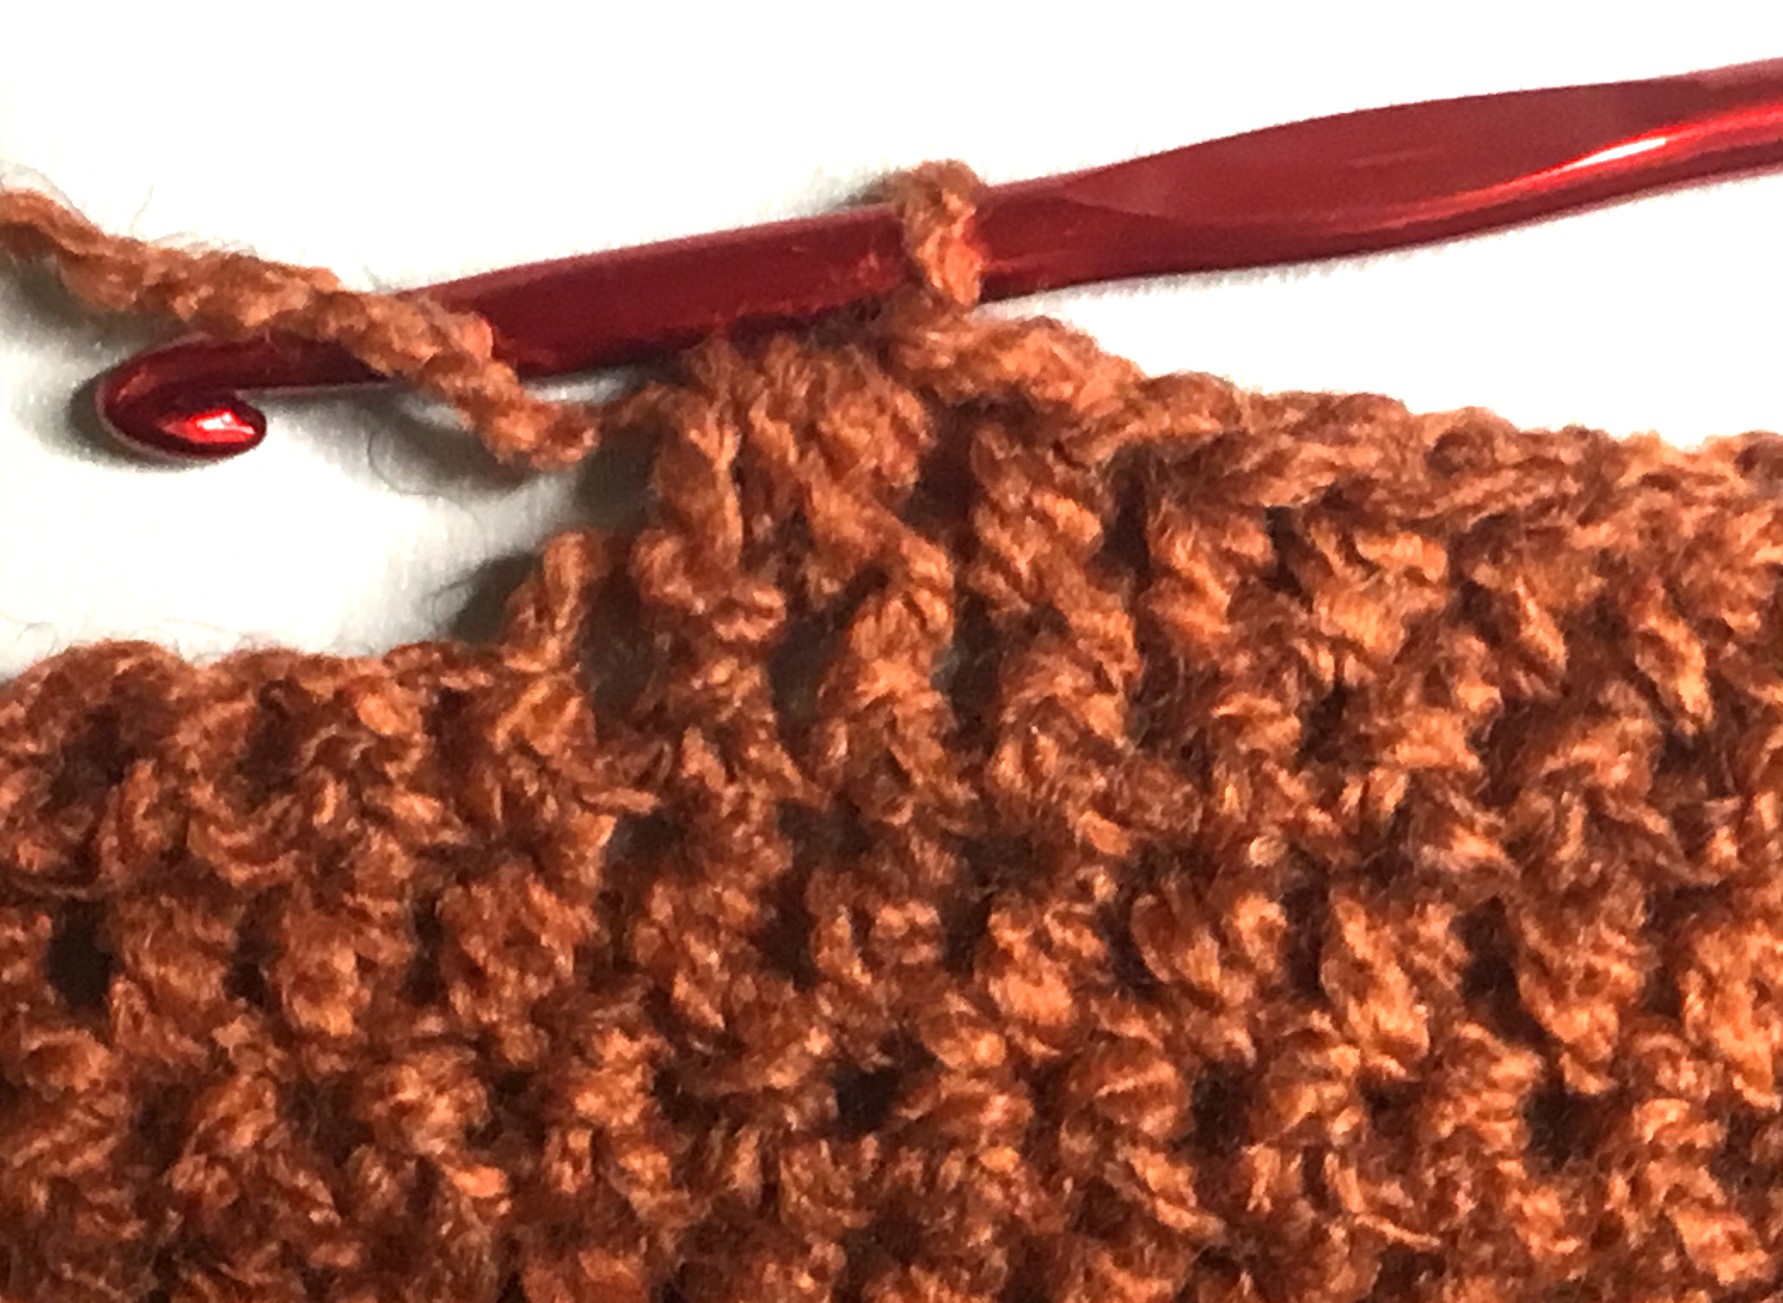
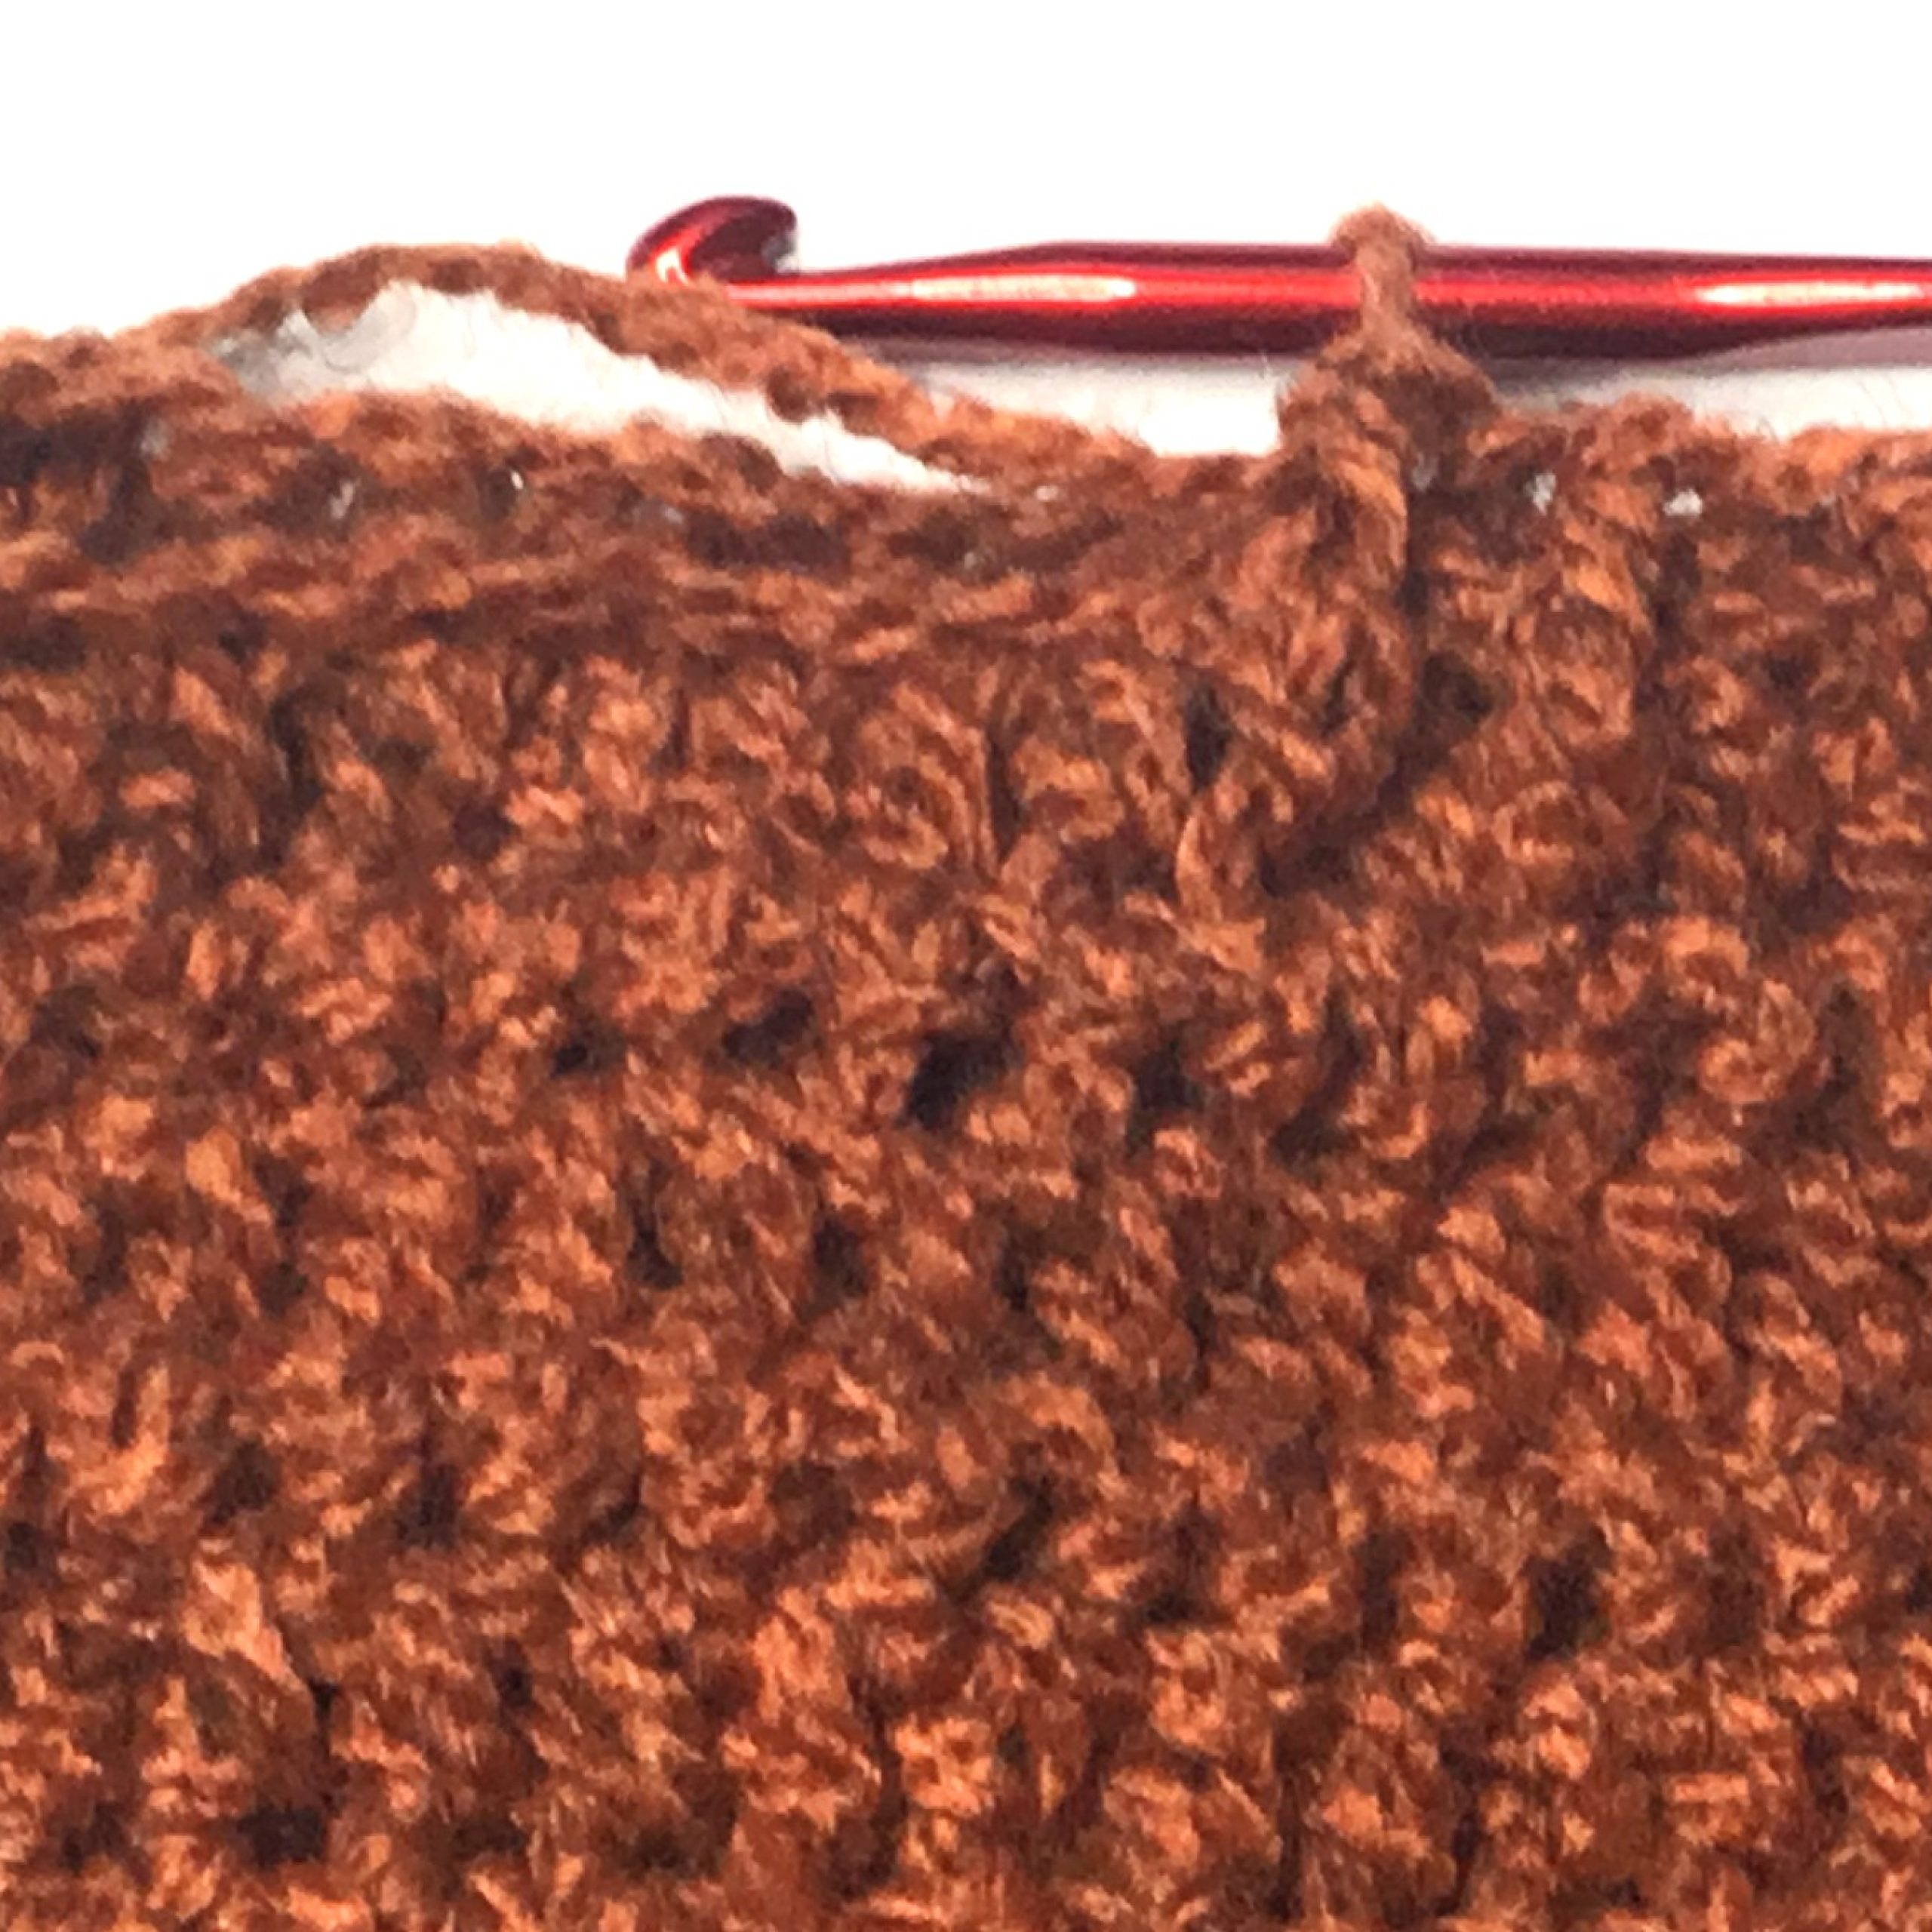
NOTE: Photos are shown above corresponding rows.
NOTE 2: Please view video above for detailed instruction of the FPHDC, BPHDC, HDC2TOG and SC2TOG.
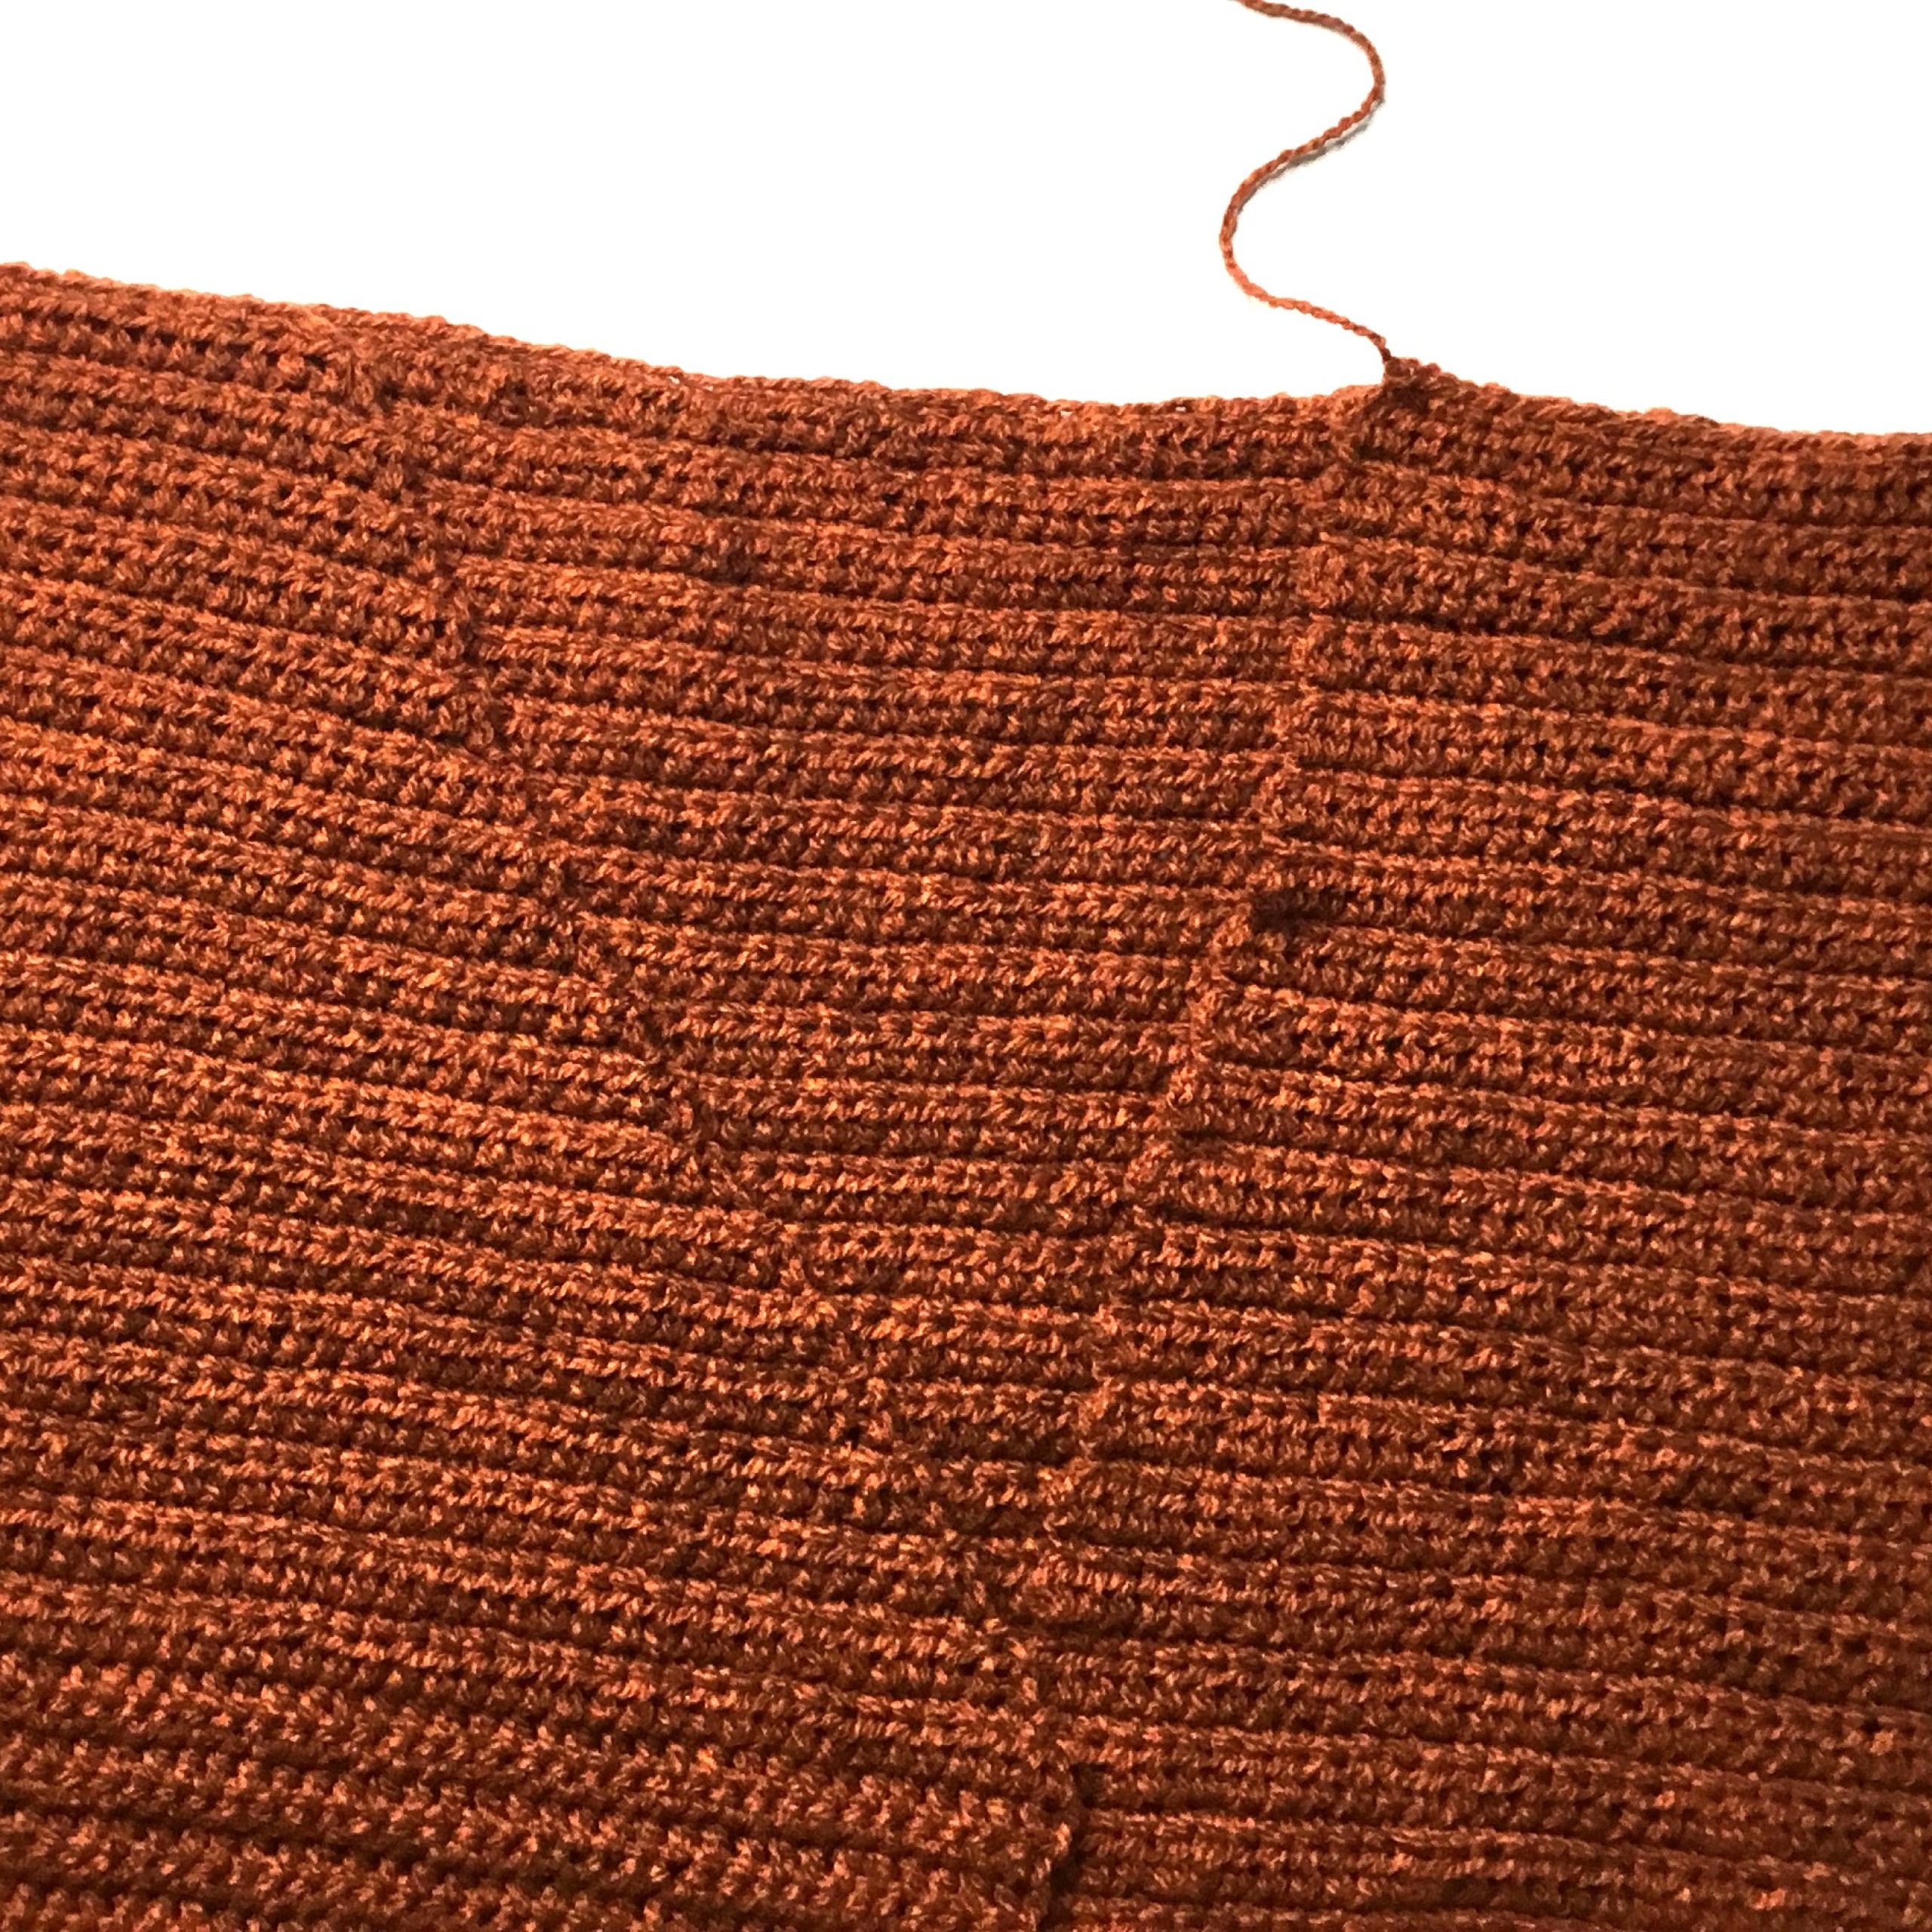
NOTE 2: The panels will skew as you work them up. This is normal and will not be noticeable after you seam the pieces together.
FRONT PANEL (make 2)
Small/Medium
Ch 45 (65, 85) Row 1: HDC in 3rd ch from hook and ea ch. 43 (63, 83) sc total. Ch 2 Turn
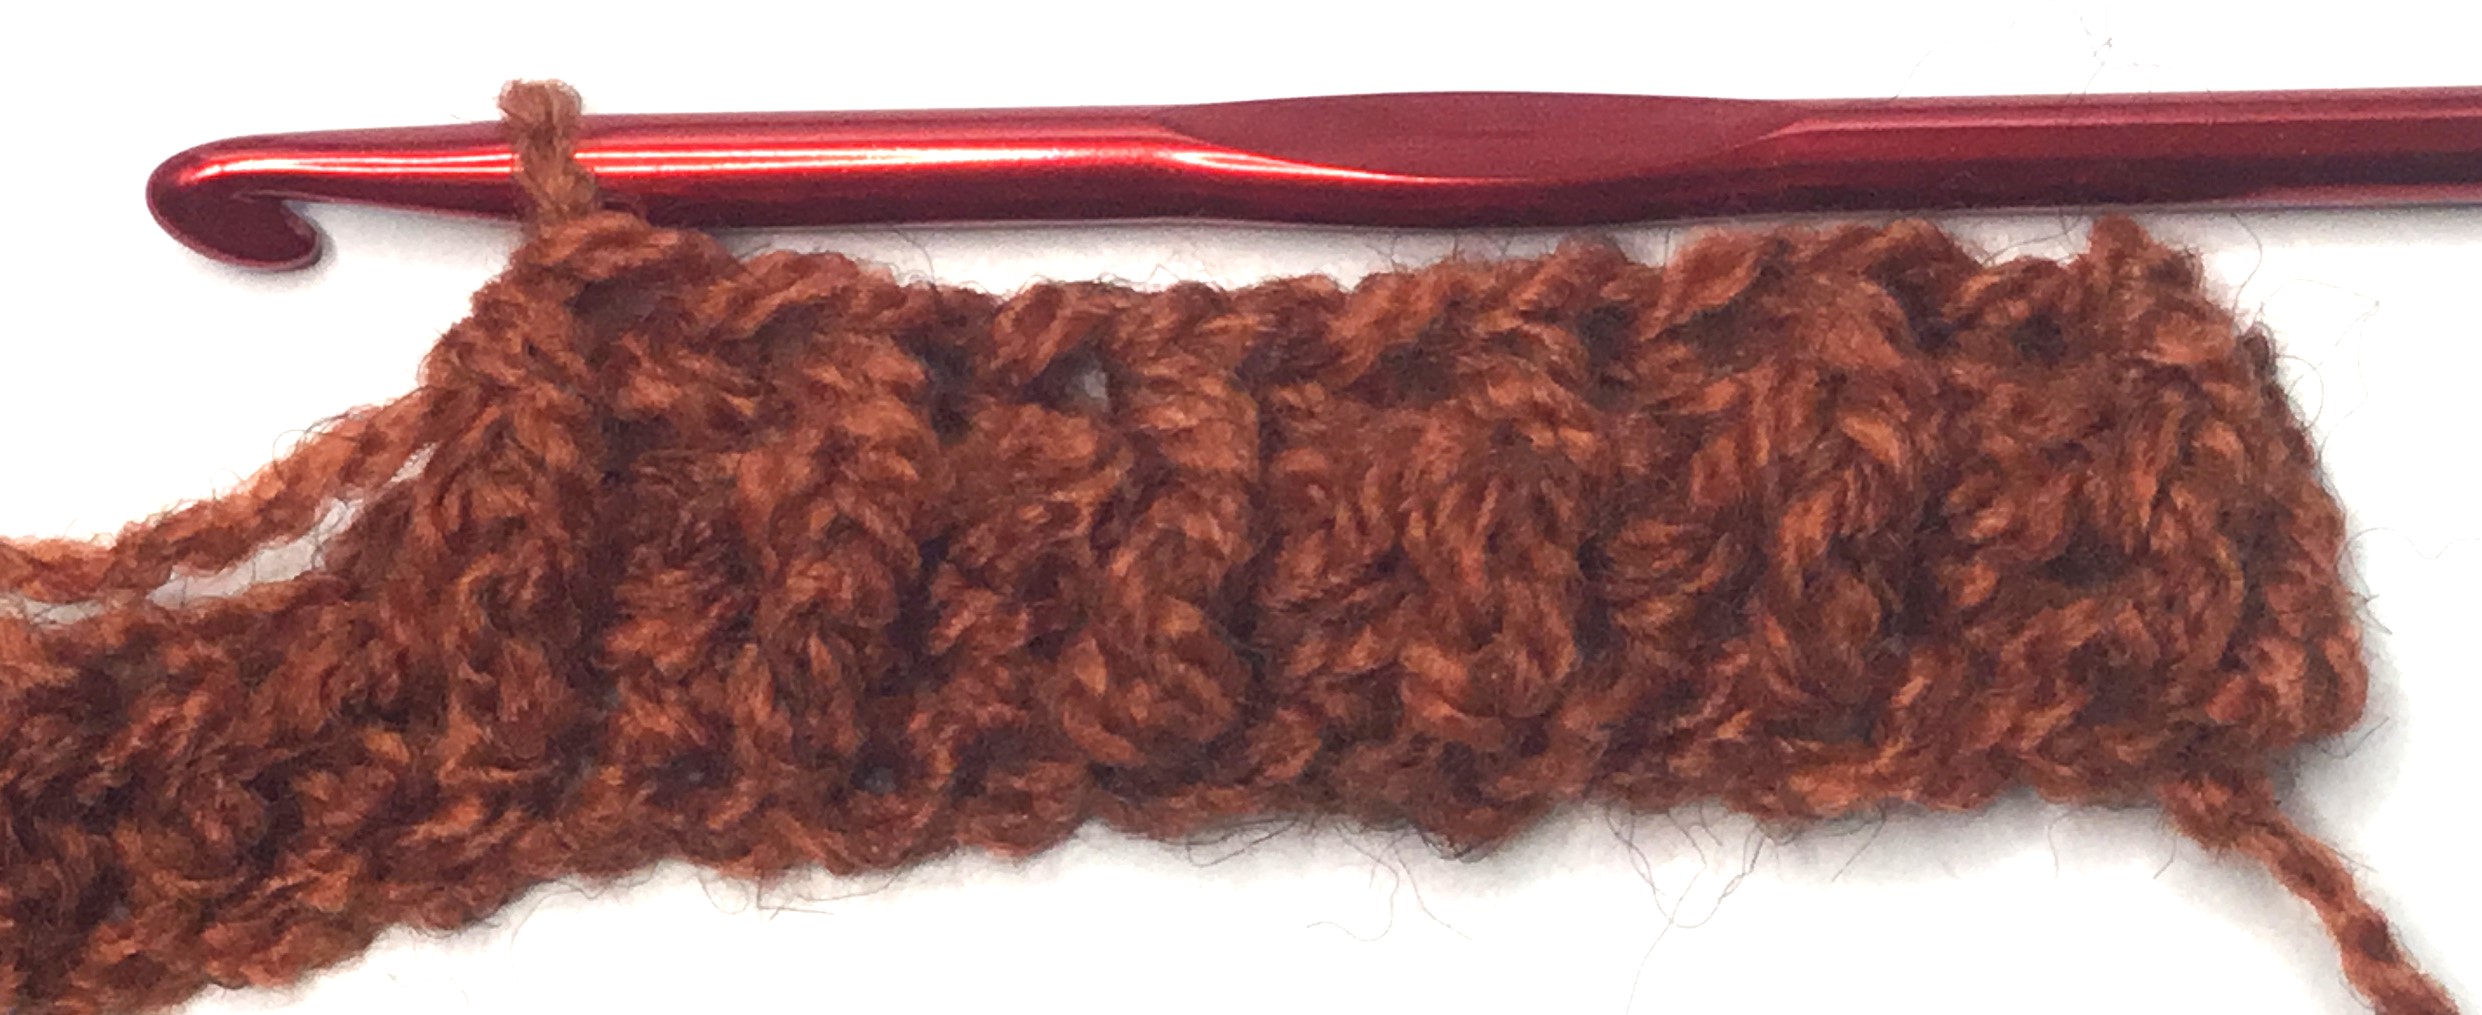
Row 2: Work a FPHDC in 1st hdc post below (not in the turning ch). *Work a BPHDC in the next post below. Work a FPHDC in the next post below.* Rept from * to * working in ea post below. At the end of the row HDC into the turning ch.. Ch 1 Turn
Row 3: SC in ea st beginning with the 1st sp. Enter the 43rd sc into the turning ch. 43 (63, 83) sc’s. Ch 2. Turn
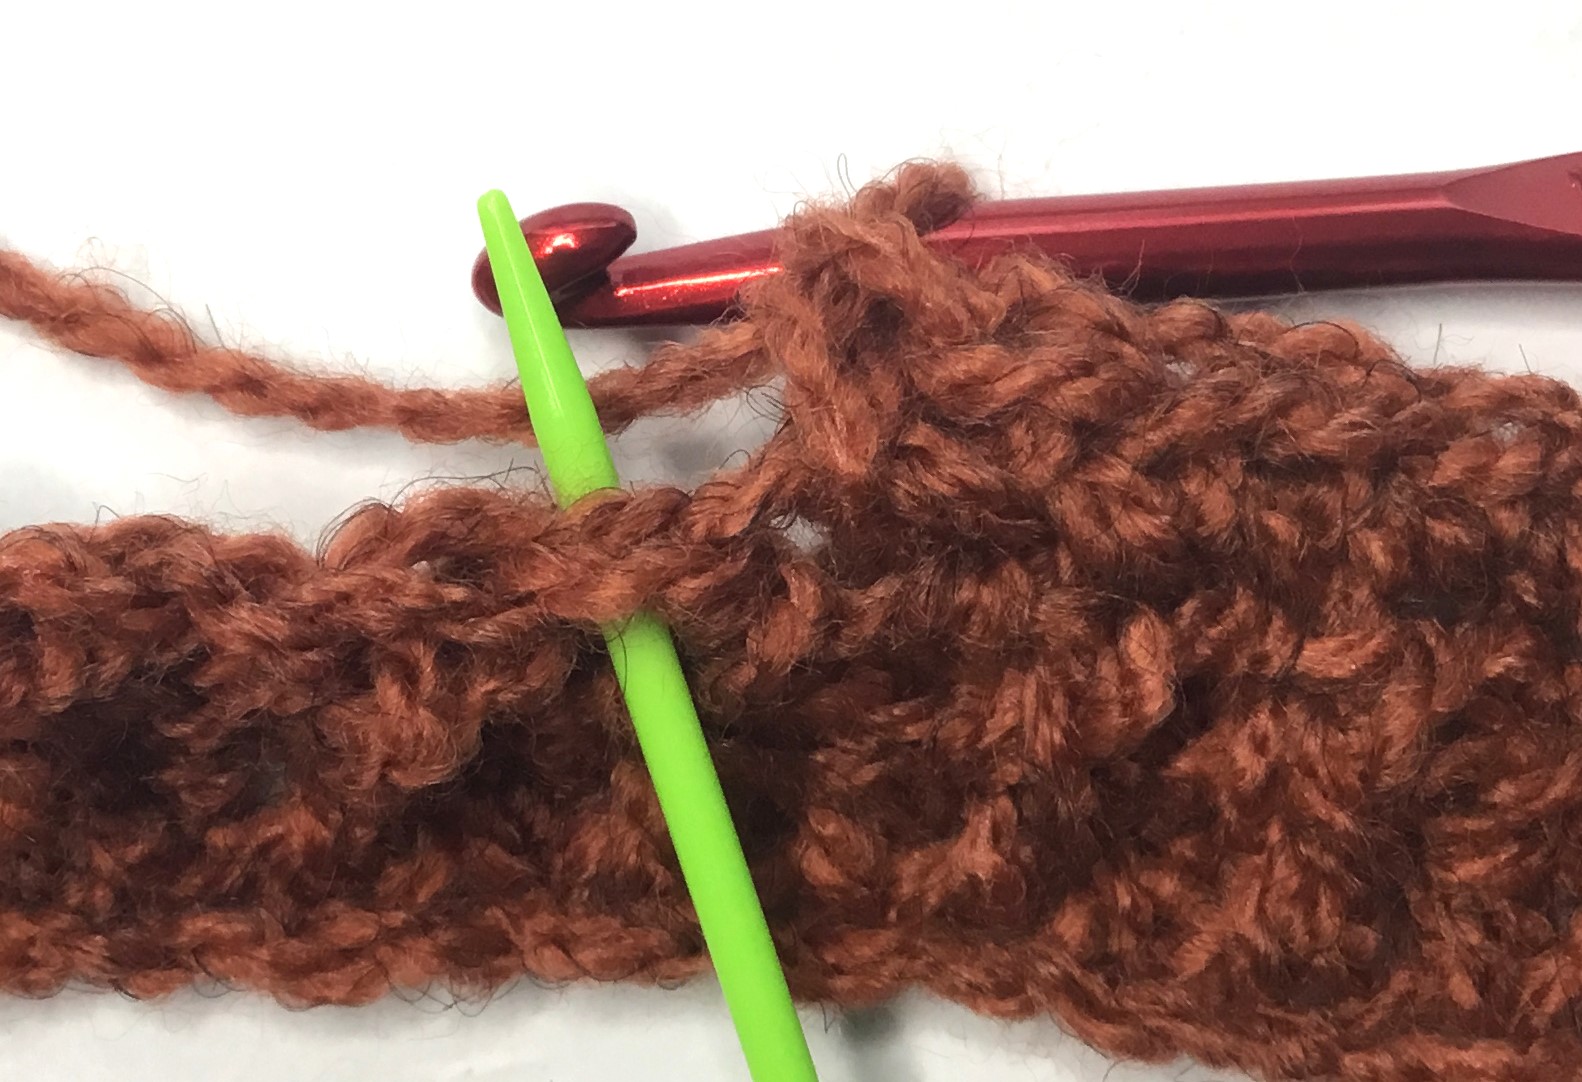
NOTE: you are working under the two strands that form a ch at the top of the previous row.
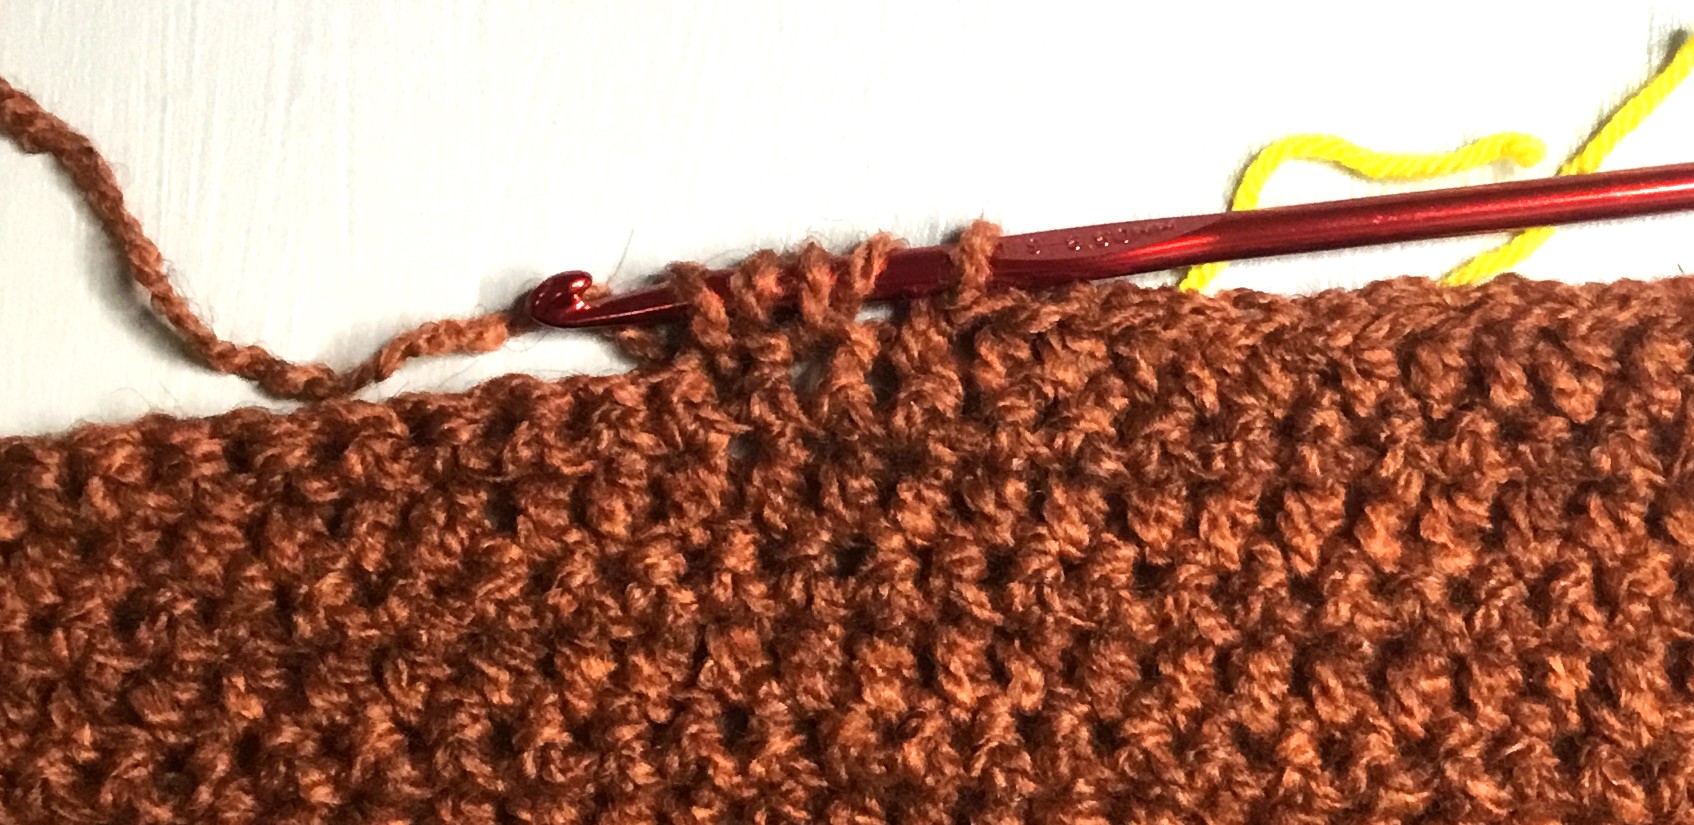
Row 4: HDC in the 1st sp and ea sp for 43 HDC. 43 (63, 83) hdc’s. Ch 1. Turn
NOTE: you are working under the two strands that form a ch at the top of the previous row.
Row 5 – 32: Work for pattern alternating sc and hdc rows.
This will take you to the waistline where we will begin decrease rows to create a taper. You may continue adding rows if you prefer a longer cardigan.
Row 33: This should be a sc row. SC in ea st for 42 (62, 82) sc’s, leaving the last st unworked. Ch 2. Turn
Row 34: HDC in ea st. 42 (62, 82) HDC. Ch 1. Turn
Row 35: SC in ea st to the last st. Leave the last st unworked. 41 (61, 81) sc’s. Ch 2. Turn

Rows 36 – 69 (79, 89): Continue working in this manner, decreasing on the sc rows on only one side. Tie off yarn at the end of last row.
For the 2nd front panel you will need to reverse the decrease rows for the tapering. Rather than work the dec’s on the end of the sc row, you will work the dec at the beginning of the sc row.
Do this by ending the hdc row working the last hdc and turning the work without chaining. Then sl st into the 1st st, work a sc into the next st. This creates a dec at the beginning of the sc row.
BACK PANEL (make 1)
Ch 85 (125, 165)
Rows 1 – 67 (77, 87): Follow pattern as for the front panels for 83 (123, 163) st’s.
Neck shaping: On Row 67 (77, 87) add st markers to st # 25 (45, 65) and #60 (80,100).
Row 68 (78, 88): HDC in ea st until you reach the 1st st marker. Work 4 (5, 6) hdc2tog evenly spaced between the st markers, working hdc’s between the hdc2tog. Hdc in remaining st’s. Ch 1. Turn
Row 69 (79, 89): Sc in ea st until you reach the 1st hdc2tog from the previous row. Work a sc2tog over the next 2 st’s for a dec. Sc in ea st until you reach the next hdc2tog and work a sc2tog. Work a sc2tog over ea hdc2tog. Sc in remaining st’s. Tie off yarn.
SLEEVES (make 2)
Ch 45 (55, 65)
Row 1: HDC in 3rd ch from hook and in ea ch. 43 (53, 63) hdc’s. Ch 1. Turn
Row 2: Sc in ea st. 43 (53, 63) sc’s. Ch 2. Turn
Row 3 – 46 (52, 58): Continue working in pattern, alternating hdc and sc rows for 43 (53, 63) st’s on ea row. End on a sc row. Tie off yarn.
BELT
Ch 8 (12, 16)
Row 1: sc in 2nd ch from hook. 7 (11, 15) sc’s. Ch 2. Turn
Row 2: hdc in ea st. 7 (11, 15) hdc’s. Ch 1. Turn
Row 3: sc in ea st. 7 (11, 15) sc’s. Ch 2. Turn
Repeat rows 2 and 3 for 60 inch long belt.
SEAM SHOULDERS
With wrong sides facing up, position the front panels along the top of the back panel as shown in photo. Using yarn needle, length of yarn, and a whip st, seam at shoulders.
ATTACH SLEEVES
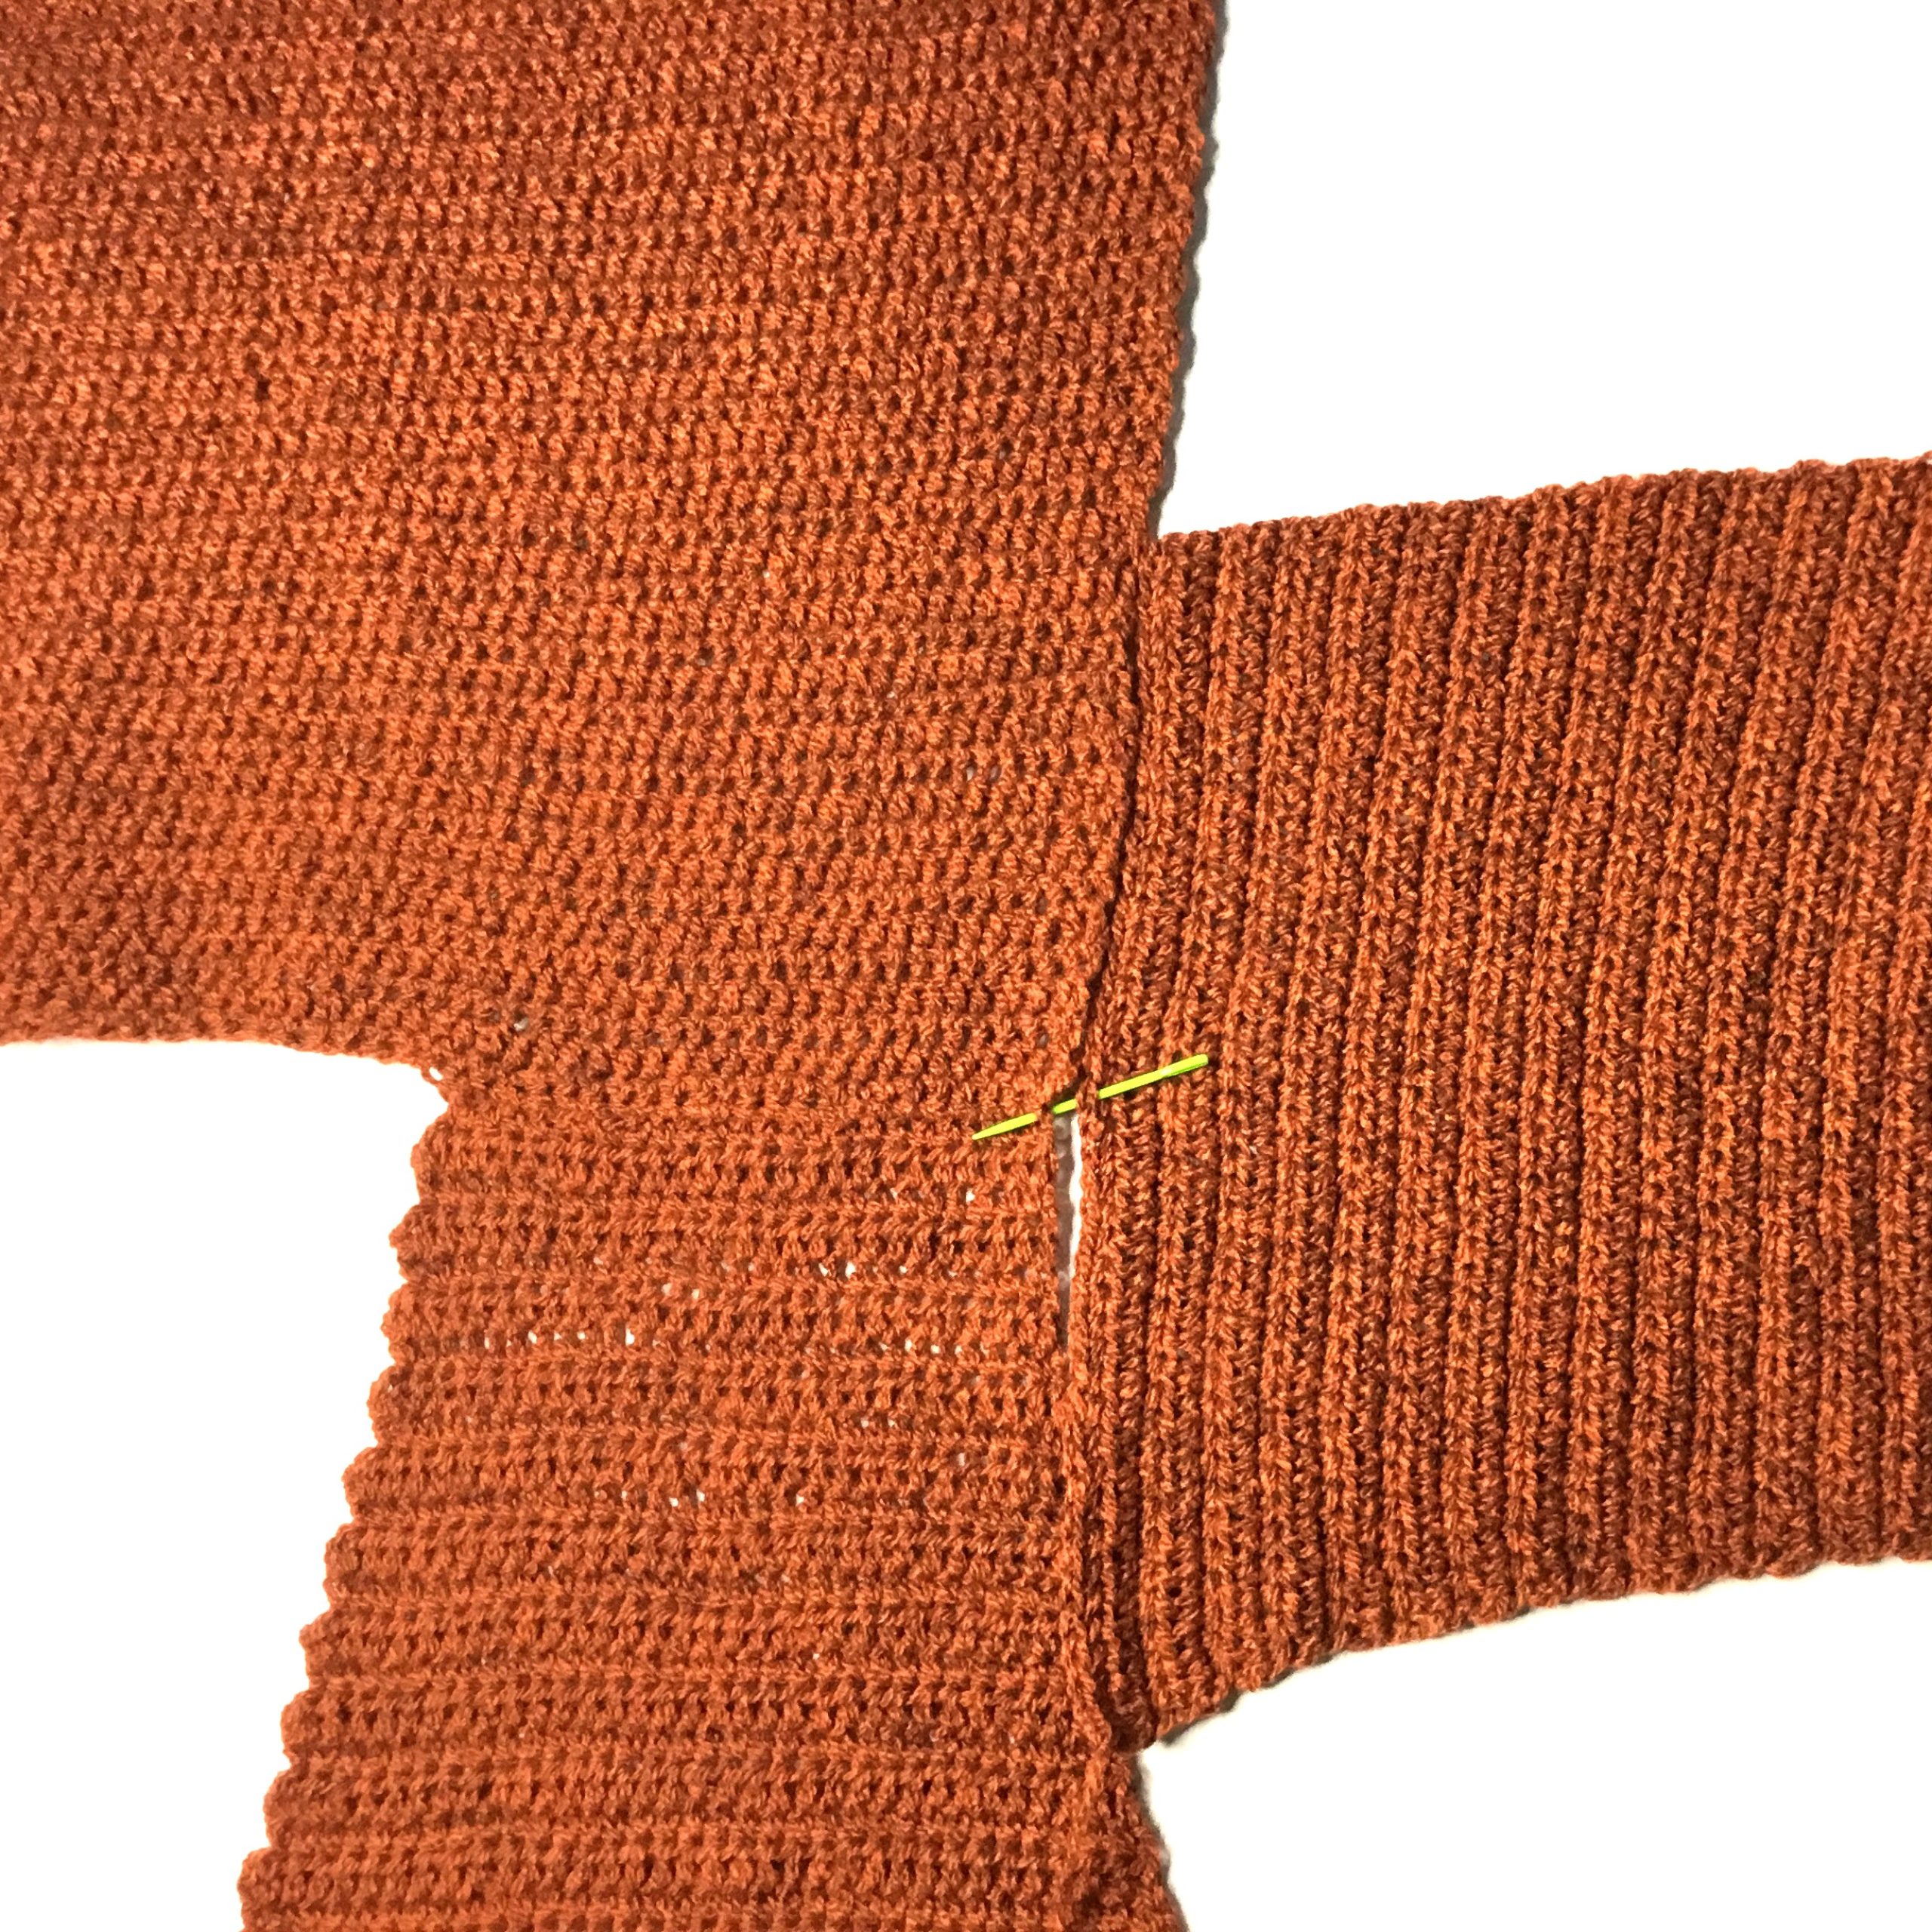
Position sleeves as shown in photo centering with the shoulder seam. Use yarn needle, length of yarn and whip st to seam. NOTE: Place the sc edge of the sleeve along the body. The hdc row is at the wrist end.
SEAM SIDES
Use yarn needle, length of yarn and whip st to seam along the sides and the bottom of sleeves.
SLEEVE RIBBING
Working with right side facing you, attach yarn at the bottom sleeve seam with a ch 1 to lock in the yarn. Ch 1 more for 2 ch’s total. Work alternating FPHDC and BPHDC around the sleeve opening skipping every few posts to tighten up the opening to your preferred width.
FRONT BORDER
Work one row of sc’s along the front and back neck.
Attach yarn at bottom hem, in the ribbing corner, with a ch. Sc in same st and evenly along the front edge. As you work the sc’s along the back neck, you should skip every few st’s to further tighten up the neck edge (if the neck opening is too wide for your preference).
BELT LOOPS

With right side of cardigan facing you, attach yarn at the waist line and ch 11 (15, 19). Attach the ch about 3 inches above the previous attachment with a sl st. Tie off. Work tails into the wrong side and weave in.
Copyright © 2022 Sylvia Talo You may sell items made from my patterns. Please include a link or reference to my shop CrazyCoolCrochetUS.etsy.com . Pattern and photos are copyright protected; they may not be reproduced, redistributed, or displayed publicly in any way.
You May Also Like


[…] crazycoolcrochet […]
[…] crazycoolcrochet […]