Easy Crochet Pillow Cover Color Blocks
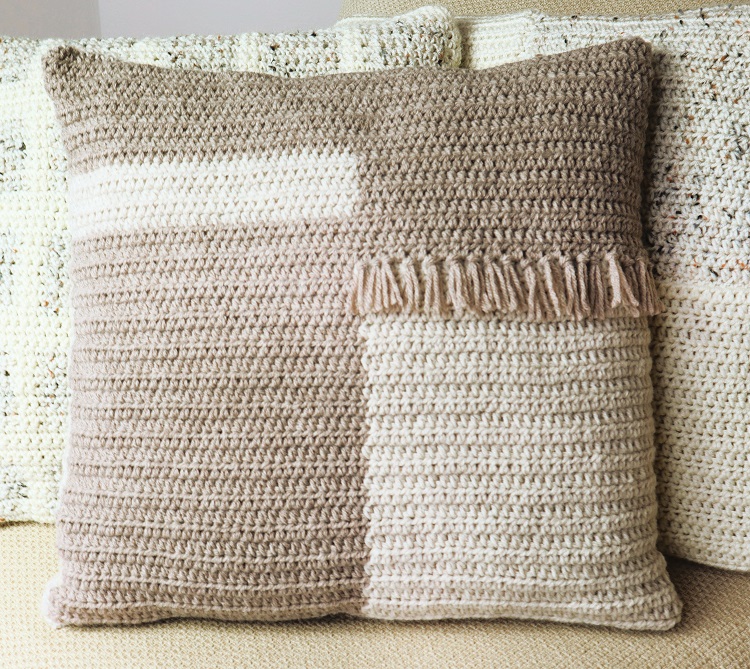
Easy crochet pillow cover color blocks in muted, soothing tones. This crochet cushion cover is perfect in farmhouse style decor. The pop of fringe makes this crochet pillow special.
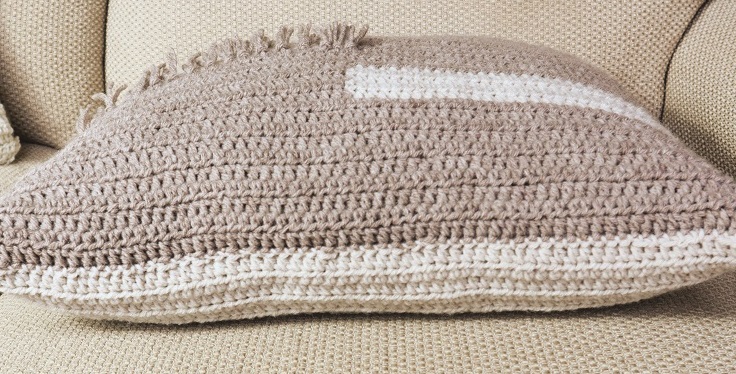
You may view the video tutorial below provided for your convenience. Please be sure to subscribe on YouTube by clicking the little red button at the bottom of the video. Your support of my work is very much appreciated!
The printable Etsy pattern will follow shortly. In the meantime please visit my Etsy shop to see my other crazy cool crochet patterns: CrazyCoolUS.etsy.com
This post contains affiliate links which means I may earn a small commission from purchases made from these links at no additional cost to you.
Materials:
Lion Brand Wool Ease #4
Used 4 ounces of Linen (lighter color); 2 ounces of Oatmeal (medium color)
Crochet hook H / 5 mm
Yarn needle
Purchase supplies here:

NOTE: Photos appear above corresponding rows
NOTE 2: To ensure a clean seam as you work the color changes on each row, when completing the hdc for the color changes, tug slightly on the two strands of yarn (ea color) for smoother color blending.
NOTE 3: Keep yarn strands to the wrong side of the panel when changing colors.
NOTE 4: Unless otherwise instructed, do not enter the hook into the spaces between the hdc’s; enter the hook into the two strands that form a chain on top of the previous row.
FRONT PANEL
FOUNDATION ROW: With medium color ch 33. Drop current color and pick up light color for an additional 34 ch’s. Ch 2. Turn
Row 1: hdc in 1st ch and the next 31ch’s; begin the next hdc (#33) for 3 loops on hook; drop current color to the back of the work, pick up next color to complete the hdc. hdc in the remaining 33 ch’s. Ch 2. Turn
Row 2: hdc in 1st sp and the next 31 sp’s. Begin the next hdc (#33) for 3 loops on the hook; drop current color to the wrong side of the work, pick up the next color to complete the hdc. Hdc in the next 32 sp’s; enter the next hdc (#33) into the turning ch. Ch 2. Turn
Row 3 – 27: Repeat row 2
Row 28: Work in the pattern using only the medium color. You may cut off the light color yarn leaving a 5 inch strand to weave in. Ch 2. Turn
Row 29 – 30: Continue in the pattern with medium color. Ch 2. Turn
Row 31: Repeat Row 2 bringing back the light color in the center of row. Ch 2. Turn
Row 32 – 35: Continue in pattern. You will have 5 rows of the light color. At end of Row 35 drop light color and attach medium color (you will have cut off the medium color from the center of panel) . Cut off the light color yarn. Ch 2. Turn
Row 36 – 45: Continue in pattern with medium color. At end of last row tie off yarn.
BACK PANEL
With light color yarn ch 67.
Row 1: hdc in 2nd ch from hook an in ea ch across. 66 hdc. Ch 2. Turn
Row 2 – 45: hdc in 1st sp and ea sp across, entering the last hdc into the turning ch. 66 hdc. Ch 2. Turn. Tie off yarn at end of last row.
FRINGE
With medium yarn, wrap around any object aprox 3 inches high. I used a small pack of gum. Cut strands of yarn at bottom.
Using strands about 5 inches long, hold 2 lengths of yarn (folded in half) with one hand, insert hook between rows where the two colors meet on the panel. Grab the 2 lengths of yarn with hook, pulling through the space forming a loop large enough to pull the strands though. Tighten slightly to form knot and secure. Repeat about every other space until you reach the color change on the row.
Trim bottom of fringe as needed for about 2 inch length tassels.
ATTACH PANELS
With right sides together, wrong side facing you, seam panels with yarn needle using whip st. Insert needle under two strands of ea panel. Seam for sides then turn right side out to insert pillow. Seam the remaining side with the whip st. Tie off yarn.
Copyright © 2020 Sylvia Talo You may sell items made from my patterns. Please include a link or reference to my shop CrazyCoolCrochetUS.etsy.com . Pattern and photos are copyright protected; they may not be reproduced, redistributed, or displayed publicly in any way.
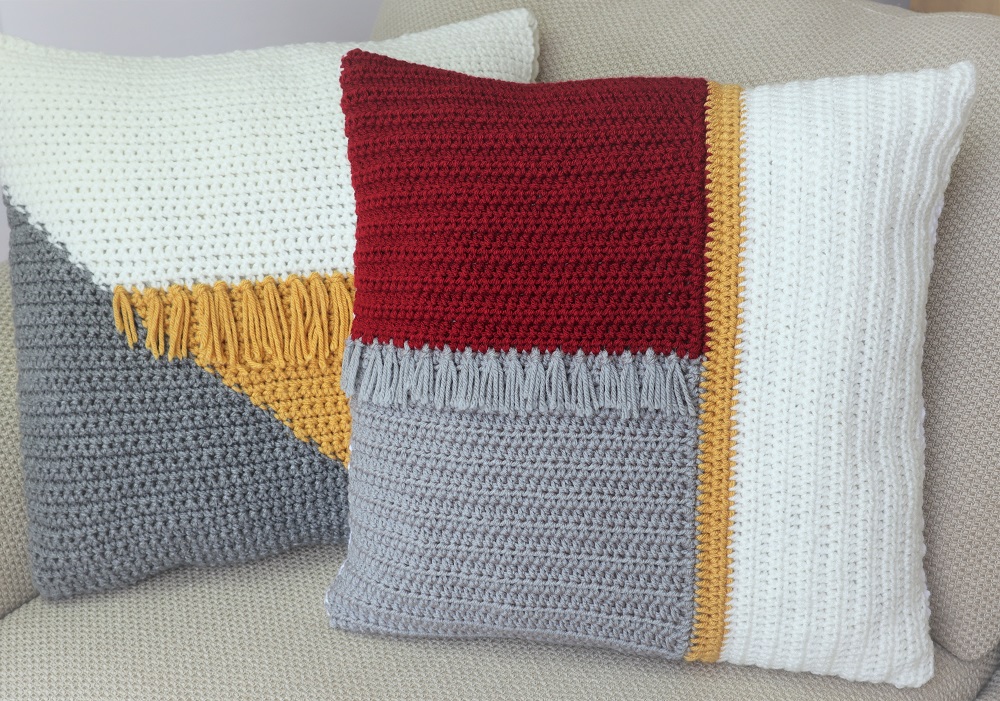
You might also enjoy this crochet pillow cover in color blocks:


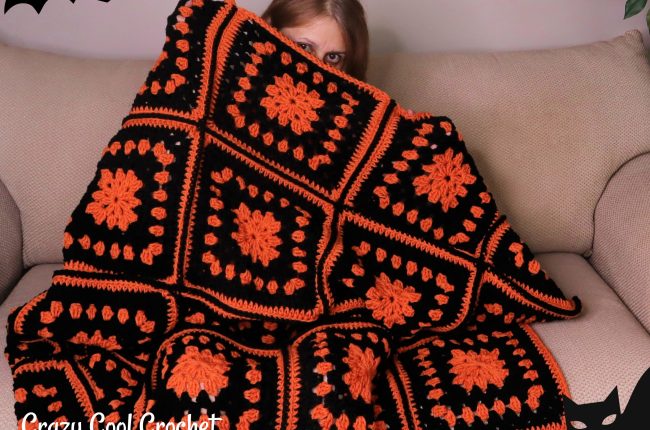
Hi, I love these cushions and am wondering when you are going to add the photos. Thanks Julie
Thank you for the question.
Unfortunately, I don’t have access to the photos for this pattern. This is an older design and I lost quite a few files when my computer died. That must’ve been prior to everything being on the “cloud”. Maybe the video tutorial above would help?
Sylvia