Easy Crochet Pocket Shawl
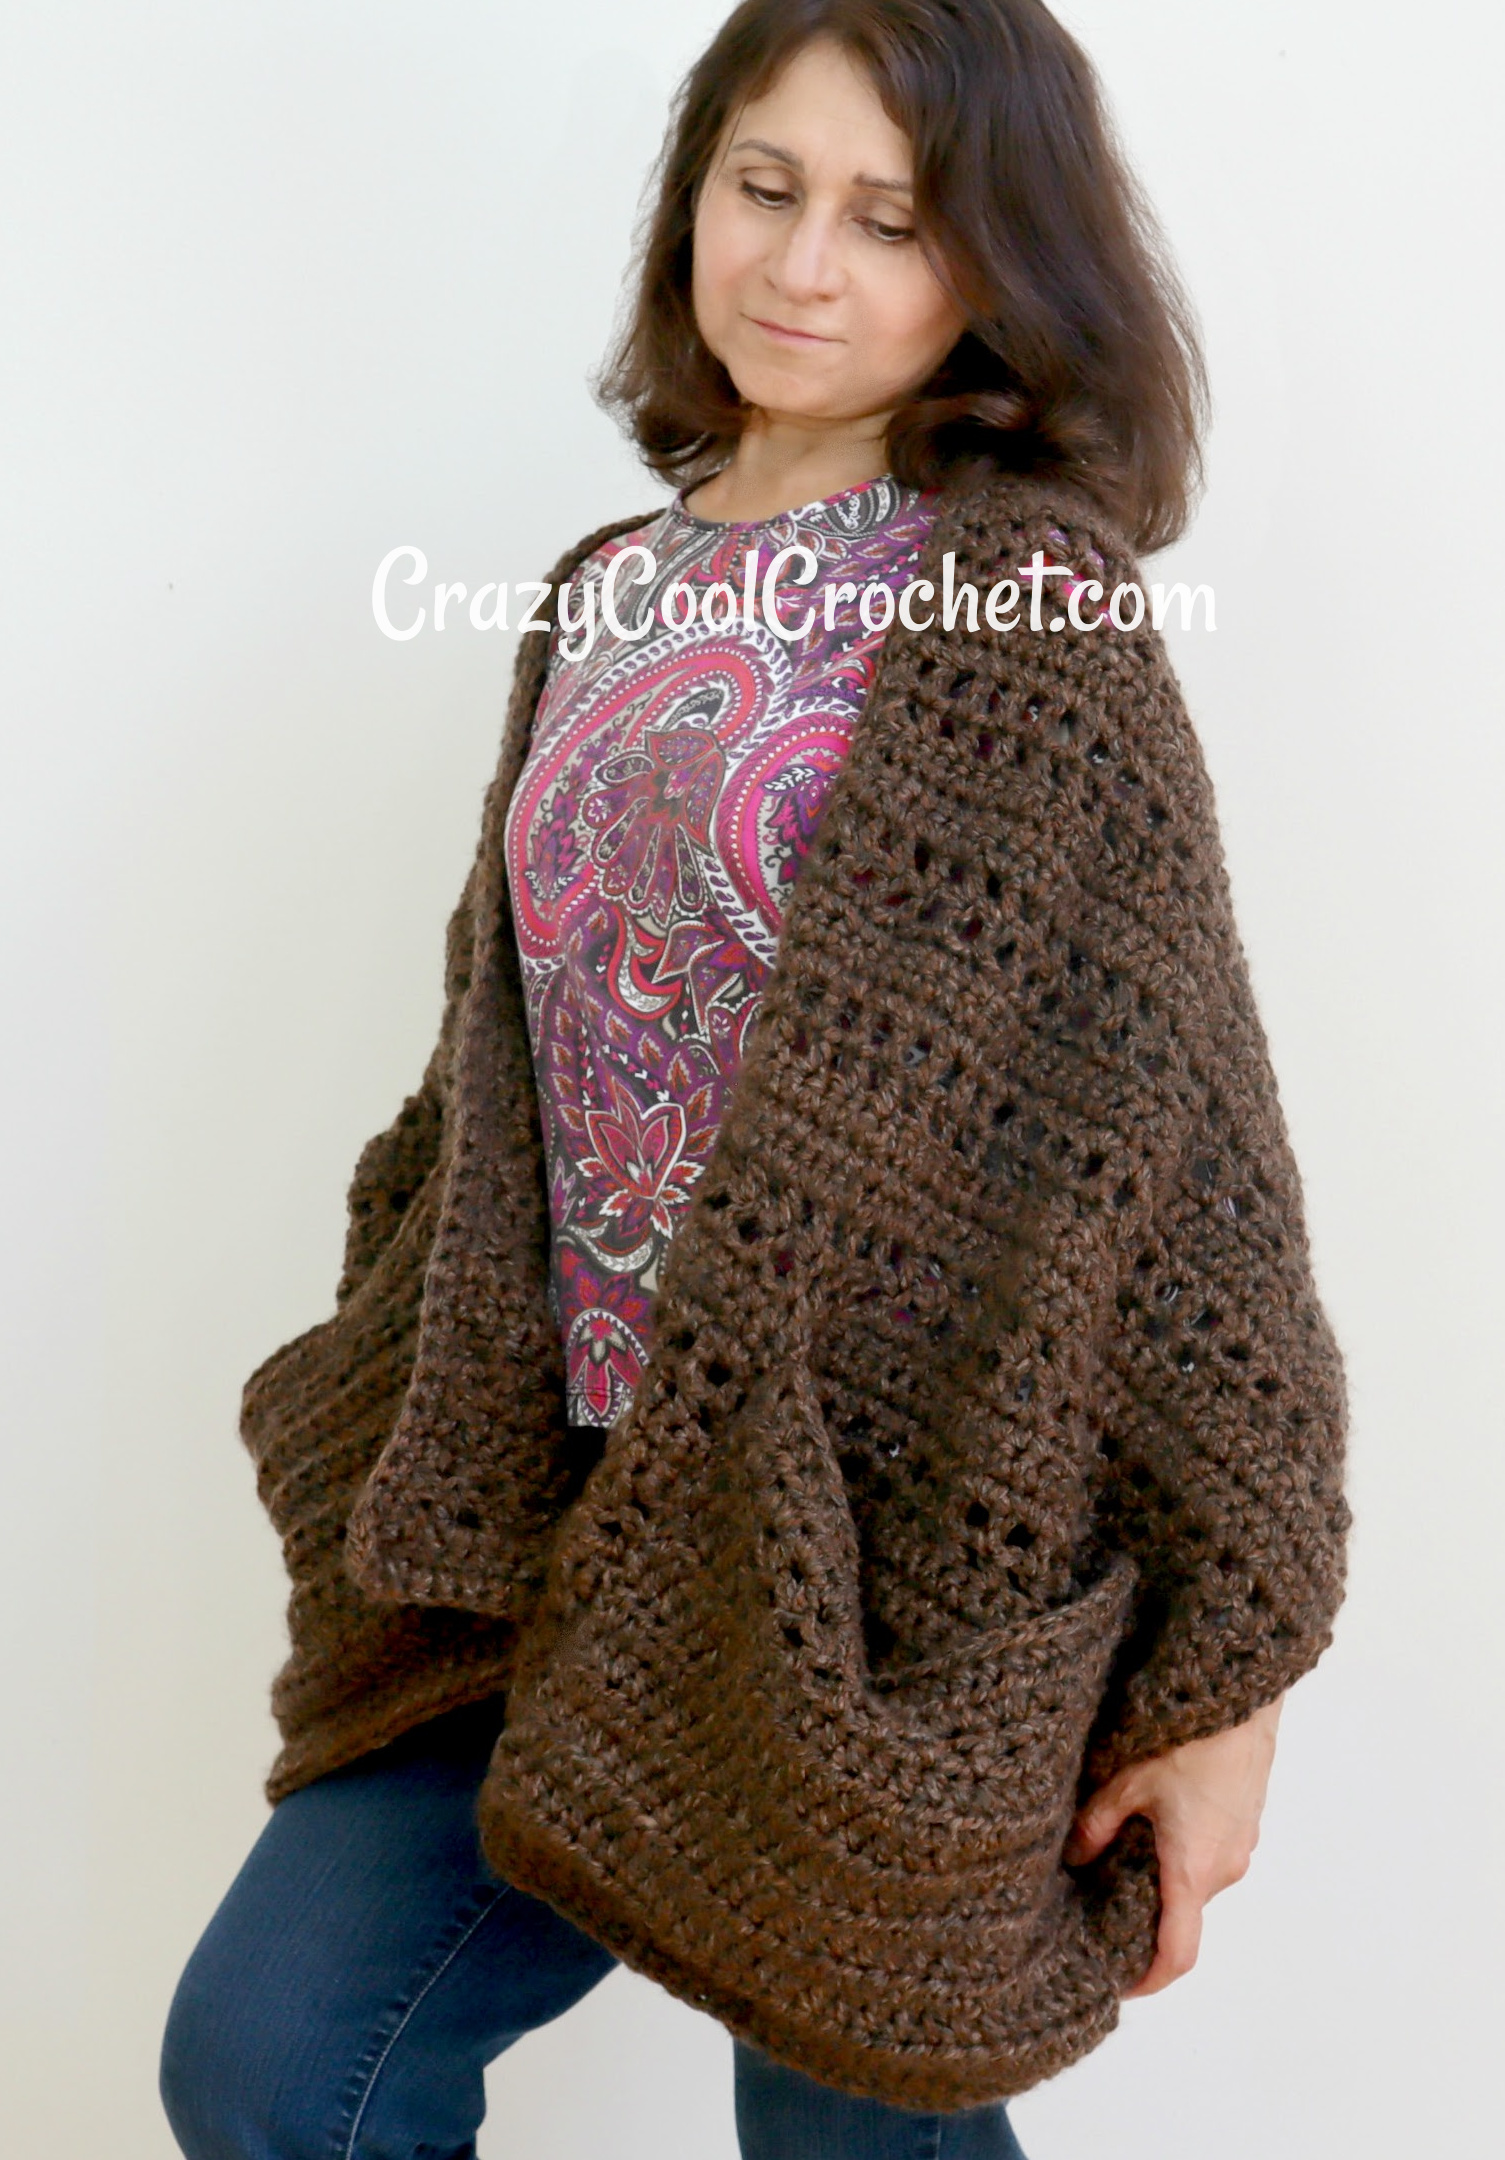
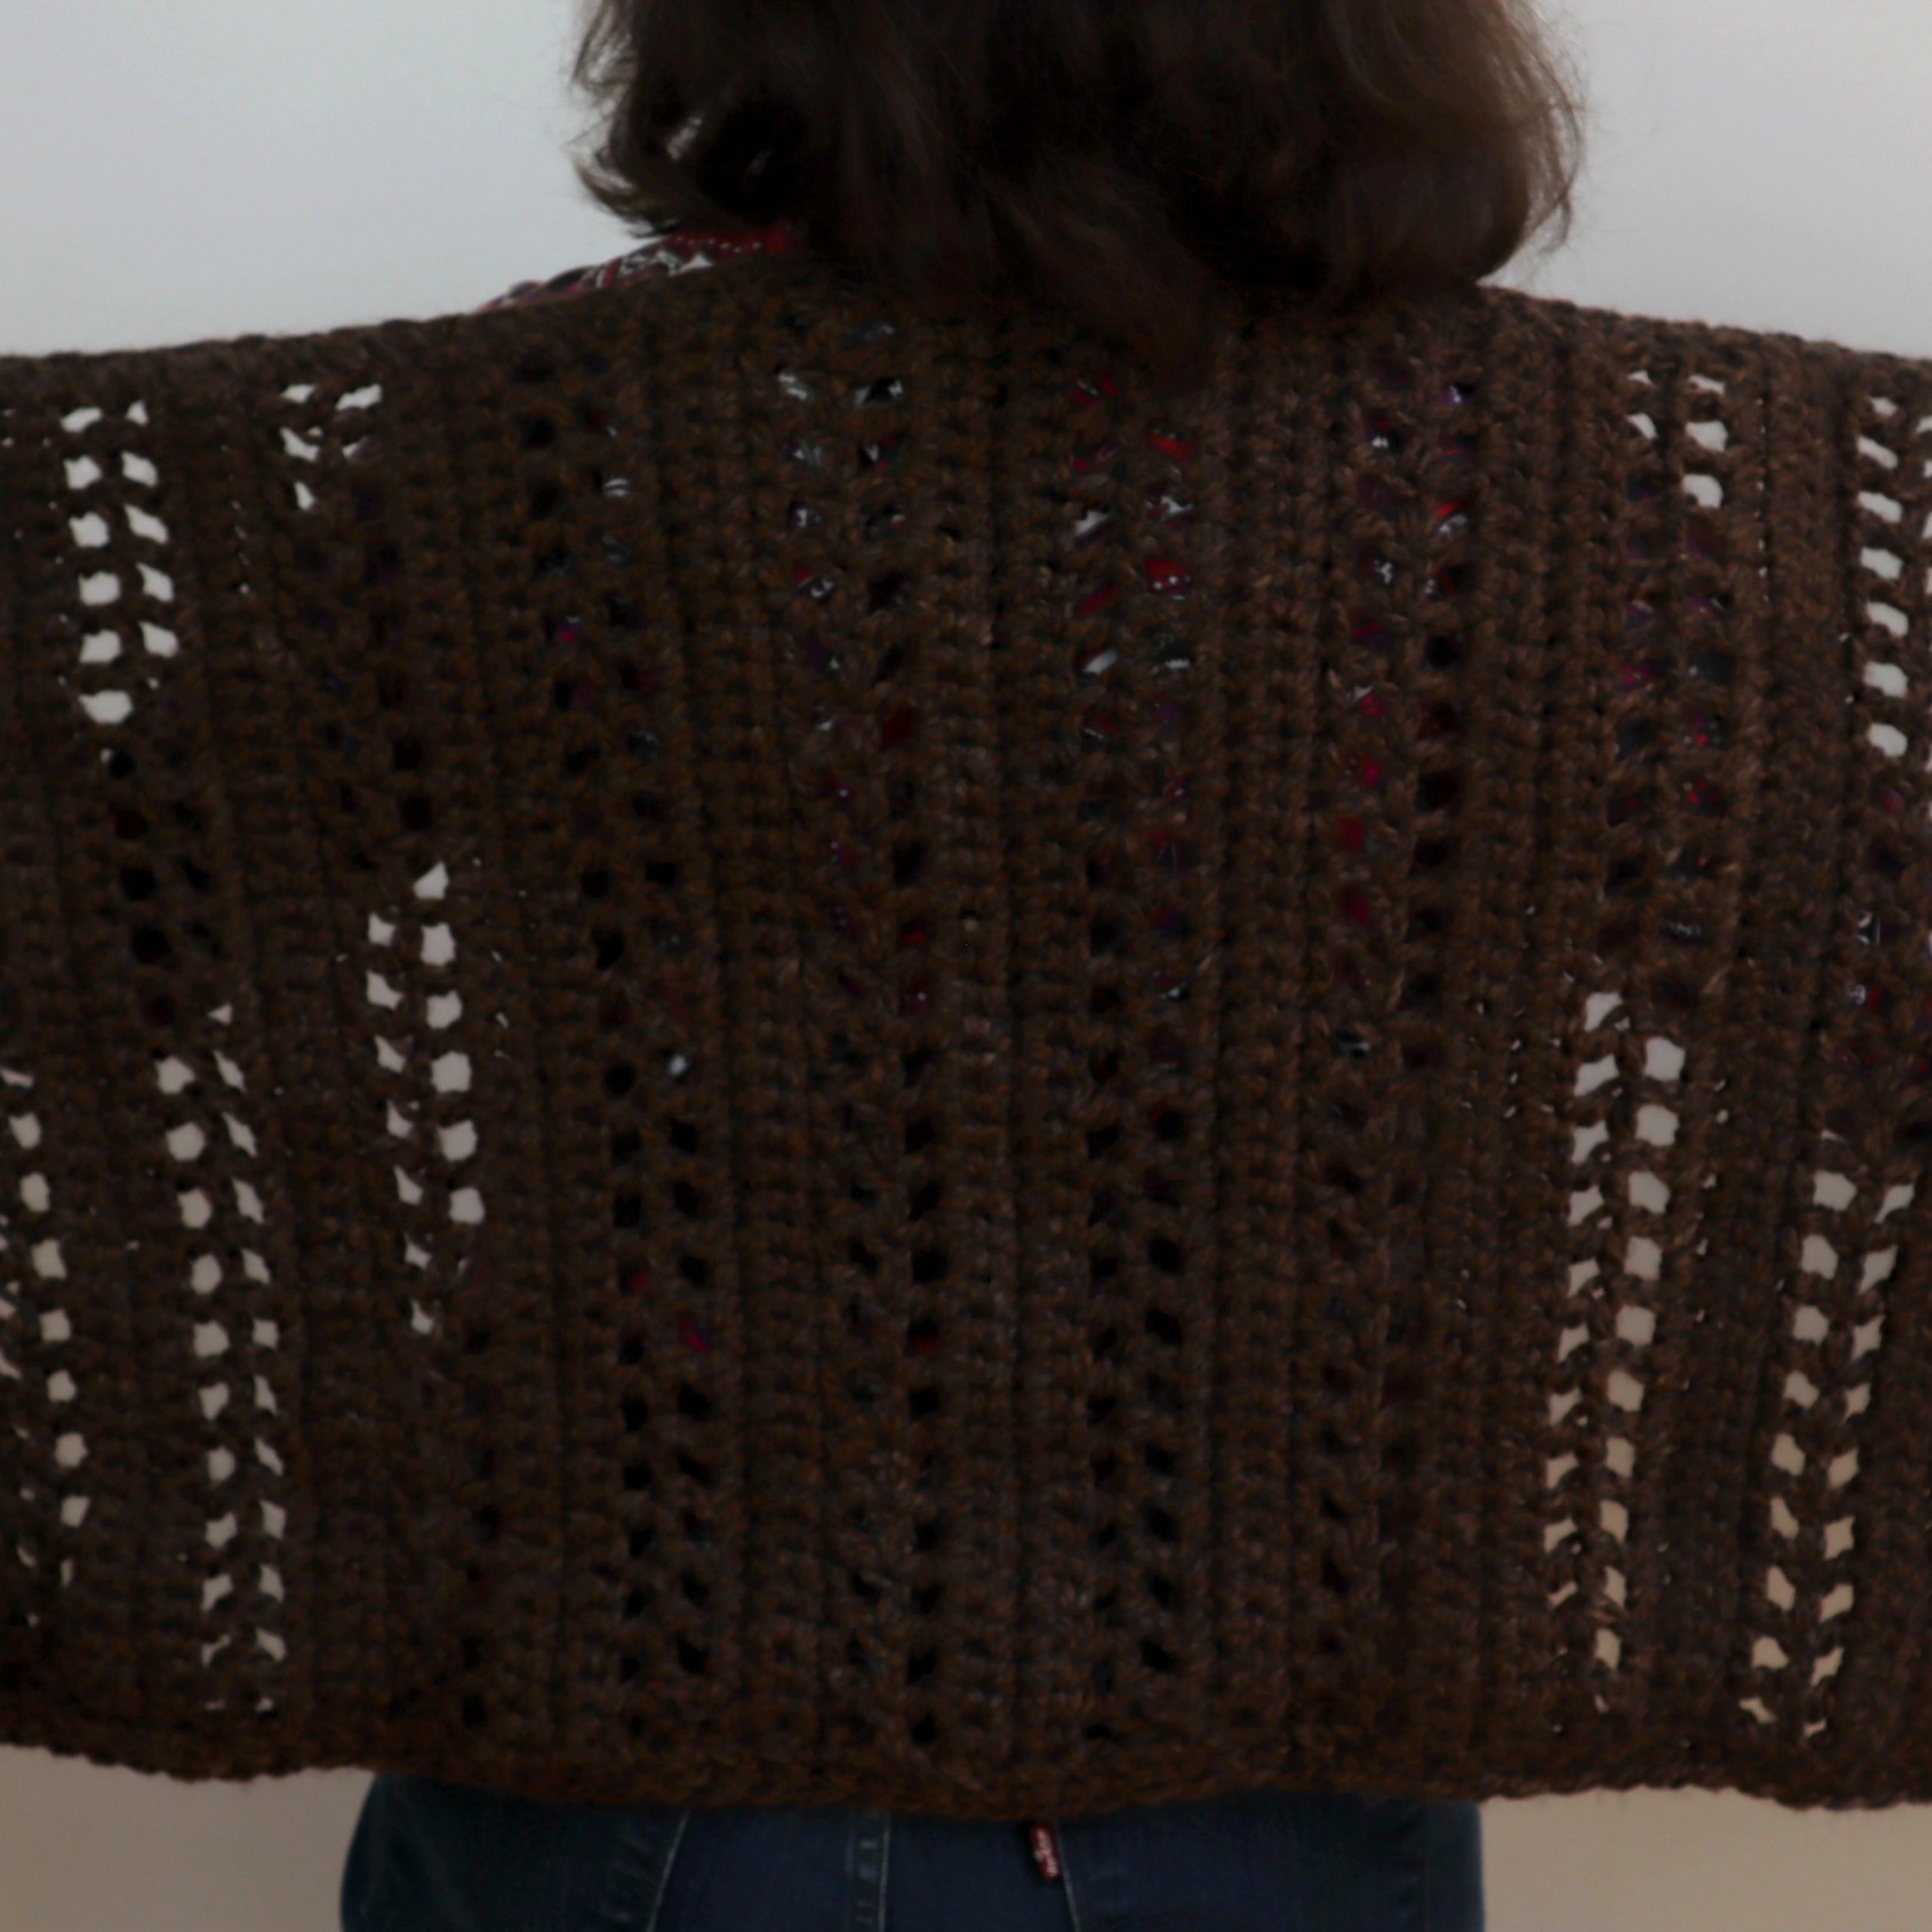
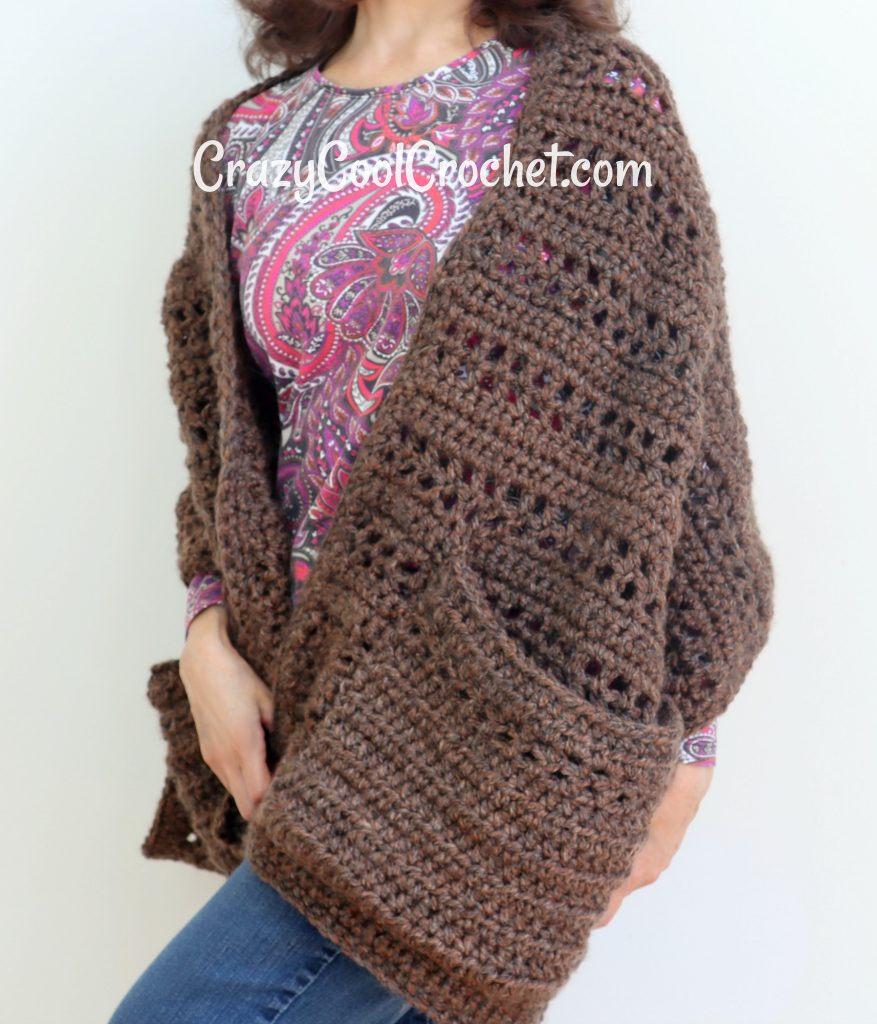
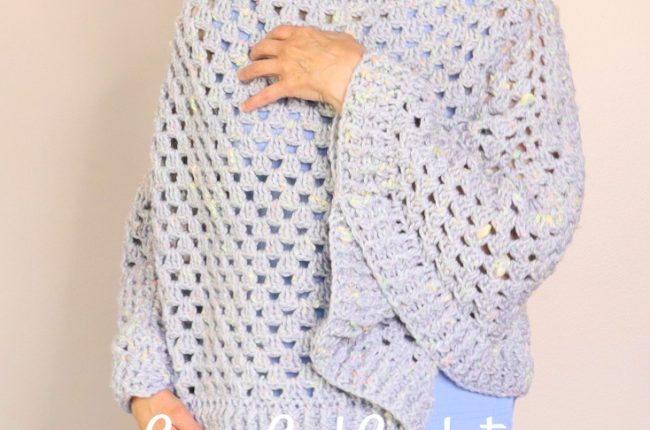
This version of the super popular pocket shawl is designed especially for crochet beginners! This easy crochet pocket shawl is made with chunky yarn to work up super fast. Free crochet patterns! The video tutorial is below.
The video below is for your convenience and accompanies the written pattern. Please subscribe if you would like to support my efforts. I provide quite a lot of free crochet patterns, both written and video tutorials. This takes quite a lot of time and effort and while it is a totally enjoyable endeavor, this crochet business, Crazy Cool Crochet, is my only source of income. Your support, by subscribing to this blog and to my YouTube channel would be very helpful and very much appreciated. I also offer printable crochet patterns of my designs at my Etsy shop: CrazyCoolCrochetUS.etsy.com
This post contains affiliate links which means I may earn a small commission for purchases made through these links at no additional cost to you.
The printable version of this pattern will have more photos and is available at my Etsy shop: CrazyCoolCrochetUS.etsy.com
Size Small/Medium
For larger sizes:
Small/Medium – starting chain of 44 chains
Large/Extra Large – starting chain of 50
For extra length, add more rows as explained in the video. Then follow the pattern.
The change in the starting chains affects the width.
Materials:
Yarn used:
I Love this Chunky; color Heathered Brown
May substitute with equivalent #5 yarn:

Used 21.5 ounces or 675 yards (Small/Medium)
Crochet hook L / 8mm
Yarn Needle
Dimensions:
19 inches wide (includes the border)
57 inches long
NOTE: Unless otherwise directed, work st’s entering the hook under the two-strand chain that forms at the top of completed st’s, not in the spaces next to the st’s.
NOTE 2: Photos appear above corresponding rows.
MAIN PANEL
Ch 44
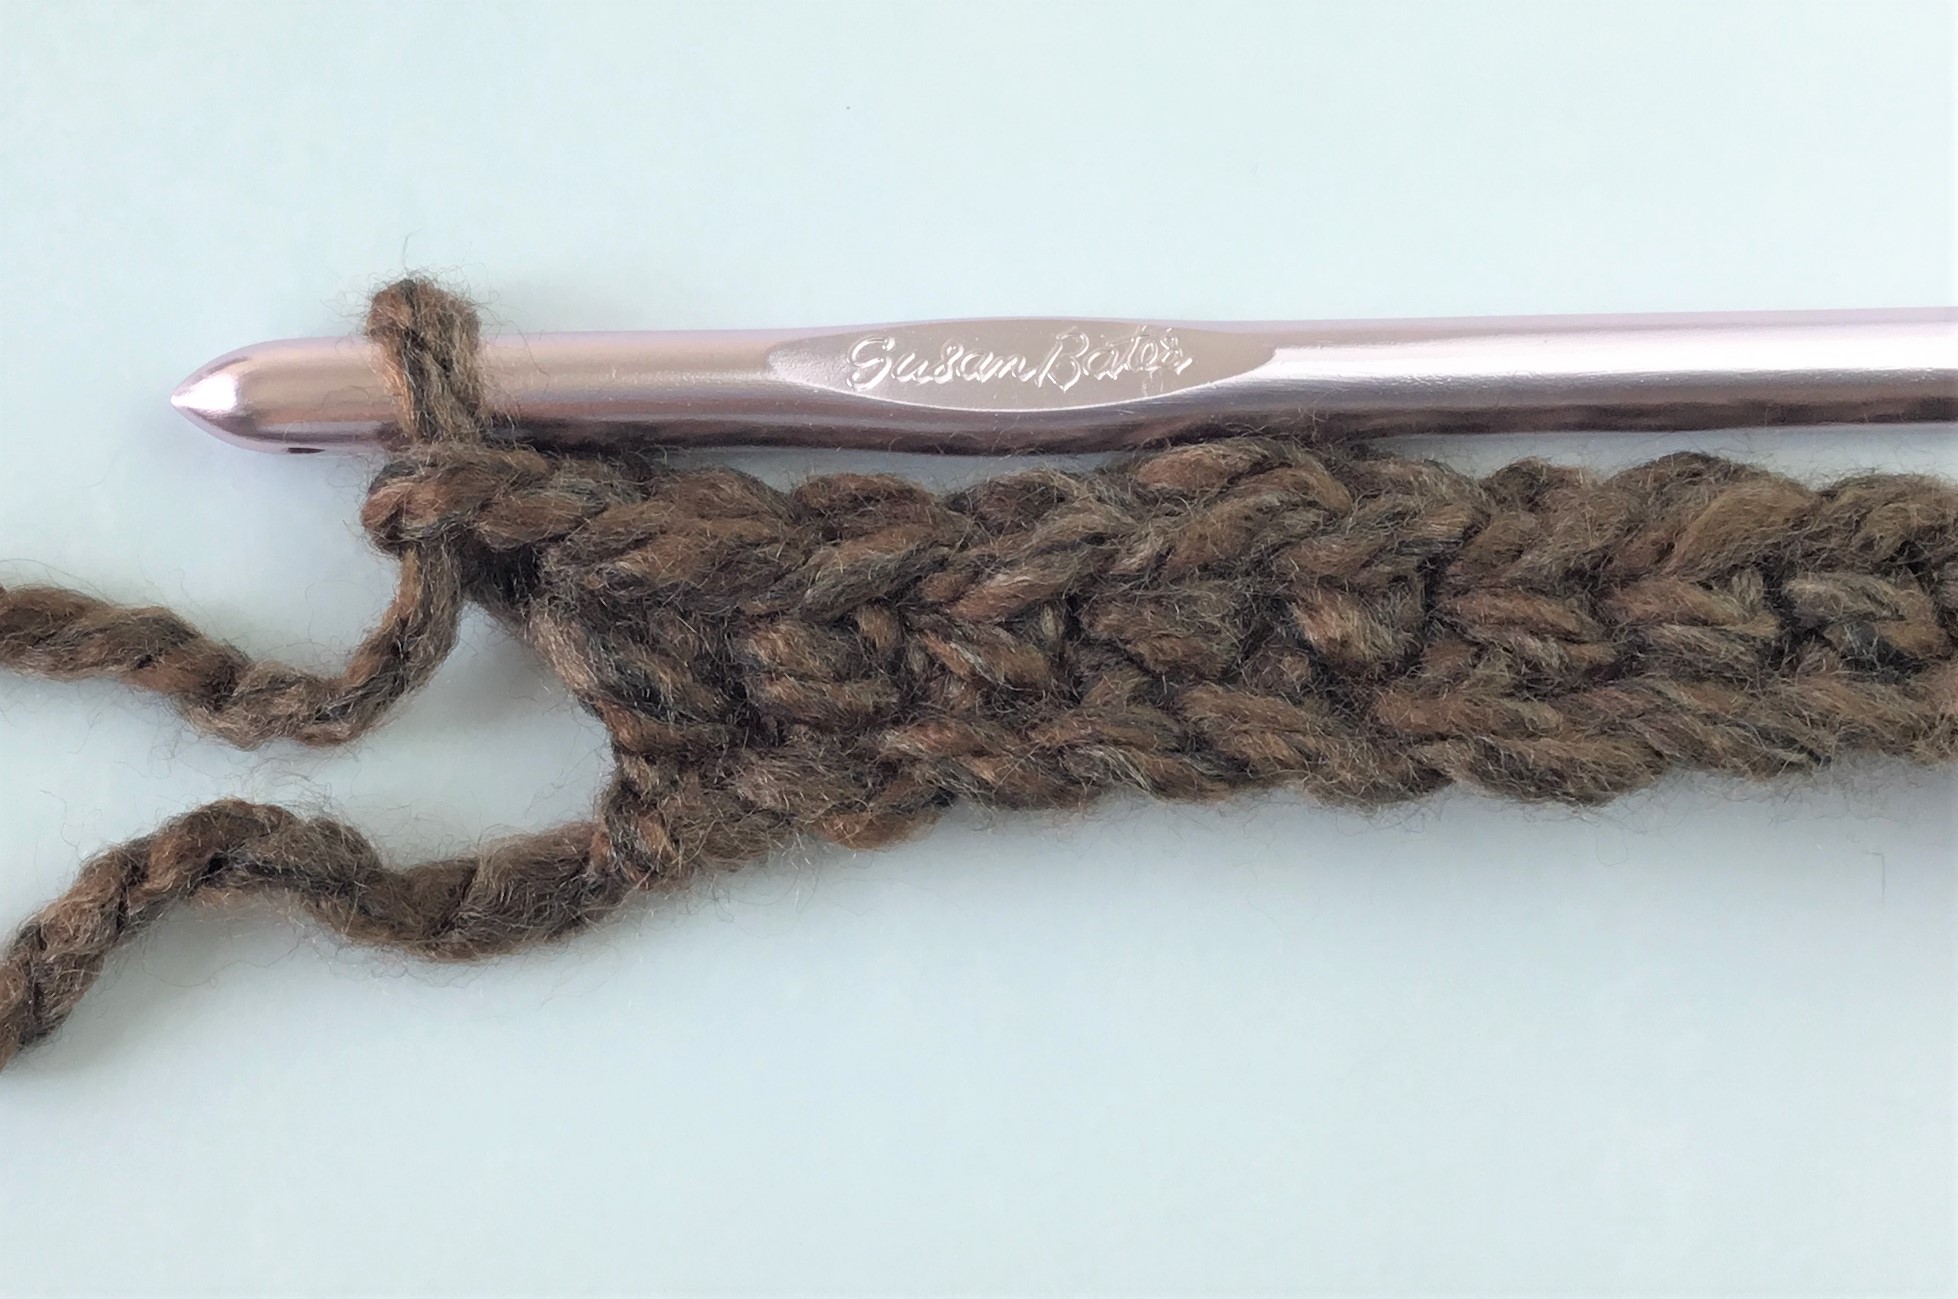
Row 1: sc in 2nd ch from hook and each ch across. 43 sc’s. Ch 1. Turn.
Row 2: sc in 1st sp and ea sp across. Ch 1. Turn. 43 sc’s
Row 3: repeat Row 2. At end of row ch 3. Turn

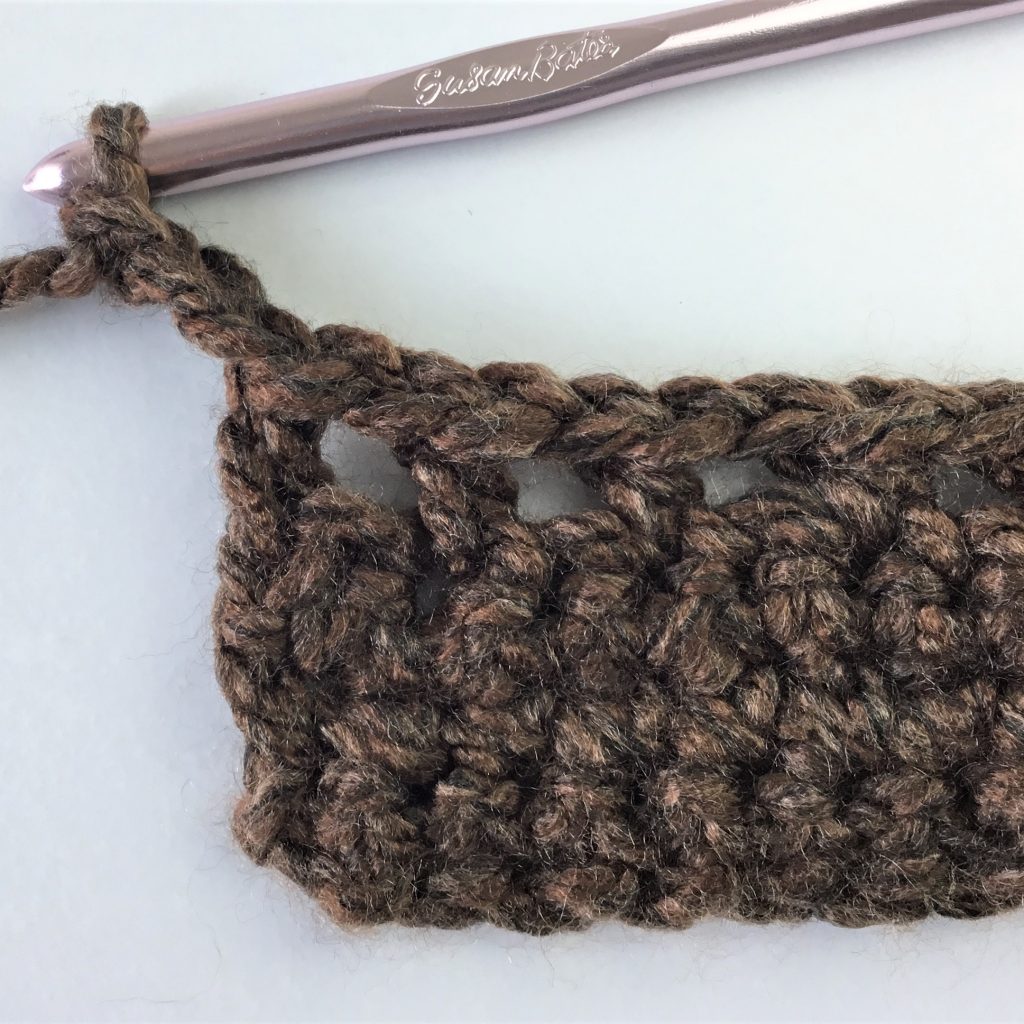
Row 4: sk 1st sp; hdc in next sp; *ch 1; sk next sp; hdc in next sp*. Repeat from * to * to end. Work the last ch, enter last hdc in turning ch. You will have 22 “windows”. Ch 3. Turn
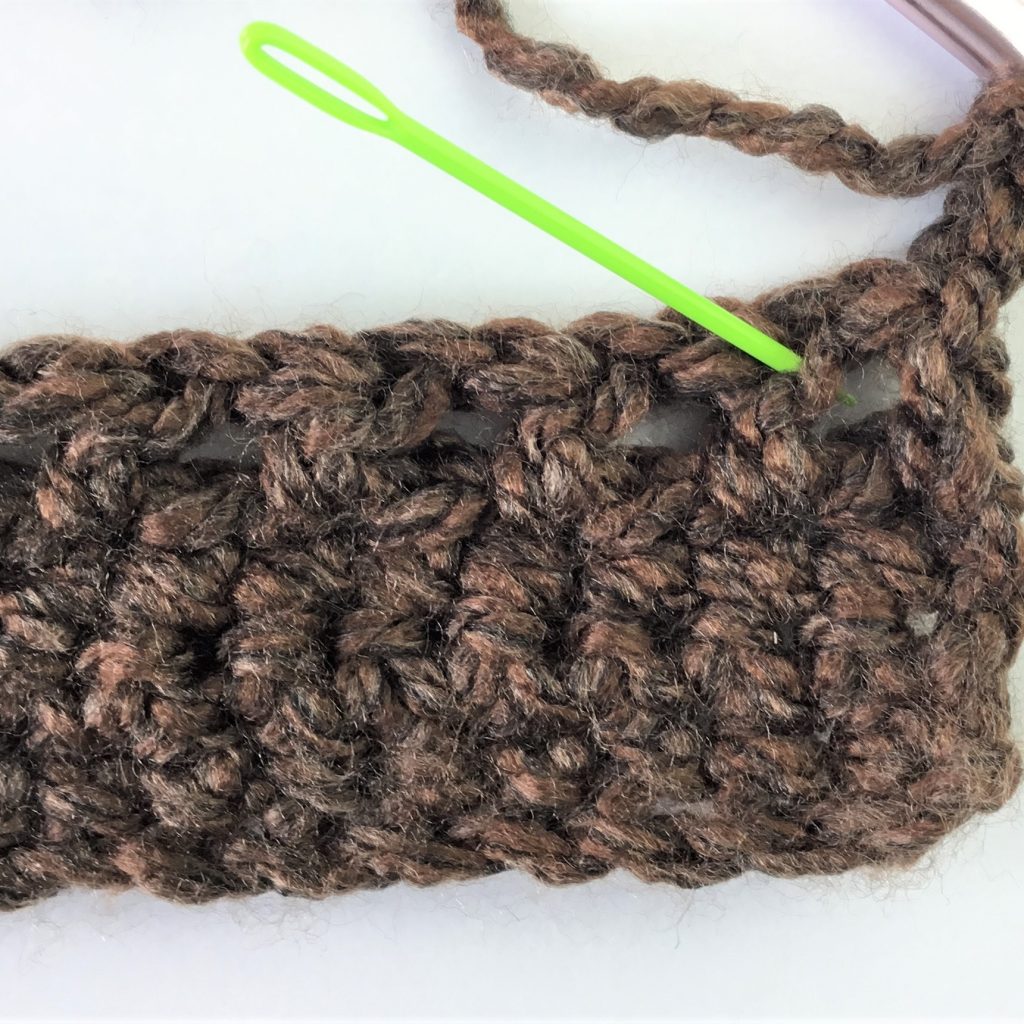

Row 5: hdc into top of 1st hdc post below; ch 1;* hdc into top of next hdc; ch 1*. Repeat from * to * to end, entering last hdc into turning ch. You will have 22 “windows”. Ch 1. Turn
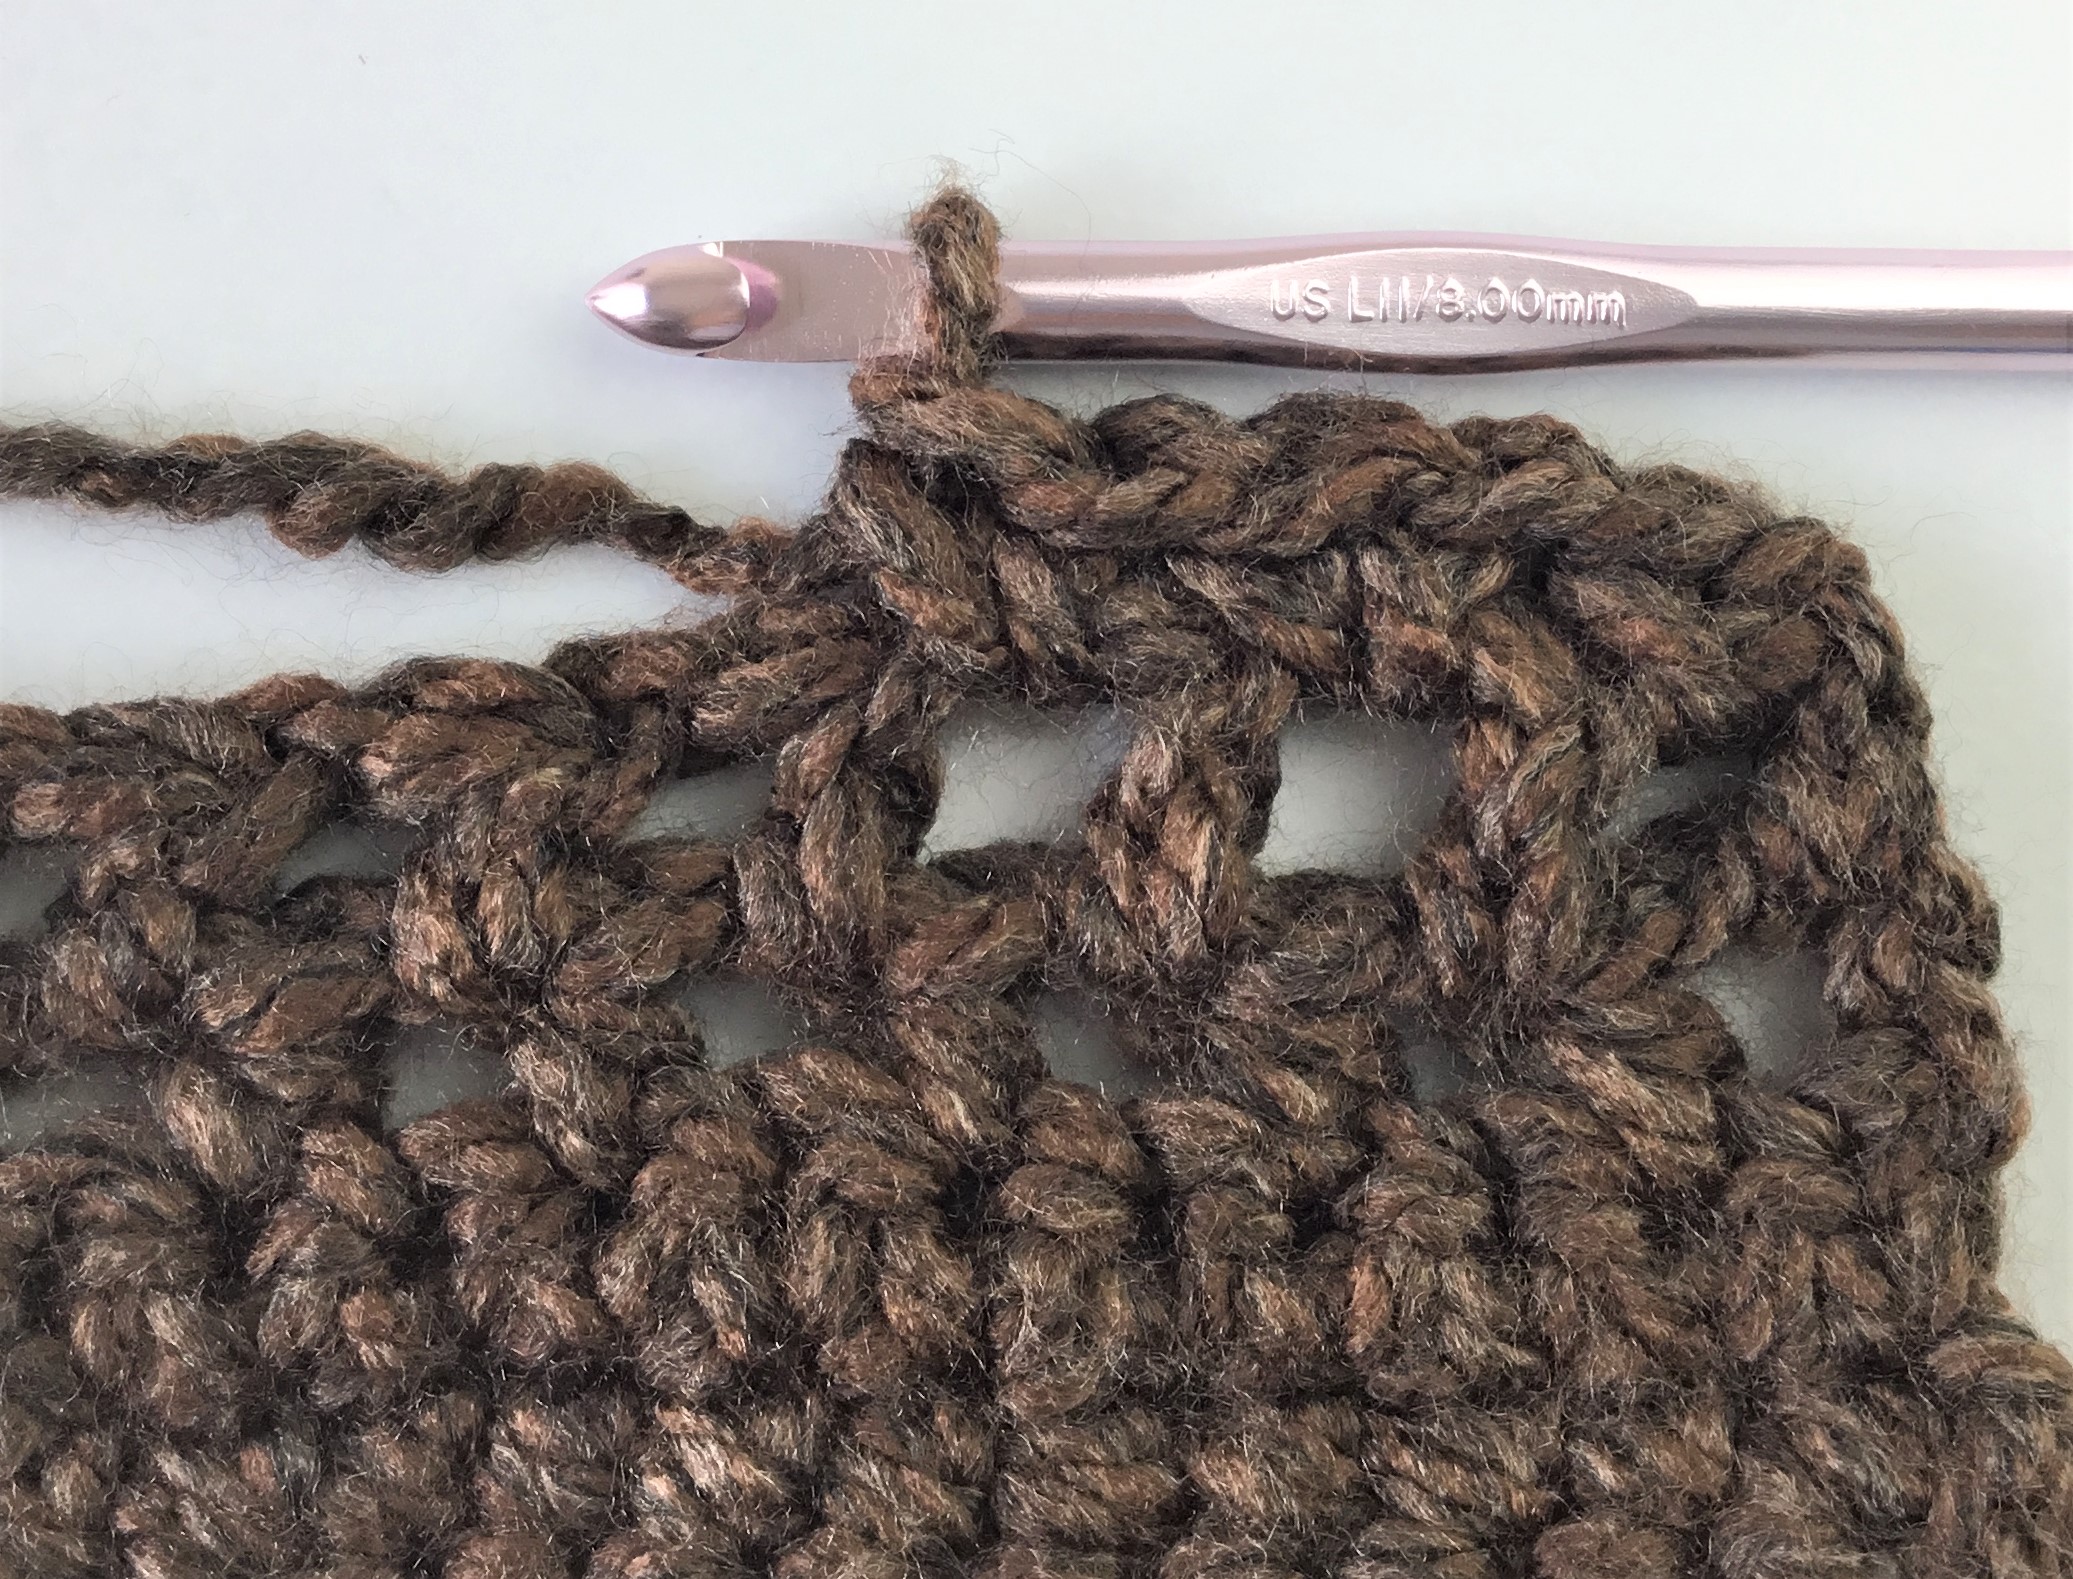
Row 6: sc into 1st sp (the “window”); 2 sc in next sp and ea sp to last sp. 1 sc in last sp; sc in turning ch. 43 sc’s. Ch 1 Turn
Row 7: Repeat Row 2
Row 8: Repeat Row 3
Continue in pattern repeating rows 4 – 8 for 3 rows of sc’s and 2 rows of hdc’s for a total of 113 rows ending with the sc rows. You will end with the right side facing you. At end of last row tie off yarn.
BORDER
Row 1: Working with wrong side facing you, attach yarn with a chain at the bottom corner of the panel (the long edge). Sc in same sp. Enter sc’s evenly spaced along the edge. Avoid entering sc’s in the larger sp’s by entering the hook into two strands of the edge. See arrow in photo.
Row 2: sc in 1st sp and ea sp across. Tie off yarn.
Repeat for the other long edge.
You may add sc rows if you prefer a wider border.
POCKET (make 2)
Ch 28
Row 1: Sc in 2nd ch from hook and ea ch across for 27 sc’s. Ch 2. Turn
Row 2: hdc in 1st sp and ea sp across. 27 hdc’s. Ch 2. Turn
Row 3 – 11: Repeat Row 2. At end of Row 11, ch 3. Turn SEE NOTE BELOW
NOTE: enter hook into the 2 strand ch that forms at the top of previous row. Do not enter hook into the sp’s between posts. See arrow in photo.
Row 12: sk 1st sp; hdc in next sp; *ch 1; sk next sp; hdc in next sp*. Repeat from * to * to end. Work the last ch, enter last hdc in turning ch. Ch 3. Turn
Row 13: hdc into top of 1st hdc post below; ch 1;* hdc into top of next hdc; ch 1*. Repeat from * to * to end, entering last hdc into turning ch. Ch 2. Turn
Row 14: hdc in 1st sp; 2 hdc in next sp and ea sp across to last sp. Hdc in last sp; hdc in turning ch. 27 hdc Ch 2. Turn
Row 15: hdc in 1st sp and ea sp across. 27 hdc. Tie off yarn.
ATTACH POCKETS TO PANEL
With right side of panel facing up and right side of pocket facing up, position pocket about one inch from the bottom and evenly positioned from both edges.
Using a yarn needle and length of yarn, attach using a whip stitch, beginning at top left of pocket and stitching down the left edge of pocket, along the bottom and up the right edge of pocket. Tie off yarn.
Weave in tails.
Enjoy!
Copyright © 2020 Sylvia Talo You may sell items made from my patterns. Please include a link or reference to my website CrazyCoolCrochet.com and/or to my Etsy shop CrazyCoolCrochetUS.etsy.com . Pattern and photos are copyright protected; they may not be reproduced, redistributed, or displayed publicly in any way.

hi i am enjoying your tutorial and i have just started crocheting ponchos and beanies as my full time business and selling them.Thank you
Hi Rebecca,
I’m so happy to hear from a fellow crocheter who is making crochet their full time business! That is what I’m all about. I want to help others see the potential in this craft as a full time income.
Have you seen my new course Step by Step to SERIOUS Crochet Income? It takes you from zero to full time income: https://crazycoolcourses.teachable.com/p/step-by-step-to-full-time-crochet-income
Please keep in touch. I would love to hear about your business.
Sylvia
CrazyCoolCrochet.com
[…] I asked Sylvia what she feels is the biggest trend in crochet right now she said that the Pocket Shawls are very popular. Wearing this while sitting by the bonfire making smores sounds like a […]
[…] Easy Crochet Pocket Shawl […]
Hi – I want to make this shawl for my Granddaughter. She is 5’2″ and her wingspan is 58″. She is 10! So I can’t tell how your sizes go – should I make a large because she will grow or will that be too big?? Thank you for a quick response – I started tonight but realized I needed more info on the sizing! Her birthday is next week! Appreciate your work!
Hi Deborah,
I’m sorry for the late response. I’ve been working furiously on my next crochet project and didn’t see your comment.
I would suggest staying with the Sm/Med that is in the tutorial. I would imagine a size large would be too large for a 10 year old. Although she does sound tall for her age. This pocket shawl style is plenty roomy already. Hopefully you were able to work it out without my input.
Sylvia
CrazyCoolCrochet.com
Sylvia – that’s what I did. I cannot see any photos for the pockets or border. I am winging it! Hope it turns out OK. Her birthday party is tomorrow & I really am trying to finish it tonight! It’s been fun!
I hope you were able to complete this on time! The pockets and border can be seen in the video tutorial at the top of the screen.
Happy Birthday to your granddaughter!
Sylvia