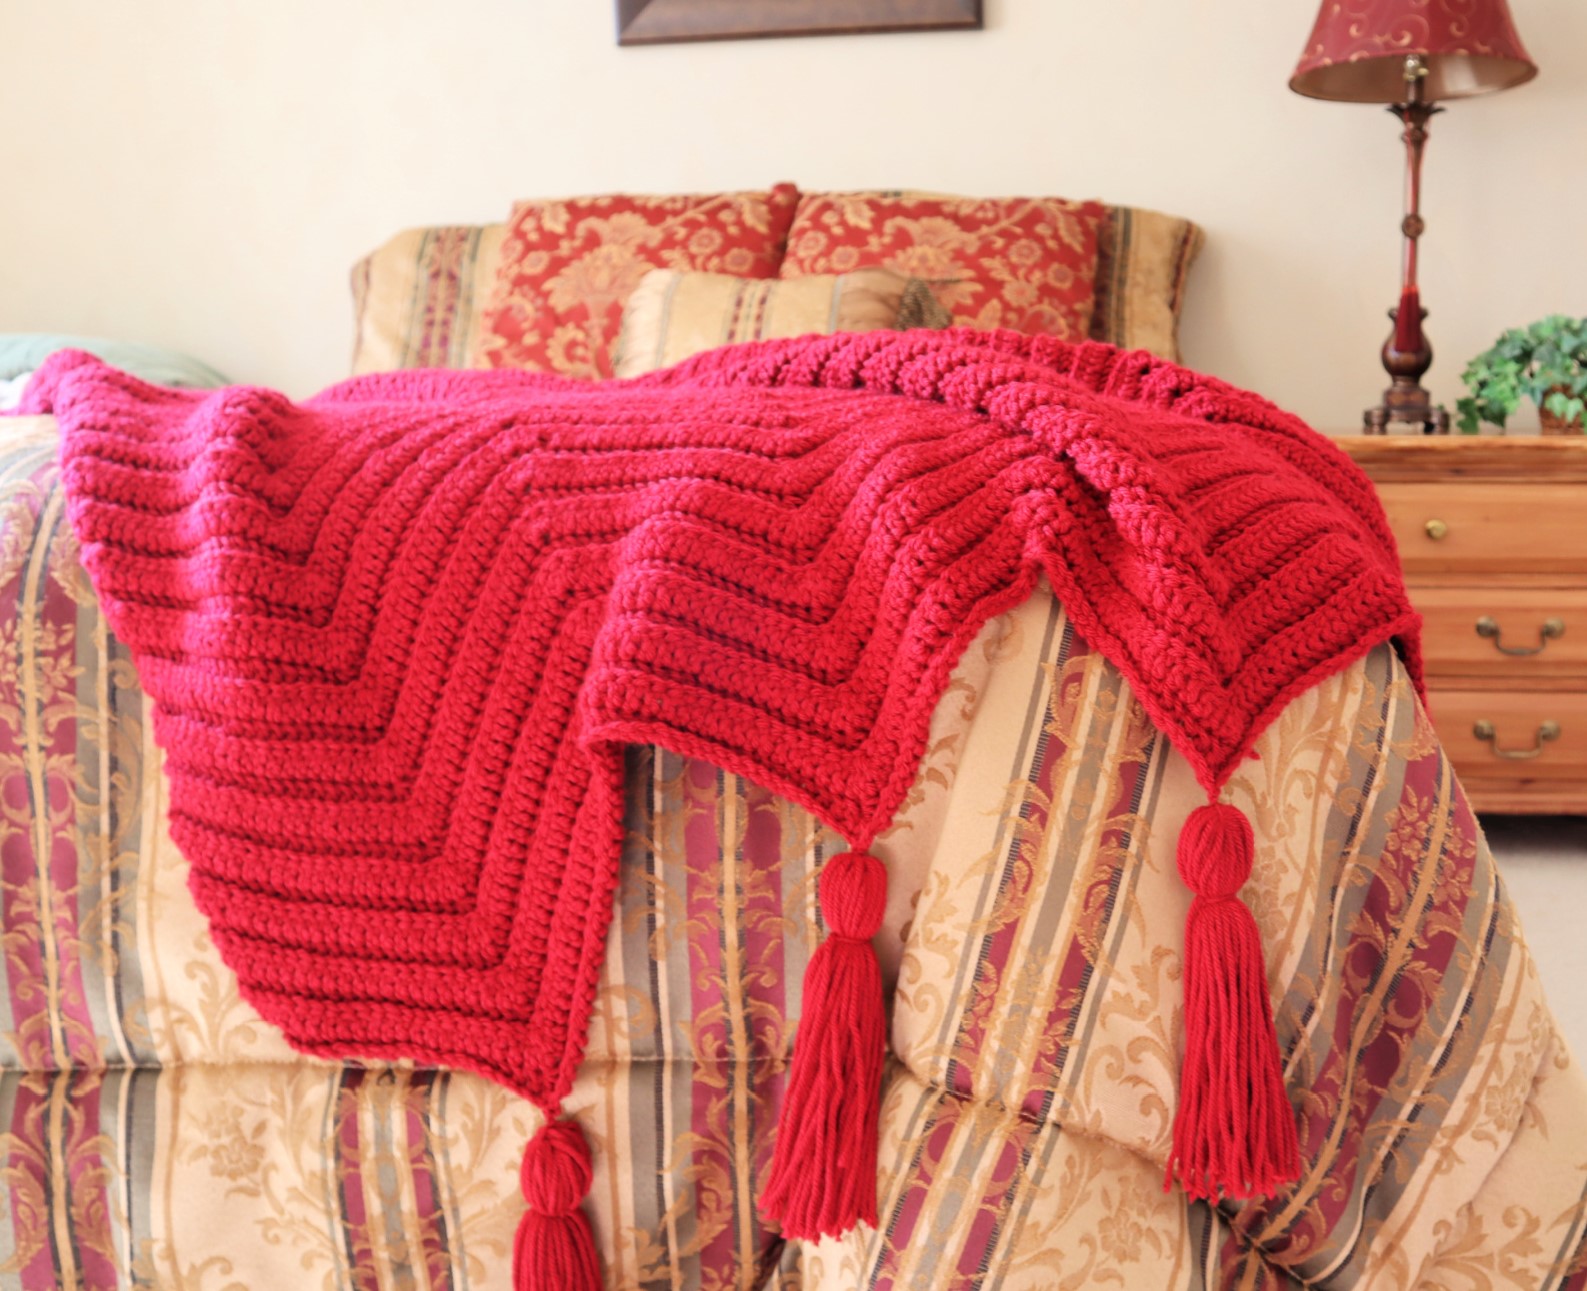
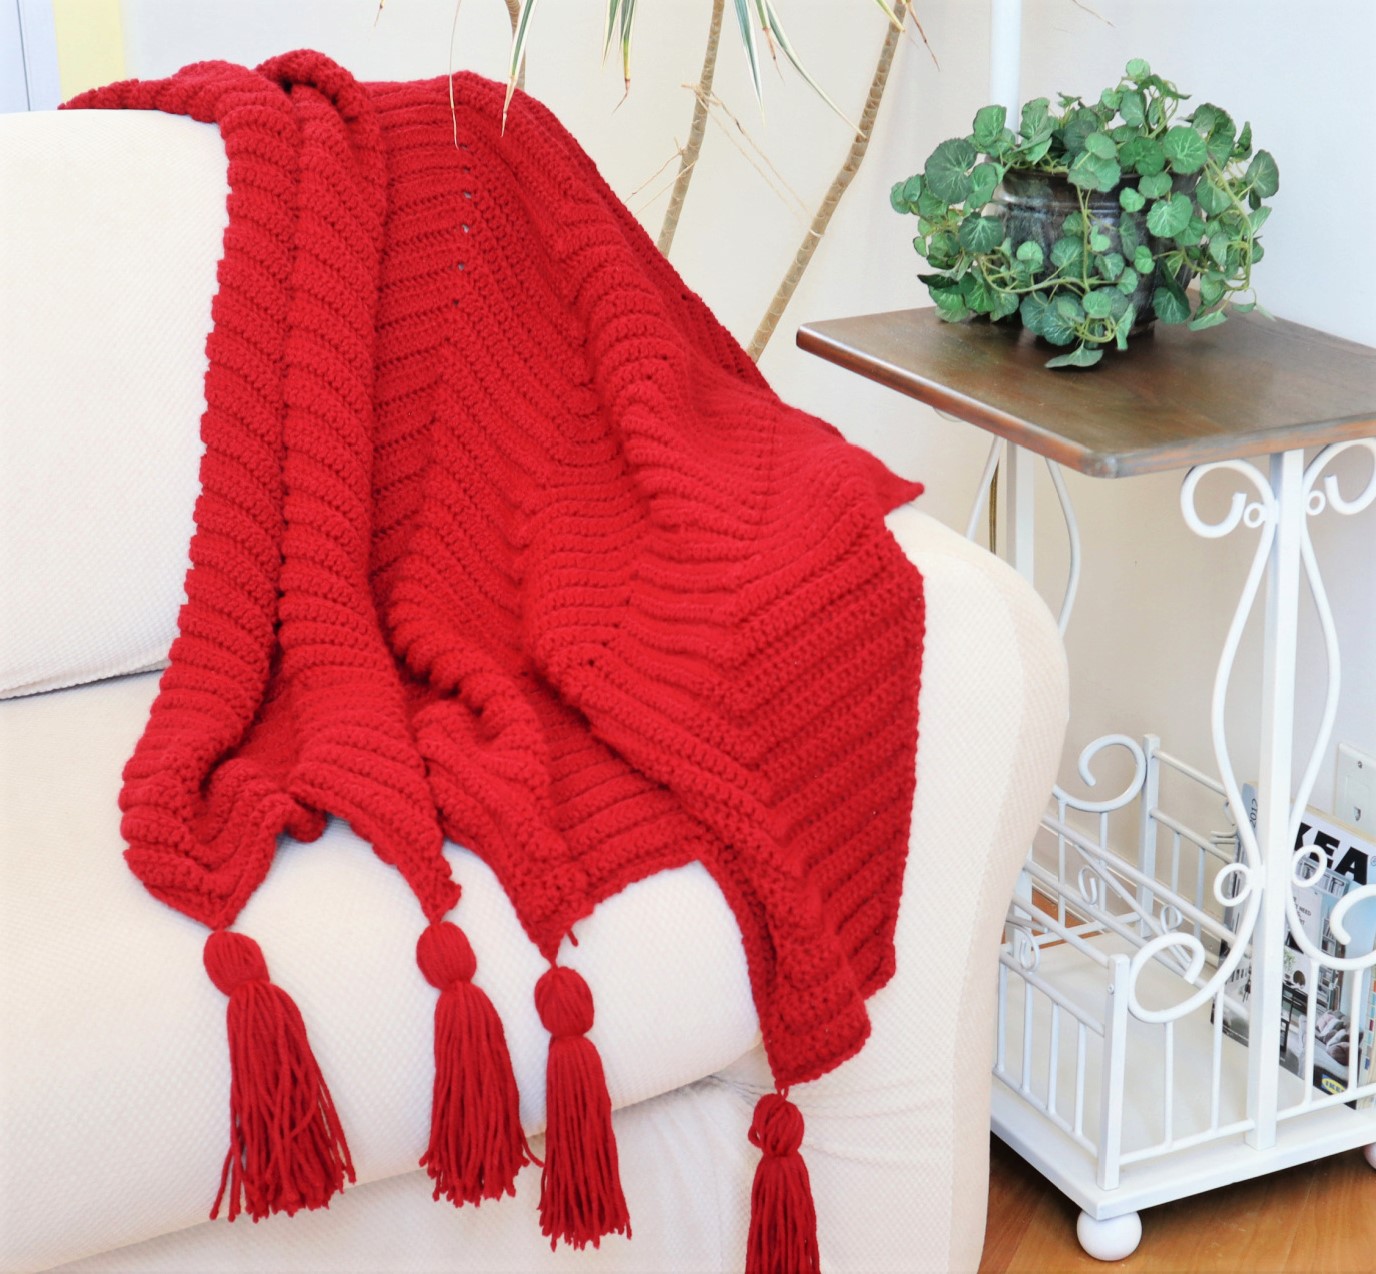
This easy crochet ripple throw or crochet ripple stitch blanket, was designed as a decorative END OF BED THROW, or a SOFA THROW It is a stylish STATEMENT PIECE, unlike your typical ripple stitch throw. This crochet throw uses a very bold, long and wide pattern. The typical count is a 7 or 9 single crochet. This uses a 19 count double crochet! This makes it a gorgeous, decorative throw.
This crochet throw would be a wonderful crochet gift. Perfect for a crochet housewarming gift. Change the color to a more neutral color, or ask your friend what colors they are decorating with and go with that.
Follow along with the video for the crochet tutorial to complete this crochet ripple throw. Please view on YouTube so you can subscribe! I would appreciate that so much.
Crochet Ripple Throw Size
I sized this a tad smaller than normal for a throw. It was designed as more of a decorative crochet throw. It turned out to be 43 inches wide and 57 inches long. You can change the length to your preference.
Multiple:
To change the width you need to use a multiple of 42 plus 3. This uses a count of 19+1+19+3 for the pattern; plus 3 for the beginning and ending stitches.
CrazyCoolCrochet.com is a participant in the Amazon Services LLC Associates Program, an affiliate advertising program designed to provide a means for sites to earn advertising fees by advertising and linking to Amazon.com
Materials:
Materials: Red Heart Soft / color Wine/ approximately (6) 5 ounce skeins Crochet Hook I / 5.5 mm
Purchase supplies here:

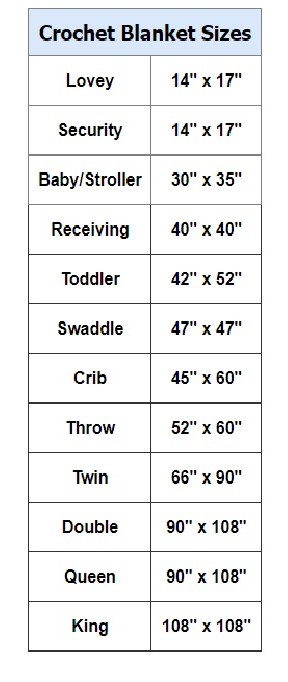
Crochet Blanket Size Chart
Abbreviations:
Ch = chain
BLO = back loop only
DC = double crochet
Dec = decrease
Ea = each
Inc = increase
Sc = single crochet
Sp = space
St = stitch
YO = yarn over
NOTE: Photos appear above corresponding row.
NOTE 2: DEC – begin dc in next st for 3 loops on hook; pull yarn through 2 loops for 2 loops on hook; YO begin 2nd dc in next st for 3 loops on hook; pull through 2 loops for 3 loops on hook; YO for 3rd dc in next st, pull through 2 loops for 4 loops on hook. Pull through all 4 loops. Dec made. (For this project, this will be called a “valley”.
Ch 172
Row 1: 2 dc in 3rd ch from hook. *Dc in ea of the next 19 ch’s. Dec over the next 3 ch’s (“valley” formed; see Note 2). Dc in next 19 ch’s. 3 dc’s in next ch (“peak” formed) *. Repeat from * to * ending row with a valley and last 19 dc’s. Work 2 dc’s in last remaining ch. Ch 1. Turn
Row 2: 2 dc in 1st sp (insert hook under 2 strands that form the ch at the top). *Dc in BLO of ea of the next 19 st’s. You will continue to work in BLO for remainder of pattern (see Note below). Dec over the next 3 st’s. Dc in next 19 st’s. 3 dc’s in next st*. Repeat from * to * ending row with a valley and the last 19 dc’s; 2 dc in last sp. Ch 1. Turn
NOTE: You are working the 2 dc’s in the first and last st of rows as normal. You will not work in BLO for those st’s.
Repeat Row 2 for your preferred length. At end of last row cut yarn leaving a 5 inch tail to weave in.
Tassels (make 8; 4 on ea side; attaching at points)
Using any object (I used a paperback book) about 6 inches long, wind yarn around object to create a fairly thick tassel.
Using hook, take a strand of yarn about 10 inches long and pull under one side of wound yarn.
Slide the strand of yarn to top of tassel and tie securely.
Slide tassel off of the object. Take another length of yarn about 12 inches long and place the tassel on top of strand. Strand should be about 1.5 inches from top. Tie securely. Strands can be incorporated into tassel. Trim ends as needed.
With right side of throw facing you, attach tassel. Insert hook from underneath the point. Grab one tie (top) strand and pull through sp. Flip tassel out of the way and tie the two strands to secure the tassel.
TIP: If you intend to wash the runner, do not wash the tassels. This will require you to attach the tassels so they are removable. I suggest tying a bow rather than a knot. Slip the bow strands into the top “bulb” of the tassel to hide.
Copyright © 2021 Sylvia Talo You may sell items made from my patterns. Please include a link or reference to my shop CrazyCoolCrochetUS.etsy.com . Pattern and photos are copyright protected; may not be reproduced, redistributed, or displayed publicly in any way.
You might also enjoy this crazy cool crochet afghan:
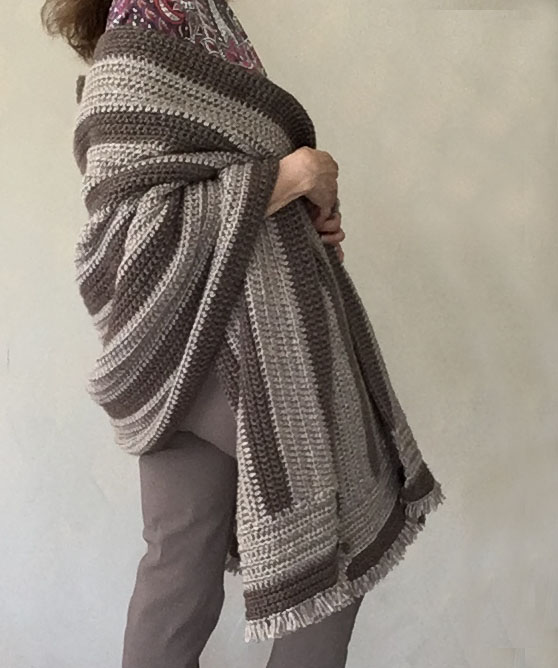
You May Also Like


[…] Here are two examples of how to use tassels in your crochet projects. Cool eh? The pattern for the ripple throw can be found HERE. […]