Easy Crochet Summer Top
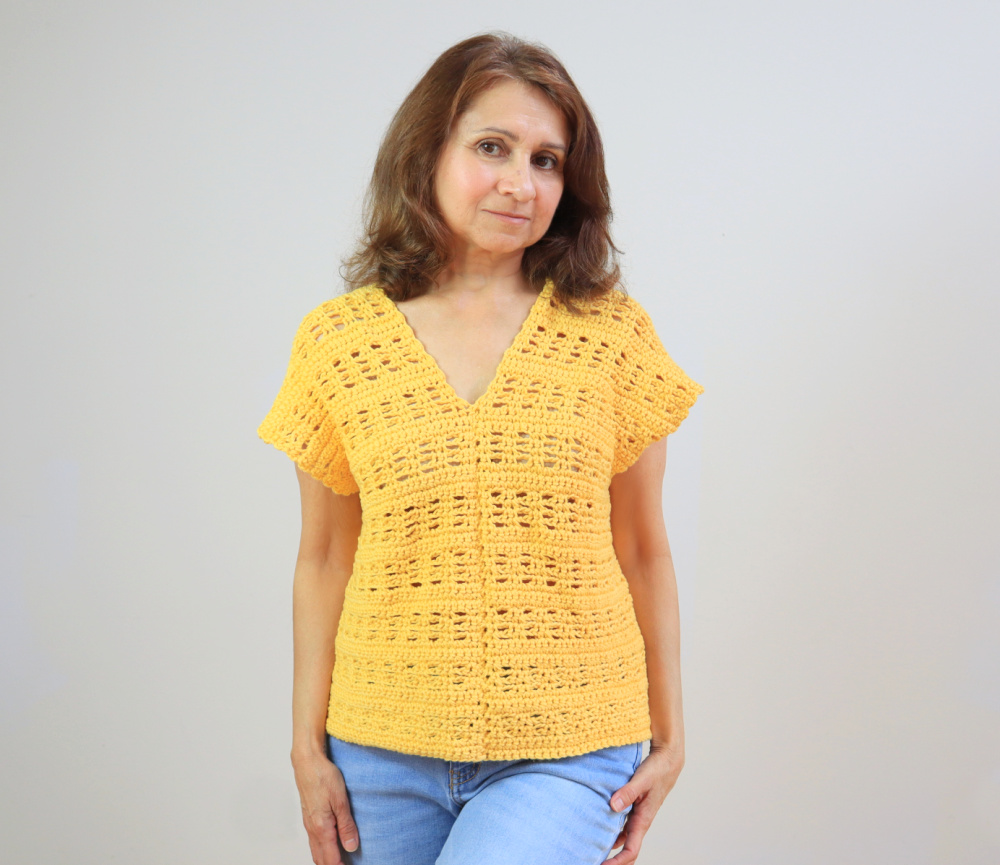
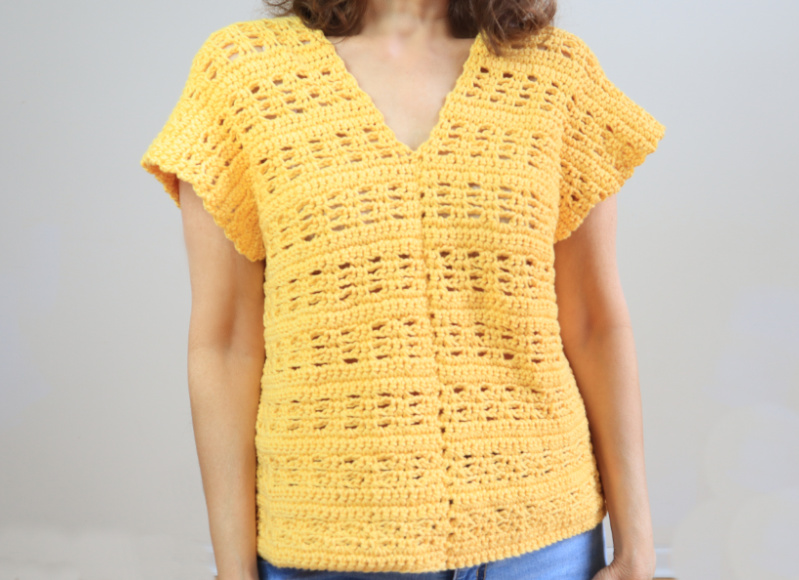
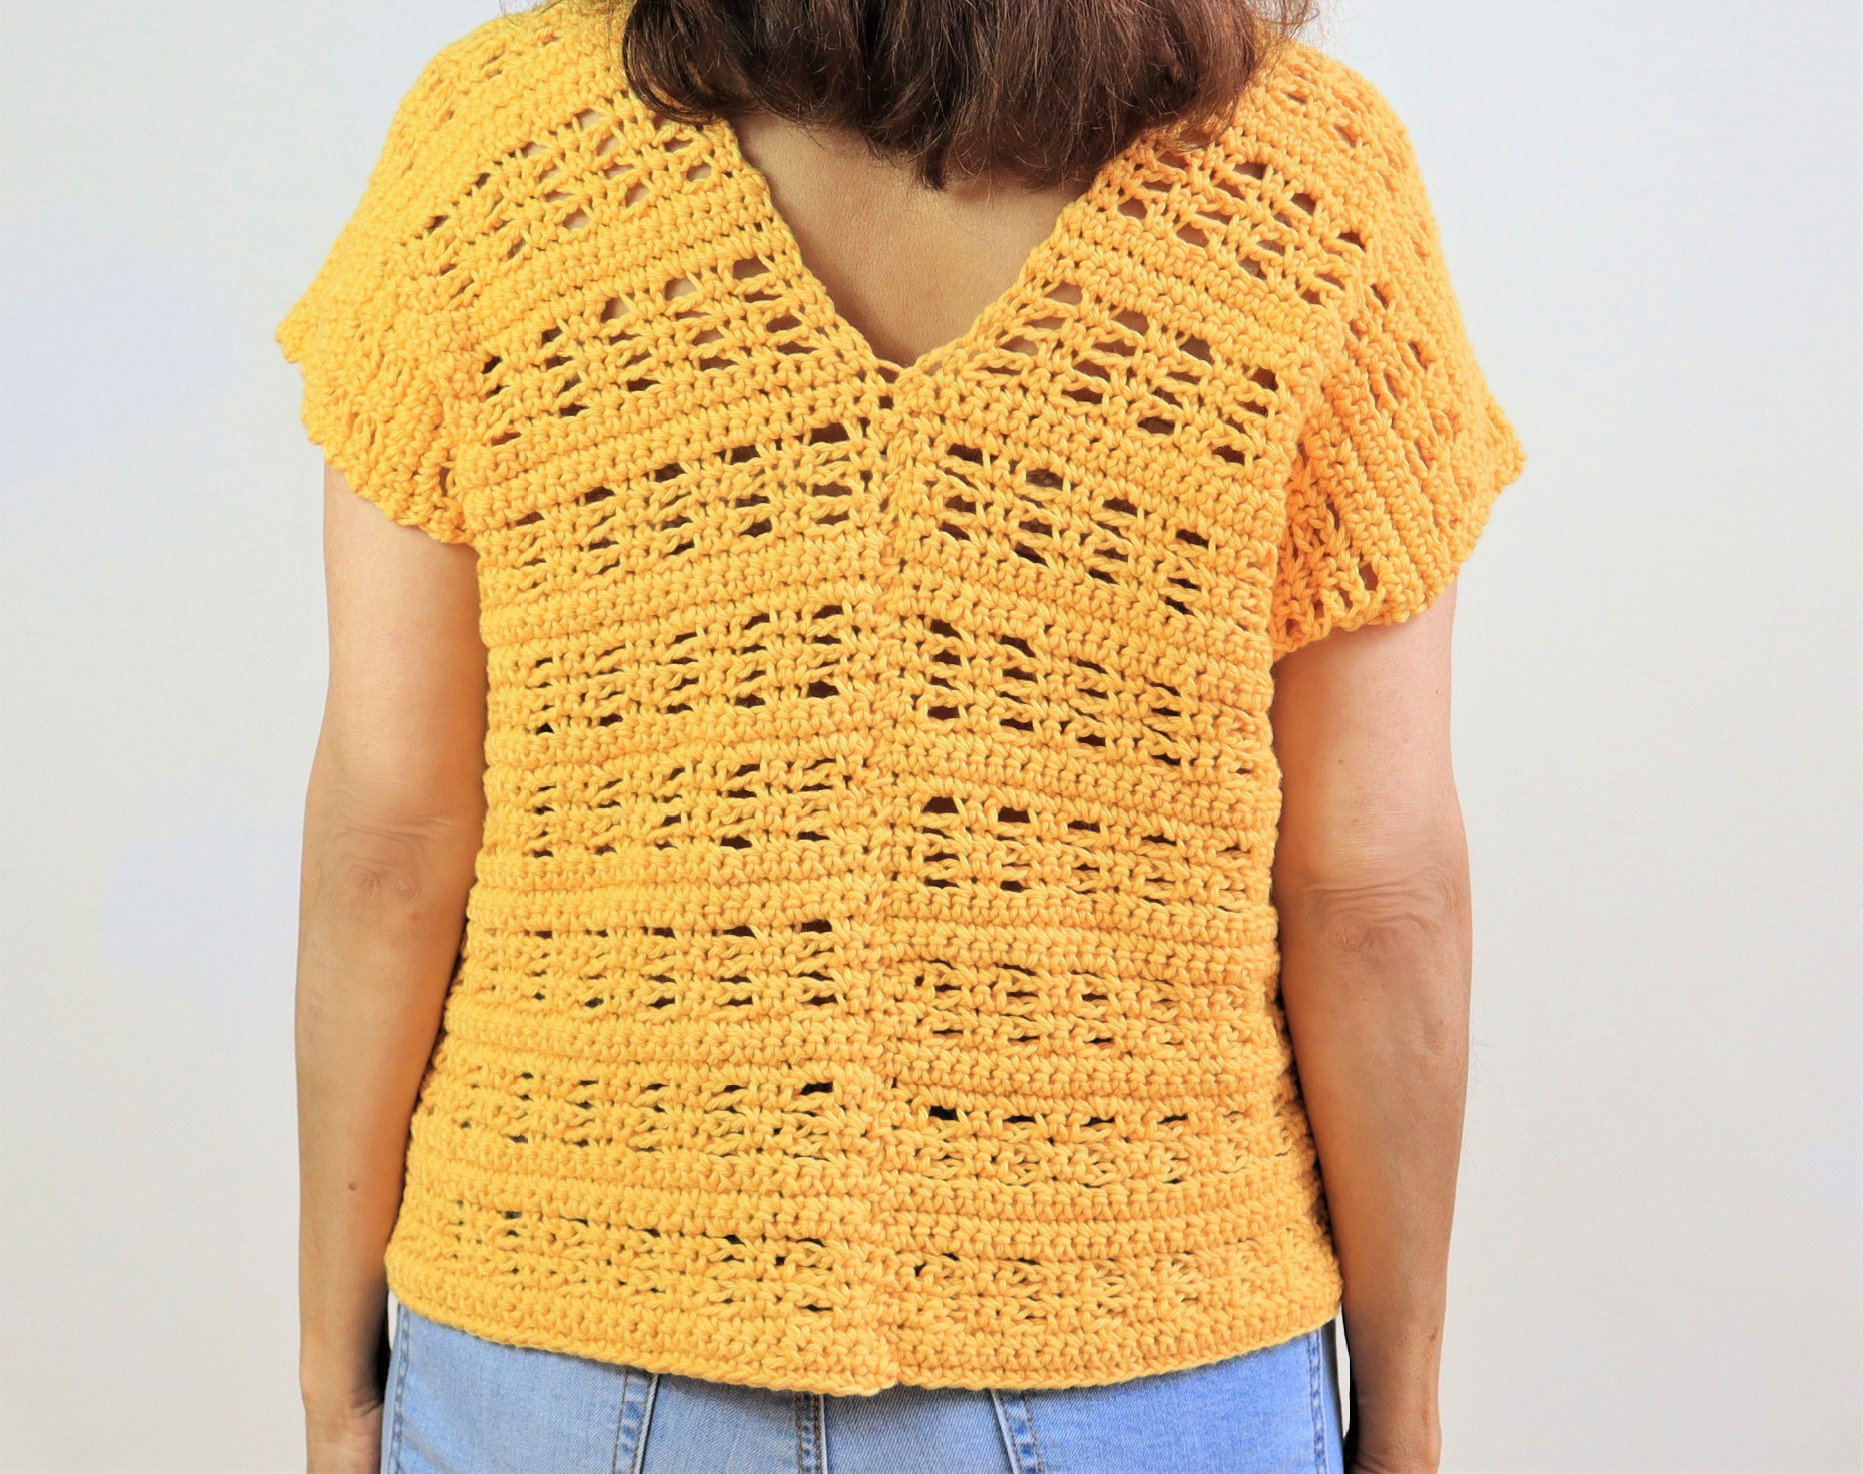
This easy crochet summer top is truly beginner friendly! Two straight panels using one basic stitch, seam the center and sides and your crochet summer top is ready to wear. EASY!
You don’t even need a border with this design. The finished edges look like tiny scallops for an unexpected pop of style! And you don’t even need to know how to make scallops. It just looks like you do. You’re welcome. LOL!!
The written instructions are below the video. Please also watch the video on YouTube as a way to support my little crochet business. It is extremely important that viewers watch the video all the way through. YouTube stops recommending videos if they have low view times. My average view time is 3 minutes. My videos are typically 18 – 30 minutes long. So that average is horrible. (Insert sad face. LOL) If you enjoy my designs, please help this gal out and watch my videos all the way. In the famous words of a certain singer…Thank you. Thankyouverymuch. Comment below if you know who the singer is.
Printable Easy Crochet Summer Top Pattern
The printable version of this crochet summer top pattern is available at my Etsy shop: CrazyCoolCrochetUS.etsy.com
Directions are for size Small (Women/Teens)
FOUNDATION CH NUMBERS FOR SIZES M – 1X HAVE BEEN REVISED AS OF 3/17/22!
The following size adjustments are recommendations. Tension, hook and yarn used will affect the final product. Results may vary.
Line by line instructions for all sizes are included in the Etsy version of the pattern.
Medium: Foundation chain 43 (42 +1). This will add width. To add length add one more set of 3 sc rows and 4 sc/ch rows. (7 total rows = 1 set)
Large: Foundation chain 51 (50 +1). This will add width. To add length add one more set of 3 sc rows and 4 sc/ch rows. (7 total rows = 1 set)
XLarge: Foundation chain 55 (54 +1). This will add width. To add length add two more sets of 3 sc rows and 4 sc/ch rows. (7 total rows = 1 set)
1X: Foundation chain 63 (62 +1). This will add width. To add length add three more set of 3 sc rows and 4 sc/ch rows. (7 total rows = 1 set)
For ALL SIZES: End each panel with 3 rows of sc. (See Size Small instructions for final row.)
Line by line instructions for all sizes are included in the Etsy version of the pattern.
Materials:
Yarn: I Love This Cotton from Hobby Lobby/ Color Curry / 11.5 ounces / approximately 600 yards
Yarn Needle
Scissors
Measuring Tape
Photos will be shown above the corresponding row.
PANELS (make 2 identical)
Size Small Ch 35
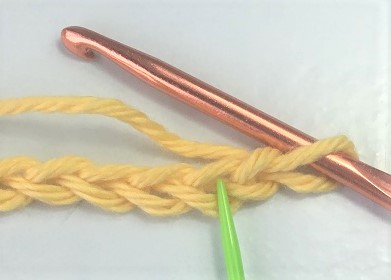
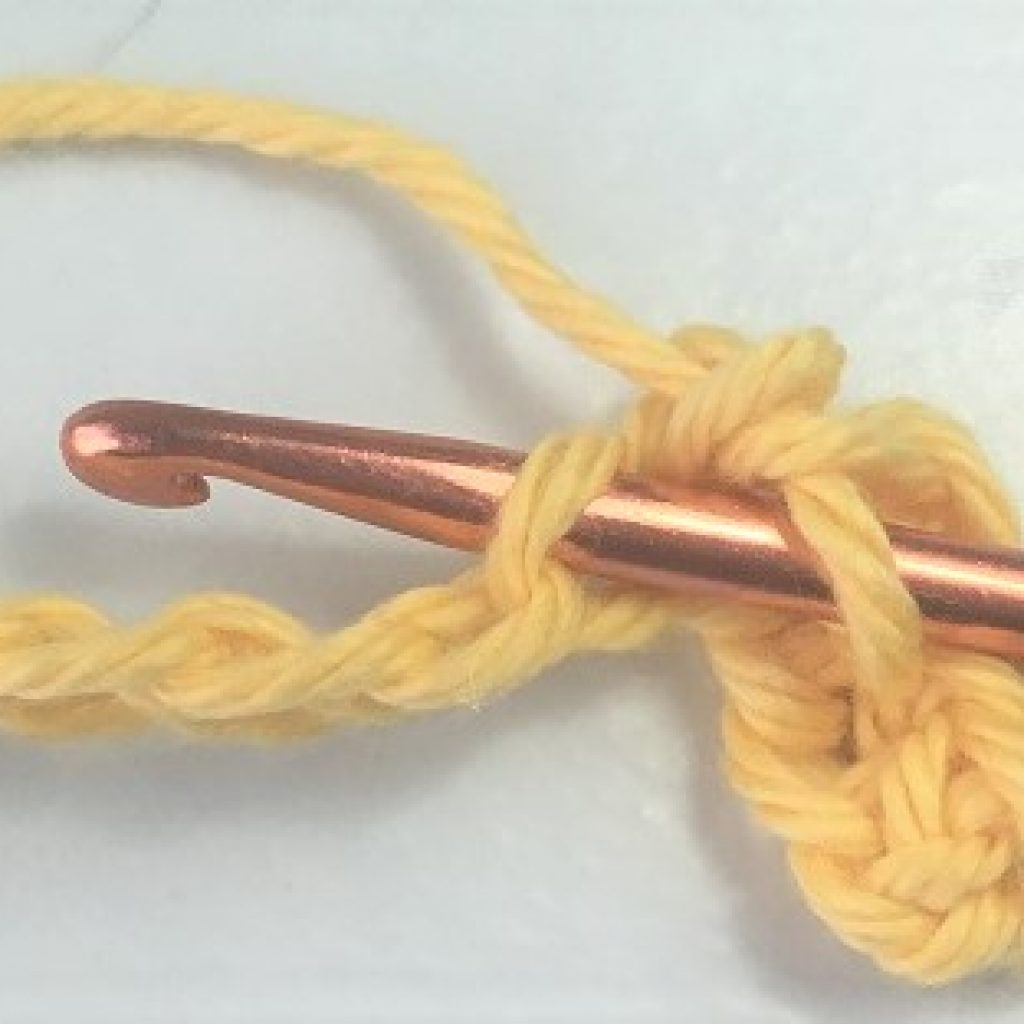
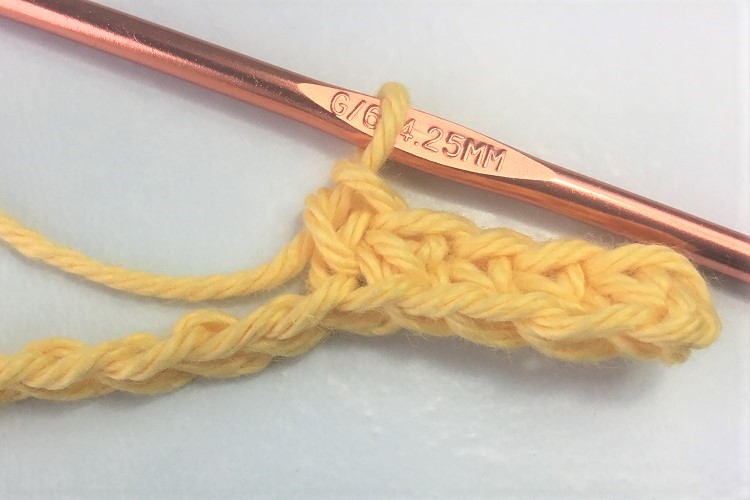
Row 1: For this row only, work in the back loop of ea ch. Sc in 2nd ch from hook and ea ch across. 34 sc total. Ch 1. Turn
Row 2 – 3: Sc in 1st st and ea st across. 34 sc. Ch 1. Turn
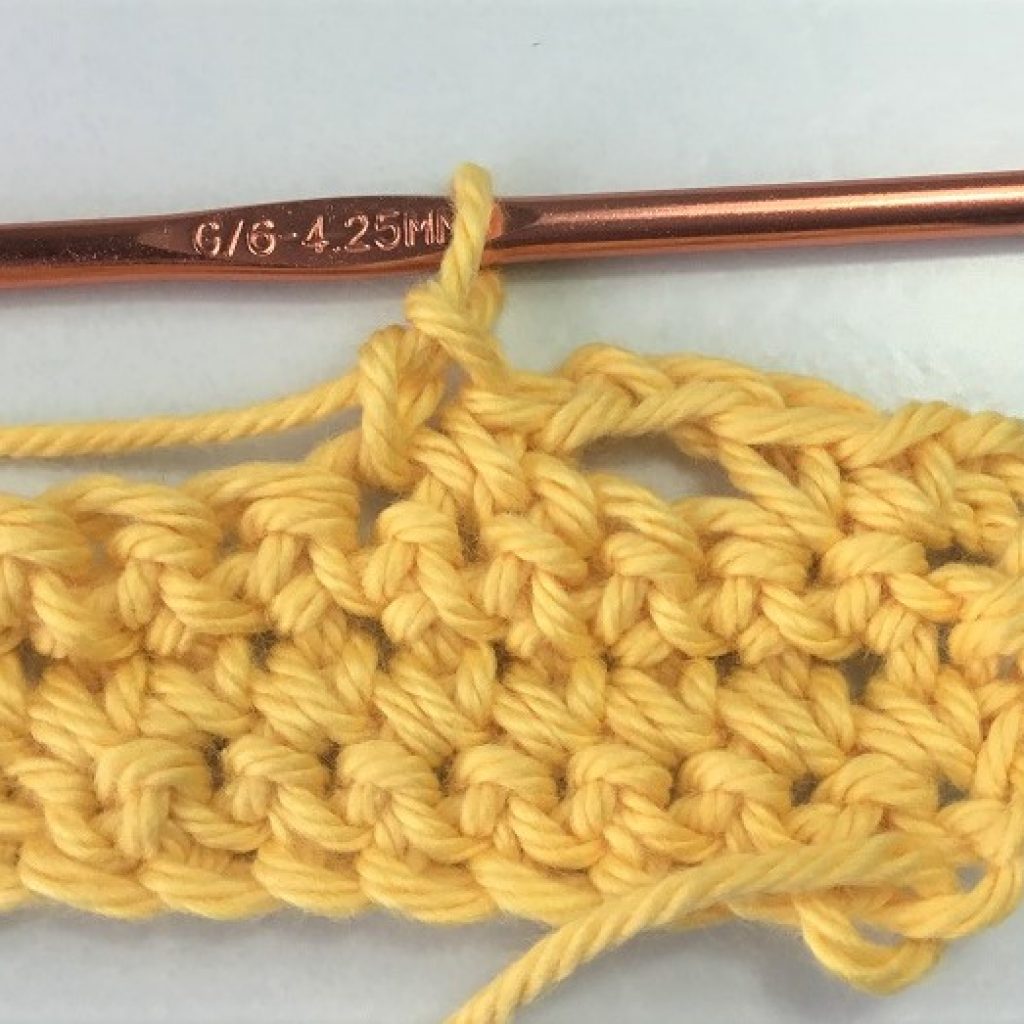
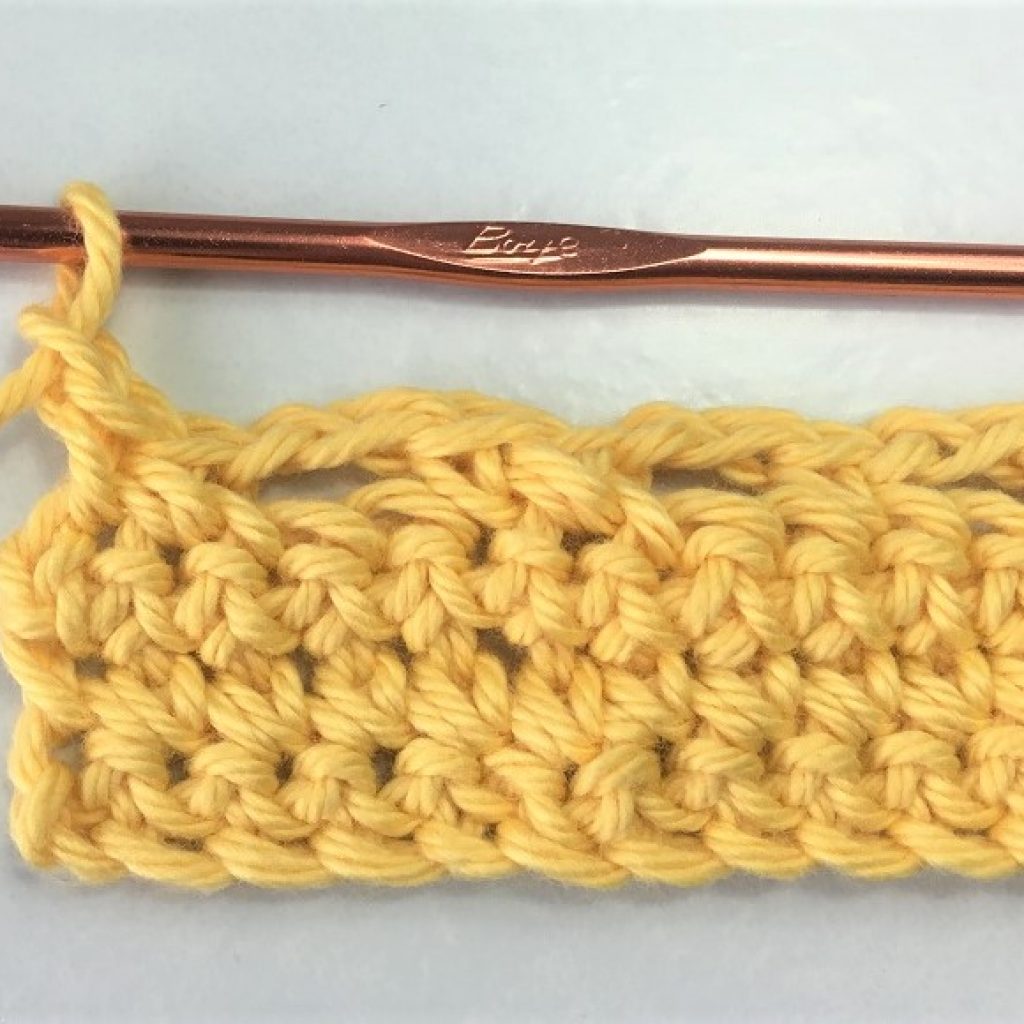
Row 4: Sc in 1st 2 st’s; *ch 2; sk 2 st’s; 1 sc in ea of next 2 st’s*; repeat from * to * to last 4 st’s; ch 2; sk 2 st’s; 1 sc in ea of last 2 st’s. Ch 1. Turn
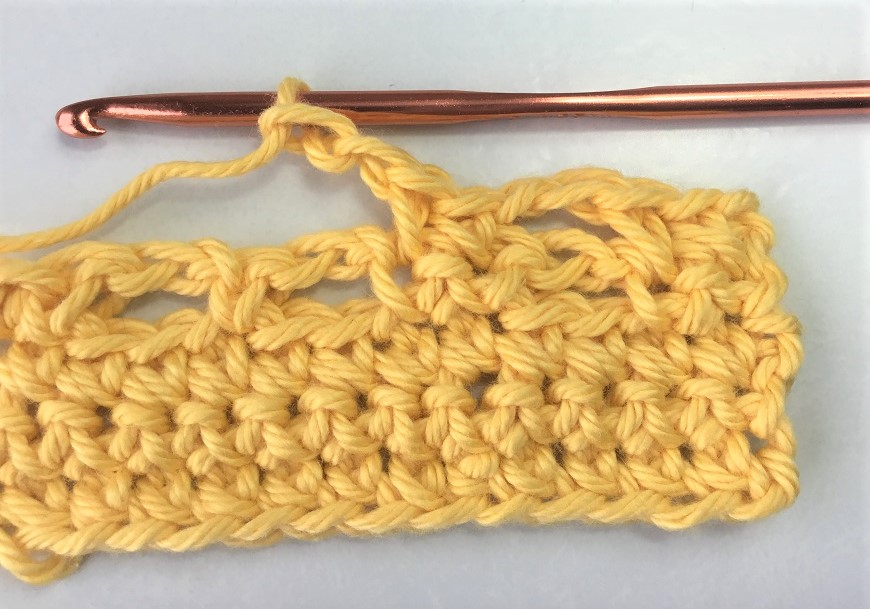
Row 5: Sc in 1st 2 sc’s; *ch 2; 1 sc in ea of next 2 sc’s*; repeat from * to *, ending the row with ch 2; 1 sc in ea of last 2 st’s. Ch 1. Turn
Row 6 – 7: Repeat row 5.
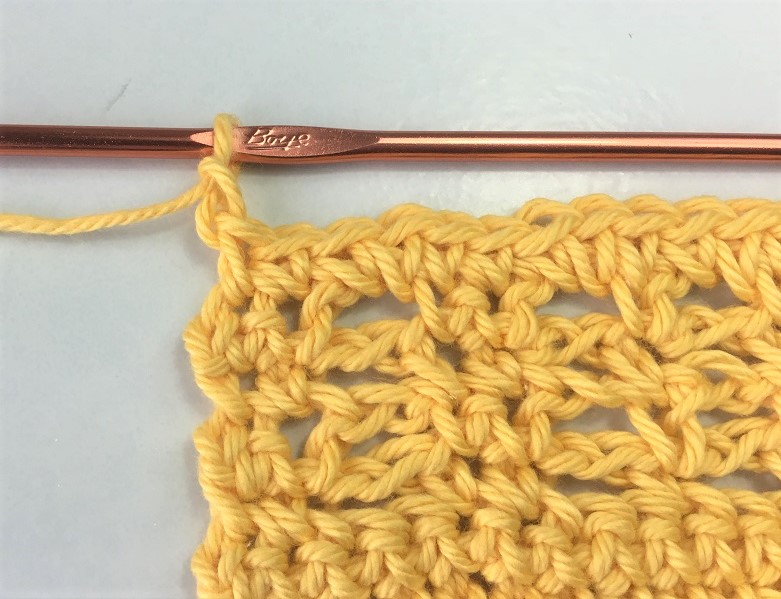
Row 8: Sc in 1st 2 st’s; *2 sc in ch 2 sp; 1 sc in ea of next 2 st’s*; repeat from * to * to last ch 2 sp; 2 sc in ch 2 sp; 1 sc in ea of last 2 st’s. 34 sc total. Ch 1. Turn
Row 9 – 10: Repeat Row 2 – 3
Row 11: Repeat Row 4
Row 12: Repeat Row 5
Row 13 – 14: Repeat Row 6 – 7
Size Small: Repeat pattern for a total of 18 sets of the 7 repeat rows. You will end each panel with 3 additional sc rows. Cut off the yarn at the end of the last sc row.
All Other Sizes: Follow instructions at the beginning of the pattern.
ATTACH PANELS
Center Front
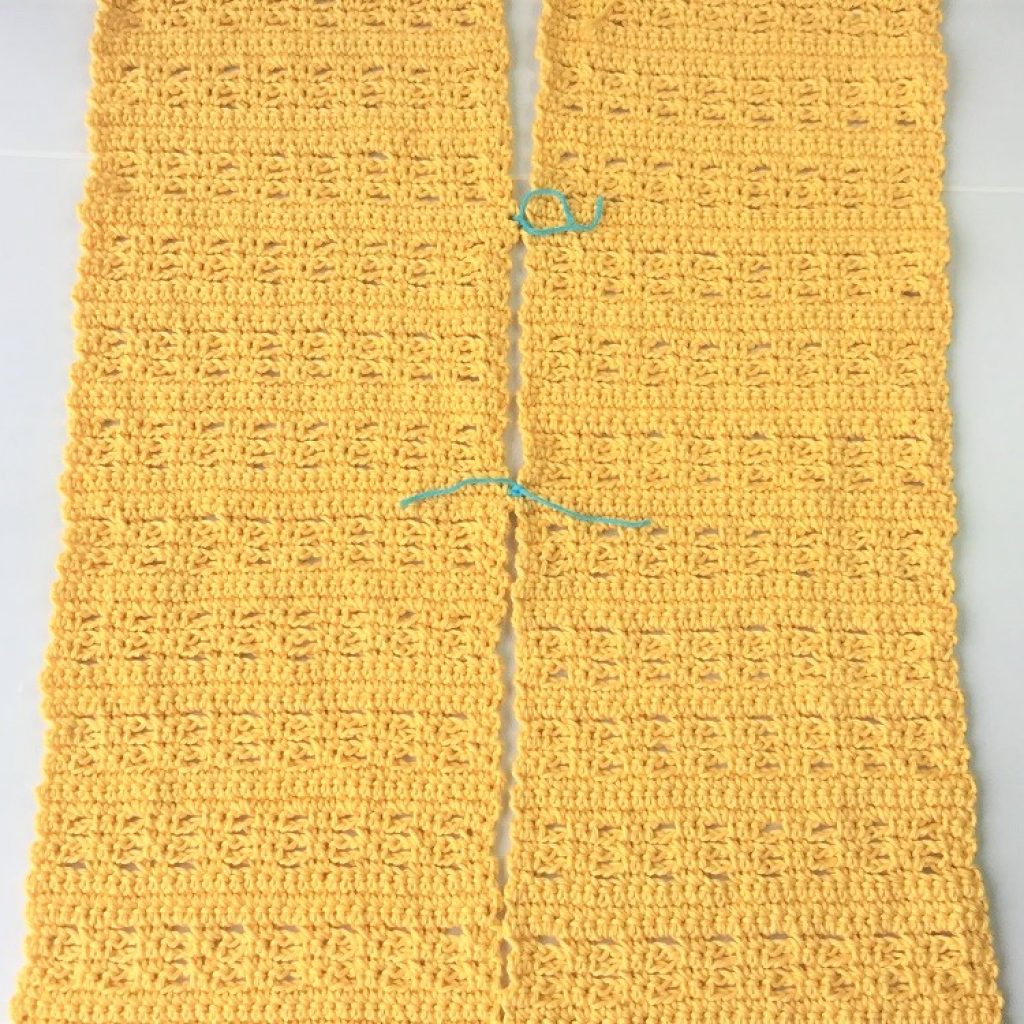
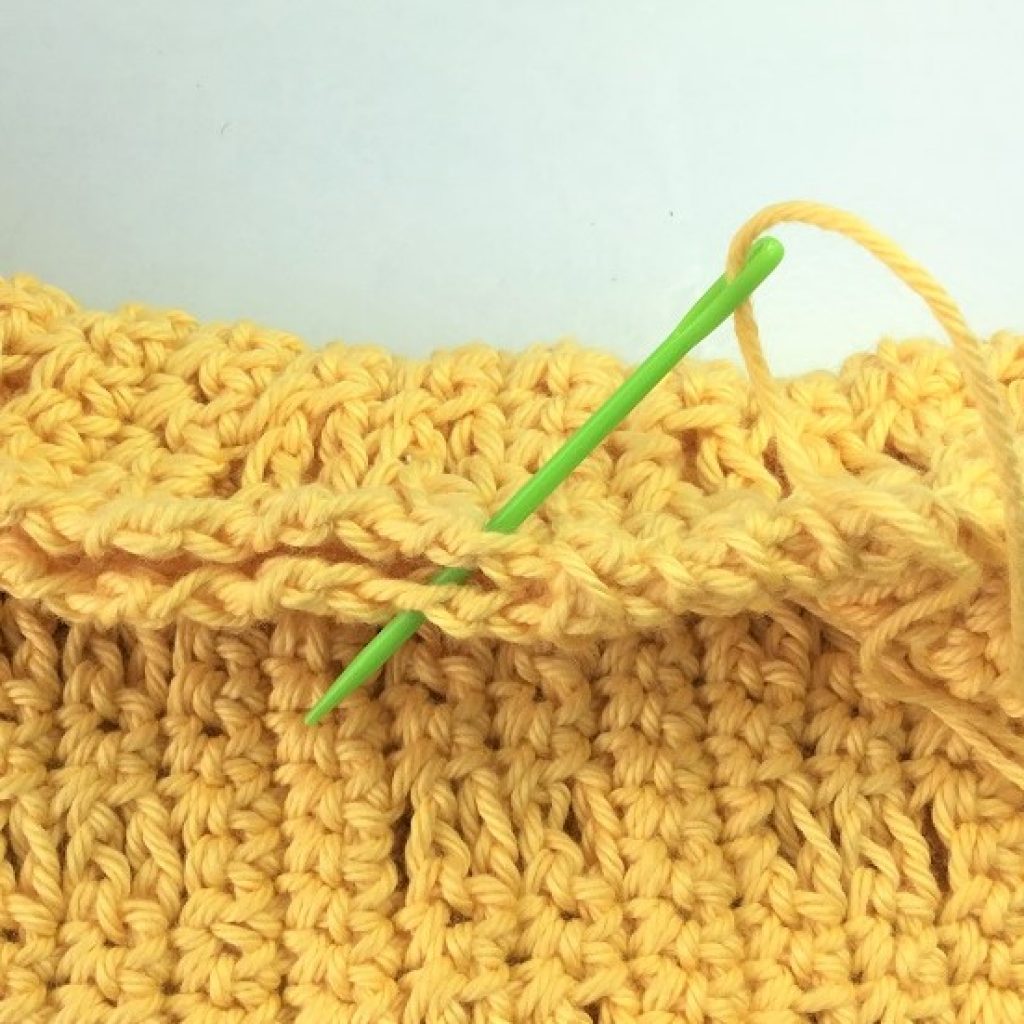
Fold panel in half, wrong side up. Determine how long (deep) you want the neck opening to be. The fold is the shoulder. To obtain the size pictured (7 inch deep neck opening), add a stitch marker at bottom of neck opening. Use yarn needle, length of yarn and whip stitch to seam from the bottom up to the stitch marker. Insert needle through 2 strands of ea panel, evenly spaced along edges. You may opt for a shorter or longer neck opening by seaming as far up as you prefer.
Center Back
Repeat as for the front.
SIDE SEAMS:
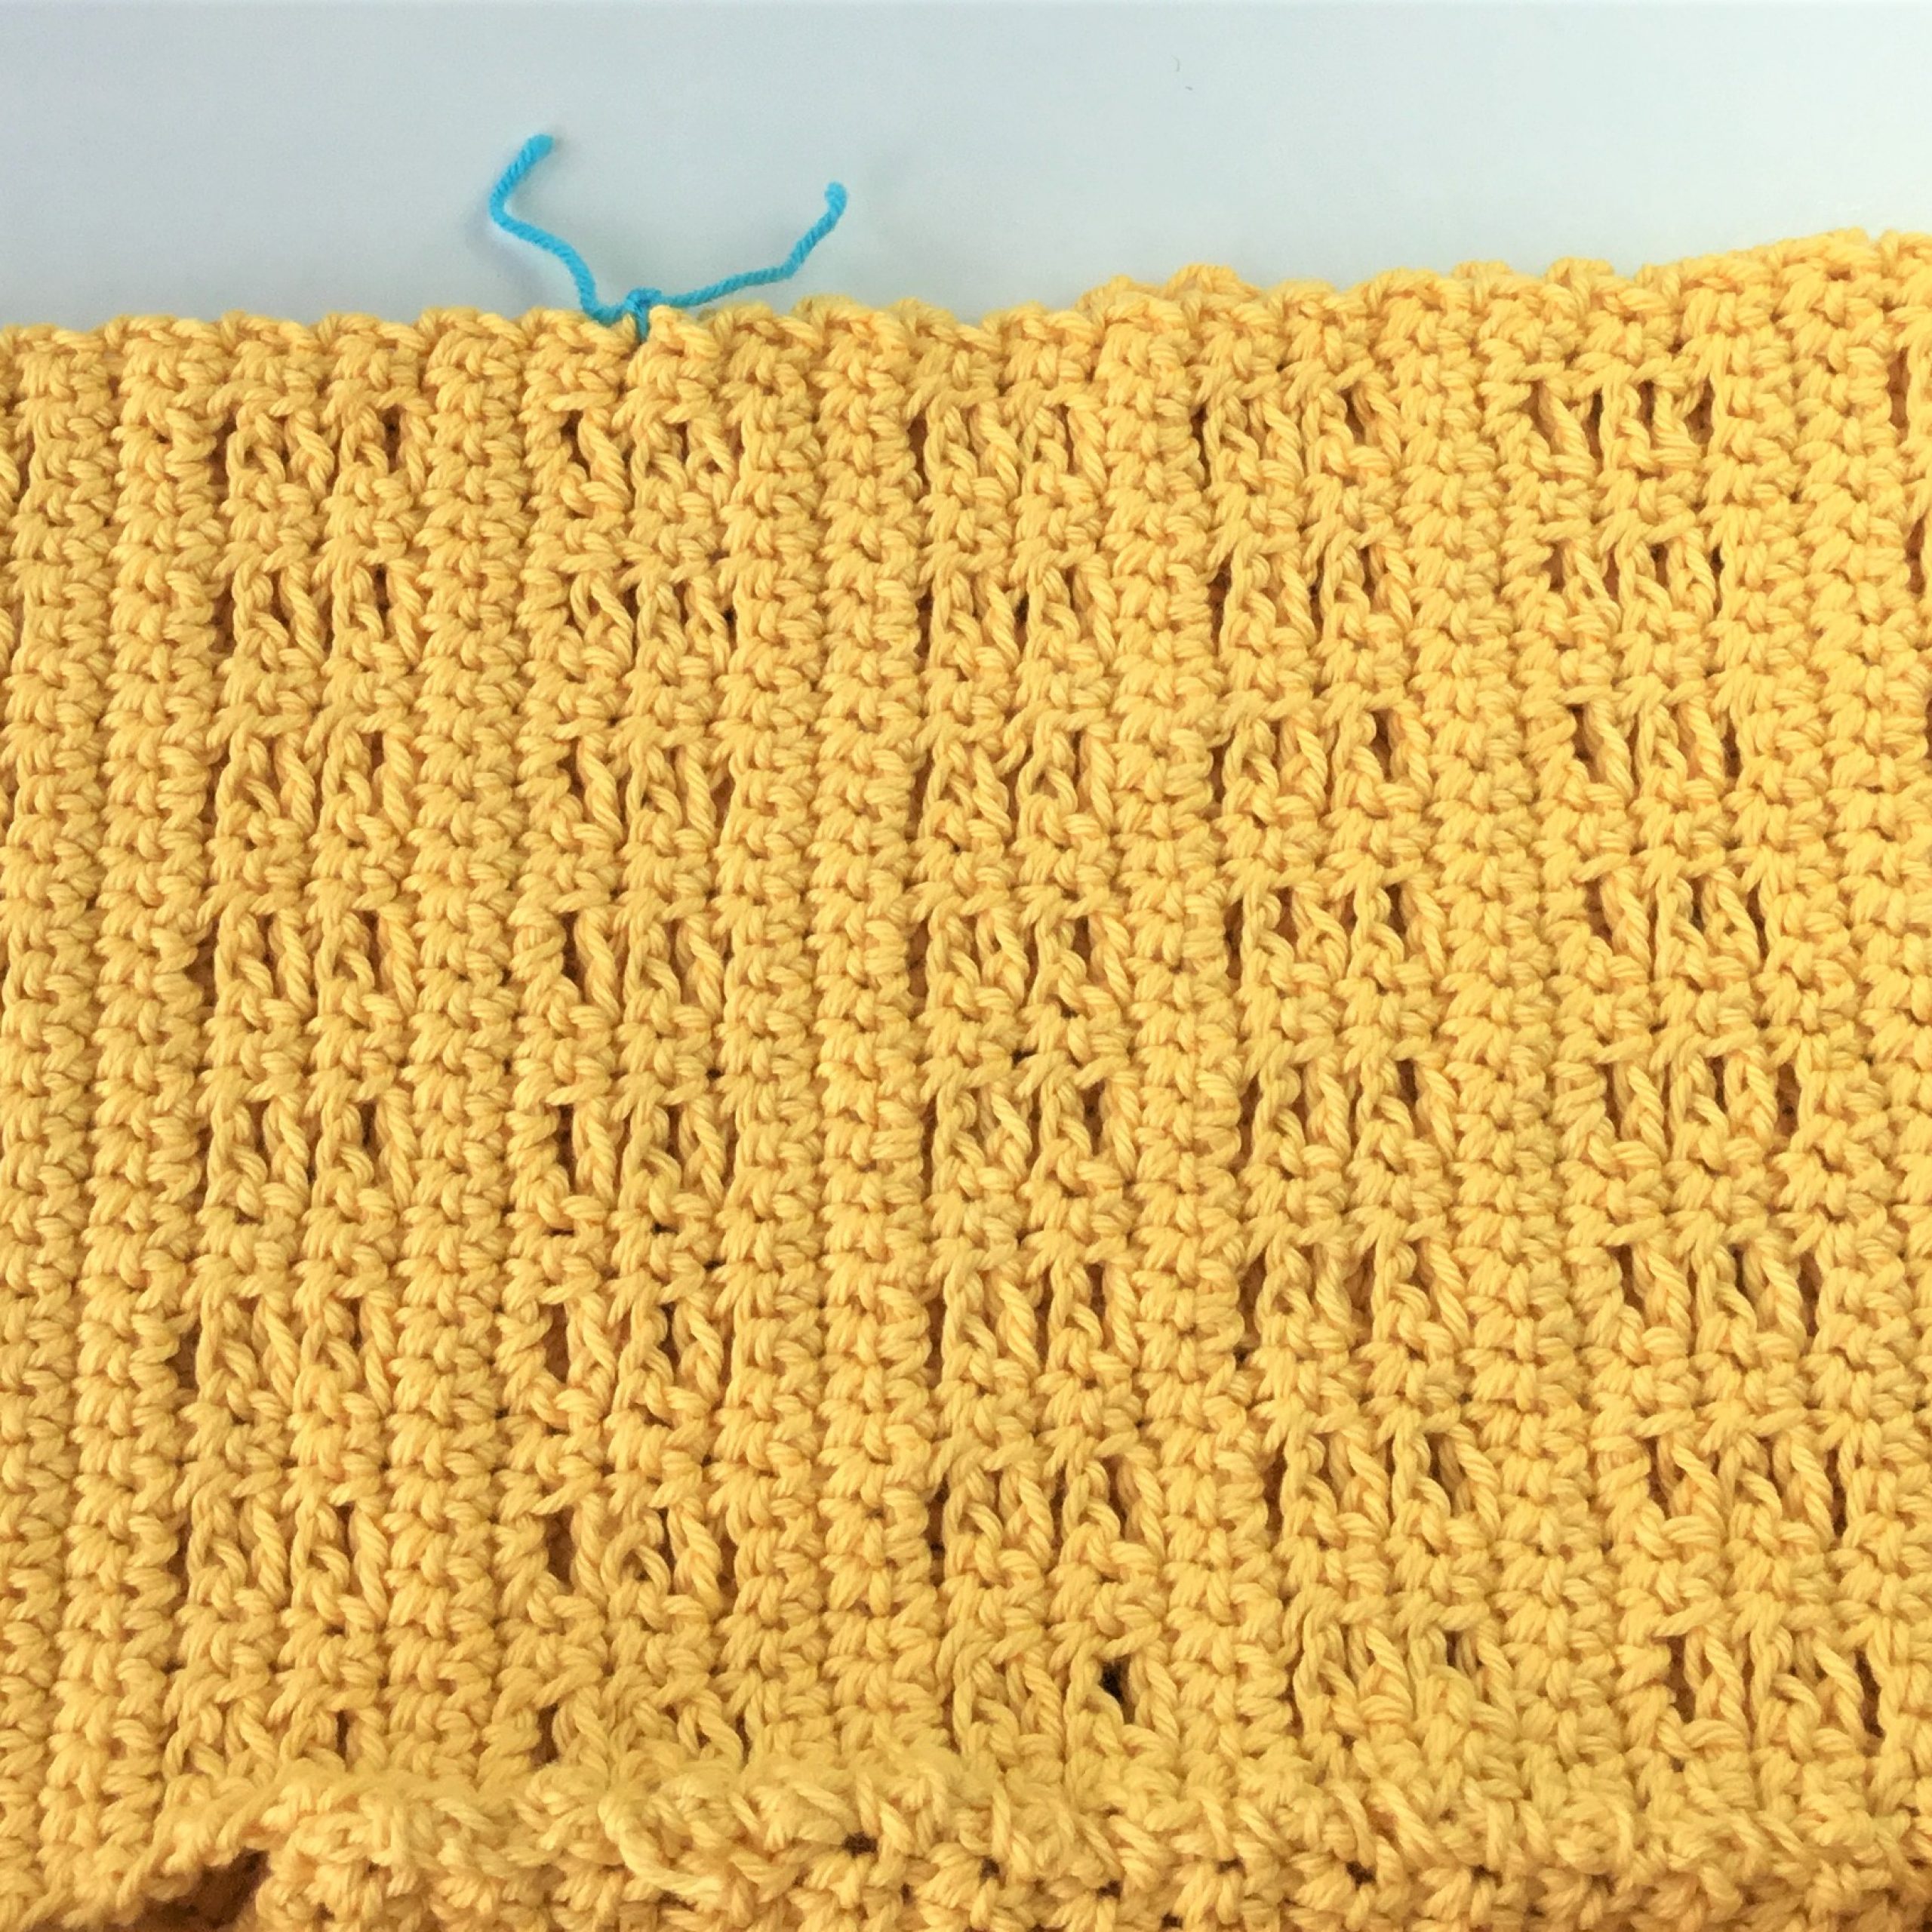
Determine the size of the arm opening you prefer. For the pictured example (for a smaller arm hole) allow for an opening 7 inches long. Adjust as preferred. Add stitch marker and seam as for the center seams.
Weave in ends as needed.

Elvis!!!
🎶
DING DING DING! WE GOT A WINNER! LOL
Yep, the King
Thanks for playing.
Sylvia
I have just found your YouTube channel and am enjoying it. I am looking forward to making the summer top and mask lanyards.
Hello Frances,
I’m very happy as well that you found Crazy Cool Crochet on YouTube and here on the blog.
Please let me know how the summer top turns out. I hope you like it.
Please look around. There is so much more to see.
Best,
Sylvia
Crazy Cool Crochet