
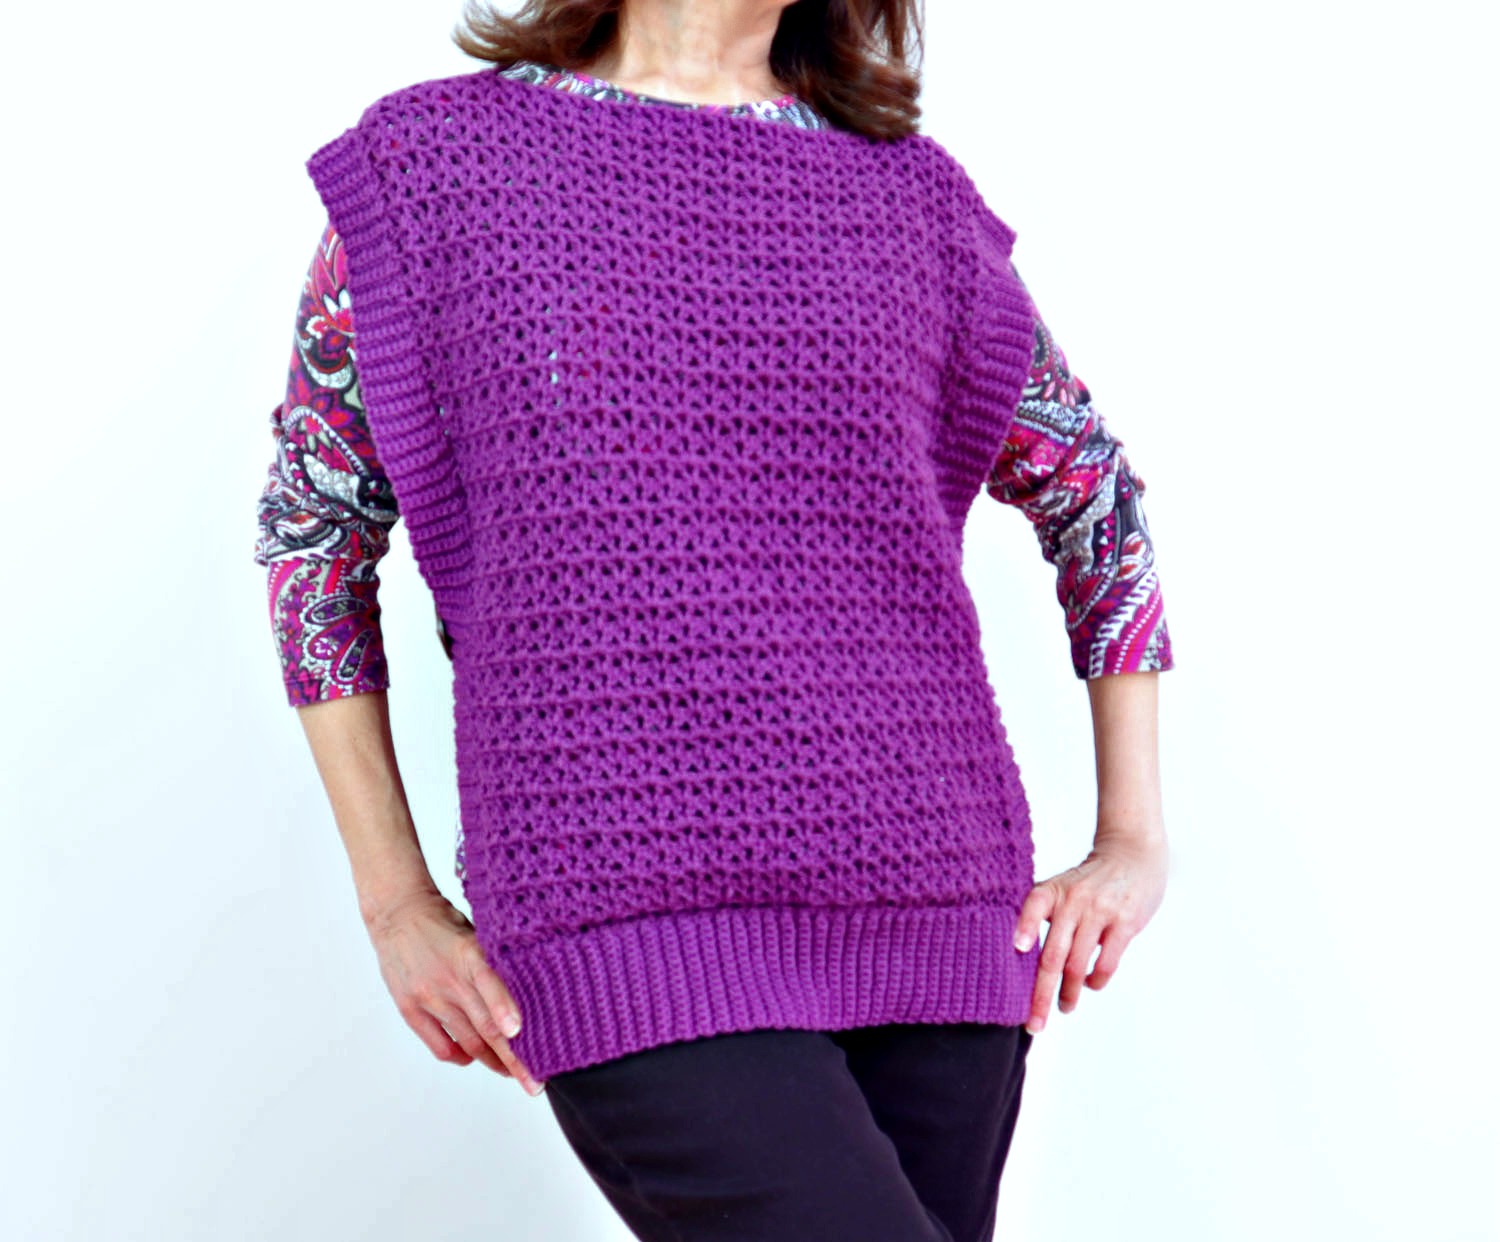
FREE PATTERN and VIDEO tutorial for this easy crochet tunic is below.
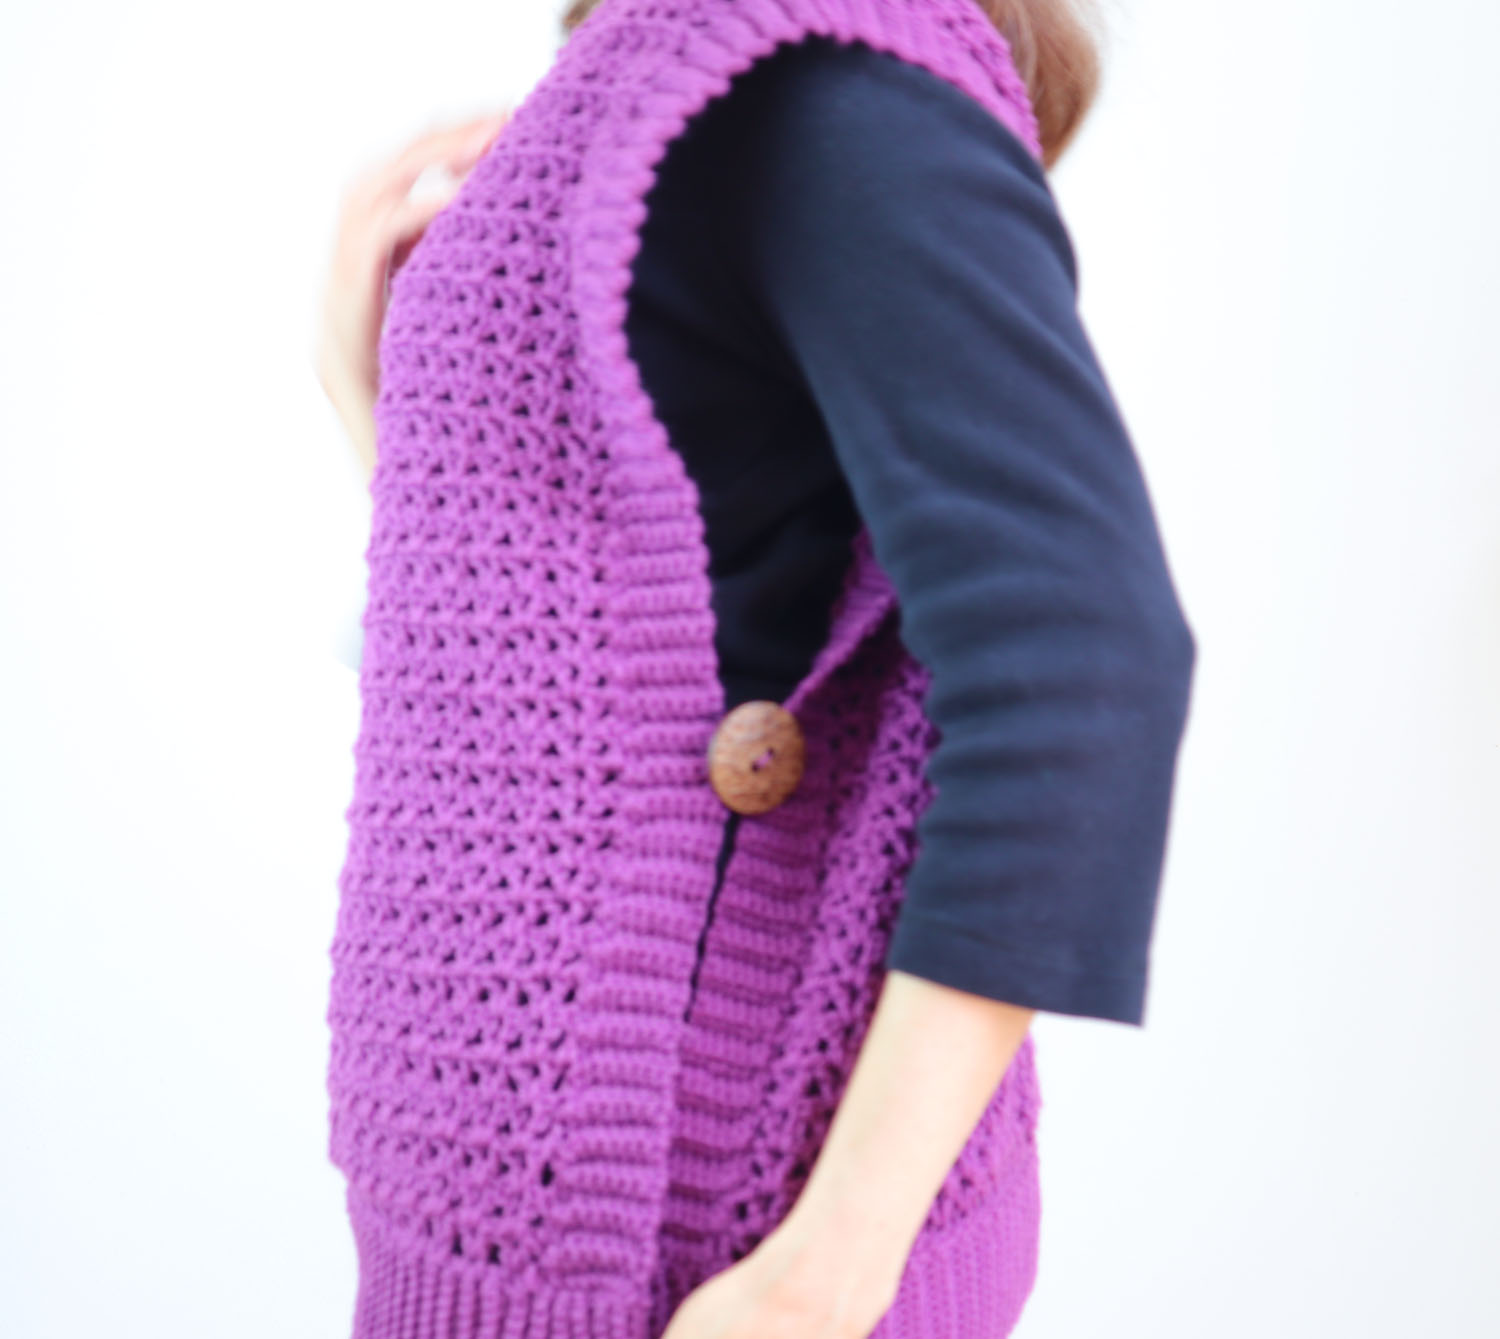
Using lightweight sport weight yarn results in this comfortable, easy-going crochet tunic. The ribbing along the sides and bottom, and decorative single button closure along the edge make this a stylish, updated crochet tunic.
Adult/Teen Small
For larger sizes increase beginning chain in multiples of 3 plus 5.
Medium starting chain 89 (84+5)
Large starting chain 101(96+5)
XLarge starting chain 113 (108+5)
Add to V-Stitch rows as needed (recommend increase by 5 rows for size Large).
Materials:
#3 sport weight yarn- Used here Baby Bee Sweet Delight; color Grape Jelly; 8 ounces used for size Small
Crochet hook size G / 4.25 mm
Crochet hook size E (for ribbing)
Dimensions
Shoulder to bottom – 21 inches
Width – 18 inches
PANELS (make 2)
Ch 77
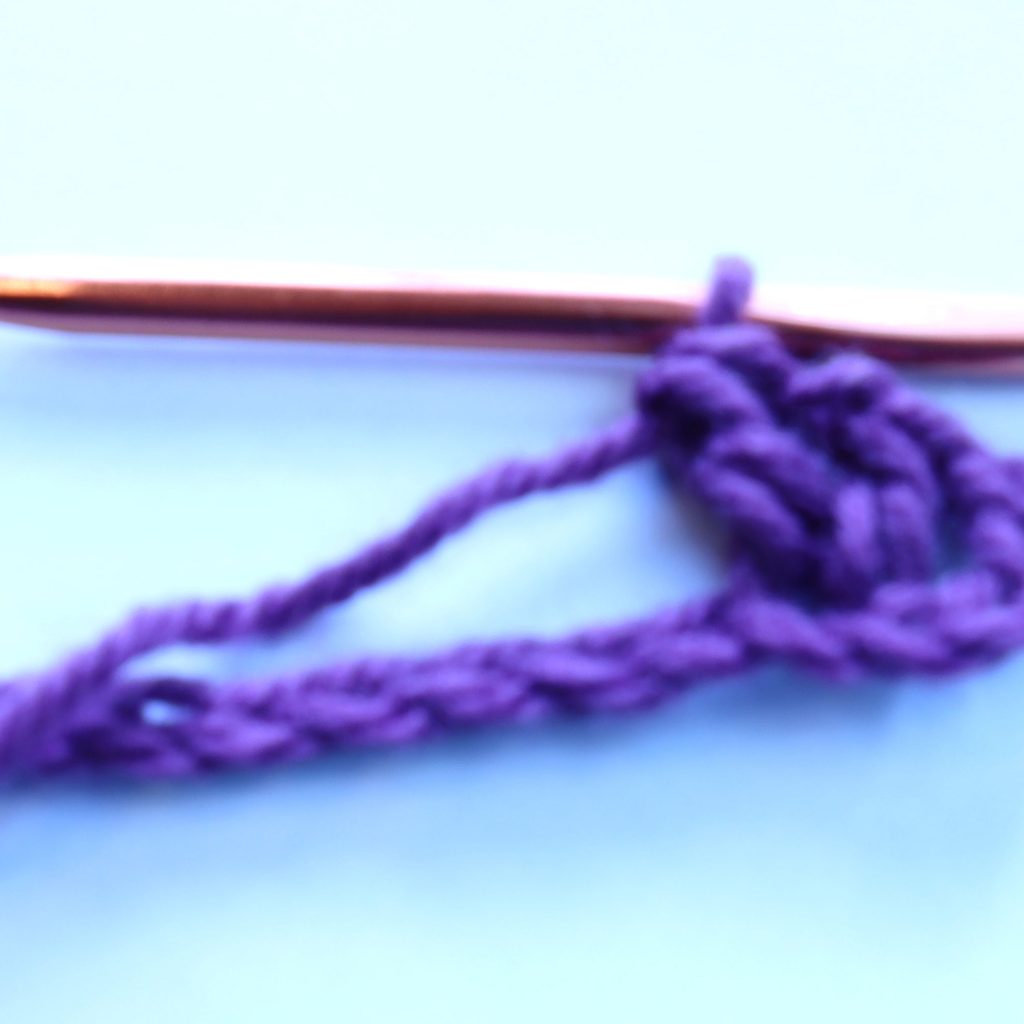
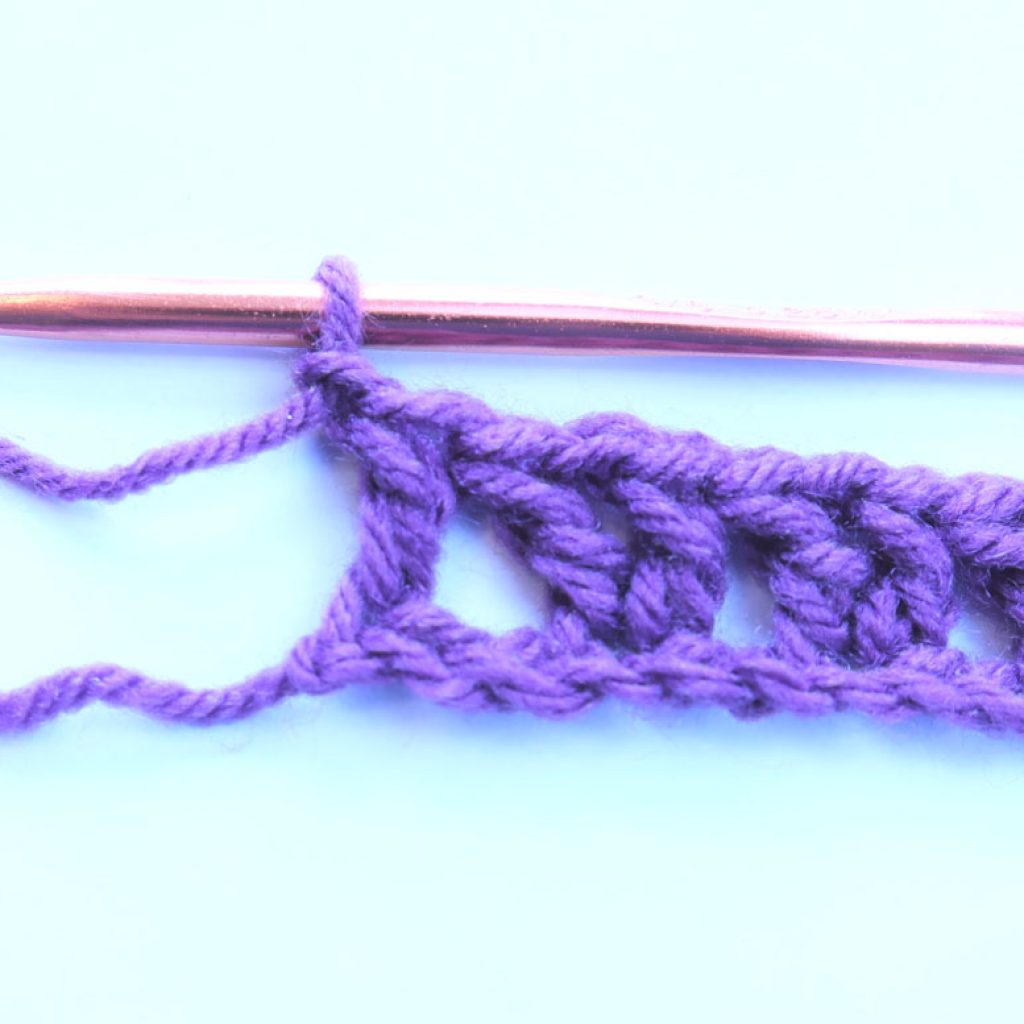
Row 1: dc in 5th ch from hook, ch 1, dc in same ch, *skip 2 ch’s, V st in next ch (V st = dc, ch1, dc in same space)*. Repeat from * to *, to last 3 ch’s. Sk 2 ch, dc in last ch. Total of 24 V st sets. Ch 3 Turn

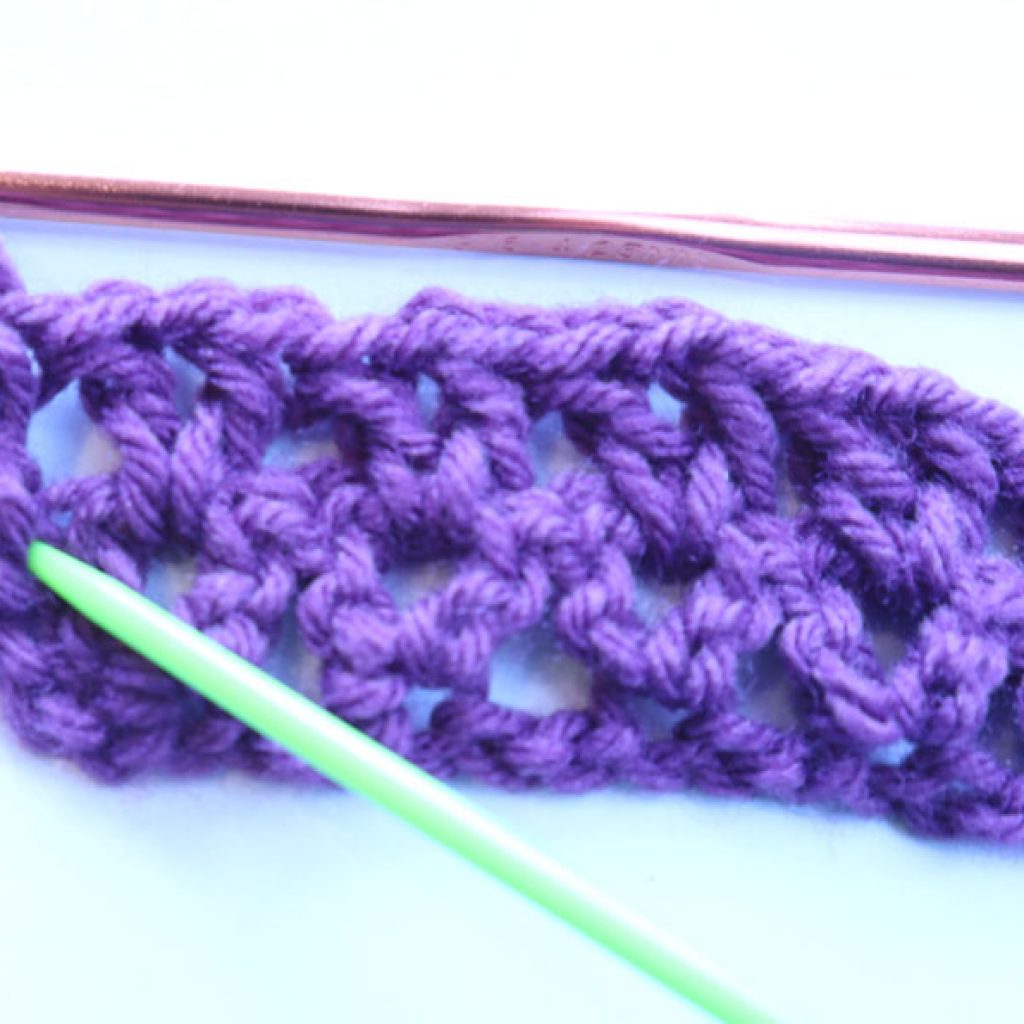
Row 2: *V st in V st ch1 space of row below*. Repeat from * to *, to last Vst sp. V st in that last sp. Dc in top of turning ch 3. 24 V st sets. Ch 3. Turn
Repeat Row 2 for 39 total rows ending with right side facing you. Do NOT tie off yarn.
Side Ribbing
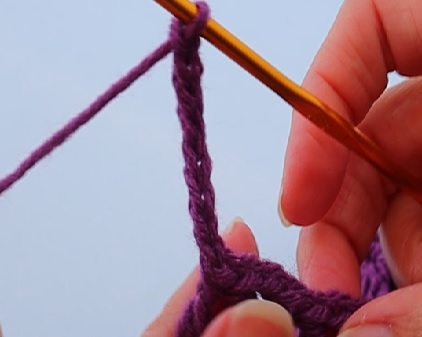
Using crochet hook E, with yarn still attached on row 39, work 8 chains.
Sc in 2nd ch from hook and in remaining ch’s. 7 sc’s total.
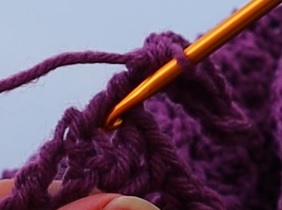
Sl st in next 2 sp’s of the edge (one sp is large opening, next sp is small opening). Turn your work.

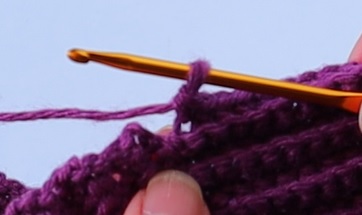
*Sc in back loop only of ea sc across. Ch 1. Turn (Be sure you are not entering your sc’s in the sl st’s.)
Sc in back loop only of ea sc (7 sc total); Sl st in next 2 sp’s. Turn*.
Repeat from * to * to end of edge.
End with a sl st in last available sp. Tie off yarn.
With right side facing you, attach yarn at opposite side. Repeat as for the first edge. Tie off yarn.
Bottom Ribbing:
Right side facing you, attach yarn at bottom, right corner (side ribbing).
Ch 16
Continue ribbing as for the side edges working with 15 sc’s. Sl st in two sc sp’s of ribbing for the ribbing sections, then continue as for the edges working along the V stitch sp’s.
NOTE: if the panel begins to pucker while working along the V stitch’s, only work a single sl, rather than 2 sl st’s. Do this as needed along the row. Suggest doing this about every 7 sp’s or as needed.
Continue with the ribbing along the second side ribbing until the entire bottom is covered with the bottom ribbing. Tie off yarn.
Attach Panels

Attach panels at shoulders with wrong sides facing you.
Using yarn needle and length of yarn, insert needle in both corners. Tie the ends to secure. Use a whip stitch going under two strands of each panel; whip st across 4 inches from edge to center neck opening. Adjust as needed for preferred neck opening width. Tie off yarn.
Attach Buttons

Right sides facing you, place panels side by side. Do not overlap. Determine preferred placement of buttons. Use stitch markers to ensure even placement.

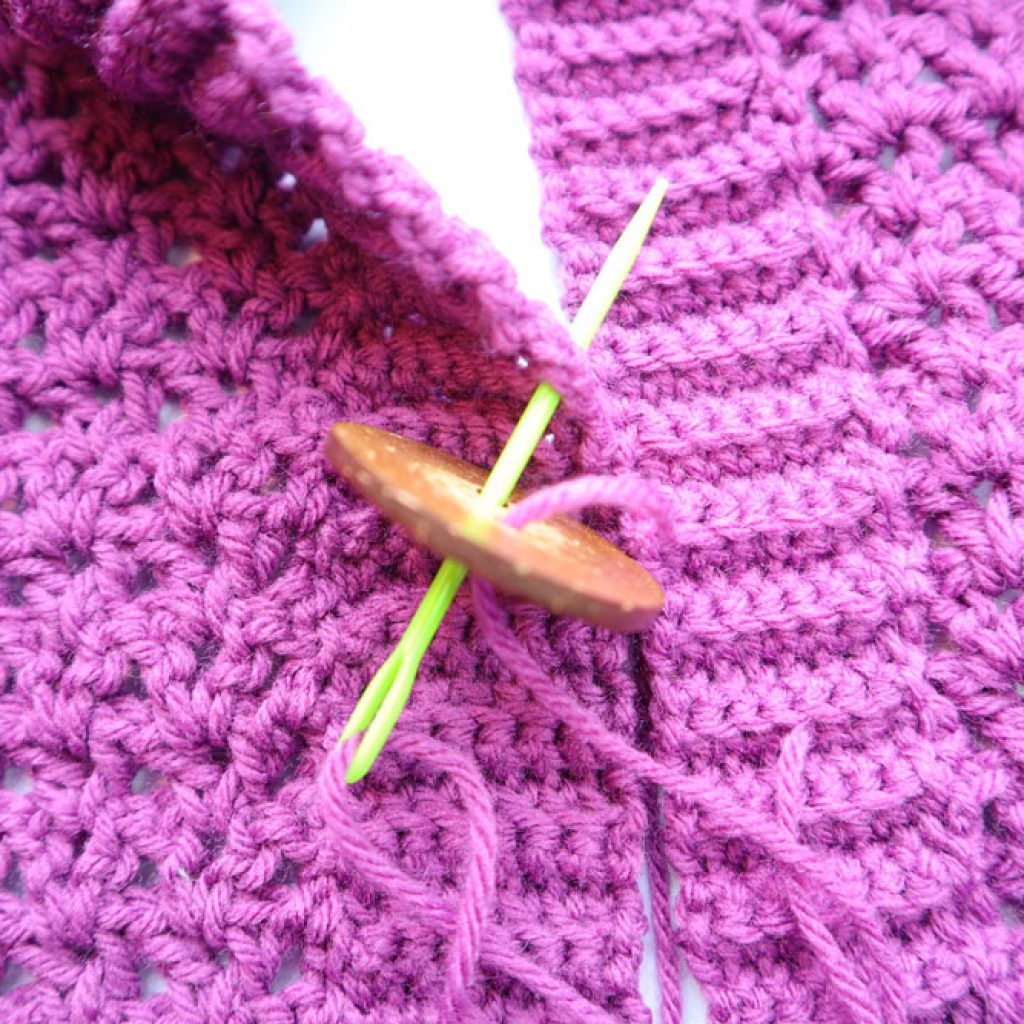

Using yarn needle and length of yarn, insert needle from back to front at very edge. Insert needle from back to front of button, then from front to back of second hole. Then insert needle from front to back of second panel at very edge. Remove needle and securely tie the tails in the back. Tie off tails.
Copyright © 2020 Sylvia Talo You may sell items made from my patterns. Please include a link or reference to my shop CrazyCoolCrochetUS.etsy.com . Pattern and photos are copyright protected and may not be reproduced, redistributed, or displayed publicly in any way.
You May Also Like


