Free Crochet Pillow Cover Pattern

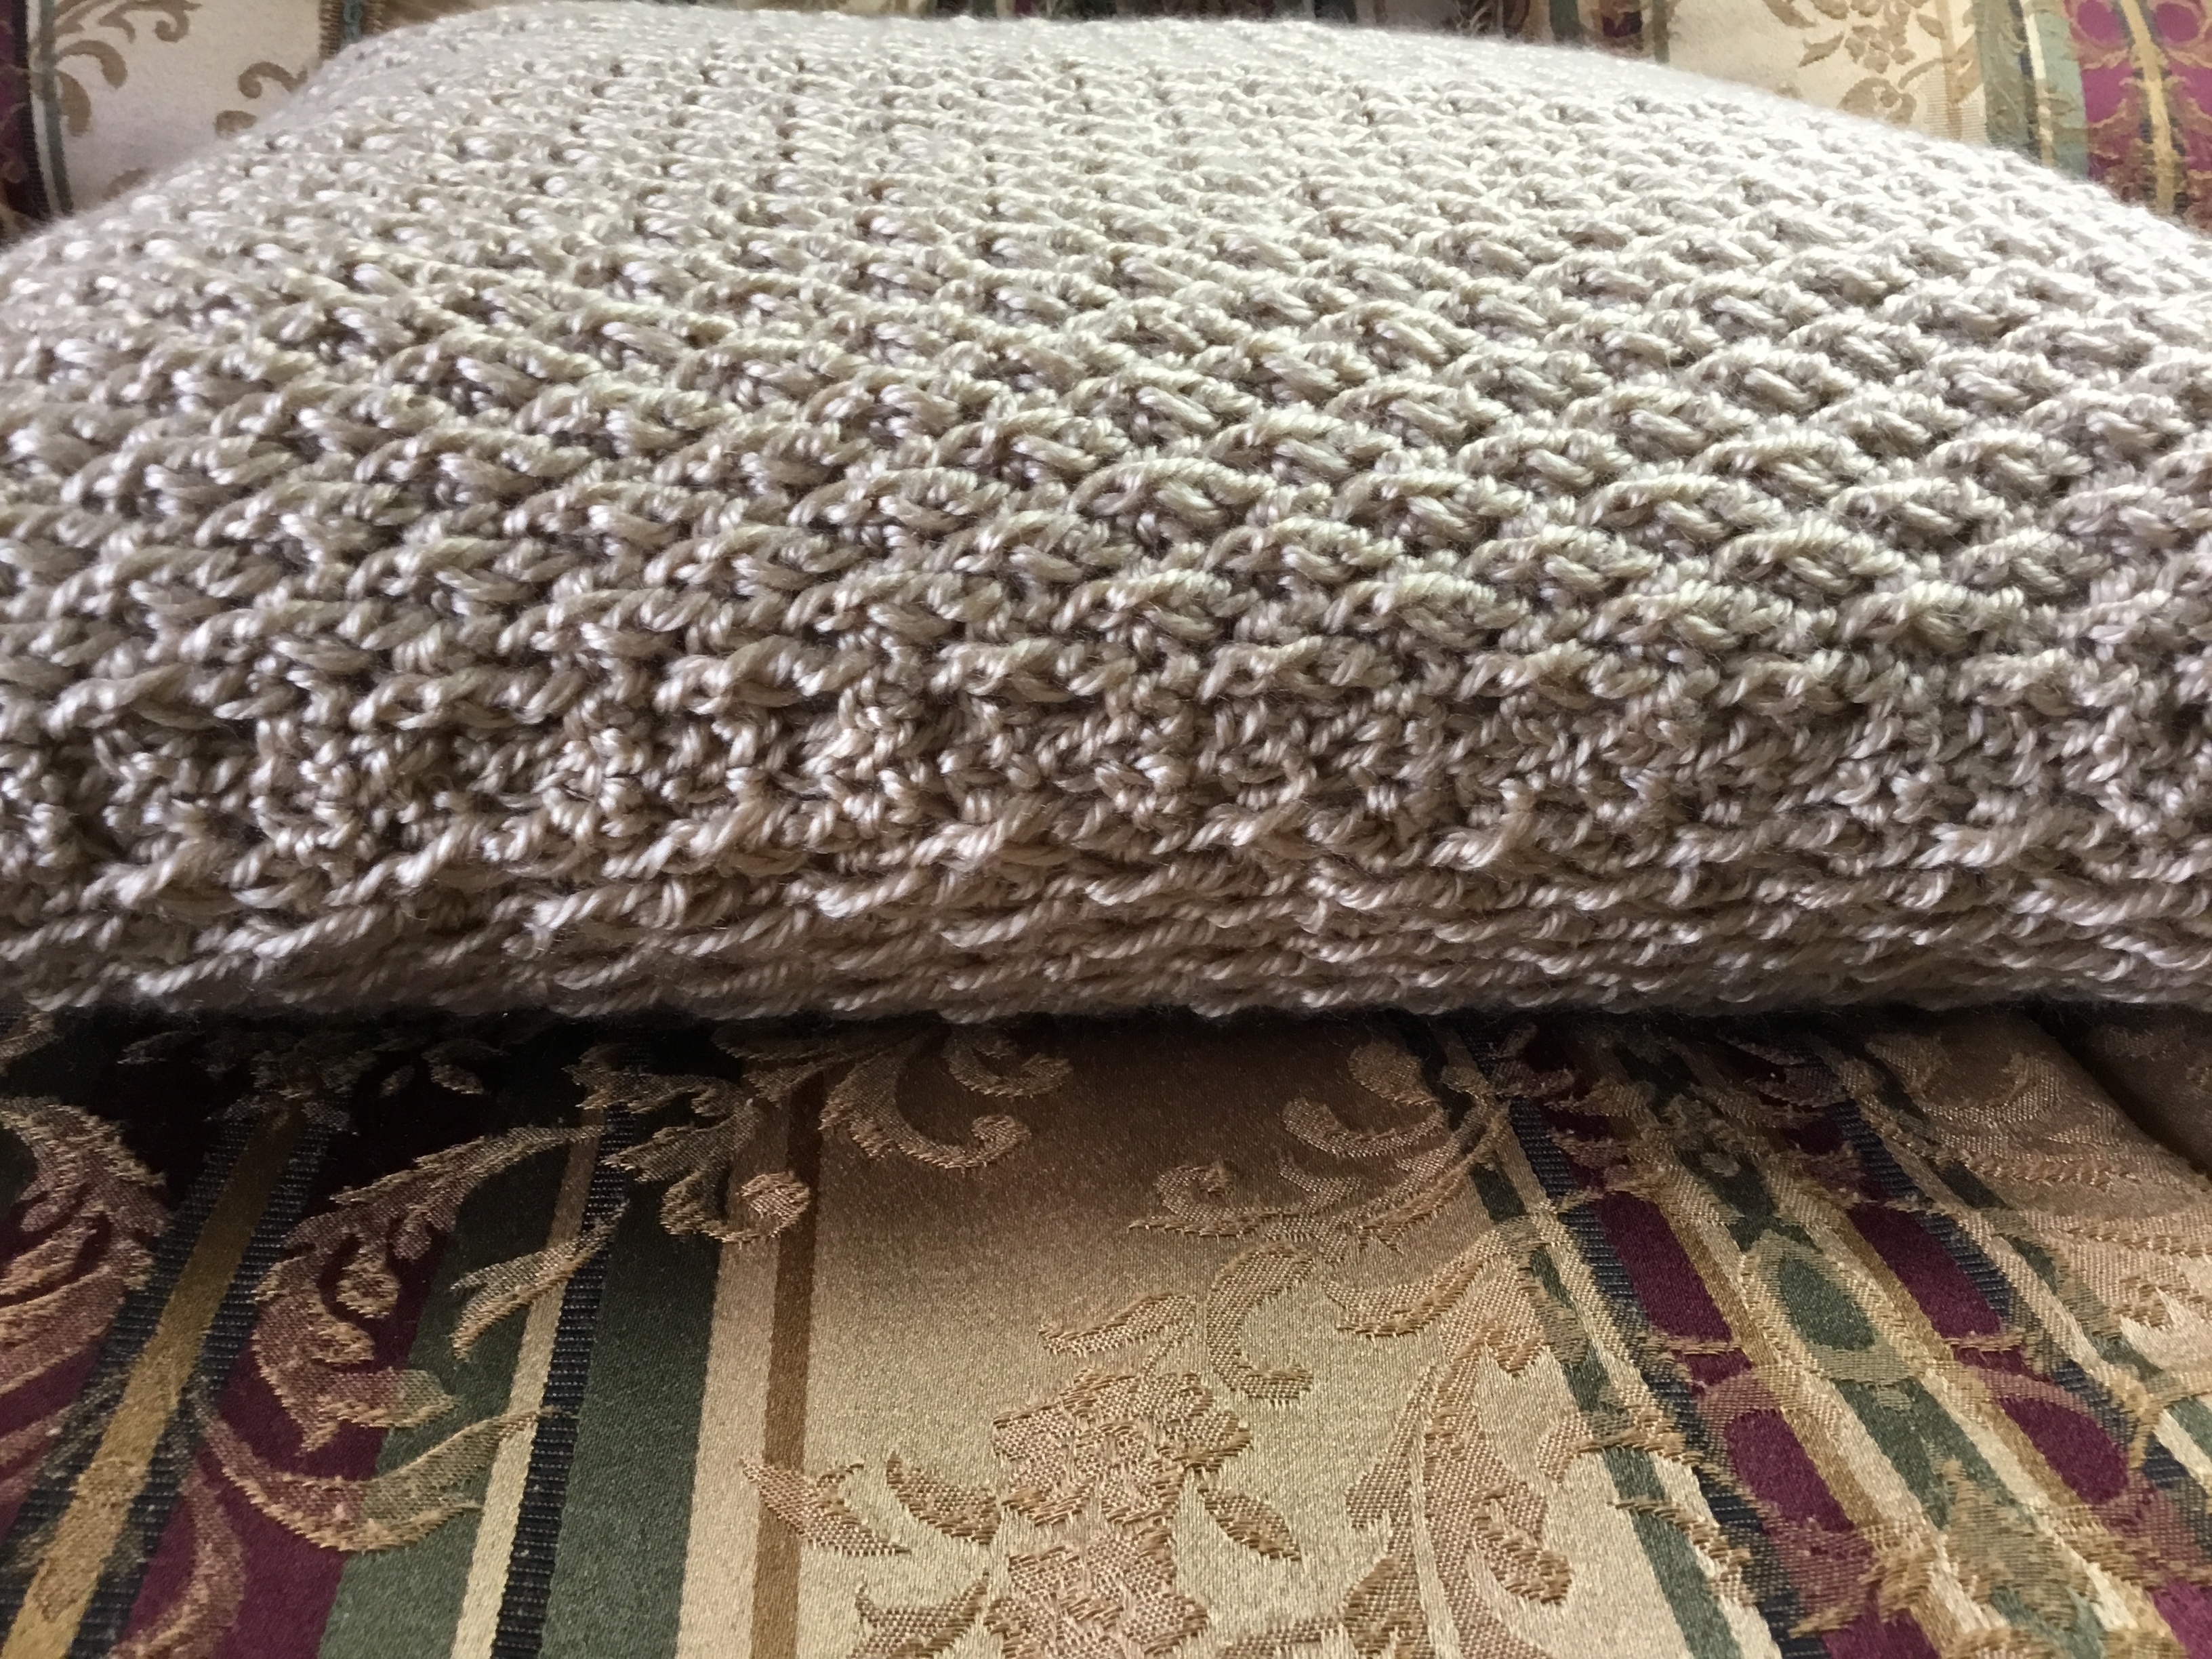
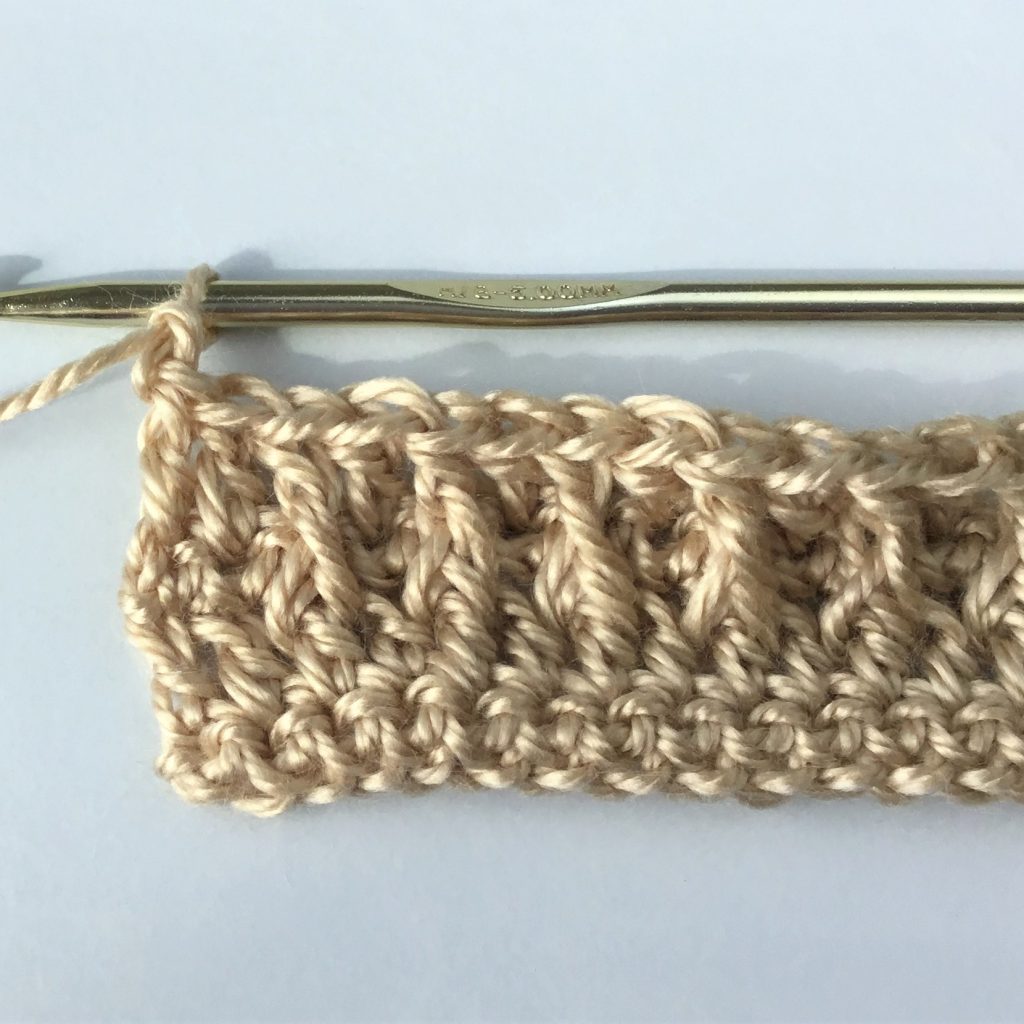
Free crochet pillow cover pattern using the richly textured alpine stitch is below.
The crochet alpine stitch uses the cool and easy front post double crochet stitch. You will LOVE this stitch!
This crochet pillow cover will look beautiful in any home; any style decor!
It is easier to learn the front post double crochet used in this alpine stitch design from the video below. While you’re there…please be sure to subscribe! I would appreciate that SO much. If you have been following my journey, you know that this CrazyCoolCrochet.com blog, Etsy shop and YouTube channel make up my only income source. Yikes! It’s still a newer business so that means not much income. Your support is truly appreciated!
I usually recommend using the same yarn that I use to achieve the same results. Choosing the exact right yarn for each project is both enjoyable and daunting. I want to be sure the yarn is readily accessible and fairly economical.
For this alpine stitch crochet pillow cover I chose a yarn that is luxuriously soft and has a nice sheen. It is actually called Soft & Shiny. The shine is not gaudy at all but, it adds an extra pretty layer of interest.
The yarn color is Ice Coffee but I see it as a sort of gold. Not mustardy gold, more like a gold bar (oooh). But again, not in-your-face gold. Sophisticated. That’s what it is! LOL!
Since this project doesn’t depend on a drape factor like my wearable designs usually do, you absolutely can substitute the yarn with pretty much any #4 yarn. I would stay away from the cheaper, scratchy yarns though.
Fits 18 x 18 inch Pillow
Adjust size by adding or subtracting starting chain in multiples of 2 plus 1. For a 16 x 16 inch pillow use a starting chain of 55.
This post contains affiliate links which means I might qualify for a small commission for purchases made from these links at no additional cost to you.
Materials:
Yarn: #4 / 15 ounces (2.5 skeins) Loops & Threads Soft & Shiny/ Color Ice Coffee

Hook H / 8 / 5 mm
Yarn or Tapestry needle
Gauge: fpdc, dc, fpdc = 1 inch / sc row and fpdc row = 1 inch
Abbreviations:
Sc = single croche
Dc = double crochet
Fpdc = front post double crochet
Sp = space
Ea = each
Ch = chain
Yo = yarn over
Work 2 identical panels.
Ch 65
Row 1: sc in 2nd ch from hook and each ch across. 64 sc. ch 2, turn
Row 2: sk 1st sp; dc in next sp and ea sp across. 64 dc (inc turning ch at beginning of row) ch1, turn
Row 3: sc in 1st sp and ea sp across. 64 sc. Ch 2, turn
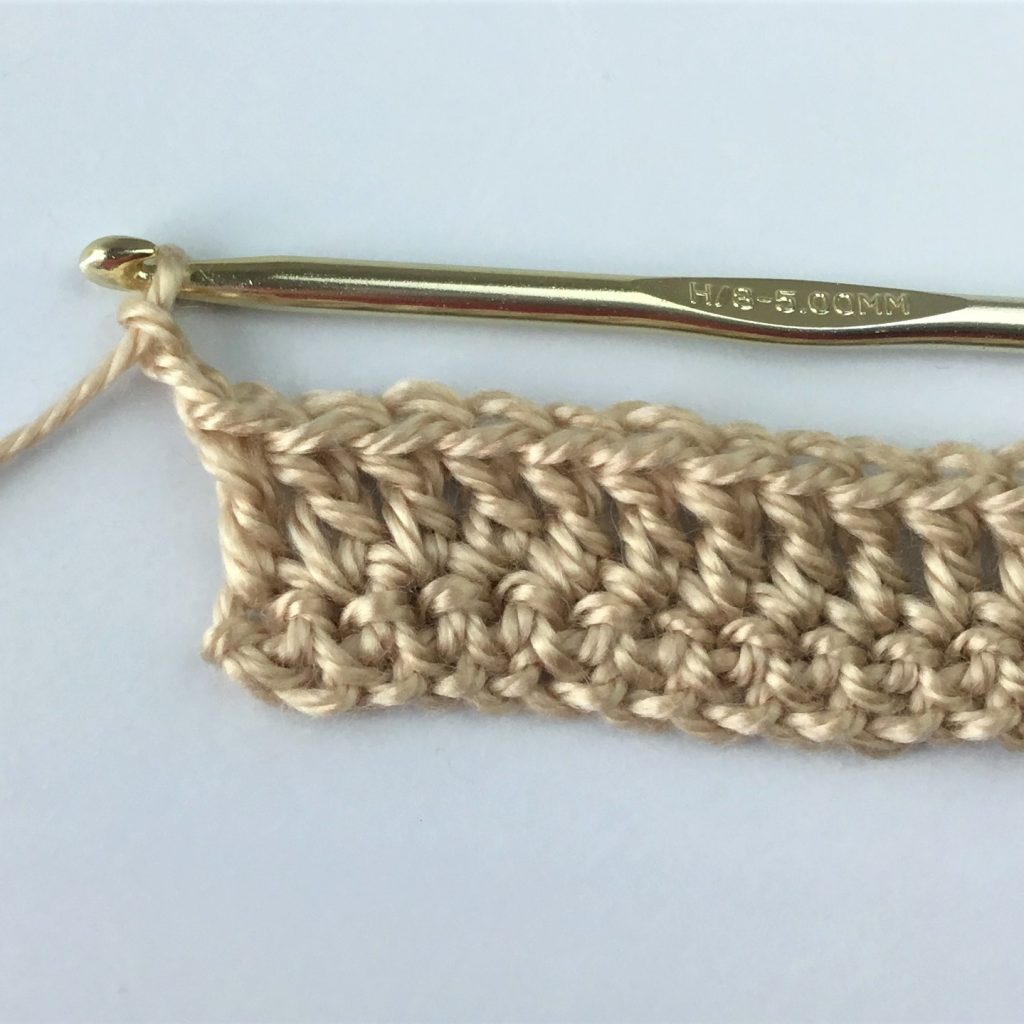
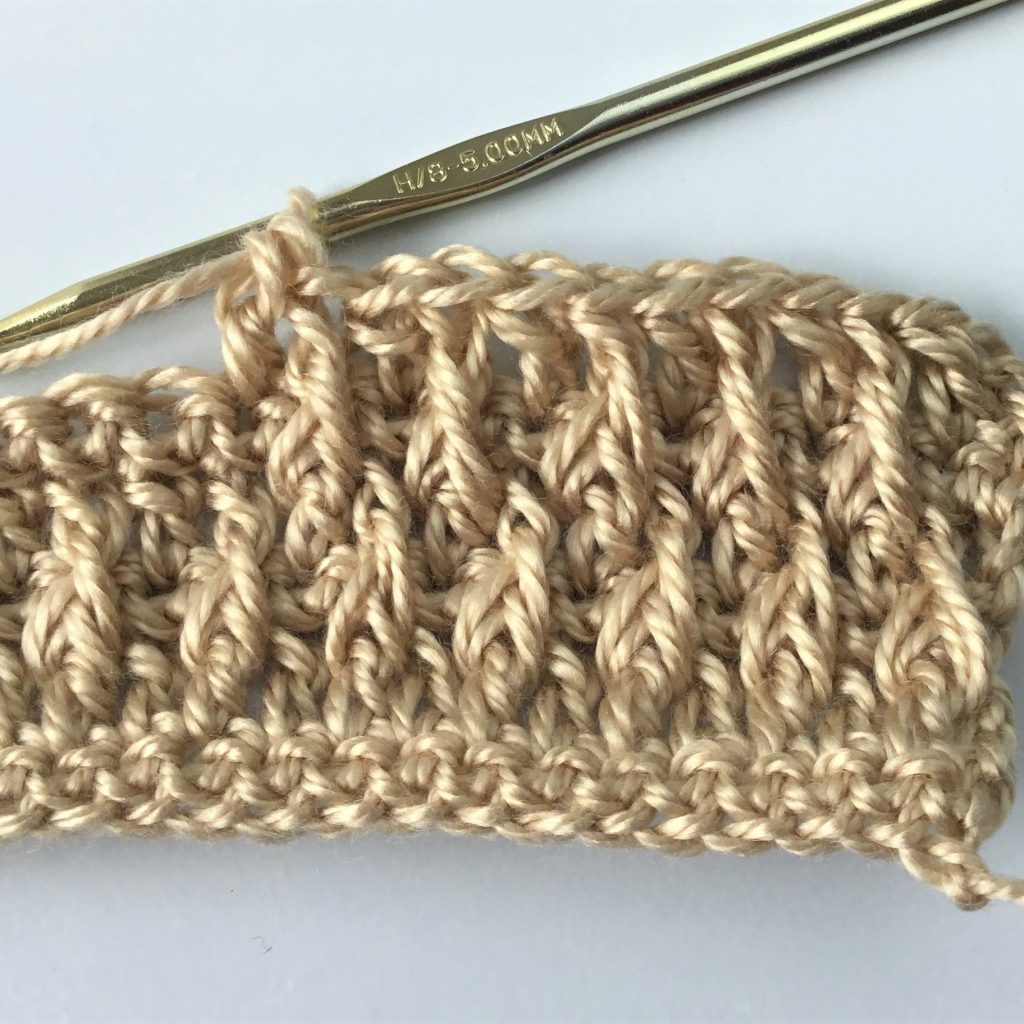
Row 4: fpdc around 1st dc below (not around the ch); *dc in next sp; sk next dc below, fpdc around next dc below*. Repeat from * to * to last two sp’s. Dc in ea of last two sp’s. Ch 1, turn
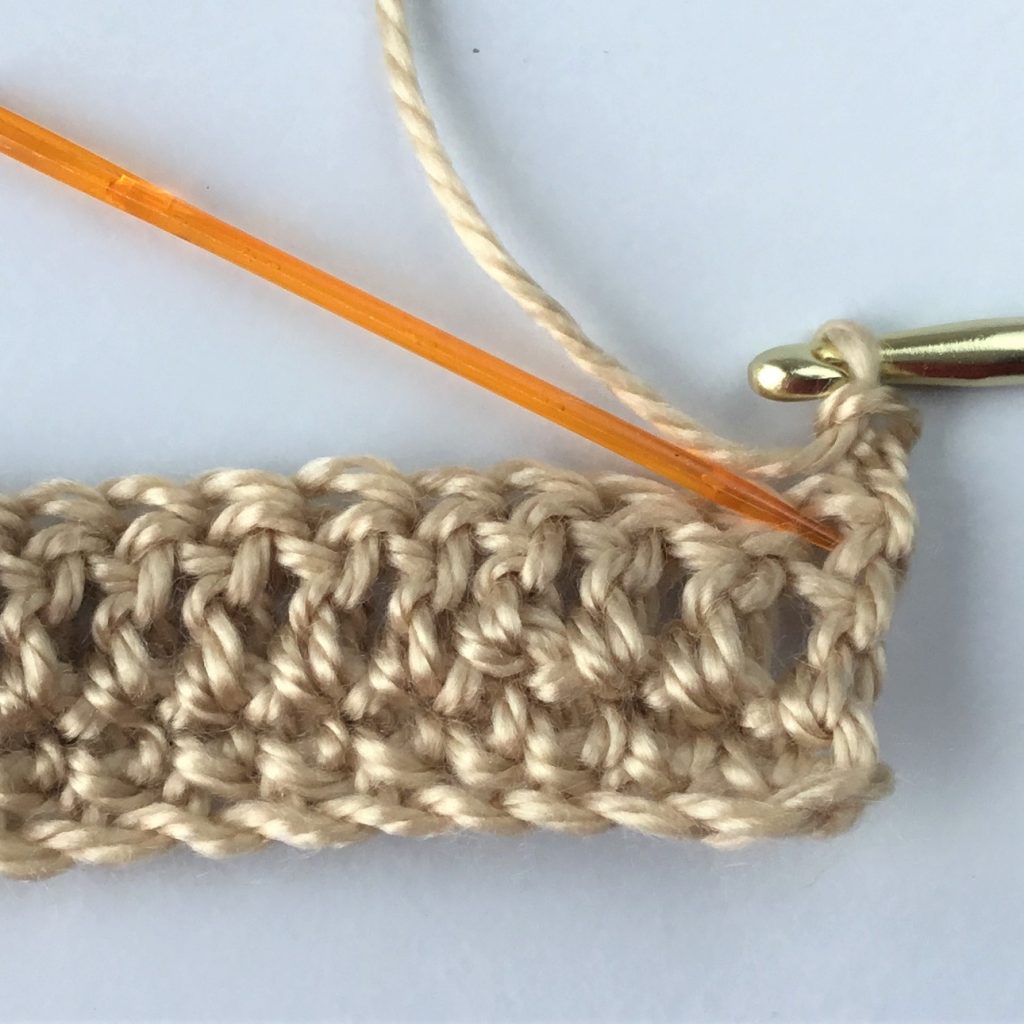
Row 5: repeat row 3
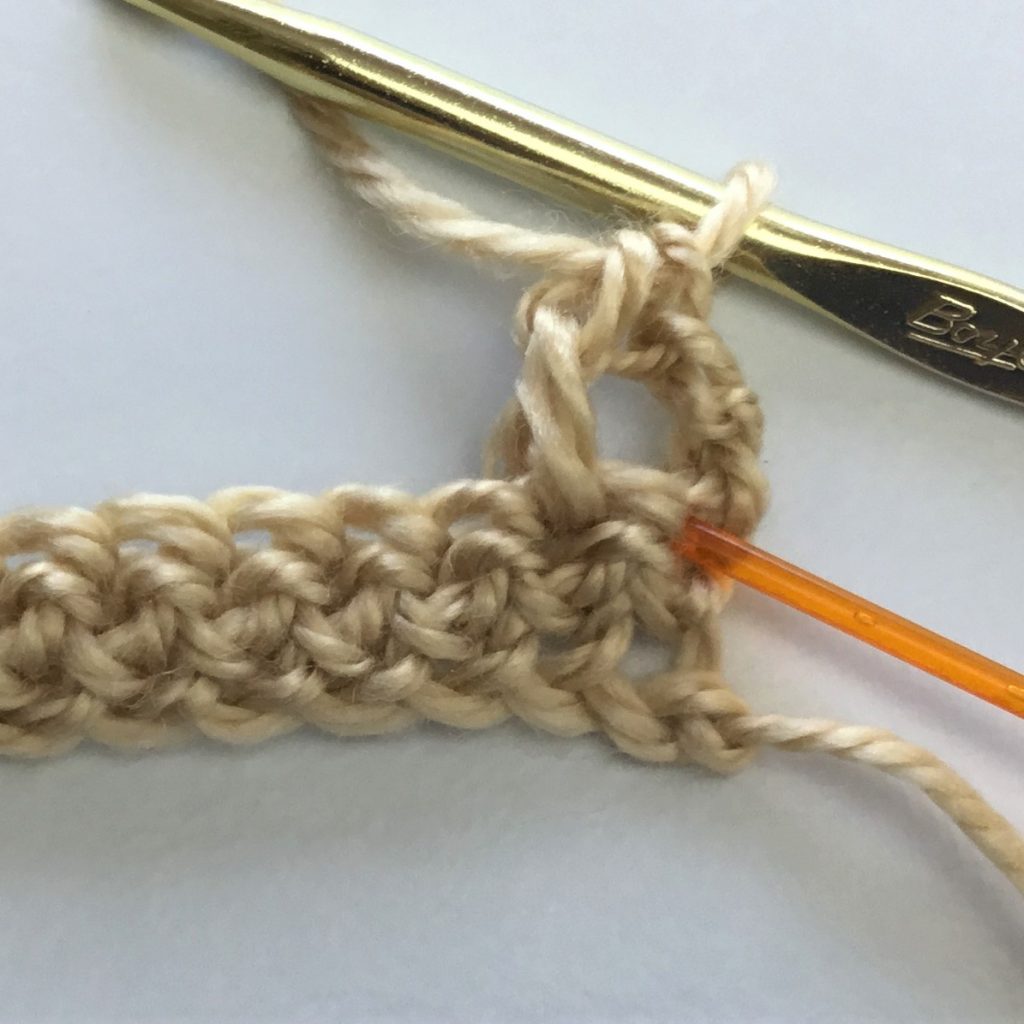
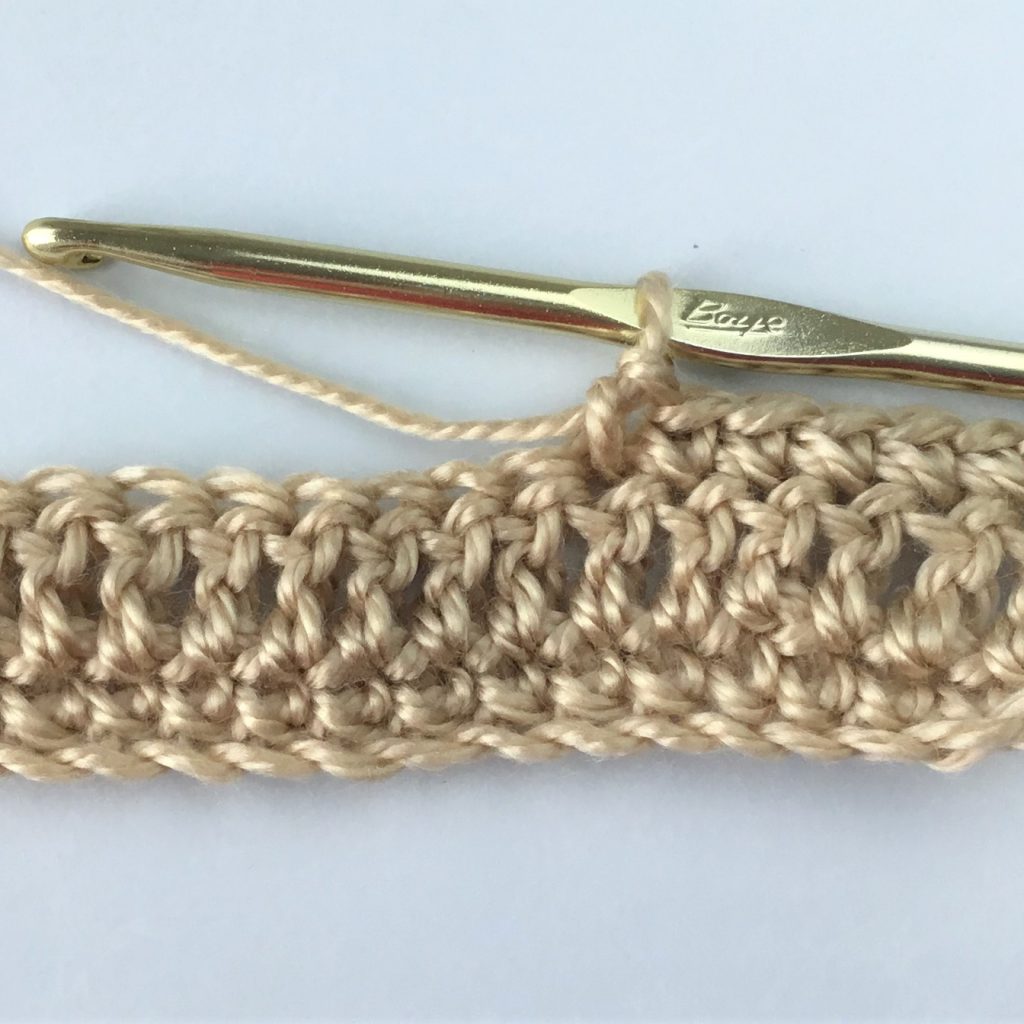
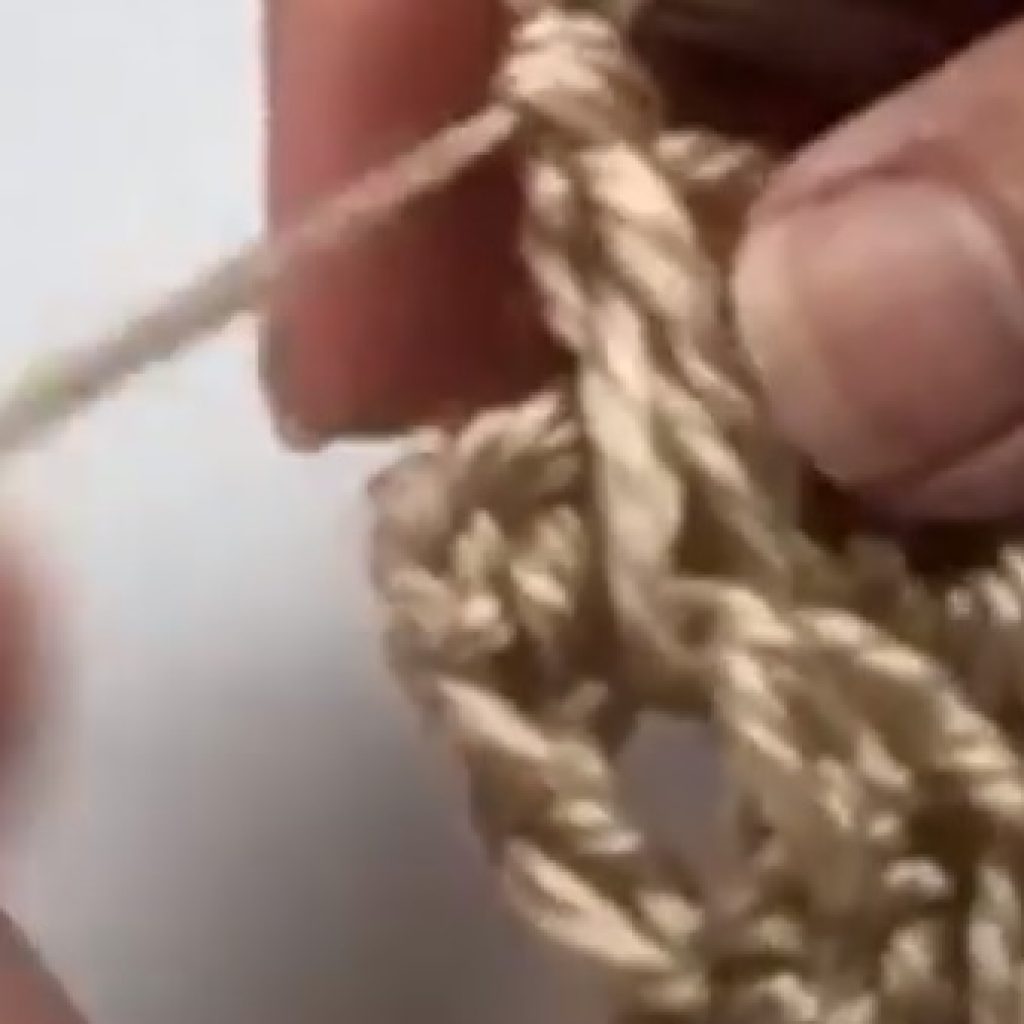
Row 6: dc above 1st sp of fpdc below; (see left arrow in photo) *fpdc around next dc below; dc in sp above the fpdc below*. Repeat from * to * to last two sp’s; fpdc around dc below; dc in turning ch. Ch 1 turn
Row 7: repeat row 3
Row 8: repeat row 4
Row 9: repeat row 3
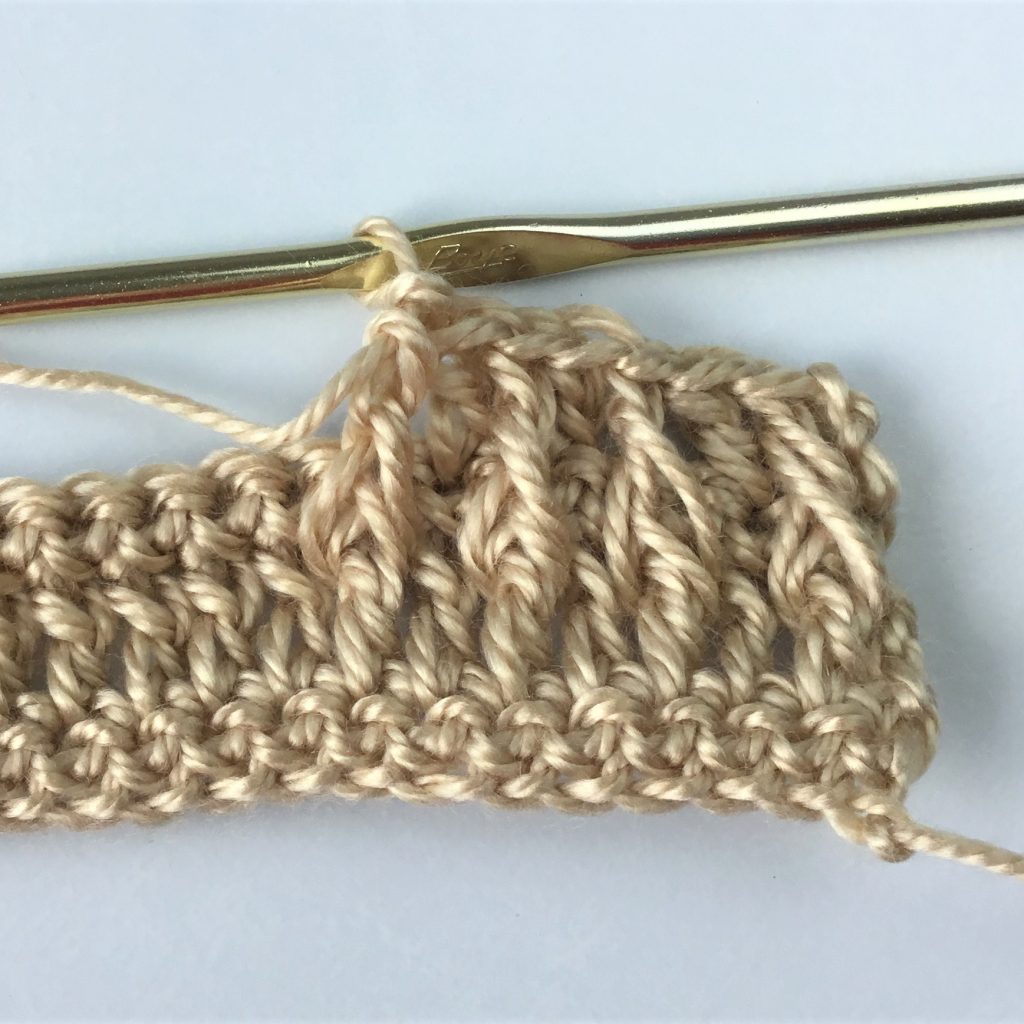
Row 10: repeat row 6
Continue in this pattern for a total of 27 fpdc rows. It is easier to count the fpdc rows diagonally.
End on a sc row. Tie off.
ATTACH PANELS
Place panels right sides facing each other; wrong side facing you.
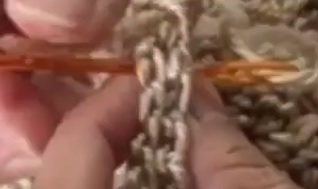
With yarn needle and length of yarn, seam along 3 sides.
Turn panels inside out. Insert pillow. Continue seaming last side. Tie off.
You will also love my “Crochet Pillow Shop” where you will find many more free crochet pillow cover patterns!
Copyright © 2019 Sylvia Talo You may sell items made from my patterns. Please include a link or reference to my shop CrazyCoolCrochetUS.etsy.com . Pattern is copyright protected; it may not be reproduced, redistributed, or displayed publicly in any way.

What a beautiful pillow and i love the yarn you chose. Can’t wait to make this. One for me and one for a Christmas gift!
I’m so happy you like it! This would make a perfect Christmas gift. Also great as a housewarming or teacher gift.
Enjoy!
Sylvia
CrazyCoolCrochet.com
[…] Source by crazycoolcrochet […]
[…] Source: Crazy Cool Pattern […]
[…] 4. Elegant Alpine Stitch Pillow Cover […]
Just want to be sure. You are FPDC beginning with the 1st DC after turning ch. Then, FPDC in every other DC. In the skipped ones you are DC in the top of the stitch. So every stitch has work. fpdc, DC top, FPDC, DC top etc. No stitch is ignored. Is that right?
Hi Kim,
Yes, looks like you’ve got it down. The video should help clear up any questions.
Thank you so much for visiting!
Sylvia
CrazyCoolCrochet.com
Hi I’m struggling with the left side of this cushion (right side is perfect) . I am chaining one then turning and crouching in the first stitch. On the way Bach I am using the turning chain as a stitch therefor gaining a stitch each row. I’m obviously doing something wrong. Help
Hi Gillian,
I’m confused with you issue.
When you ch 1 at the end of the row and turn, the next row is a row of sc’s. One sc in ea sp for 64 sc’s. If your count is right then you’re good. Ch 2 and turn.
Then you do the FPDC around the first DC, not around the SC and not around the ch 2 (just as the instructions are written).
Please re-read the instructions and you should be good to go.
Hope this helps.
Sylvia
CrazyCoolCrochet.com
This would make a beautiful afghan.
It would make a beautiful afghan, however, it would be a real yarn eater for something that size. Just sayin’… LOL
Sylvia
CrazyCoolCrochet.com
can I print this pattern?
The Etsy pattern is printable. My Etsy shop is at CrazyCoolCrochetUS.etsy. com
Sylvia
Hello there! I love this pattern and the way the stitches look however mine seems to be warping as i add rows and curling in onto itself. I’ve counted the stitches at each sc row and they’re spot on. Is this normal? Would blocking both sides at the end help? Thanks!
Hi Bella,
I am so sorry I was not able to reply timely. I’ve been dealing with a major family health emergency.
I hope you were able to complete the pillow successfully. The warping I don’t really understand, however, the curling should not have mattered as you would be seaming the edges anyway.
Sylvia