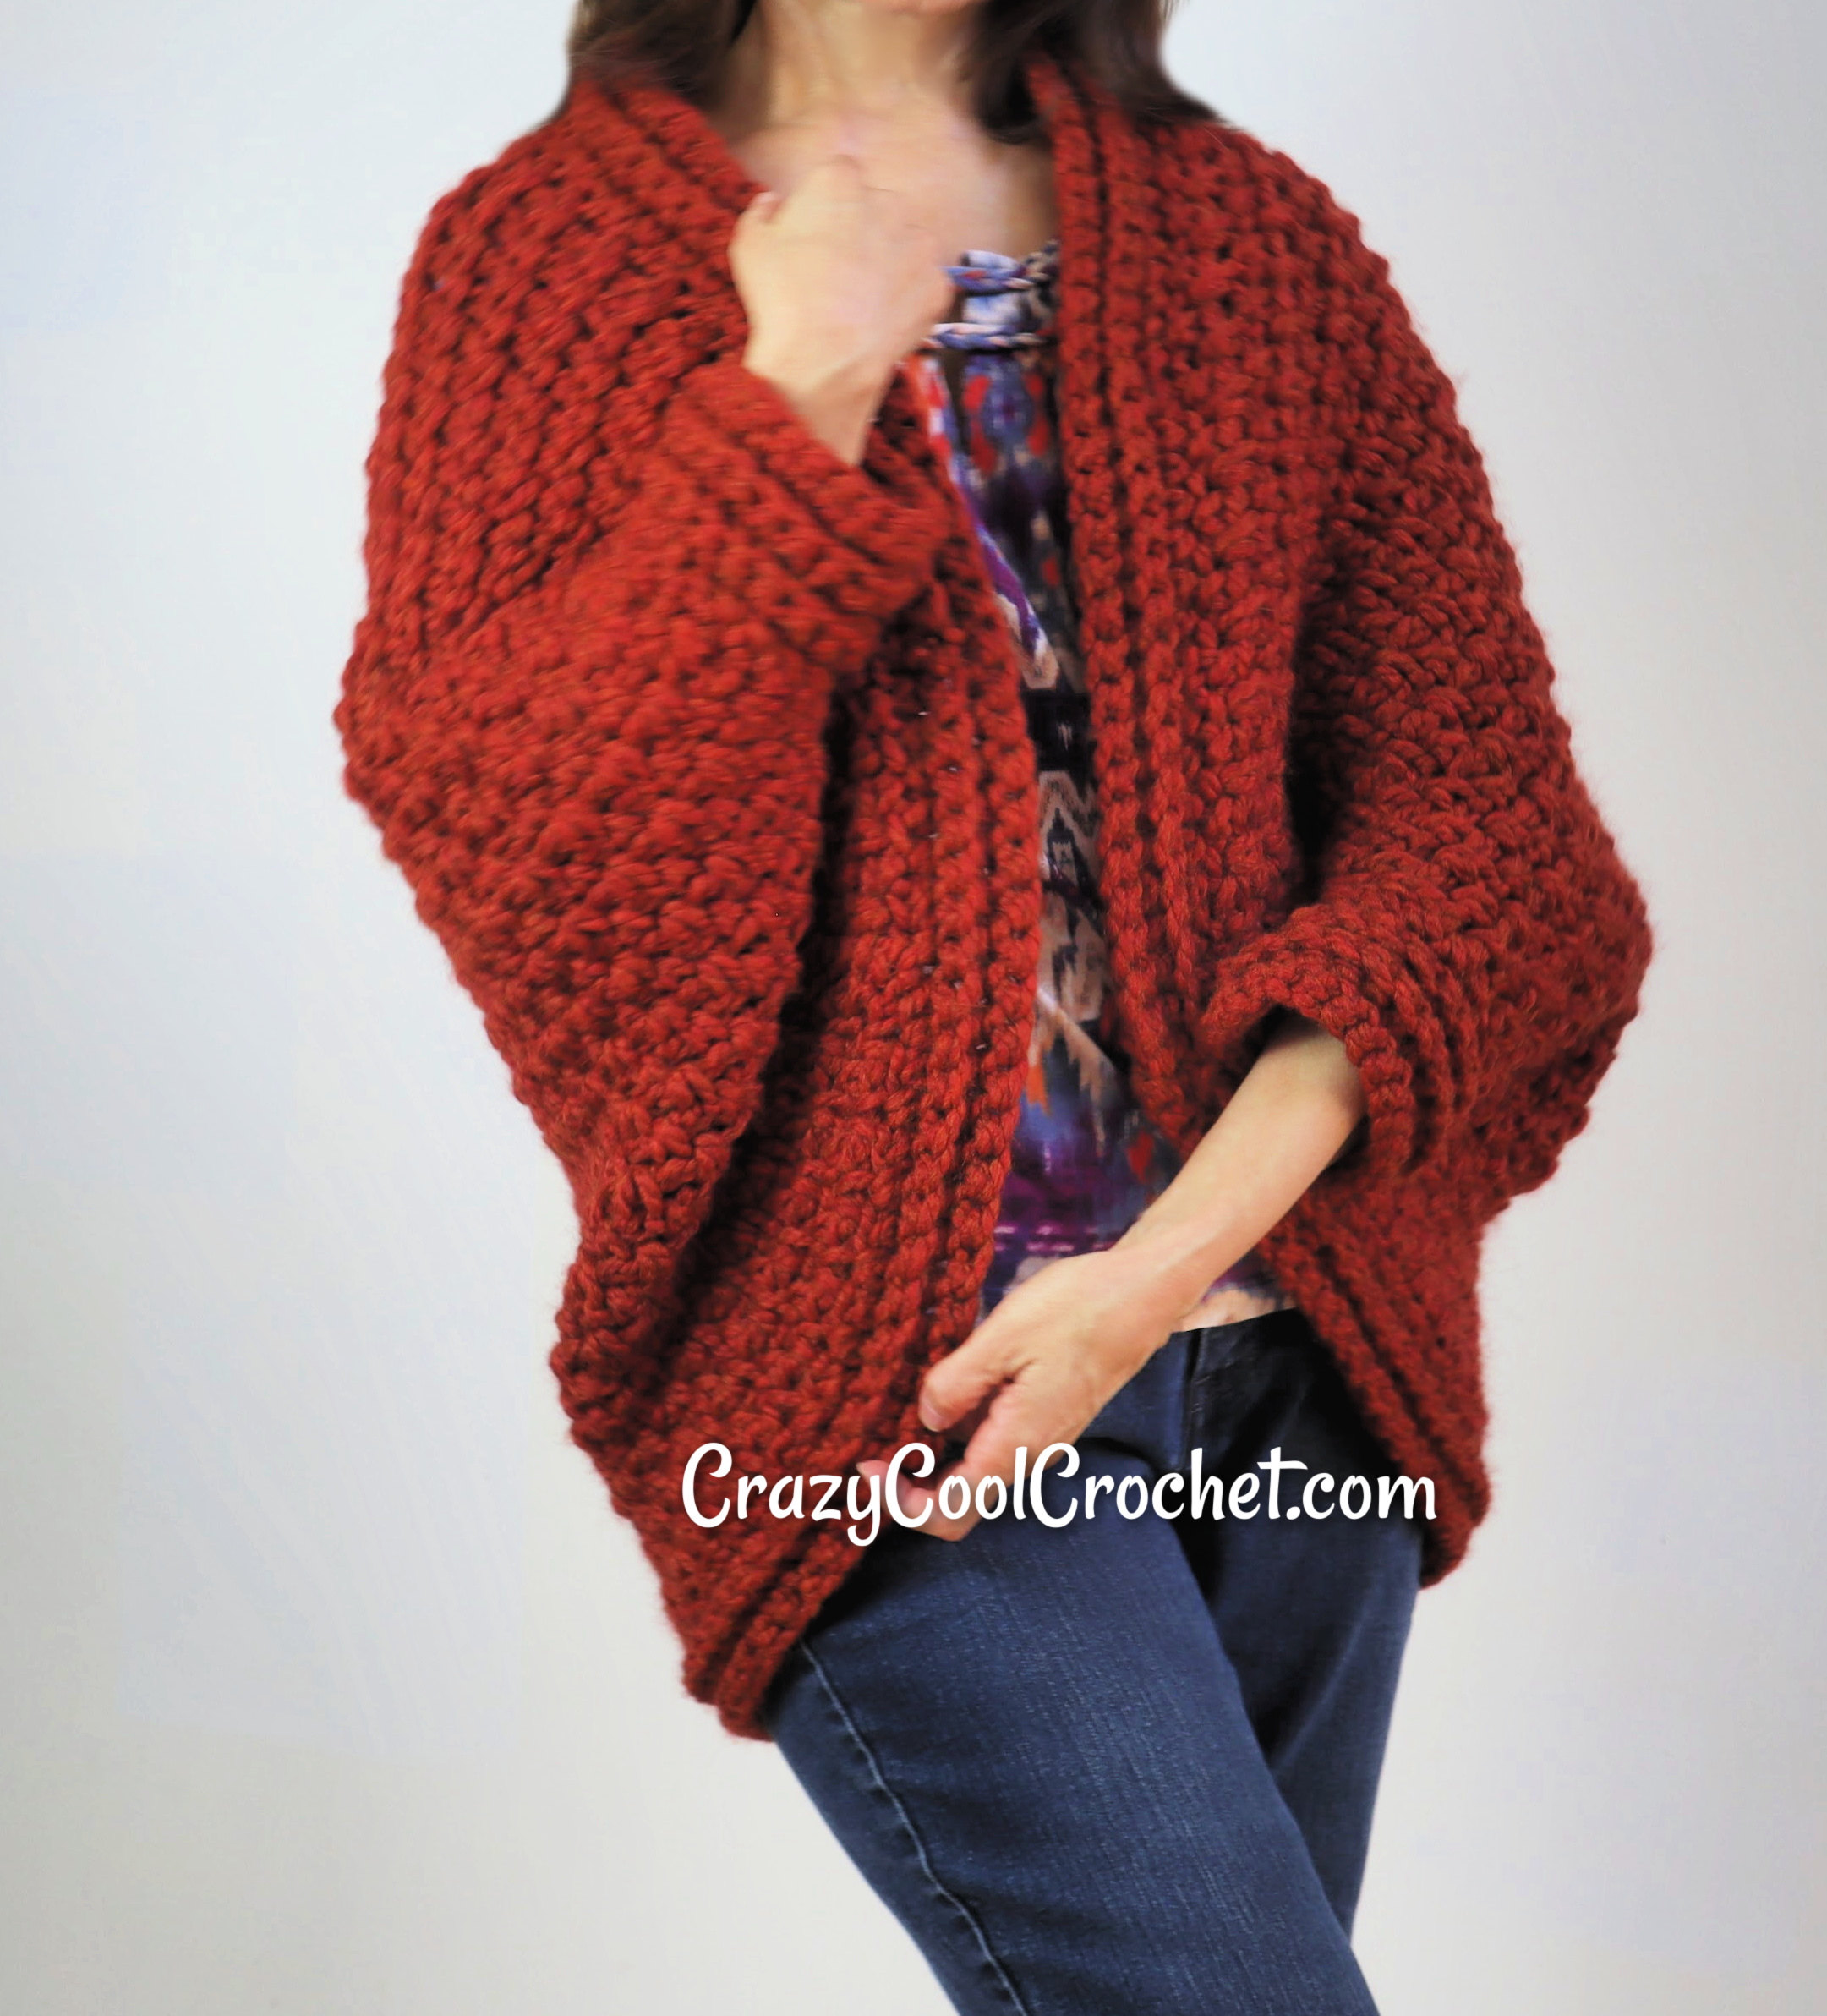
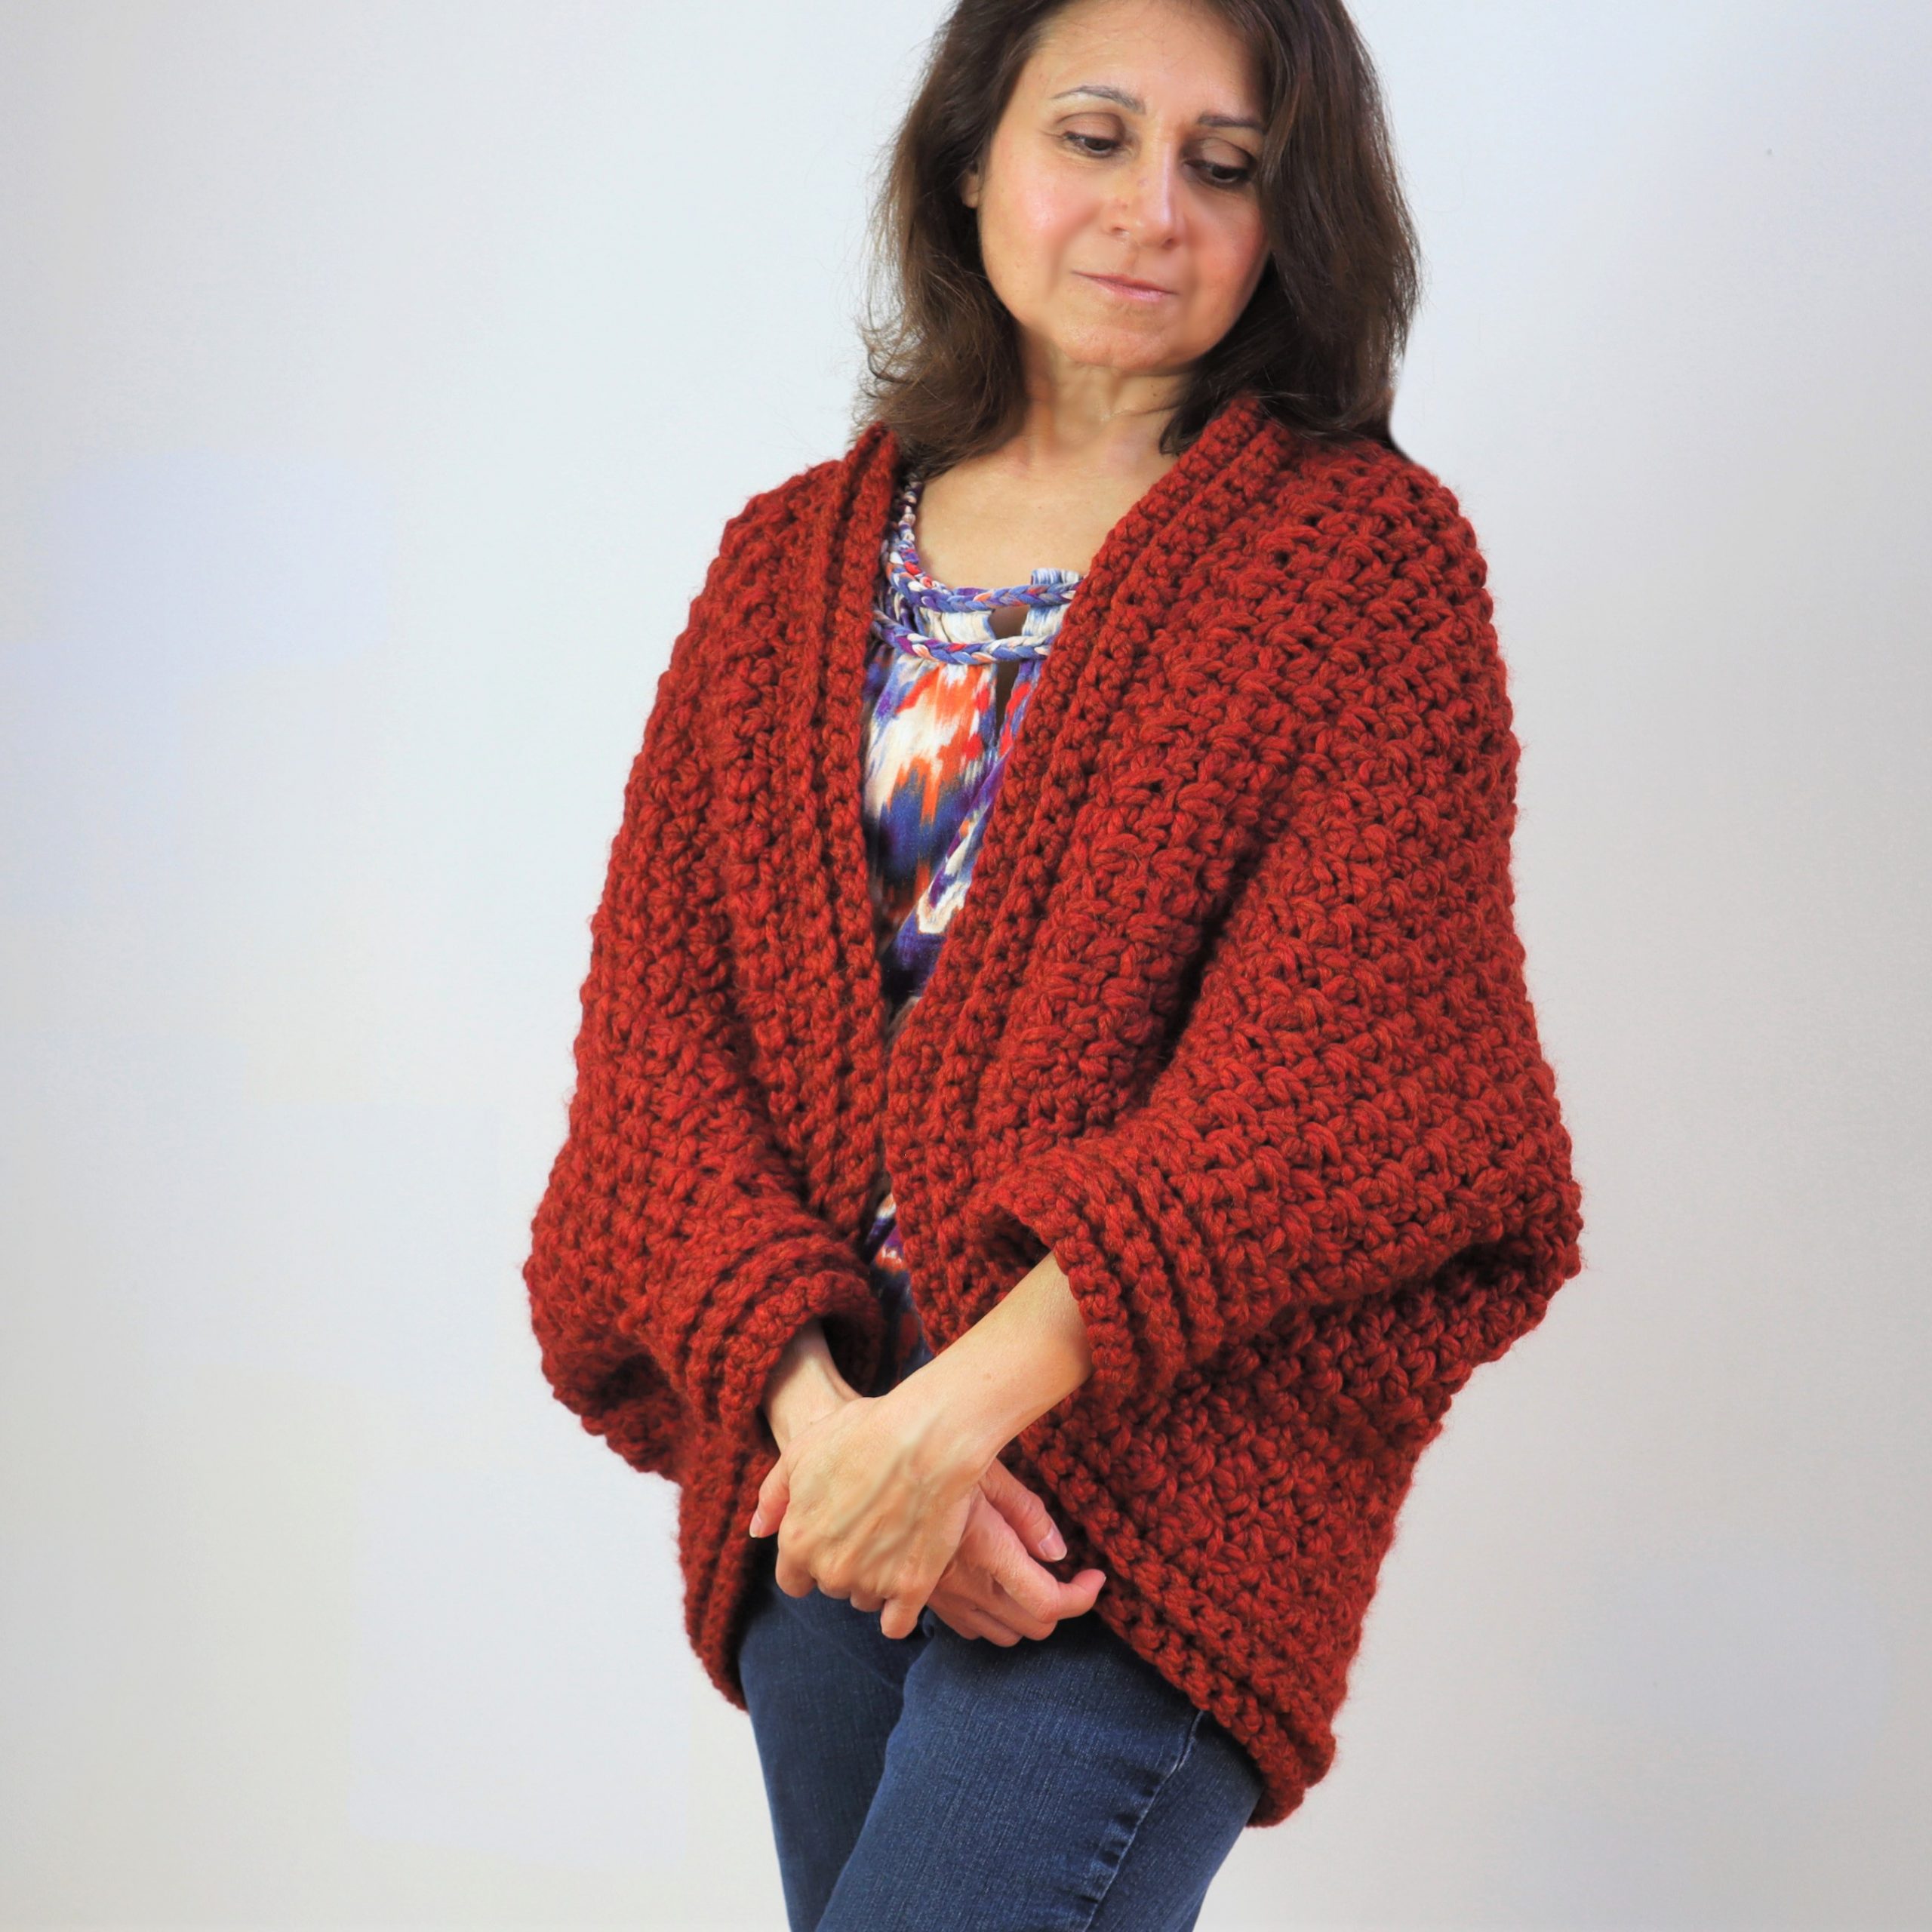
The video tutorial and written pattern for this crazy cool crochet cocoon shrug free pattern are below.
This crochet cocoon shrug uses the very easy to learn Moss stitch. Using the suggested yarn will result in a super soft, cozy crochet shrug. The pattern is easy to work and can be completed in one day!
The written pattern will be below and the video tutorial can be used in conjunction with the written pattern. Crazy Cool Crochet offers lots of FREE CROCHET PATTERNS and videos and is my only income. Your support, by subscribing to both this blog and my YouTube channel, is greatly appreciated! You are also encouraged to purchase the printable patterns from my Etsy shop: CrazyCoolCrochetUS.etsy.com
ETSY printable Pattern available now: CrazyCoolCrochetUS.etsy.com
Video tutorial is for a size small and can be made larger by using a foundation chain in an even number. The foundation chain determines width. You will also be adding a border from 3 – 5 inches wide (or as you prefer).
Small: chain 82
Medium: chain 88
Large: chain 96
XLarge: chain 106
1X: chain 120
2X: chain 130
Finished length for size small is 28 inches from neck to bottom. Add or subtract rows for your preferred length. Width is 46 inches.
CrazyCoolCrochet.com is a participant in the Amazon Services LLC Associates Program, an affiliate advertising program designed to provide a means for sites to earn advertising fees by advertising and linking to Amazon.com
This post contains affiliate links which means I might earn a small commission for purchases made from these links at no additional cost to you.
Materials: Yarn/ Lion Brand Wool Ease Thick and Quick / Color Spice/5 (6 ounce) skeins/ used 30 ounces or 636 yards
Equivalent (and better priced!) yarn:
Hook size N / 10 mm Optional smaller hook for borders – 8 or 9 mm Yarn needle and scissors
Ch 82
Row 1: Sc in 4th ch from hook; ch 1; *sk.next ch; sc in next ch; ch 1*. Repeat from * to * to last two ch’s. Sk 2nd to last ch; sc in last ch. Ch 2. Turn
Row 2: sc in 1st ch 1 sp below; ch 1; *sc in next ch 1 sp; ch 1*. Repeat from * to * to last sp. Enter sc in last sp (created by the turning ch). Ch 2. Turn
Row 3 – 46: Repeat Row 2. At end of last row cut yarn leaving a 5 inch tail to weave in..
SEAM
With right side facing up, fold panel in half. Bring top of panel down to meet bottom of panel, matching up corners. Using yarn needle and length of yarn, seam using a whip st. Start at bottom corner and work up to the fold. Leave 4 inches open for the wrist opening/sleeve. [5” for sizes Med/Lg; 6” for larger sizes.] Tie off yarn leaving a tail to weave in. Repeat for other side.
BORDER
Turn right side out. Open and position panel vertically.
Row 1: Using smaller hook (8 or 9 mm), attach yarn at a seam. Ch 1 to secure yarn. Sc in ea sp around entire perimeter, evenly spaced. Ensure that you are not entering sc’s in large spaces; rather enter hook under two strands to avoid adding gaping holes in border.
When you arrive back to the first sc, sl st in that 1st sc. Ch 1. Turn.
Row 2: Working in BLO, sc in ea sc below. At end of row, sl st into 1st sc of this row. Ch 1 Turn.
Rows 3 – 4: Repeat row 2. Tie off yarn at end of last row.
You may add rows as preferred for a larger border.
SLEEVE BORDER
With right side facing you, create border using same instructions as for the body border.
Copyright © 2020 Sylvia Talo You may sell items made from my patterns. Please include a link or reference to my shop CrazyCoolCrochetUS.etsy.com . Pattern and photos are copyright protected; may not be reproduced, redistributed, or displayed publicly in any way.
You might also enjoy this crochet beginner friendly, super popular crochet pocket shawl:

You May Also Like


