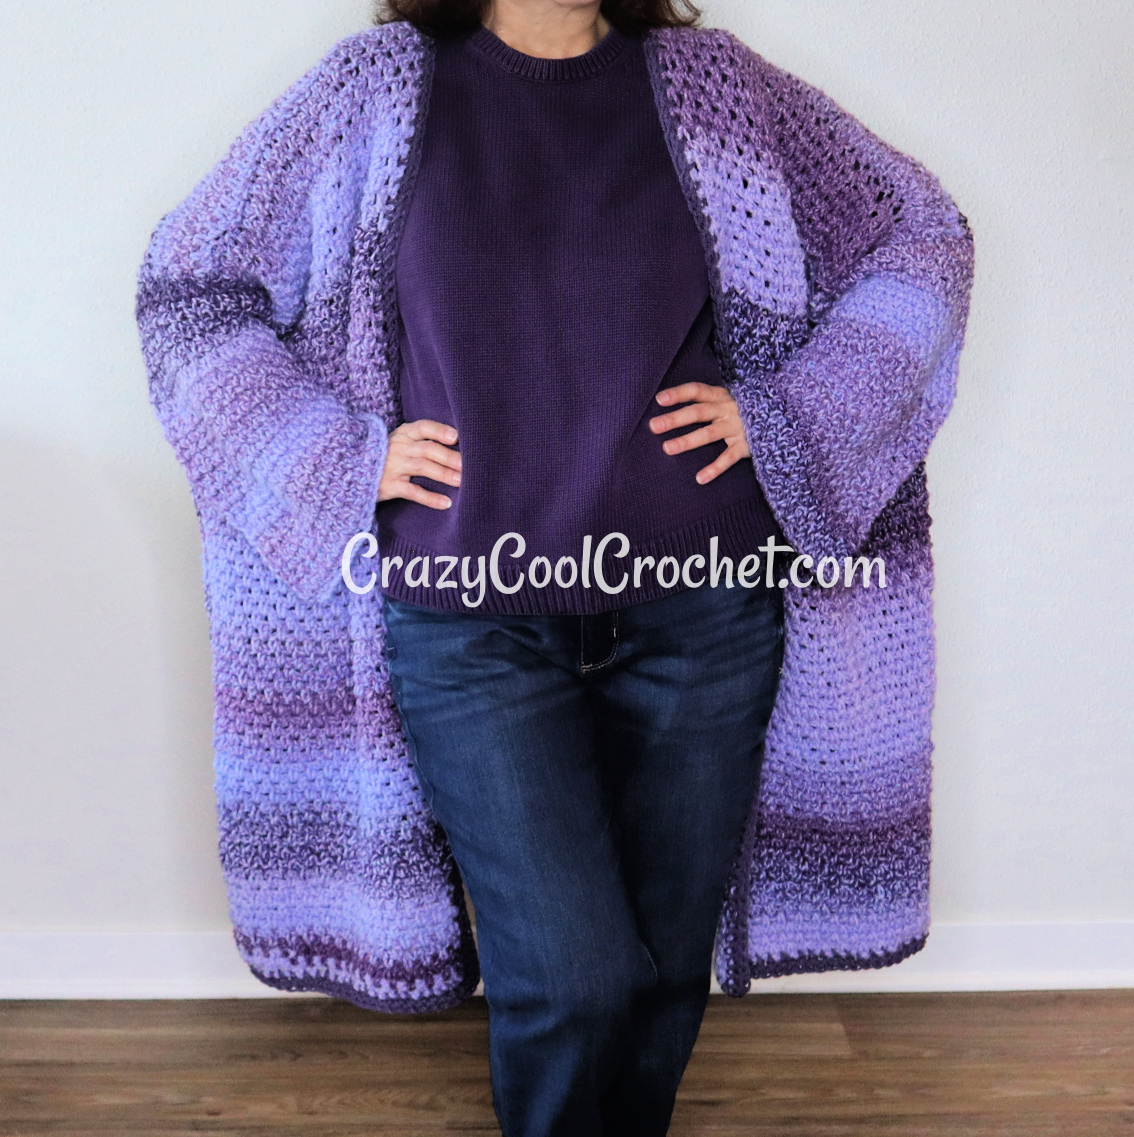
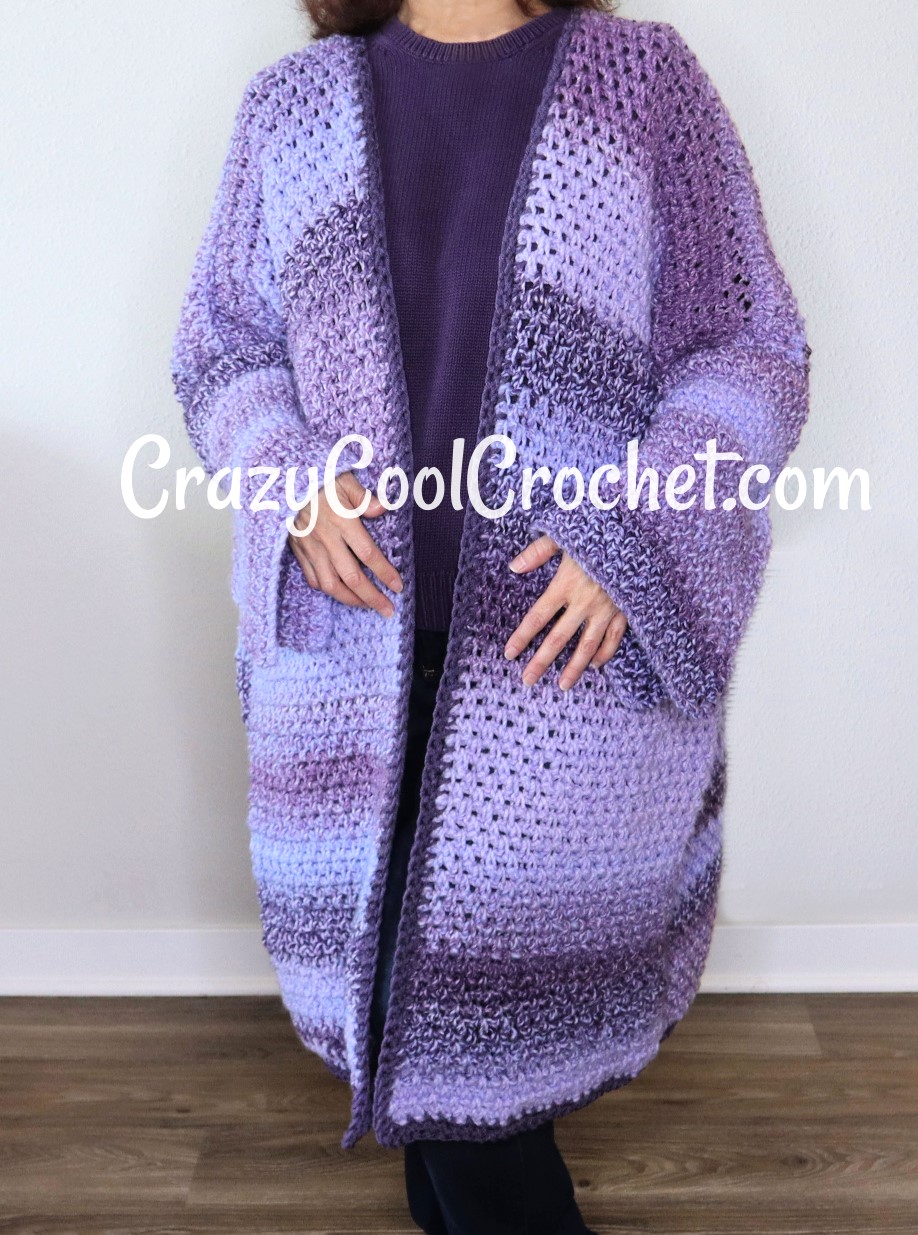
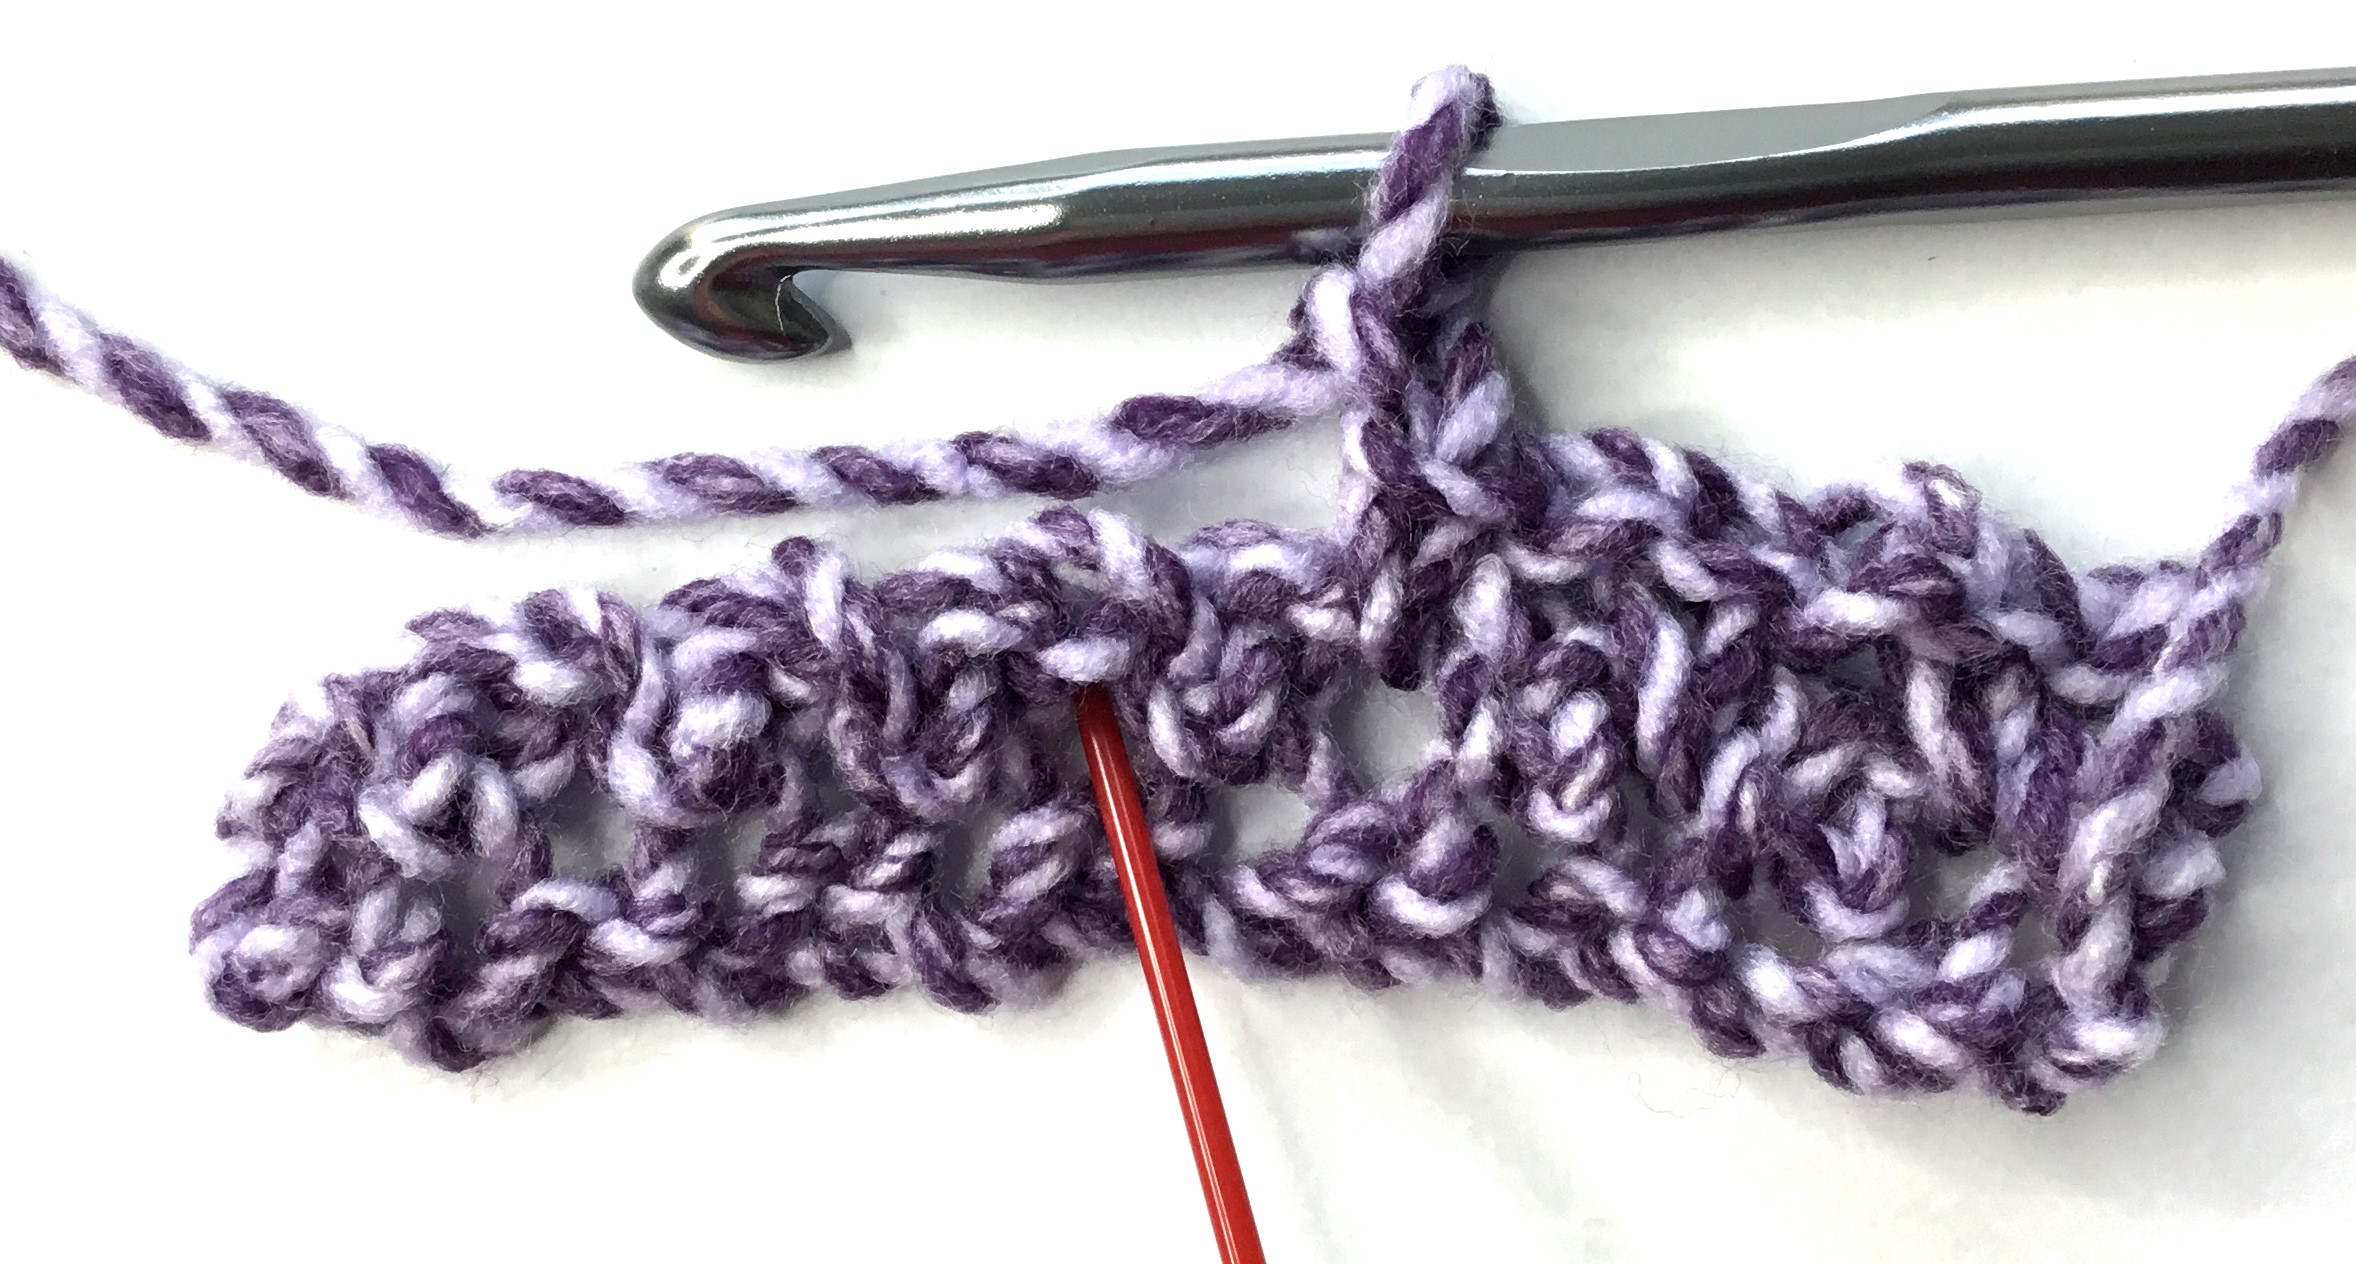
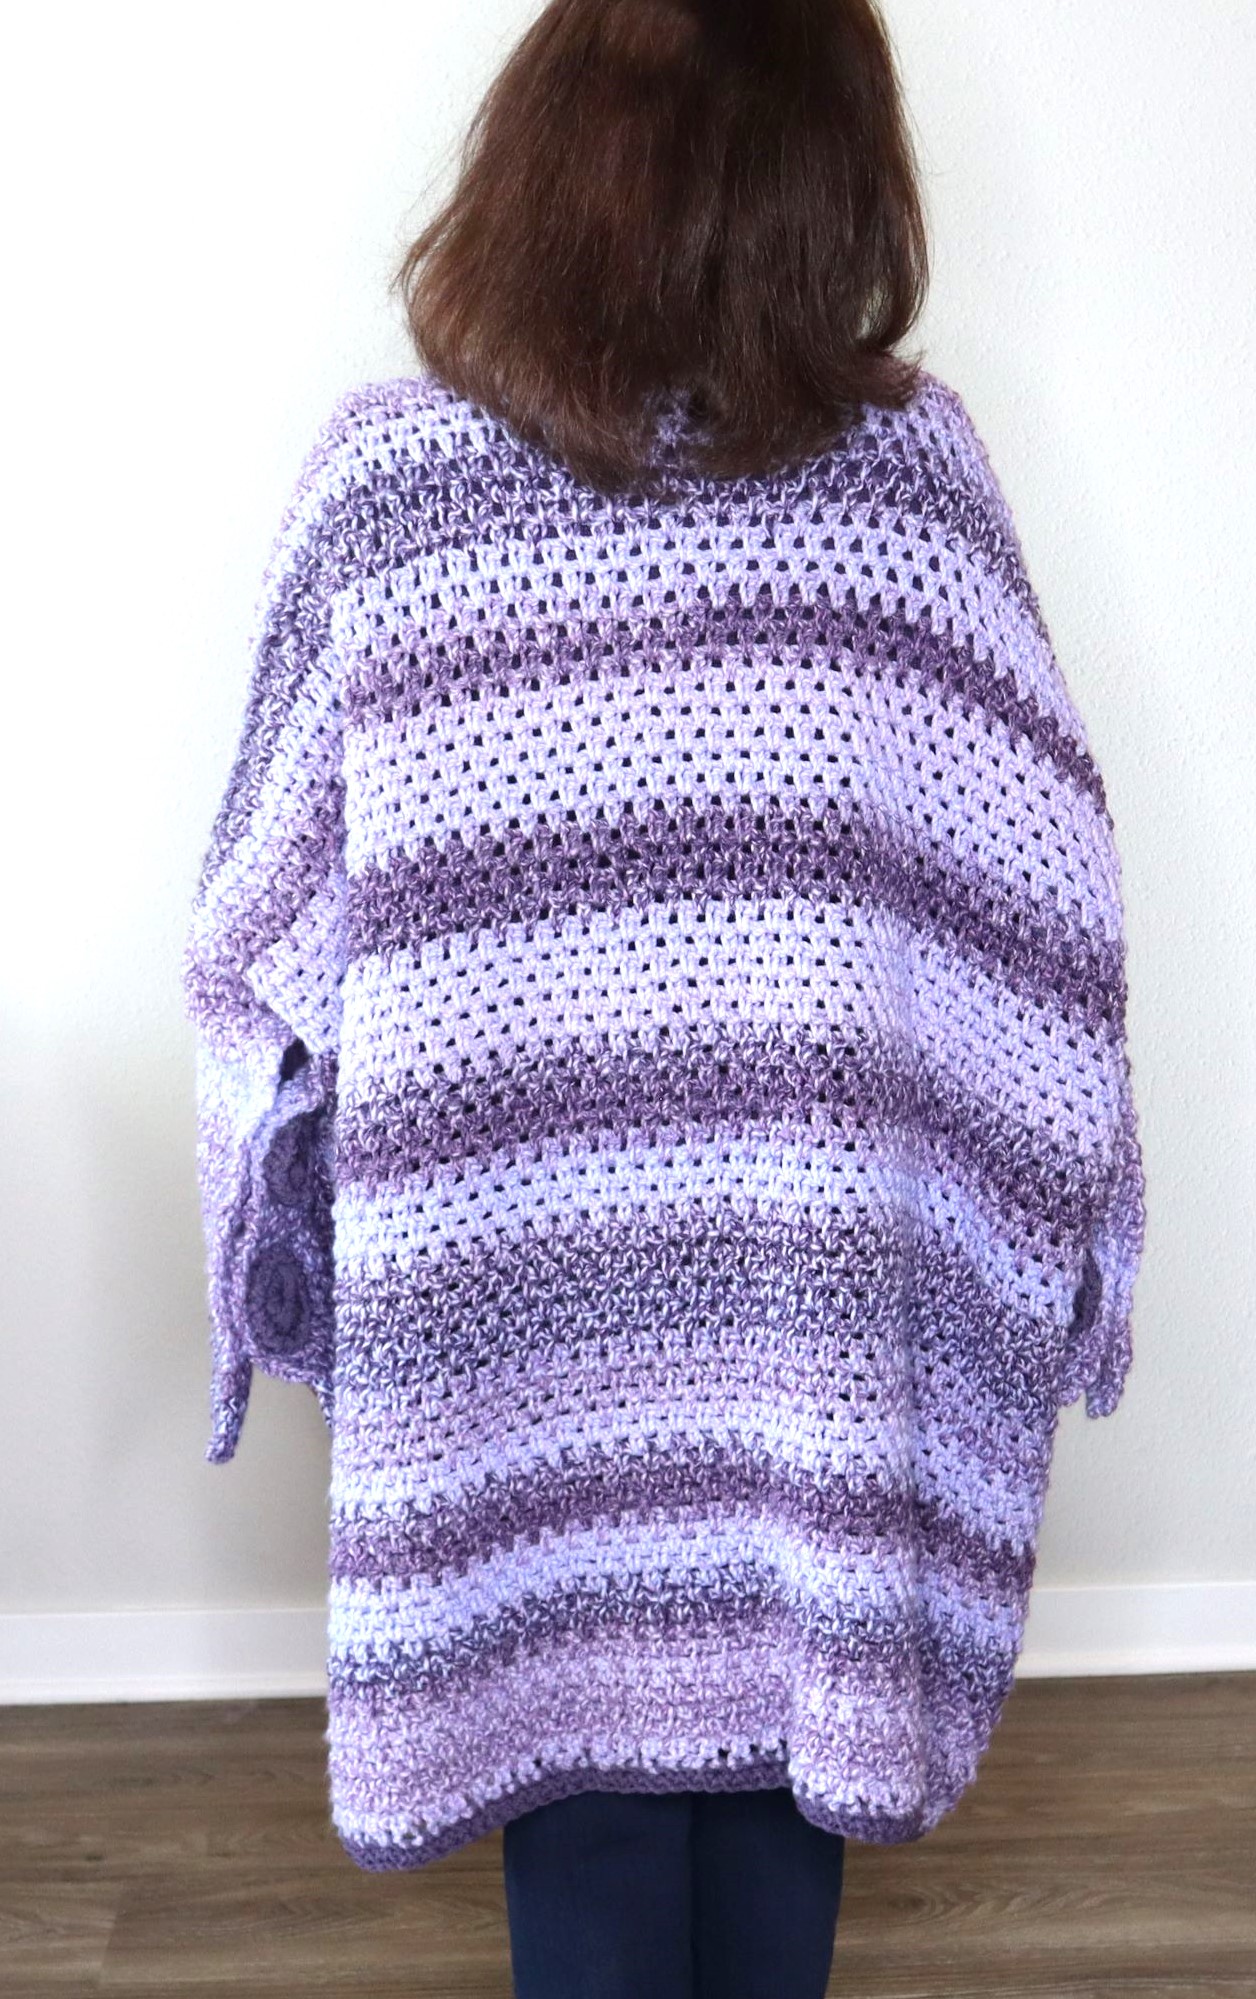
Check out the CROCHET BUTTONS…yes crochet buttons (!) on the sleeves! Game changer! Change up your typical crochet oversized cardigan pattern by adding buttons to the sleeves. Crazy cool eh?
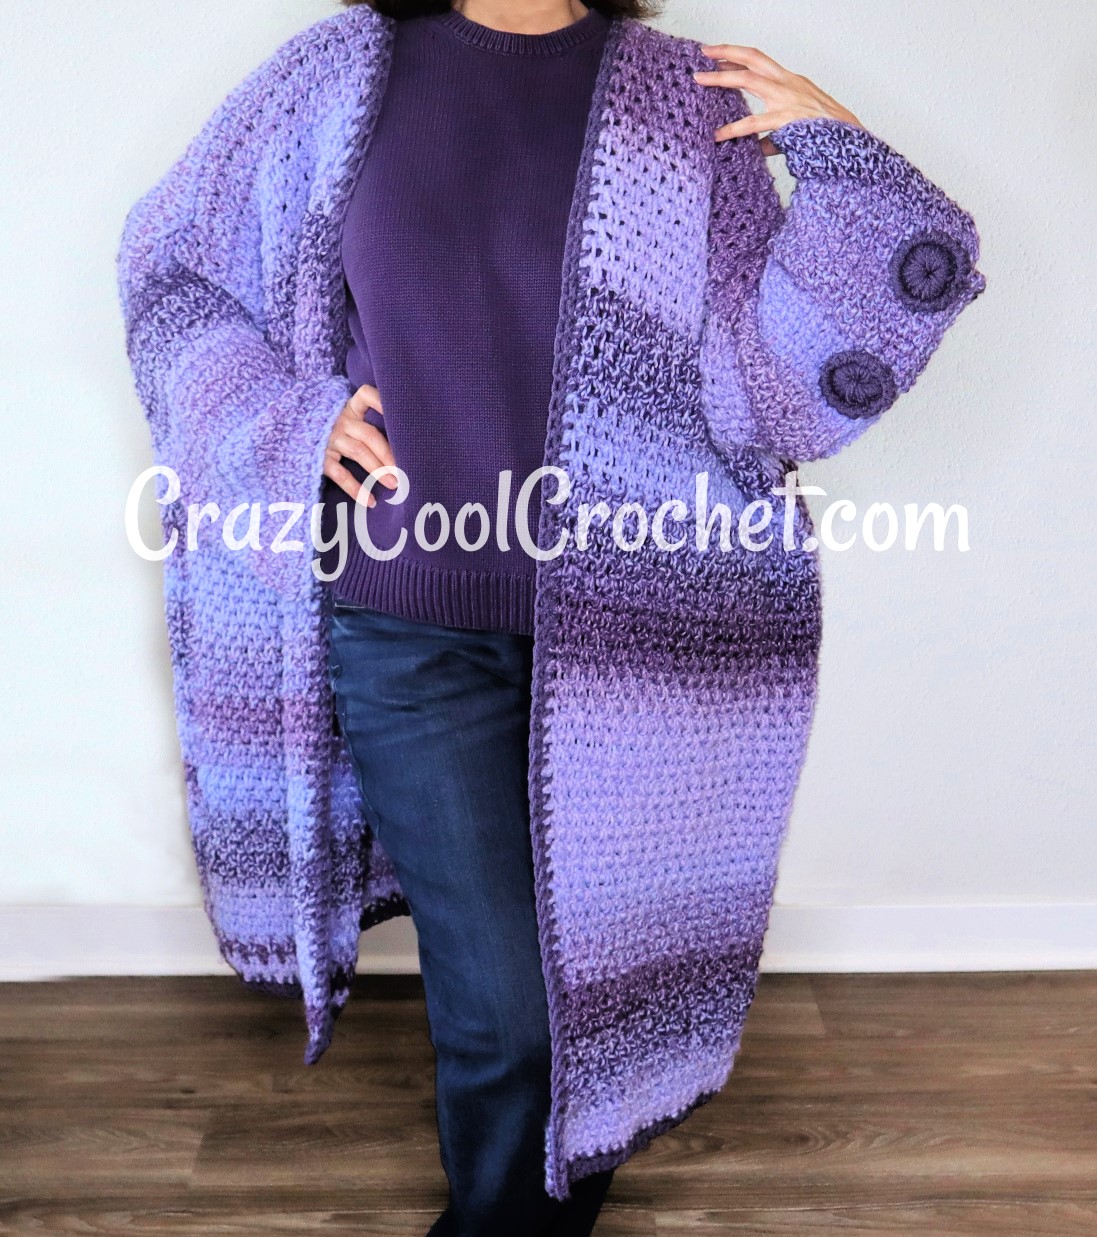
The crochet buttons are incredibly easy to work up. You will be looking for excuses to add crochet buttons to your projects. The video below shows you exactly how to make them. The detailed instructions with lots of photos are also included in the printable pattern at my Etsy shop: CrazyCoolCrochetUS.etsy.com
Crochet Oversized Cardigan Video Tutorial
As always I ask that you please view the video on the YouTube platform. A button is provided on the bottom of the video below. Enjoy!
Crochet Oversized Cardigan Free Pattern
Size Small – Medium
This is a very oversized cardigan. If you prefer a smaller garment, you may substitute a medium weight, #4 yarn which will result in an overall smaller cardigan. The instructions for Small-Medium may fit a Large as well, although not as oversized.
This pattern uses a multiple of 2 plus 4 and easily adjusts for length by making more or fewer rows.
Instructions for Large – X Large and 1X – 2X are in parentheses (X).
Results will vary according to yarn and tension used. Sizing should be considered “suggestions”. Adjust as needed.
This post contains affiliate links which means I may earn a small commission from purchases made from these links at no additional cost to you.
Materials size Small – Medium:
Yarn Used: Loops and Threads Impressions / Bulky #5 weight / 29 ounces / 1353 yards / Color Mulberry
Scrap yarn in contrasting color for border and buttons.
Crochet Hook L / 8mm
Yarn needle
Scissors
Gauge: 12 sc/ch 1 = 4 inches , 11 rows = 4 inches
Dimensions Size Small – Medium: Entire front 31 inch width; 31 inch length shoulder to bottom hem
NOTE: Photos are shown above corresponding rows.
FRONT PANEL (make 2)
Ch 40 (50, 60)
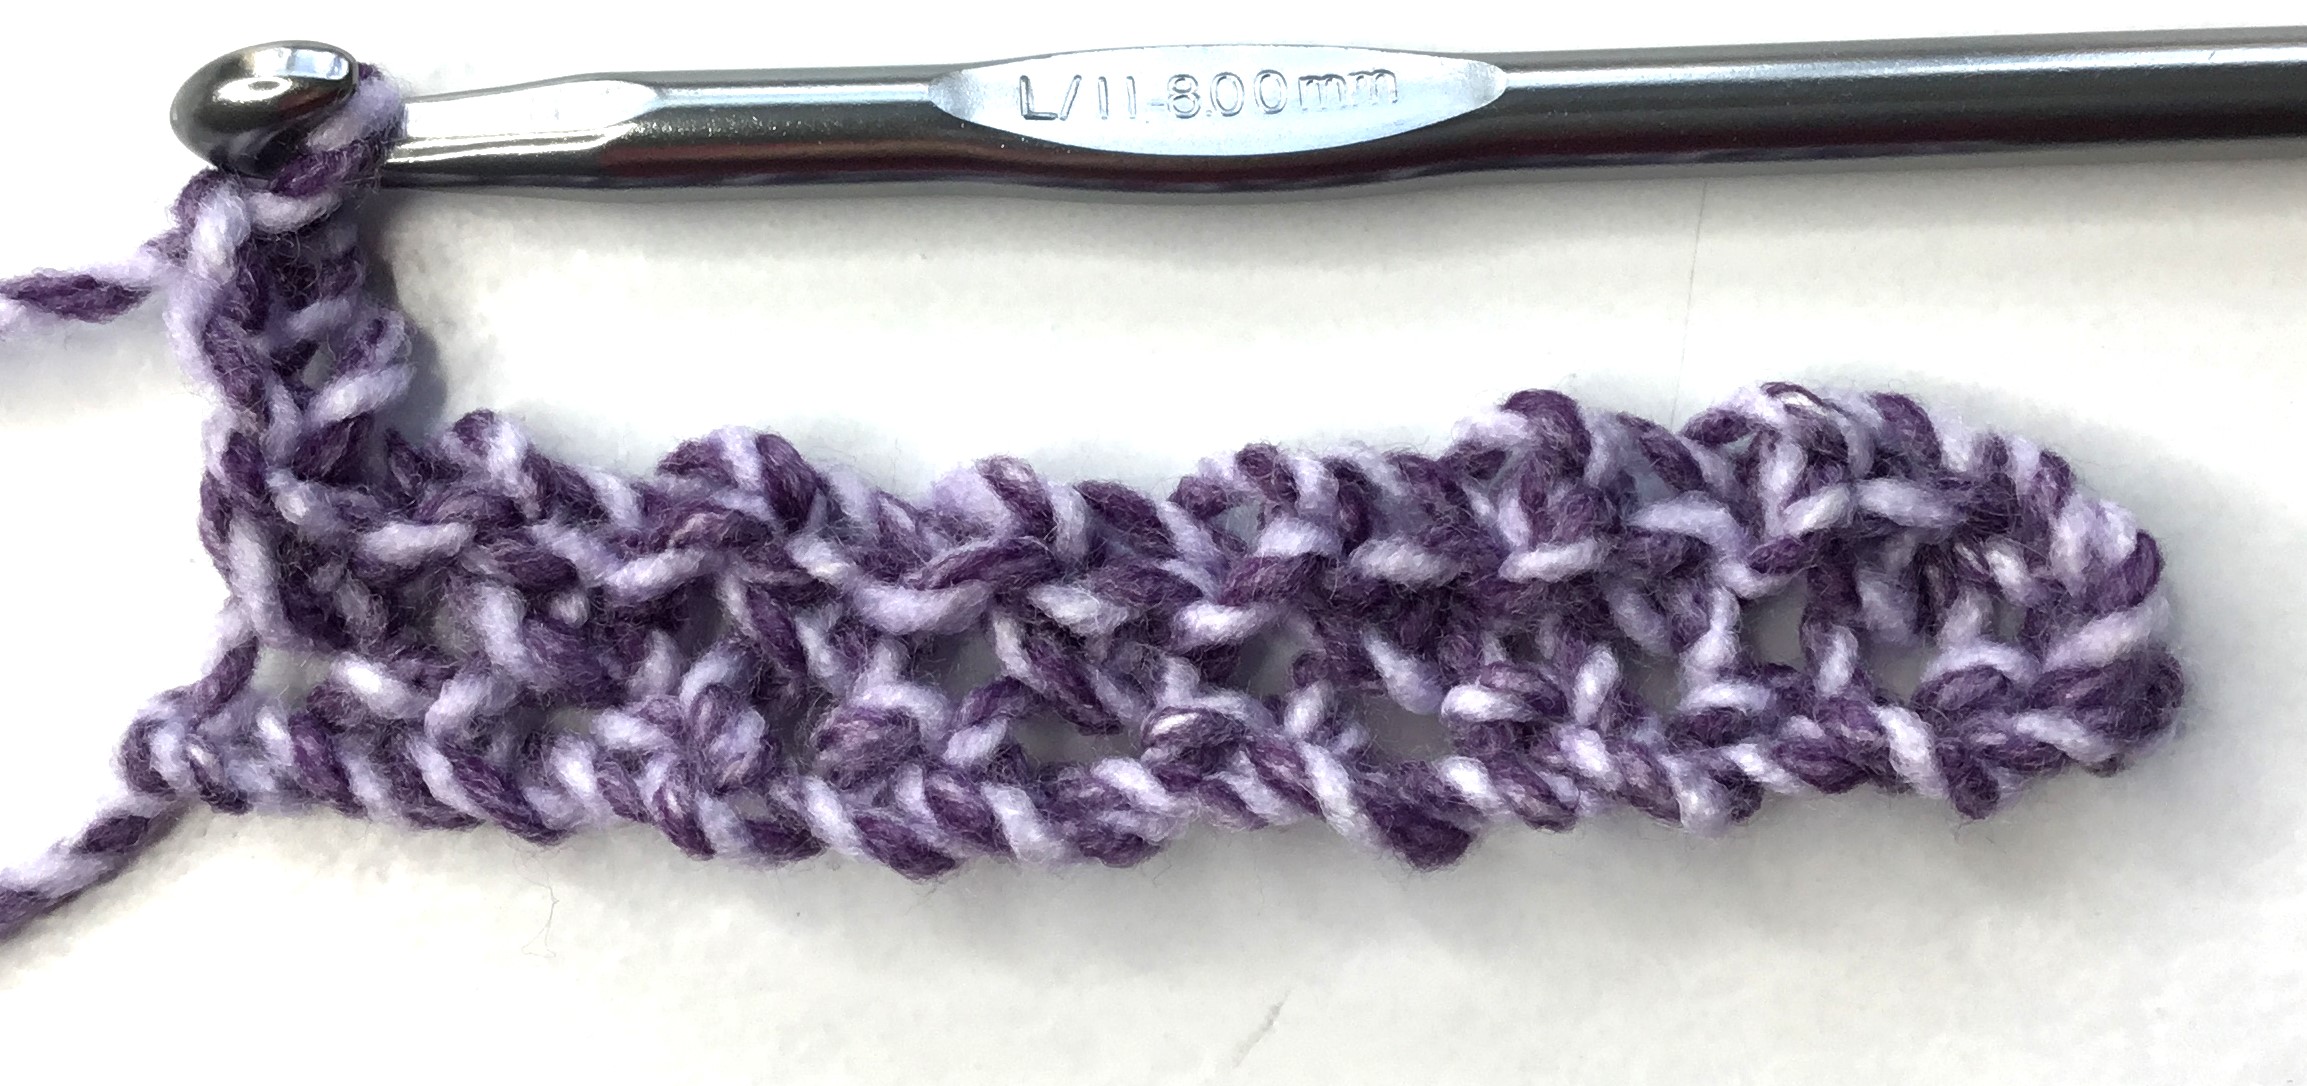
Row 1: Sc in 4th ch from hook, *ch 1, sk the next ch, sc in the next ch*. Rpt from * to * to the last ch. Ch 1, sc in the last ch. 19 (24, 29) sc total. Ch 2 Turn
Row 2: sc in 1st ch 1 sp; *ch 1; sc in next ch 1 sp*. Repeat from * to * to last sp. Ch 1. Enter the last sc in the last sp. 19sc (24, 29) sc. Ch 2 Turn
Rows 3 – 71: Repeat Row 2 . Cut off yarn after the last row.
NOTE: You may adjust rows to your preferred length.
BACK PANEL (make 1)
Ch 100 (120, 140)
Follow pattern as for the front panels for 49 (59, 69) sc’s and 71 rows.
SLEEVES (make 2)
Ch 46 (54, 54)
Follow the pattern as for the Front Panel working for 22 (26, 26) sc’s per row. Work 33 (41,41) rows.
SEAMS
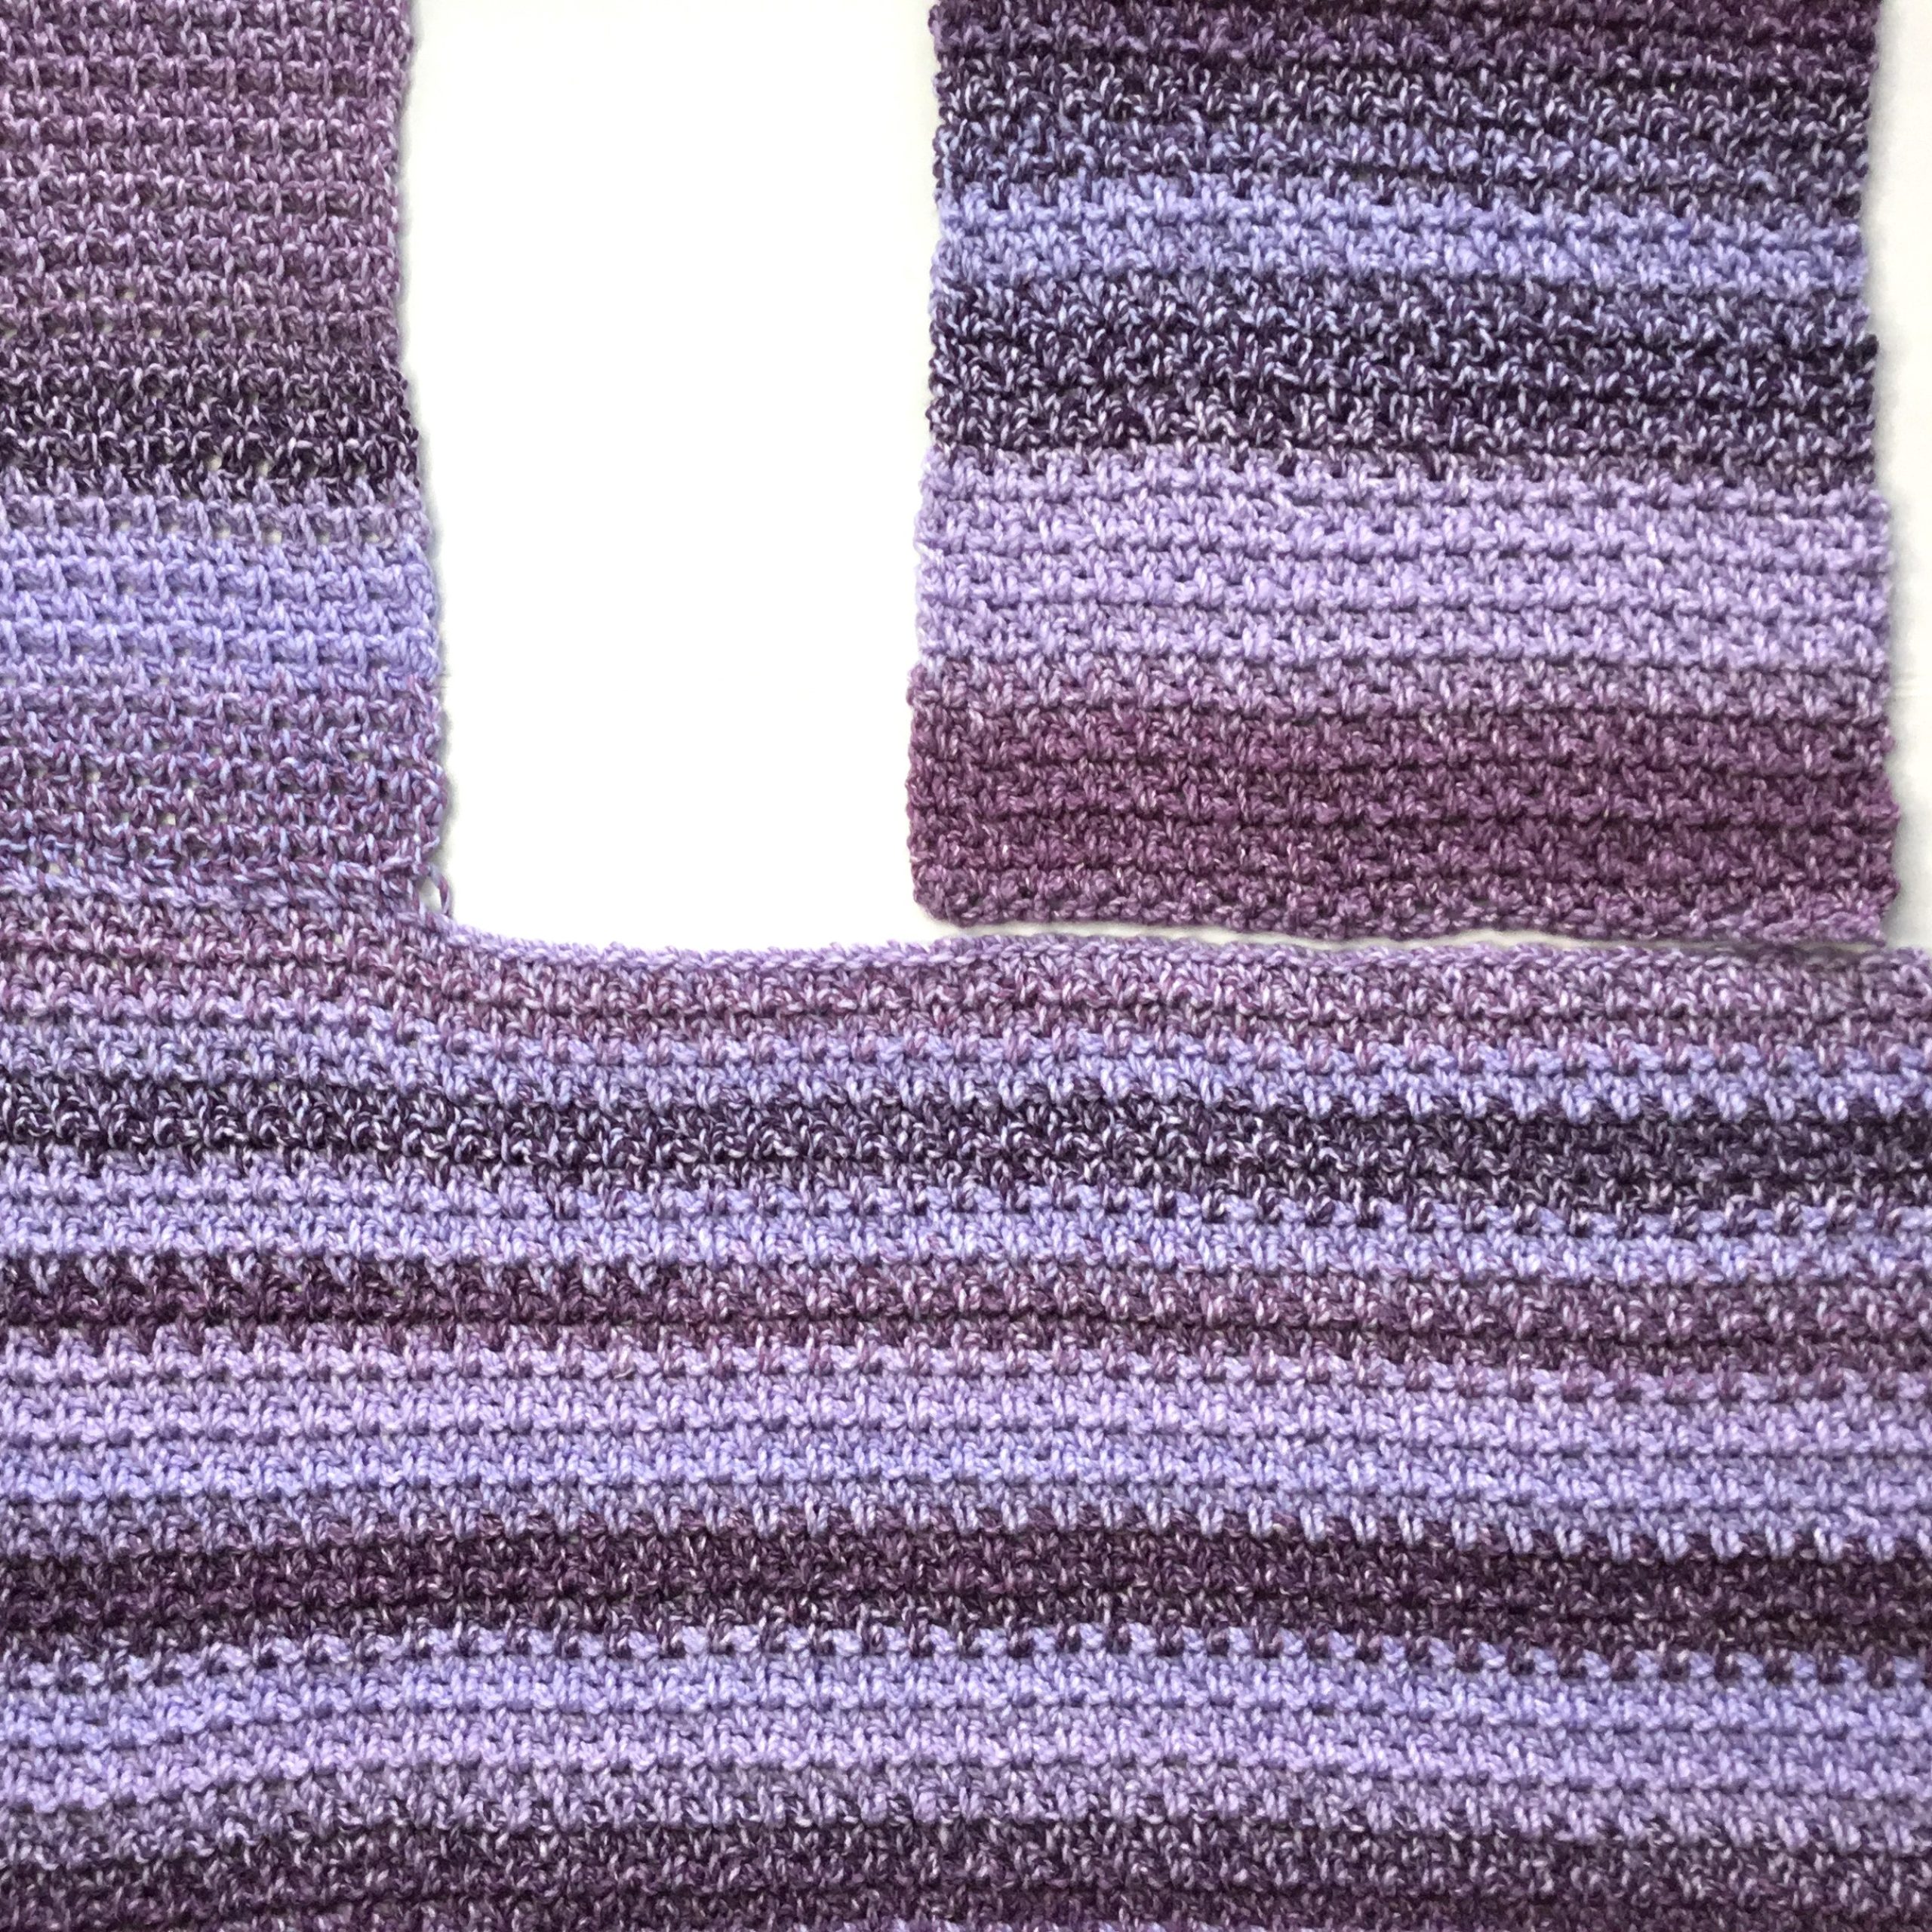
Shoulder seams: with wrong sides facing up, position the front panels along the top of the back panel as shown in photo. Using yarn needle, length of yarn, and a whip st, seam at shoulders.
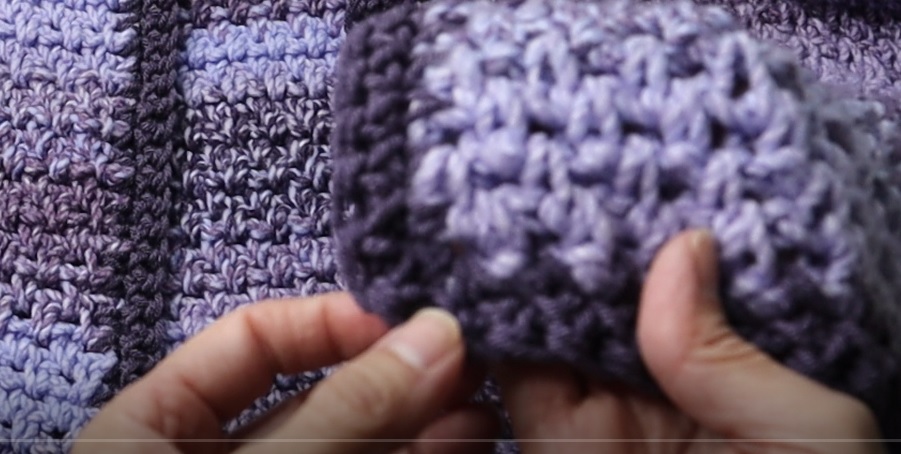
ATTACH SLEEVES
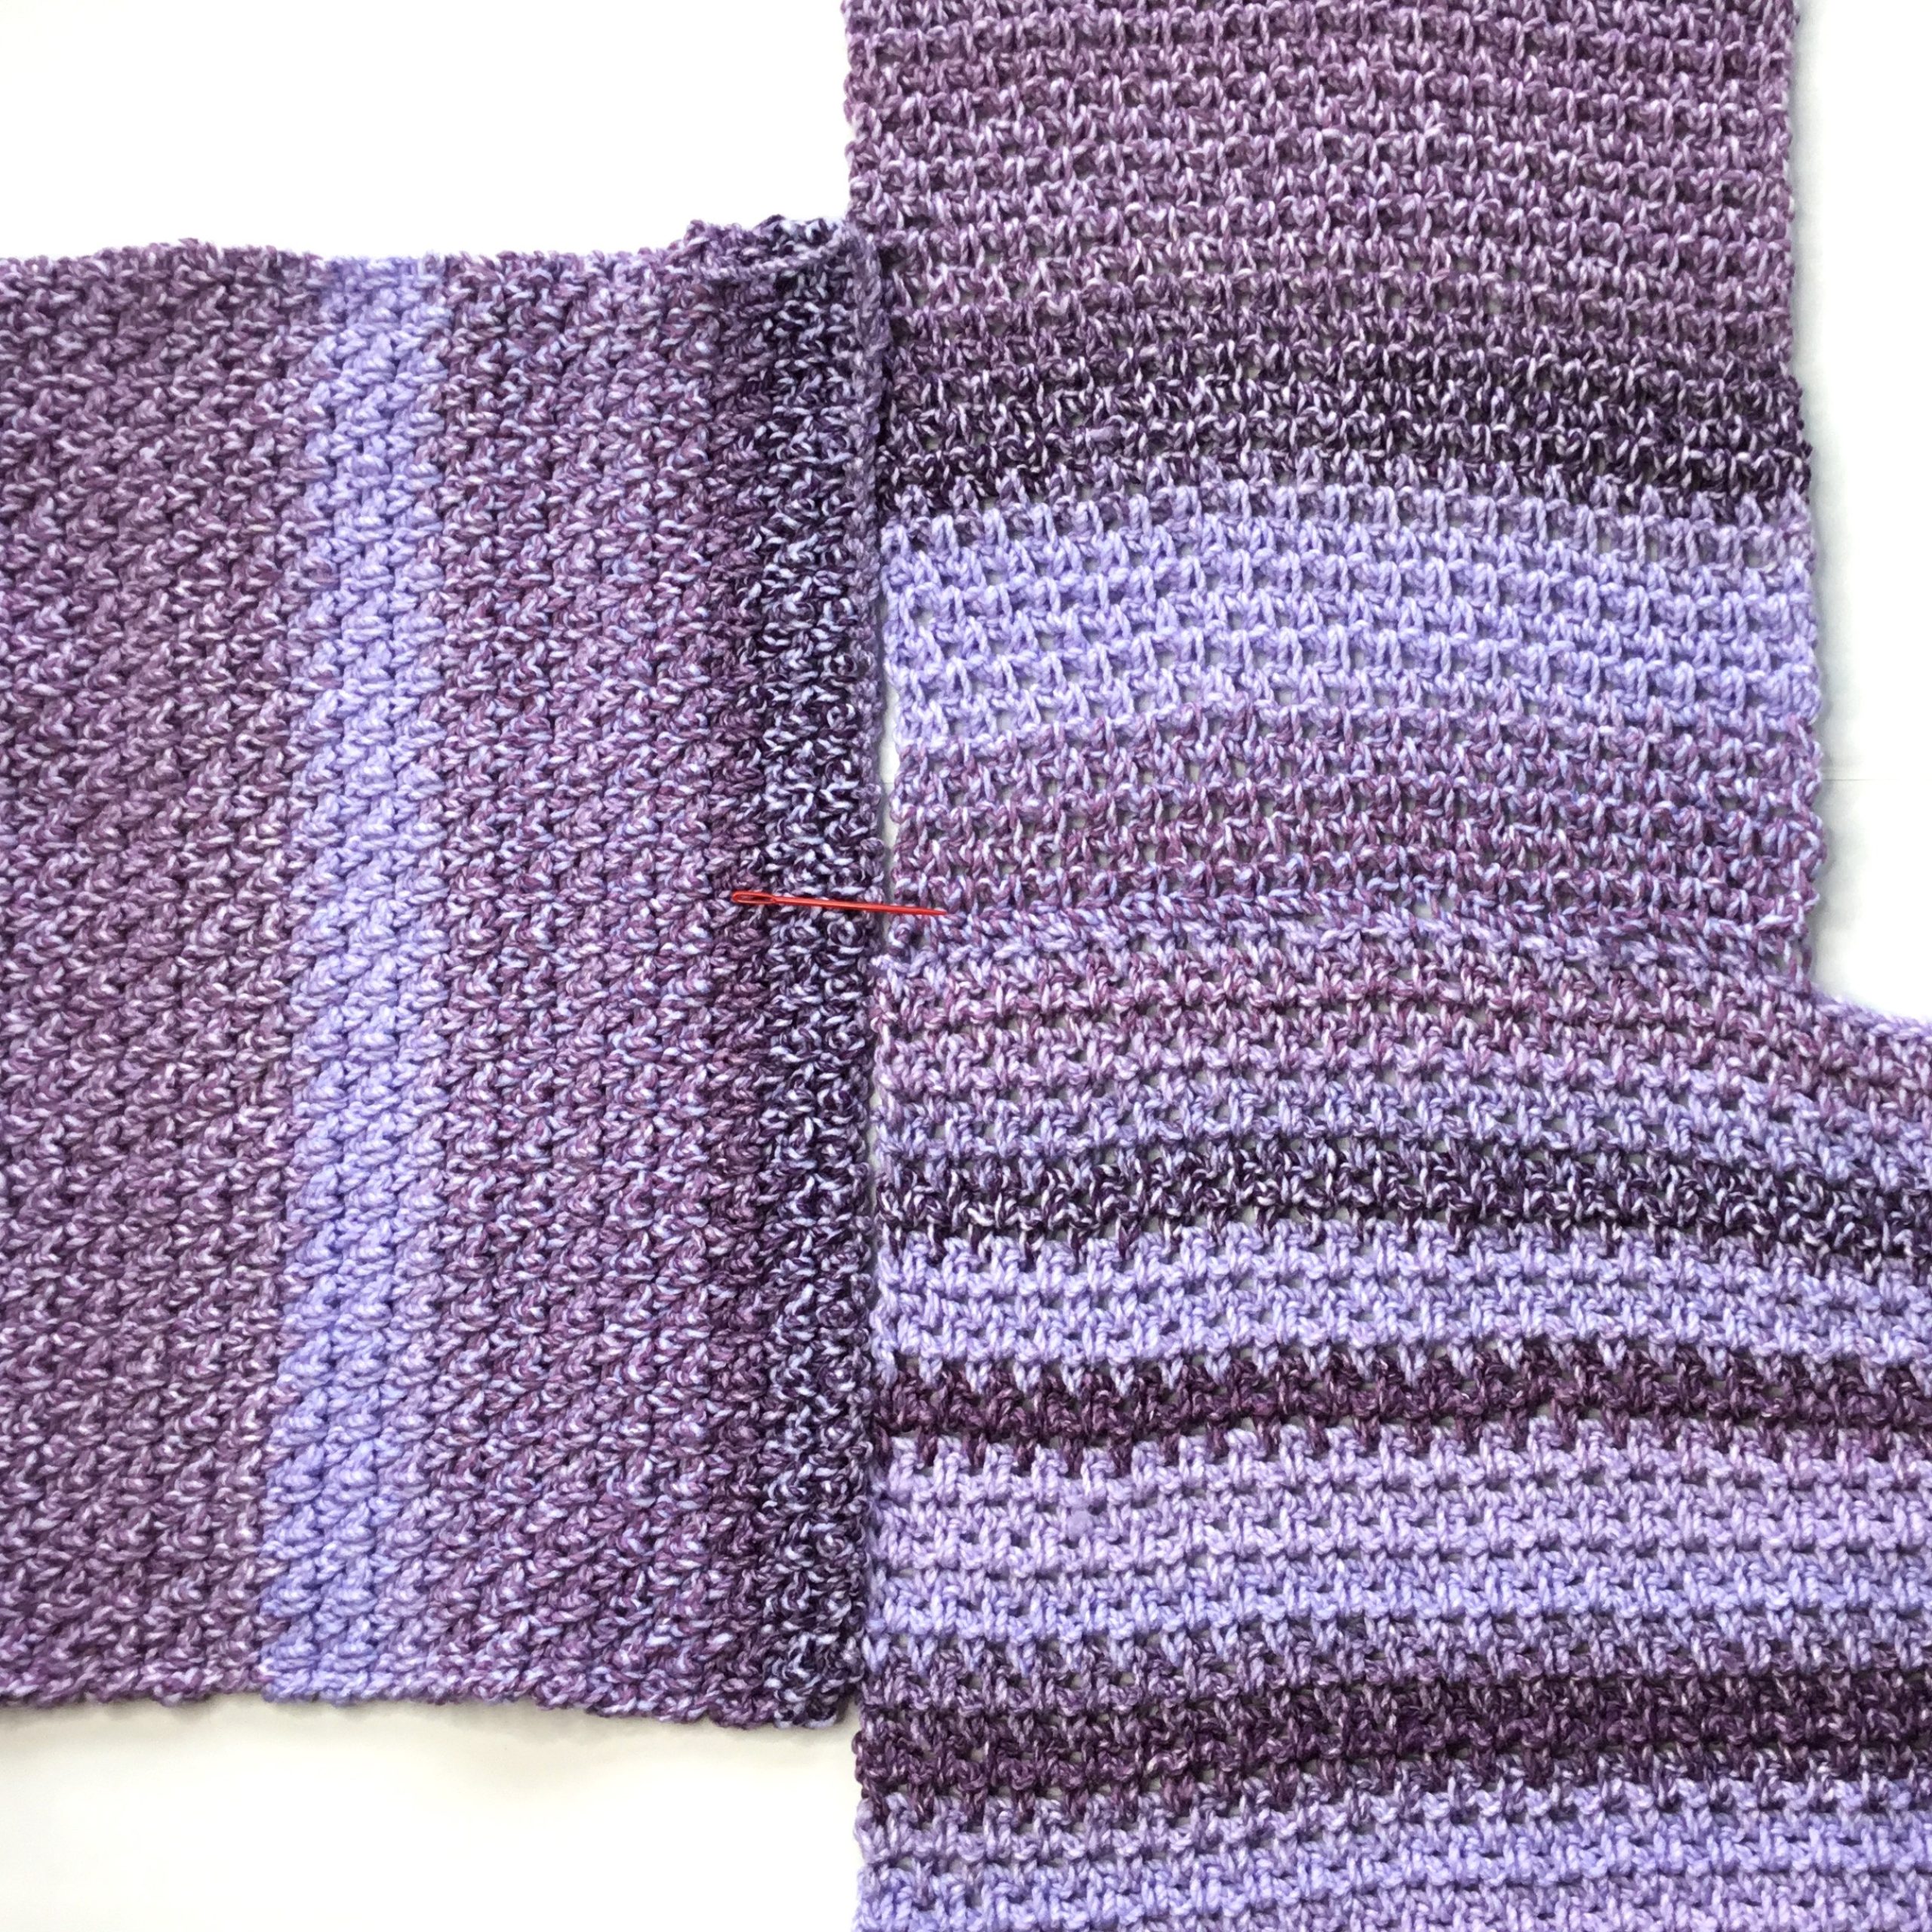
Position sleeves as shown in photo centering with the shoulder seam. Use yarn needle, length of yarn and whip st to seam.
BUTTONS view the video instructions above.
ATTACH BUTTONS
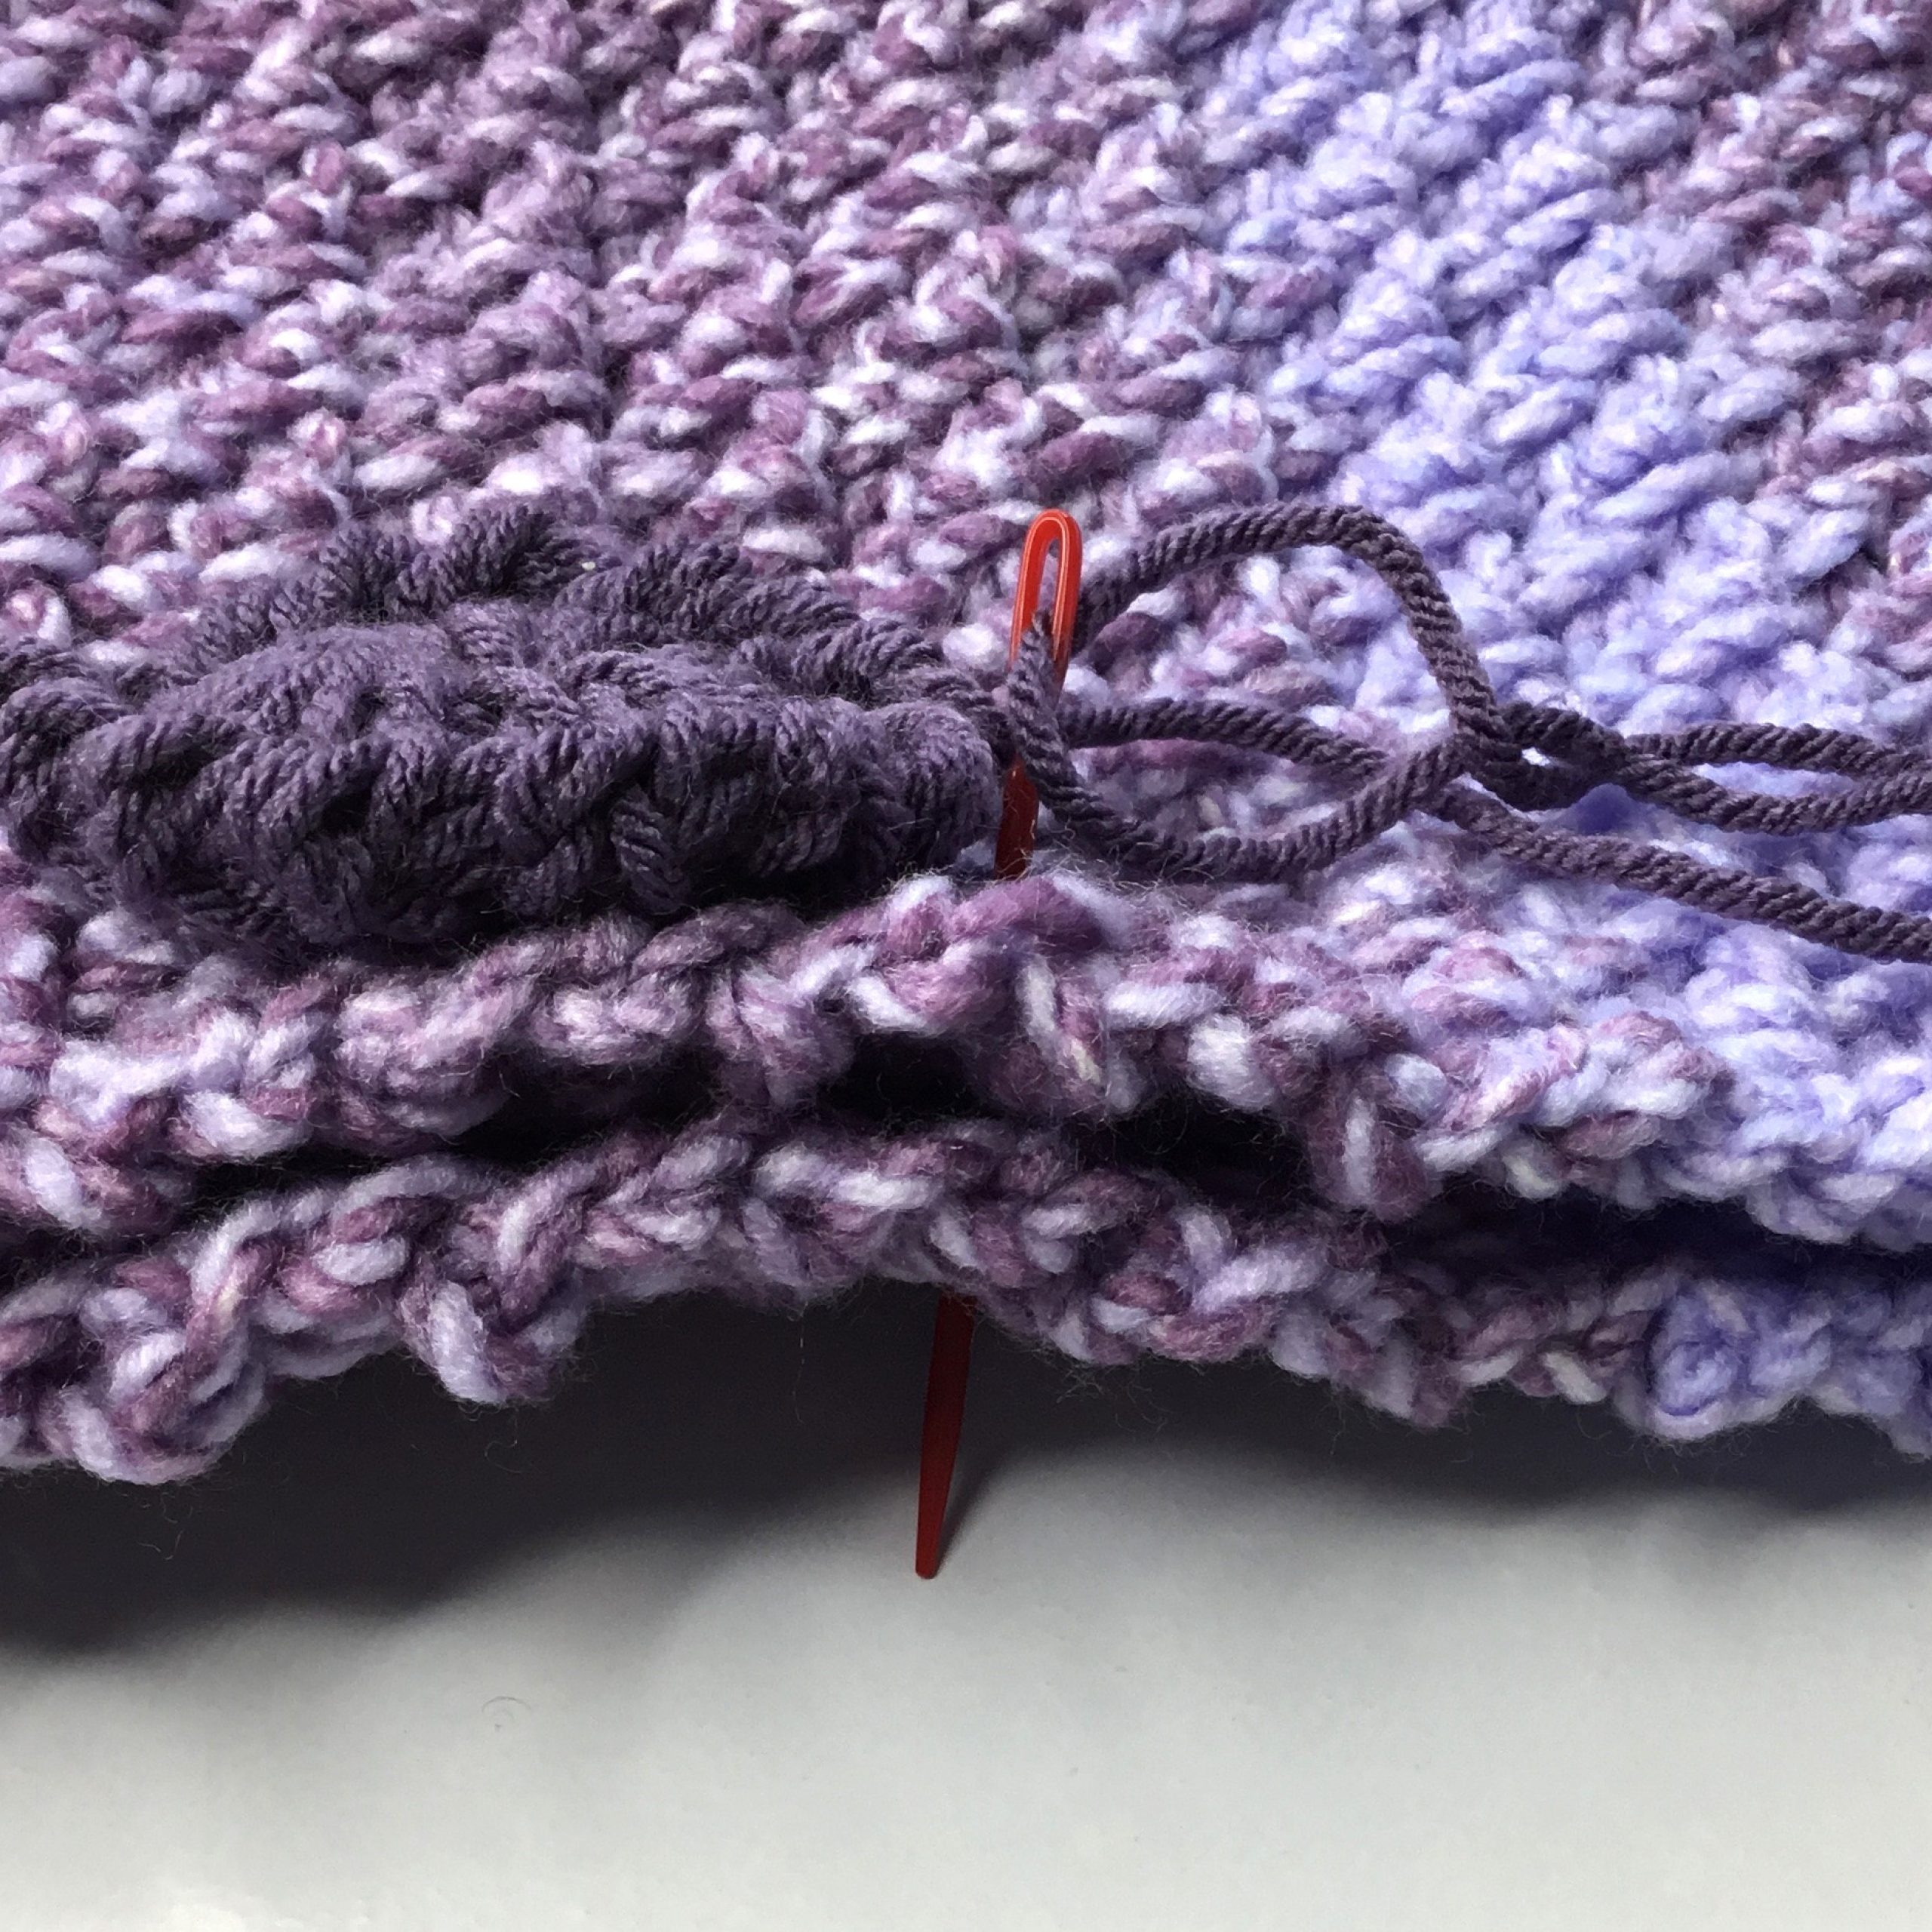
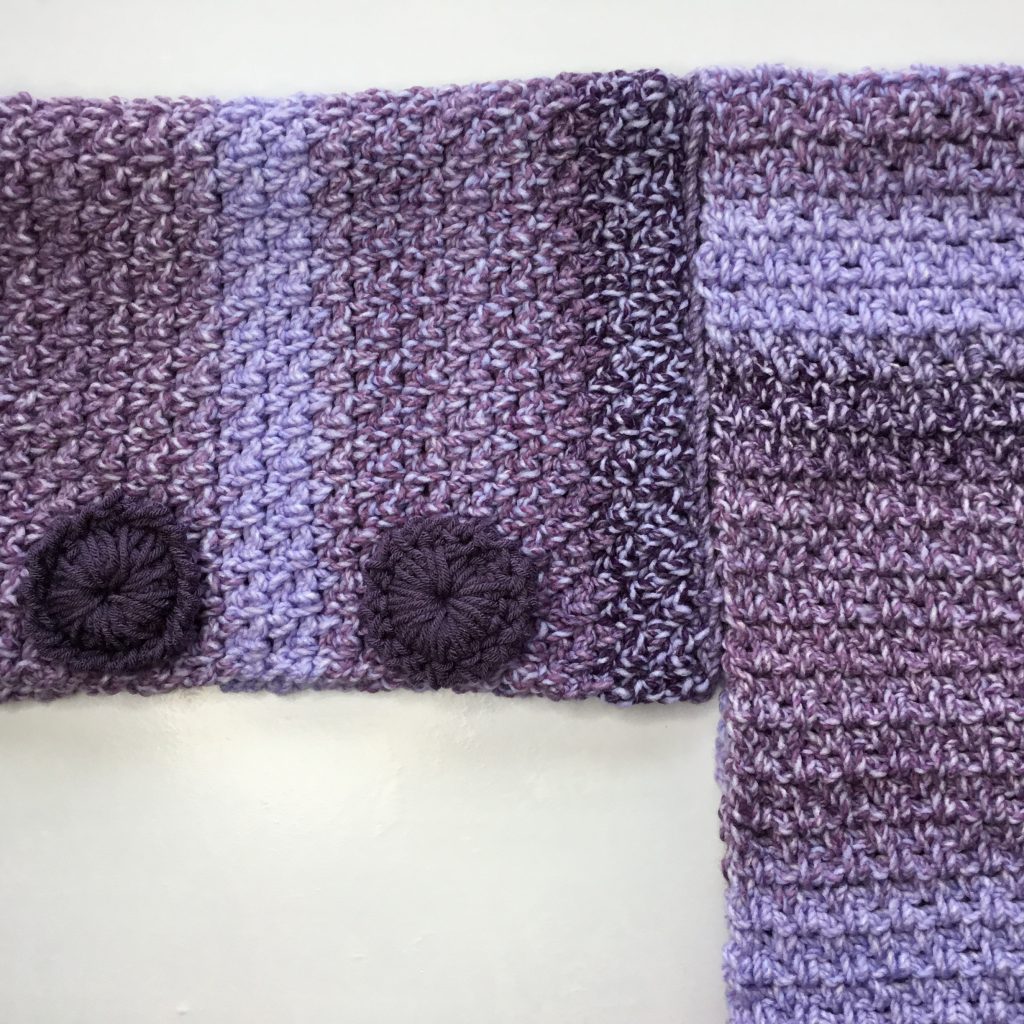
Attach buttons to sleeve. Situate the buttons evenly along the bottom opening of sleeve. Using yarn needle and length of yarn, leaving a long tail to weave in, insert the needle from underneath the two layers, up through one strand of the button (working along the reverse sc row), over the button and through the two layers of sleeve. Repeat around the perimeter of the button, Cut off yarn. Tie the two strands together and weave in ends.
BORDER
Work loosely.
Row 1: With contrasting yarn (as for the buttons) and the right side facing you, attach yarn at the shoulder seam with a chain. Work a sc into ea sp evenly. For the neck area, if needed, to make the back neck smaller, you may sk a sp every 3rd sp, or as preferred. You will also be able to make the neck smaller with the 2nd row of sc border.
Enter 3 sc’s into ea of the two bottom corners to maintain the corner shapes.
Work down the front panel, around the bottom, back to the 2nd front panel until you reach the beginning sc. Sl st into the 1st sc. Ch 1. Turn.
Row 2: Work a sc into ea sc around.
Copyright © 2022 Sylvia Talo You may sell items made from my patterns. Please include a link or reference to my shop CrazyCoolCrochetUS.etsy.com . Pattern and photos are copyright protected; they may not be reproduced, redistributed, or displayed publicly in any way.
You May Also Like

Can I use bernat blanket yarn for this.
Apologies for the late response.
I would not recommend thicker than a #4 medium weight yarn for this. I just yesterday added a blanket yarn crochet cocoon shrug (oversized) to my Etsy shop. https://crazycoolcrochetus.etsy.com/listing/1638814153/crochet-cocoon-shrug-pattern-crochet
Sylvia