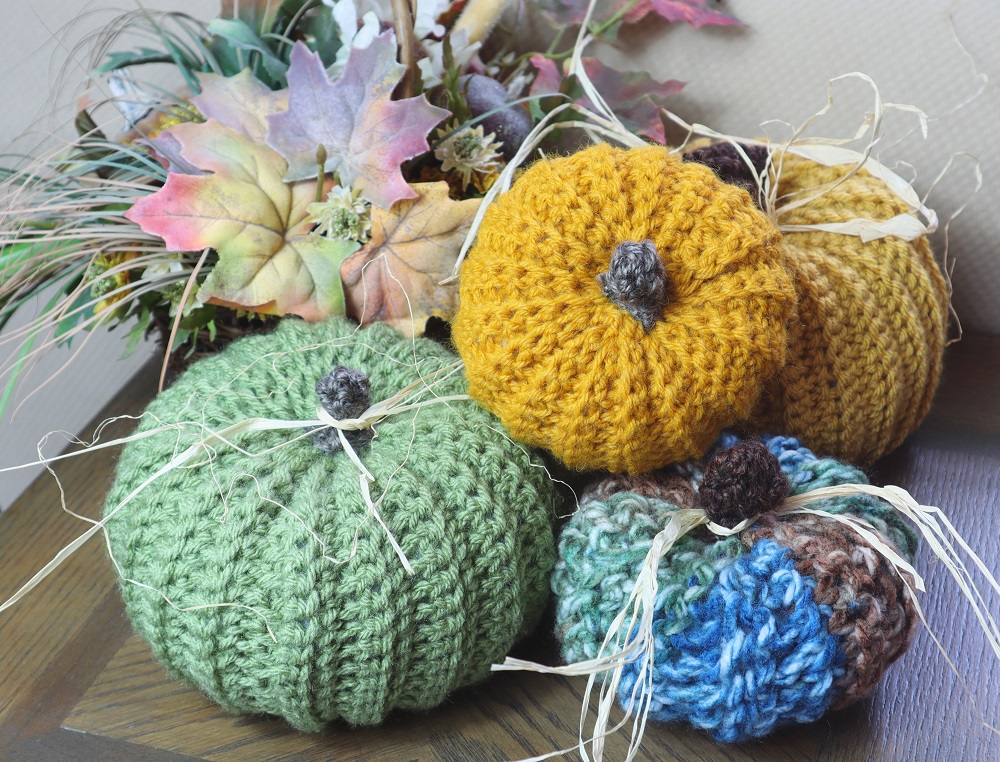
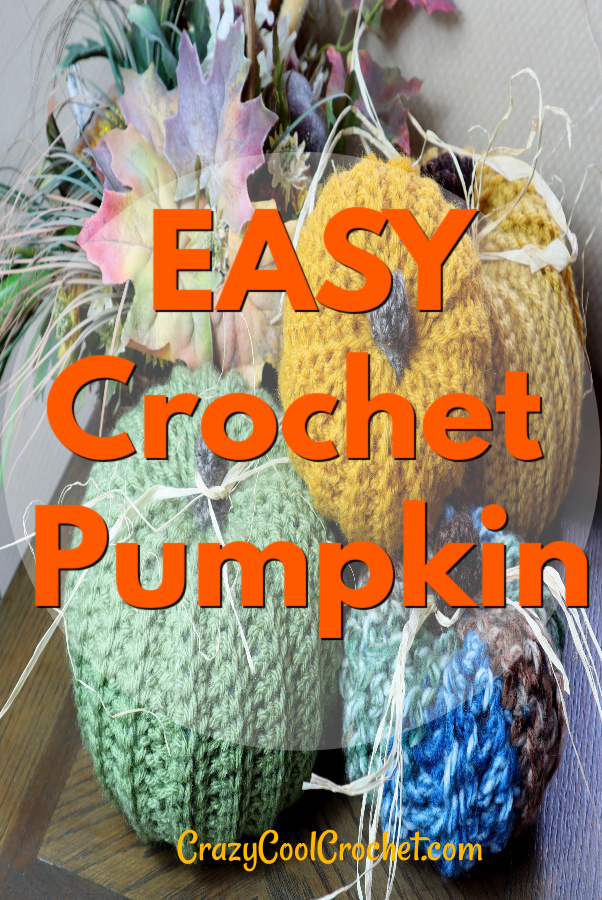
Fall is such a beautiful, color filled season that warms people’s hearts. It’s the perfect time to use your skills and love of crochet to create autumn home decor. Use this video tutorial for a super fast, easy crochet pumpkin free pattern to infuse color in your home.
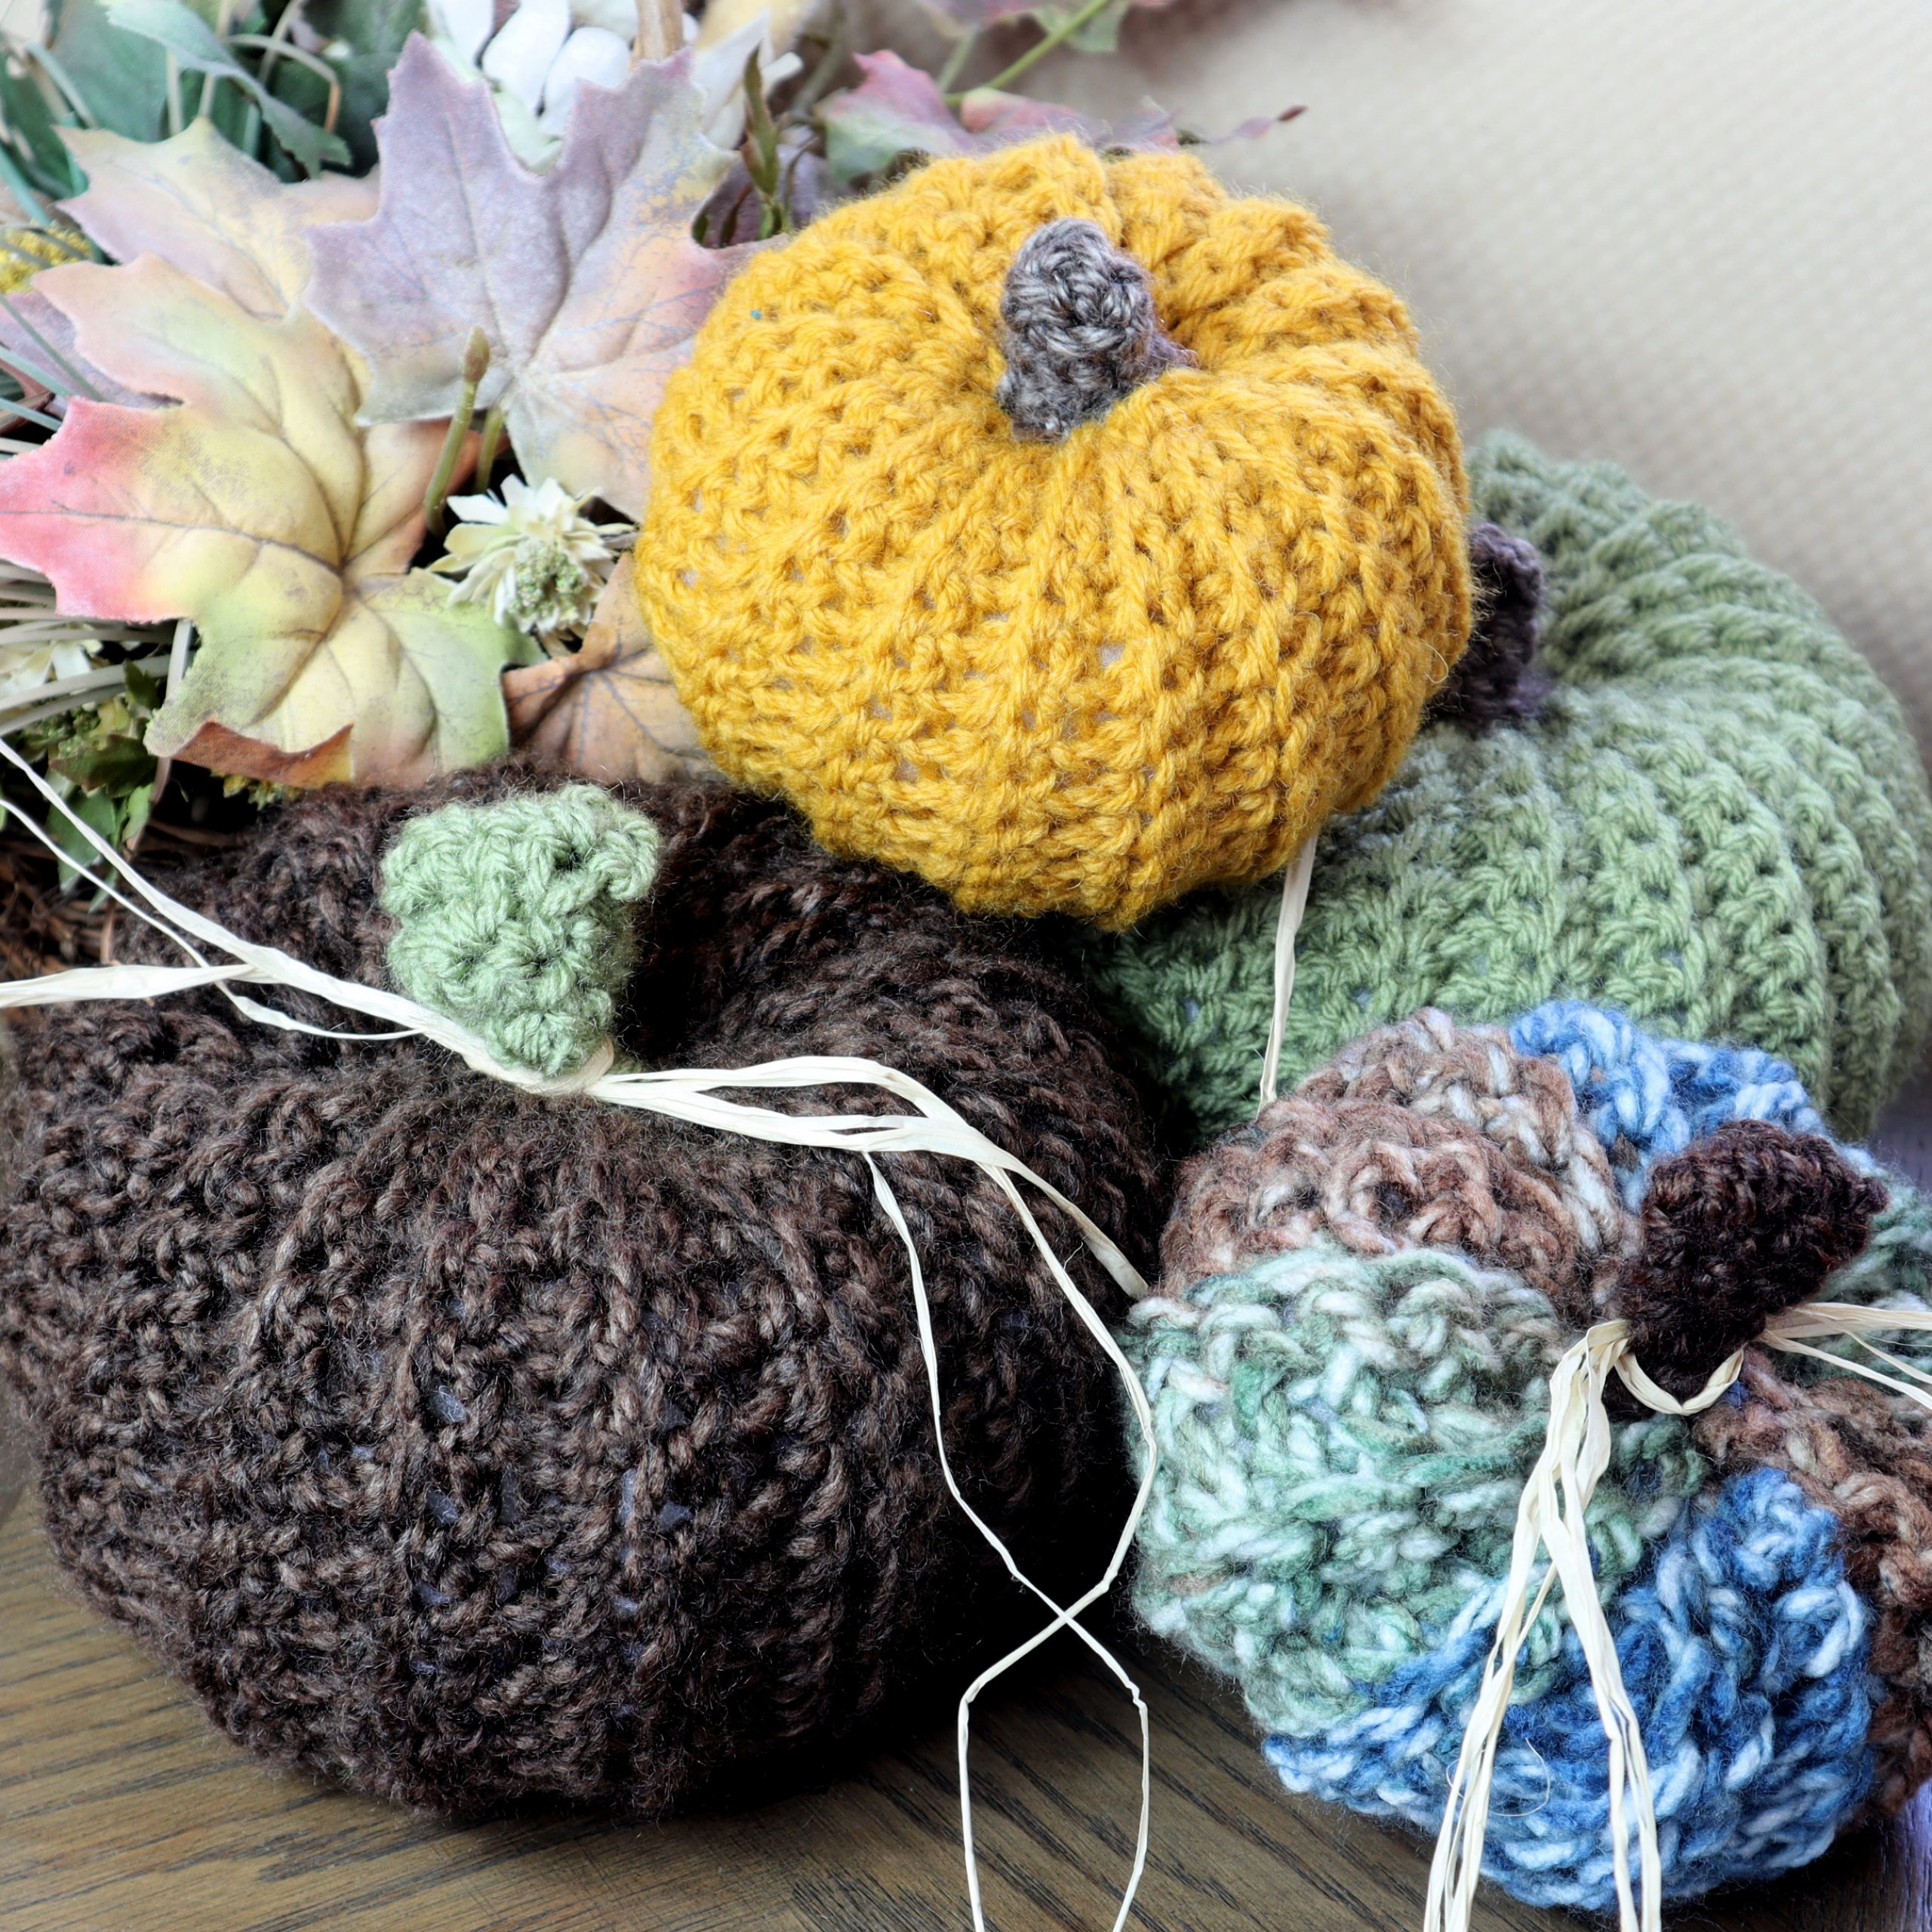
This crochet pumpkin, made in different sizes, colors and adornments (straw, rafia, etc.) is an ideal crochet gift idea. This richly textured design fits perfectly in farmhouse style, rustic style, cottage style and country style home decor.
The crochet pumpkins shown here would be ideal for those who sell their crochet creations. This works up fast and uses very little yarn which is great for your profit margins!
The ETSY written, printable pattern is available here: Crochet Pumpkin
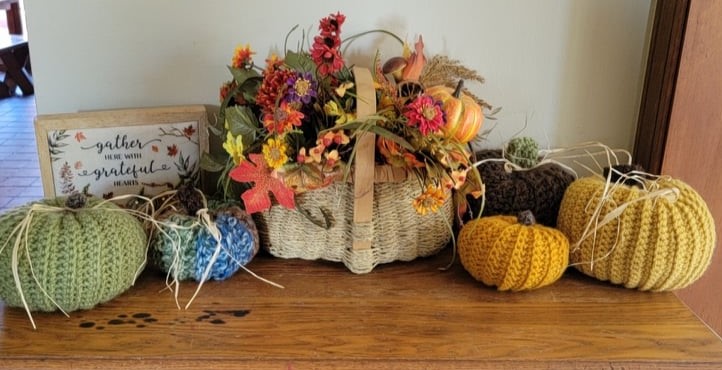
Fall is the best season for craft fairs and craft shows people are very much in the mood to fill their homes with fall colors and decor. You are certain to sell loads of these gorgeous crochet pumpkins!
The video below is for your convenience. Please subscribe if you would like to support my efforts. I provide quite a lot of free crochet patterns, both written and video tutorials. This takes a lot of time and effort and while it is a totally enjoyable endeavor, this crochet business, Crazy Cool Crochet, is my only source of income. Your support, by subscribing to this blog and to my YouTube channel would be very helpful and very much appreciated. I also offer printable crochet patterns of my designs at my Etsy shop: CrazyCoolCrochetUS.etsy.com
This post may contain affiliate links which means I may earn a small commission for purchases made through these links at no additional cost to you.
PURCHASE YARN HERE:

These crochet pumpkins can be made in any size. No multiple is required. You may start with any number starting chain, odd or even numbers.
SIZES
For various sizes using various weight yarns, hook size; starting chain #:
Large pumpkin (4 inches tall; 21 inches around) #4 yarn; Ch 34; 33 sc’s ea row; 53 rows; I hook
Medium pumpkin (3.5 inches tall; 19.5 inches around) #5 yarn; Ch 19; 18 sc’s; 29 rows; K hook
#4 yarn; Ch 24; 23 sc’s; 42 rows; I hook
Small pumpkin (2.5 inches tall; 14 inches around) #4 yarn; Ch 19; 18 sc’s; 34 rows; I hook
#5 yarn; Ch 12; 11 sc’s; 26 rows; K hook
Yarn needle
Small amount of brown yarn for stem.
Abbreviations:
Ch = chain
BLO = back loop only
Sc = single crochet
Sl = slip stitch
Sp = space
St = stitch
MEDIUM using #4 Yarn
Ch 25
Row 1: cc in 2nd ch from hook in back loop (the bumps in back of the chains) and in ea ch across. 24 sc total. Ch 1. Turn
Row 2: sc in 1st st, in back loop only (inserting hook into the center of the 2 strand ch that forms at the top of previous row, through the back strand/loop) and ea st across. This forms the ridges of the pumpkin. 24 sc total. Ch 1. Turn.
Row 3 – 42: Repeat Row 2. At end of last row do NOT cut yarn.
Seam
Bring bottom of panel up to meet top of panel, matching up corners (either front or back facing you). With yarn still on hook from the final sc row, seam using a sl st. Insert hook under two strands from ea panel to work the sl st. Sl st across the row. At end of row, tie off yarn leaving a 15 inch long strand.
Close bottom of pumpkin:
Insert the 15 inch strand in yarn needle. Weave the needle in and out, close to the edge of the hole, around the entire perimeter of the hole. Pull both strands of yarn to close the hole. Tightly tie strands into knot. This hole does not need to be fully closed. The stem will cover the hole.Shove tails into the hole to hide.
STUFF PUMPKIN
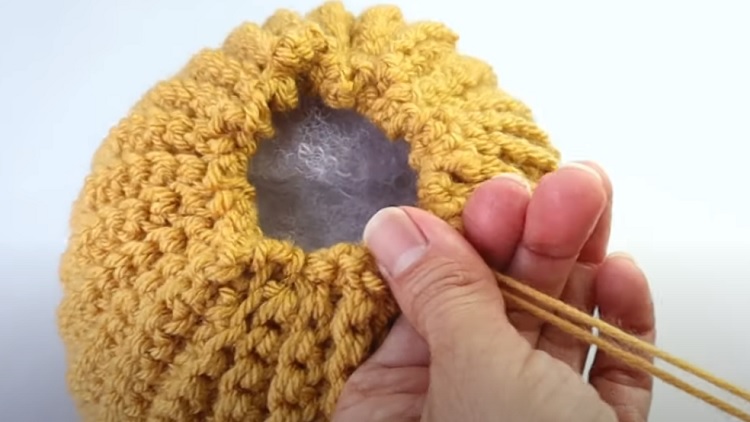
Stuff pumpkin about 3/4 full with fiber fill.
Insert 15 inch strand in yarn needle. Weave the needle in and out, close to the edge of the hole, around the entire perimeter of the hole. Pull both strands of yarn to close the hole. This hole does not need to be fully closed. The stem will cover the hole.

Holding onto the strands of yarn near the hole, insert the needle through the center of the hole, squeezing the pumpkin as needed to push the needle through the inside of the pumpkin, into the edge of the bottom hole, capturing a strand of yarn. Insert needle next to where you just inserted the needle, capturing a strand of yarn. Push needle through the inside of the pumpkin again, coming up through the perimeter of the top hole.
Continue in this manner, working your way around the perimeter of the top and bottom holes, pulling the strand of yarn as you go to squeeze the pumpkin enough to shape the pumpkin. Pull tails to close hole further. Tie off yarn when done. The top hole does not need to be fully closed.
STEM
Use small amount of brown yarn (or any color you prefer).
Large Stem: #4 yarn; Ch 6; 5 sc’s; 12 rows
Small Stem: #4 yarn; Ch 4; 3sc’s 10 rows
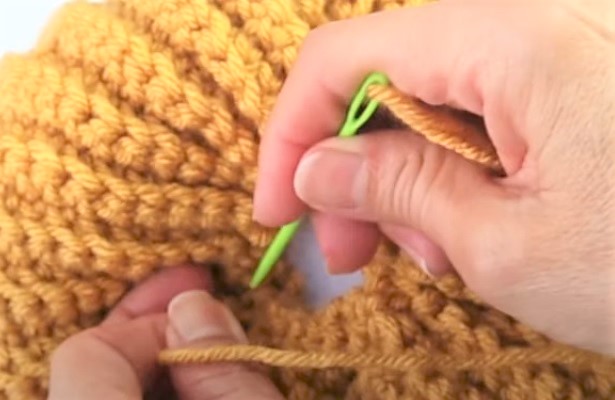
Ch 6
Row 1: sc in 1st ch and ea ch across. 5 sc’s. Ch 1. Turn
Row 2: sc in 1st sp and ea sp across. 5 sc’s Ch 1. Turn
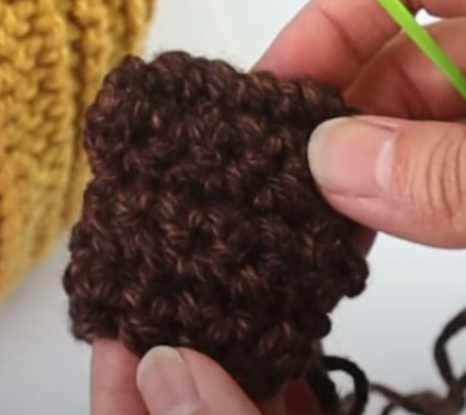
Row 3 – 12: Repeat Row 2. At end of last row cut off yarn leaving a 15 inch strand of yarn. Insert yarn needle in strand. Fold the panel in half. Seam ea edge of panel. Leave bottom seam open. Alternately, you may seam bottom closed.
Attach Stem
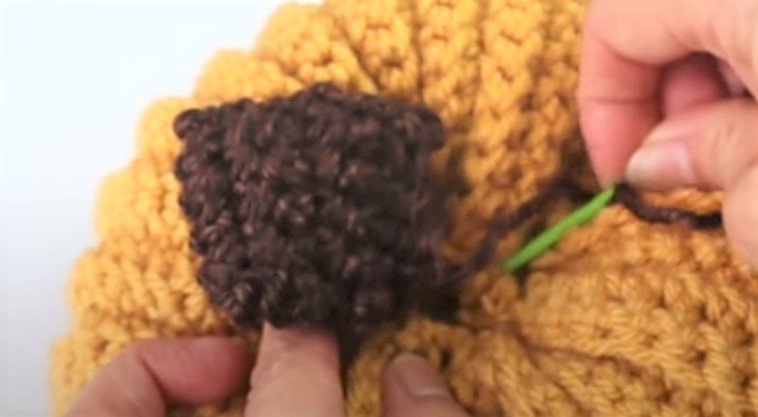
With strand of brown yarn on needle, seam bottom of stem to perimeter of hole with a whip stitch. Tie off yarn.
Copyright © 2020 Sylvia Talo You may sell items made from my patterns. Please include a link or reference to my shop CrazyCoolCrochetUS.etsy.com . Pattern and photos are copyright protected; may not be reproduced, redistributed, or displayed publicly in any way.
Please feel free to save this pin to your favorite Pinterest board:
You May Also Like

Cute pumpkins! Came here mainly to wish you a Happy 2nd Anniversary, and your business seems to be going extremely well, so CONGRATULATIONS on that! Love your patterns!
That is so sweet of you to take the time to leave such a lovely comment. I truly appreciate the well wishes! I’m happy that you like my patterns. It is so much work, but worth every minute when I hear responses like this. Thank you.
Sylvia
CrazyCoolCrochet.com